Category Archives: Recipes

The Johnny Prime Burger

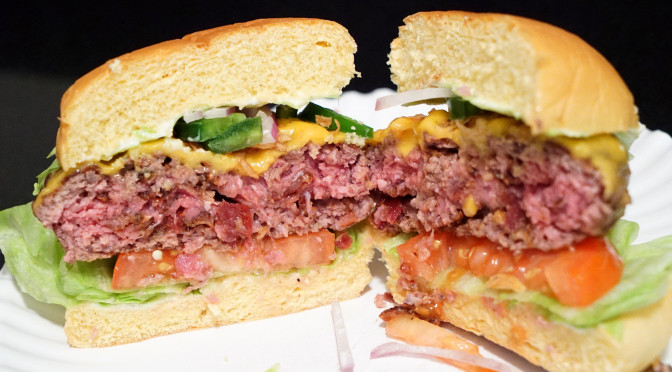
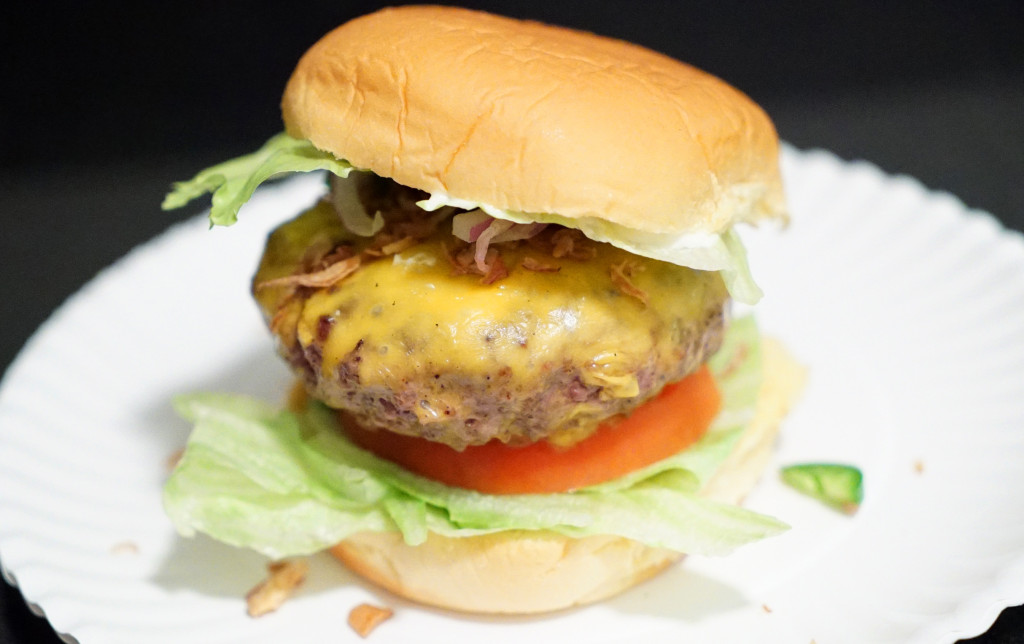
Let me start off my reiterating the fact that I am a burger purist. I like my burgers pretty much on the standard side. My ideal: a nicely seared beef patty (on a flat top – not grilled), sandwiched between a potato bun with mayo on both halves of the bun, and topped with melty American cheese, iceberg lettuce, one thin slice of tomato, some pickles and a few rings of raw onion (not a full slice). Occasionally I will throw some bacon on top, but I figured out a better way to get the bacon into the mix without adding yet another topping. Sometimes when the toppings get too numerous, you end up with a tall stack; that sucks.

I should also mention here that anyone can make a good burger at home. In fact some home burgers far surpass anything you can get at a burger joint. It’s one of the easiest things to cook at home, so a “recipe” for a burger is kinda nonsense, know what I mean? There’s nothing particularly special or innovative about this recipe other than the first three steps, and to even suggest innovation there is a stretch. It’s really just good sense, and I feel like more people need to know about it.

Here’s a quick time lapse video of me executing all the steps below:

1) Fry up some bacon in a cast iron pan – as much as you would normally include on top of your burger.

2) Remove the finished bacon from your cast iron pan, but leave the grease in the pan.

3) Once cooled, crumble up the bacon and mix it into your chopped meat. The crunchy bacon inside will add texture as well as flavor to your finished product. Don’t overwork or overpack the meat when mixing the bacon into the patty. I like about 6oz of chopped meat for a burger. That means it’s not too ridiculously thick, and not too thin to the point where you need to eat two burgers just to feel something in your stomach.

Note: Some burger recipes tell you to add diced bacon into the chopped meat BEFORE cooking the bacon. BIG MISTAKE. If you’re like me, and you like your burger medium or medium rare, then some of that bacon won’t cook properly in the amount of time is takes to get the beef up to temperature. There’s nothing worse than rubbery, undercooked bacon. It blows. The key is to fry that shit off beforehand, as I noted in step one above, and then mix the fully cooked bacon into the raw beef burger patty.

4) Cook your burger in the bacon grease, in the same cast iron pan. This will follow through on your bacon flavor, and it’ll give the patty a good crust to boot.

5) When you flip the burger (you’re only flipping it once, by the way), add your American cheese (go with two slices) and cover the pan, so that the cheese gets nice and melty.

Note: Some people add a bit of water into the pan at this point, before covering the pan (like maybe 2-3oz). Why? The water instantly sublimates to steam, which is a higher temperature than the air in the pan. When sealed up and covered, this helps to melt the cheese faster. This is especially helpful if you like a rare or medium rare burger, because you don’t have to wait as long for the cheese to melt, which in turn means you are less likely to overcook your burger while waiting for the cheese to finish melting.

6) Remove your patty from the pan when the cheese is melted, and set it aside for a moment. You can use a cooling rack or a plate.

7) Prep your bun for assembly. This entails a few sub-steps:

a) Apply mayo to both sides of the potato bun.
b) Add one leaf of iceberg lettuce to each side.
c) On the bottom side, set down your thin slice of tomato on top of the lettuce. Ideally you want a good sized tomato so that your slice covers the majority of the bun from end to end.
d) On the top side, place your rings of raw onion and pickles on top of the lettuce.
e) I’ve also opted to add some fried crispy shallots to the burger for extra texture, as well as some sliced jalapeños for heat, mainly because I almost always have these things in my fridge.
f) Put your burger in there, and close her up.

That’s it. You’re ready to eat!

DSC07050

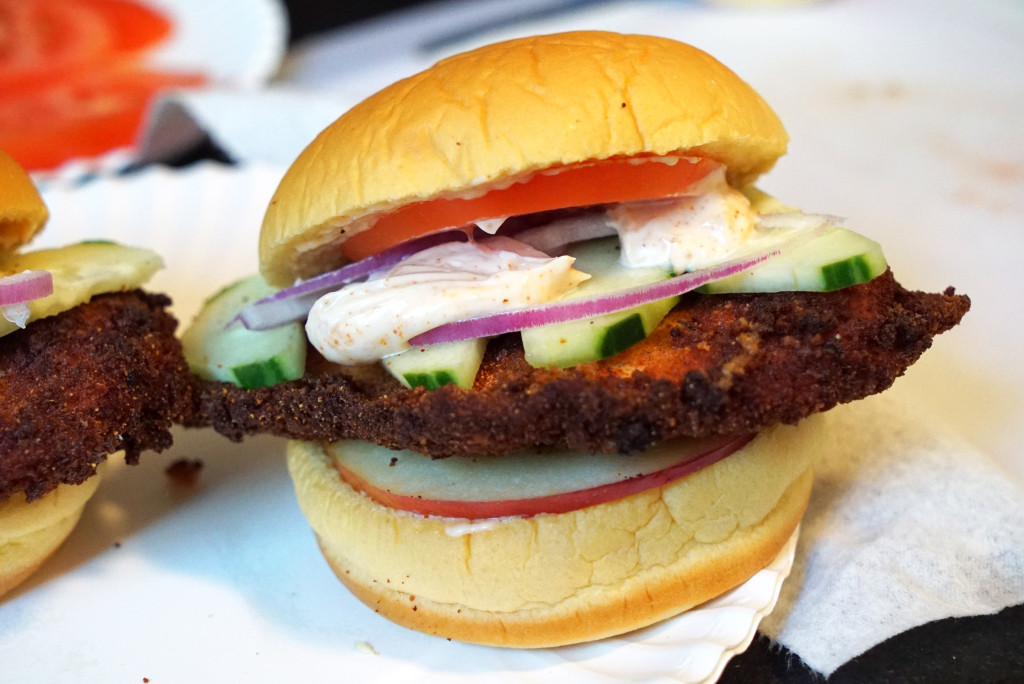
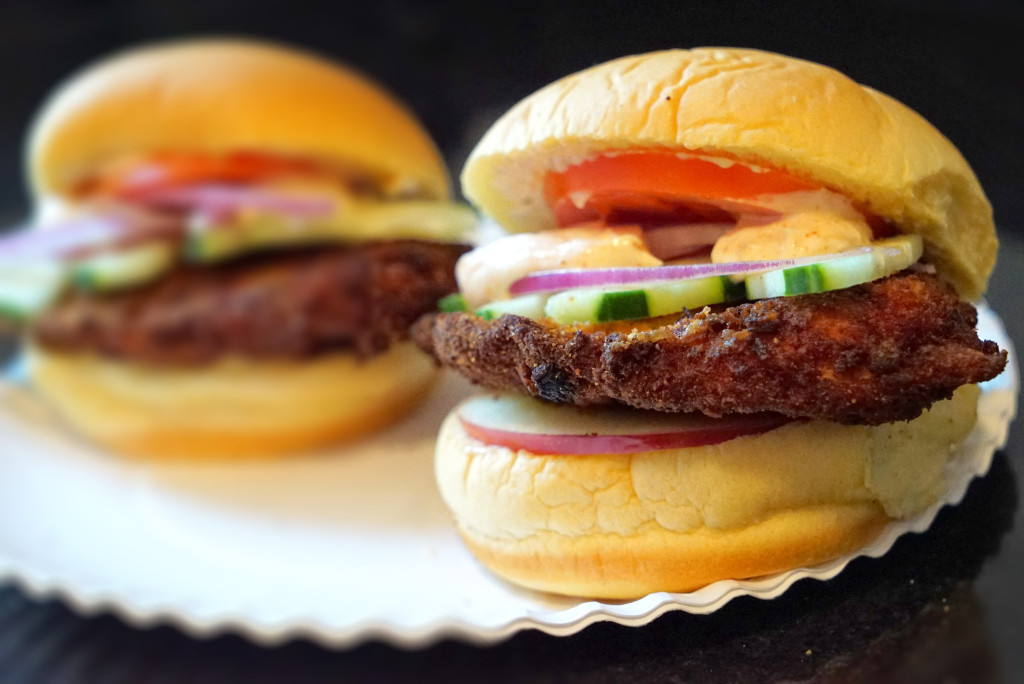
Satan’s Fried Chicken Sandwich

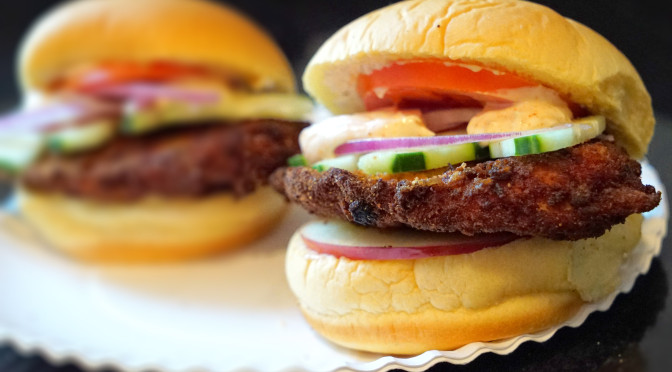
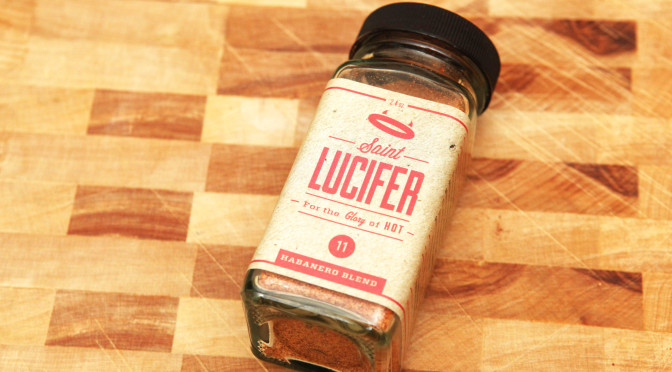
Satan’s Fried Chicken Sandwich is a recipe I concocted for usage of Saint Lucifer Spice during my review of their product. If you can’t get your hands on their delicious shit, then substitute for some other pepper like cayenne powder. But I highly recommend their habanero garlic blend. It just works better.

What do you need, and how do you do it?

1) Grab a pack of thinly sliced chicken breast from the grocery store.

2) Crack a few eggs into a bowl and mix/scramble.

3) Create a breading mixture using a combination of Italian breadcrumbs, panko and a teaspoon of Saint Lucifer Spice.

4) Drag your chicken filets through the egg dredge and batter them with the spicy breadcrumbs.

5) Fry your chicken to golden brown in hot oil.

6) Hit your still-hot chicken with some more Saint Lucifer spice to lock in the seasoning after they come out of the fryer/hot oil.

7) As the chicken cools, quickly prep some lettuce, tomato, onion and sliced apple. Maybe some cooling cucumber as well, if you feel like it. As an alternative, you can do this step before you start cooking, but then the apples may bruise up and oxidize – unless you know to hit them with some lime juice to prevent that brown bullshit from happening.

Note: This step is for adding additional crunch and a little sweet juiciness to cut the spice. If you happen to have coleslaw laying around, you could simply use that. And if buying an apple is too much work for your lazy fucking ass, you can also use the pickles that have been sitting in your fridge, floating around in murky water like a shit that never got flushed.

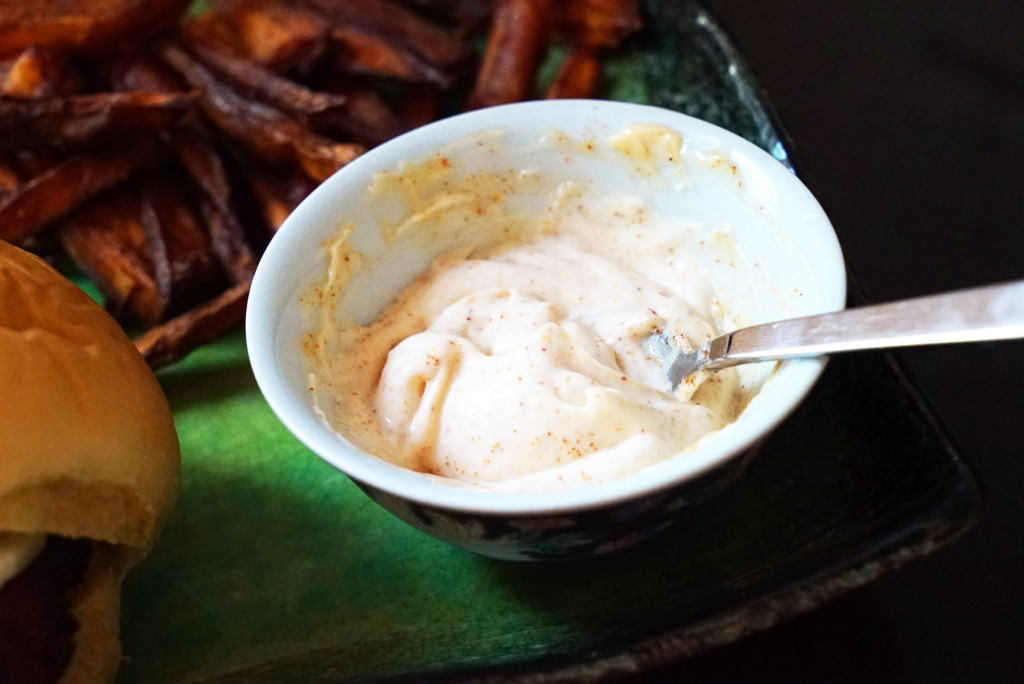
8) Mix a few shakes of Saint Lucifer spice into some mayonnaise.

DSC07024

9) Apply some of that spiced mayonnaise onto each half of a potato bun. A soft, sweet bun is key, like Martin’s or King’s Hawaiian.

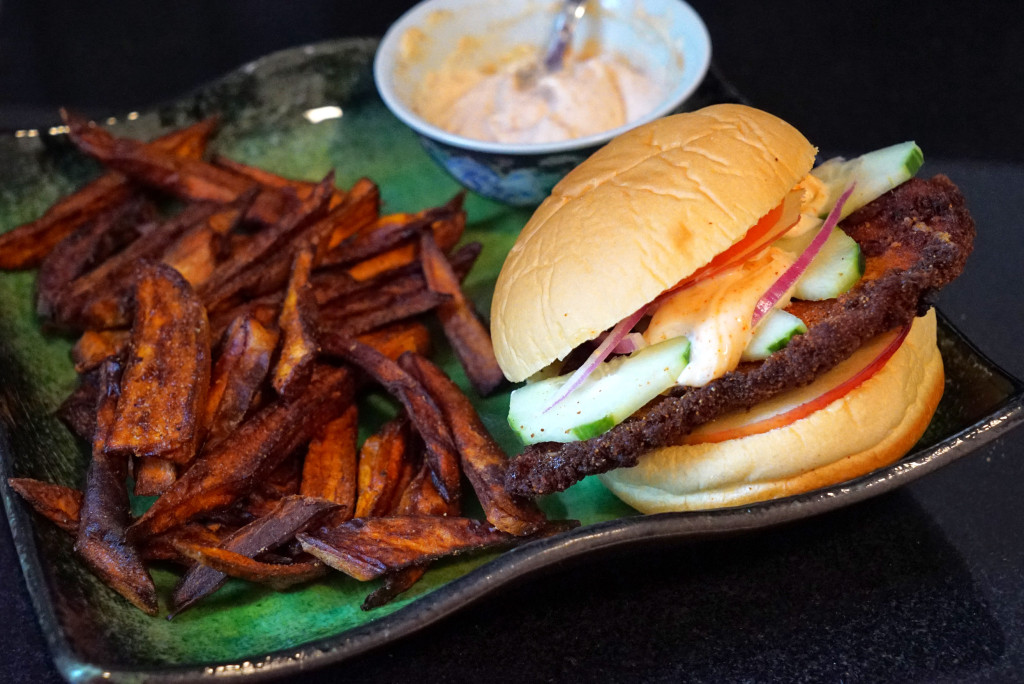
10) Assemble sandwich and eat.

DSC07016

DSC07018

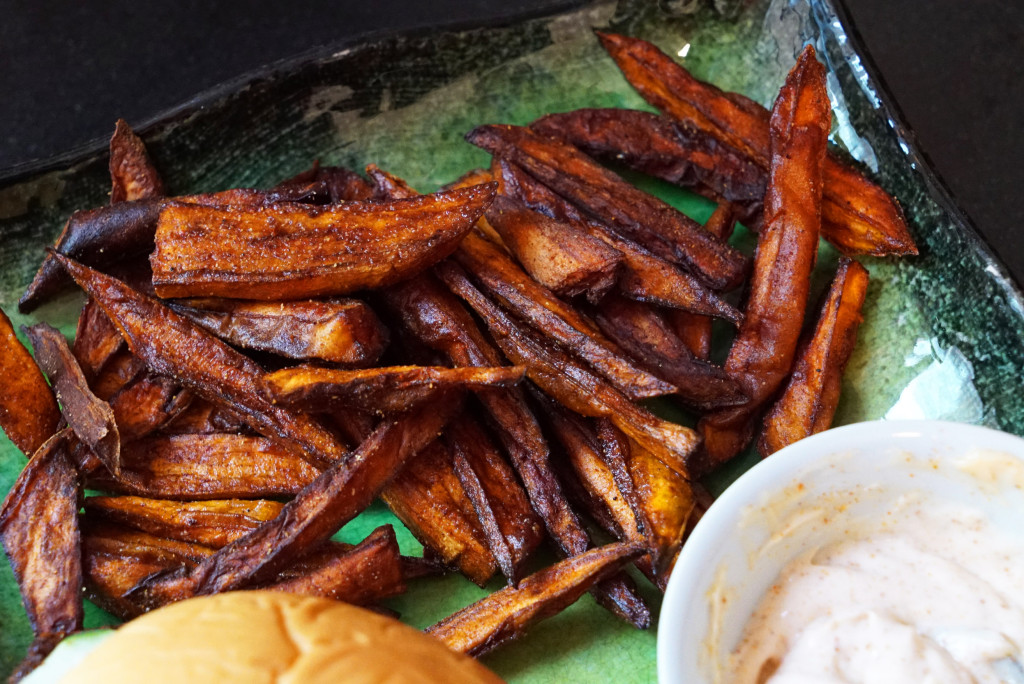
If you’re ambitions, you can make some “conundrum fries” to go with this sandwich on the side: sweet potato french fries spiced with a few shakes of Saint Lucifer, once they come out of the oil. Do it, and then eat them with the remainder of your spicy mayo mixture from above. Why? Because fuck ketchup, that’s why.

DSC07023

DSC07026

Saint Lucifer Spice

If you don’t already know what Saint Lucifer Spice is, I’m about to give you a kick-ass run-down of the product. I came across this shit on Instragram, and I’ve been salivating ever since laying my eyes on it. Who knew that seeing a powdered spice could illicit such a physical response?
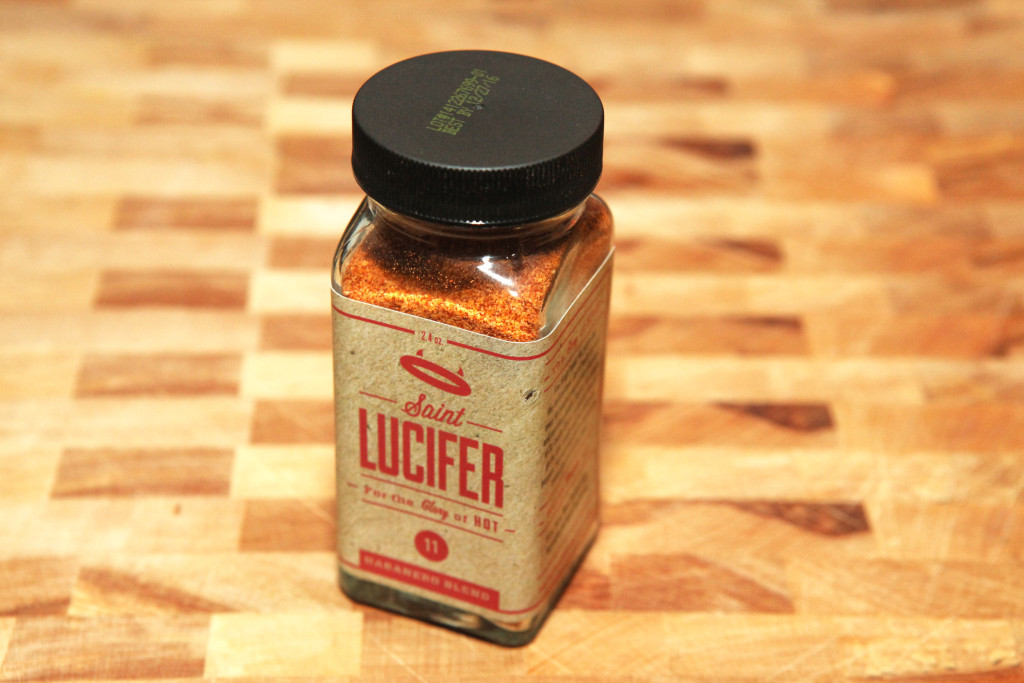
IMG_1777

You’re all familiar with chili powder, crushed red pepper, paprika, black pepper, and cayenne pepper spices, from your shitty little spice racks that swivel and take up counter space in your kitchen. You know what’s missing? Habanero. Yes, yes, yes… Everyone and their mother has a bottle of habenero pepper SAUCE. But no one has it in a fucking spice shaker.

Many people flinch in horror when spice hits their lips, but that just means they aren’t eating their spice properly. Mixed with a sweet element, hot peppers can add tremendous diversity of flavor to an otherwise bland dish.

Tolerance to spicy foods may vary, but habanero pepper is amazing. It’s super hot up front, but then it cools off real quick. Unlike jalapeno or other chili peppers, the heat dissipates quicker. In other words, habanero is a sprinter and the other peppers are long distance runners.

What Ted Ebert and Tom Hewell, creators of Saint Lucifer, have done is to create a unique granulated habanero pepper spice that can be used on anything from grilled veggies to breakfast eggs to gourmet entrees of all protein variations. Ted and Tom’s goal is to get this spice into homes and professional kitchens everywhere, to be as well known and familiar as all the other spices in your rack, with the brand loyalty that you give to other products that you might keep in your kitchen. Given the massive success of Huy Fong’s Sri Racha sauce in recent years, I think there is a wide open market for something like Saint Lucifer, in the dry spice category. Although it is clearly a different pepper than Sri Racha (chili, with lots of garlic), I think the people who love a little heat will definitely be all over this.

Anyway, back to me… I found these guys on Instagram a long time ago and I’ve been following them since. Then it hit me. Why not ask them if I can try it? I’ve reviewed other products on here, typically when they have contacted me. But I needed to do something bold and aggressive, like Saint Lucifer spice itself. I contacted them. I wrote a comment on one of their burger photos, saying that I’d love to sample their product and write a review. The next morning I awoke to an email in my inbox asking for an address where they could send me a sample.

I was psyched. I eagerly awaited this bottle of magic powder’s arrival to my apartment. And to pass the time, I dreamed up various recipes involving the spice… and they’re really simple to execute too:

Devil Tacos
1) Coat some skirt or flank steak with Saint Lucifer Spice.
2) Grill for two to three minutes per side, depending on thickness.
3) While the meat rests, warm up some soft tortillas.
4) Also while the meat rests, prep some cilantro, onions, sour cream and jack cheese for a cooling taco filling.
5) After resting, slice the steak into thin strips for taco filling (cut on the bias for tenderness).
6) Slice up a lime (or any sweet citrus element, really).
7) Fill your tortillas, and squeeze some citrus juice on before eating.
Note: That sweet tartness from the lime/citrus will pair perfectly with the habanero of the Saint Lucifer spice and cut it ever so slightly. Trust me. Your taste buds will thank you.

Satan’s Fried Chicken Sandwich
1) Grab a pack of thinly sliced chicken breast from the grocery store.
2) Crack a few eggs into a bowl and mix/scramble.
3) Create a breading mixture using breadcrumbs, panko and a teaspoon of Saint Lucifer Spice.
4) Drag your chicken filets through the egg dredge and batter them with the spicy breadcrumbs.
5) Fry your chicken to golden brown in hot oil.
6) Hit your still-hot chicken with a mixture of Saint Lucifer spice and salt to lock in the seasoning after they come out of the fryer/hot oil.
7) As the chicken cools, quickly prep some lettuce, tomato, onion and sliced apple.
Note: This step is for adding additional crunch and a little sweet juiciness to cut the spice. If you have coleslaw laying around, you could use that as well. And if buying an apple is too much work for you, you can also use the pickles that you have sitting in your fridge, floating around in murky water like a shit that never got flushed.
8) Mix a few shakes of Saint Lucifer spice into mayonnaise.
9) Apply some of that spiced mayonnaise onto each half of a potato bun. A soft, sweet bun is key, like Martin’s or King’s Hawaiian.
10) Assemble sandwich and eat.

Breakfast at Lucifer’s
This one is pretty easy, because one way to go about the process is to just shake Saint Lucifer onto your favorite breakfast egg dish. I like eggs over easy with hash browns and bacon for breakfast. You can simply spice them all up with some Saint Lucifer. If you have hairy balls, you can even add a few shakes of Saint Lucifer into your orange juice (or Bloody Mary, for that matter). I swear that shit is fucking good. Orange + habanero is fucking amazing. I used to soak fresh habaneros in my cartons of orange juice to give it a nice kick. However, if you want to take breakfast to the next level, another idea here is to use the Saint Lucifer spice while you are cooking your bacon. Coat the bacon in some spice first, then fry it off in a pan. Afterwards, leave the bacon grease in the pan (or save the bacon grease in tupperware) so you can later use it to fry your hash browns and eggs. I like hash browns with a little diced onion and fresh peppers. Adding the spicy bacon grease would take it to the next level of awesome.

By the way, The Saint Lucifer website has a bunch of recipes on there already. If mine don’t tickle your balls, maybe theirs will. CLICK HERE to see them.

Okay so my dreams were now ready to become a reality. I received my Saint Lucifer spice package! I was impressed that it was even accompanied by a hand-written note.
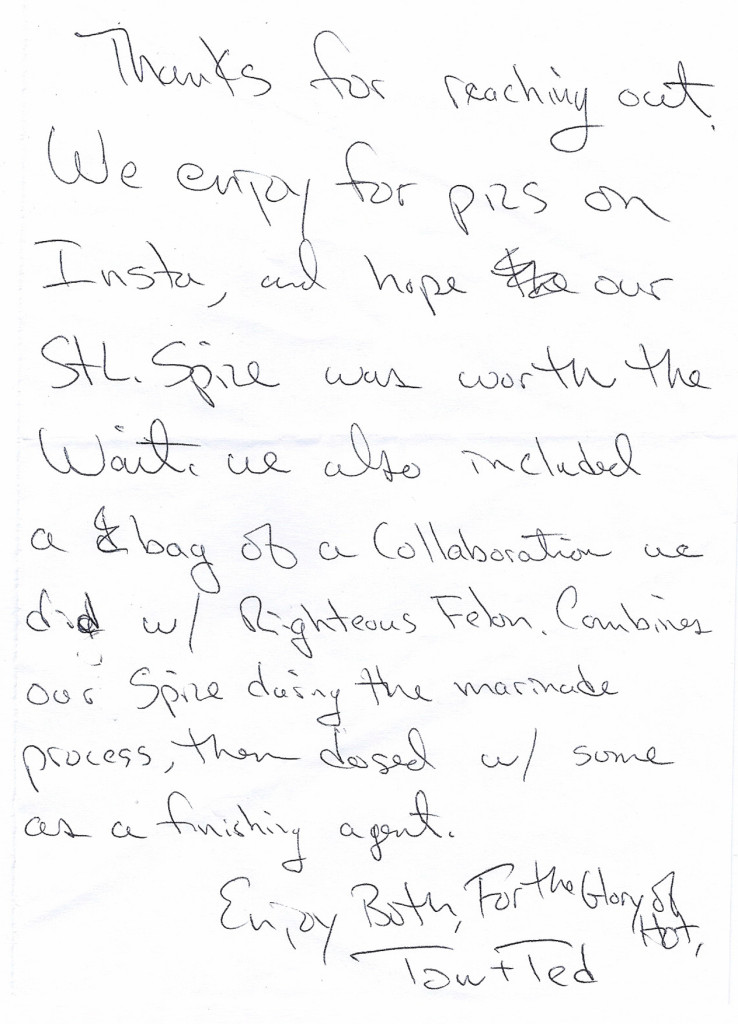
Scan_Pic0018

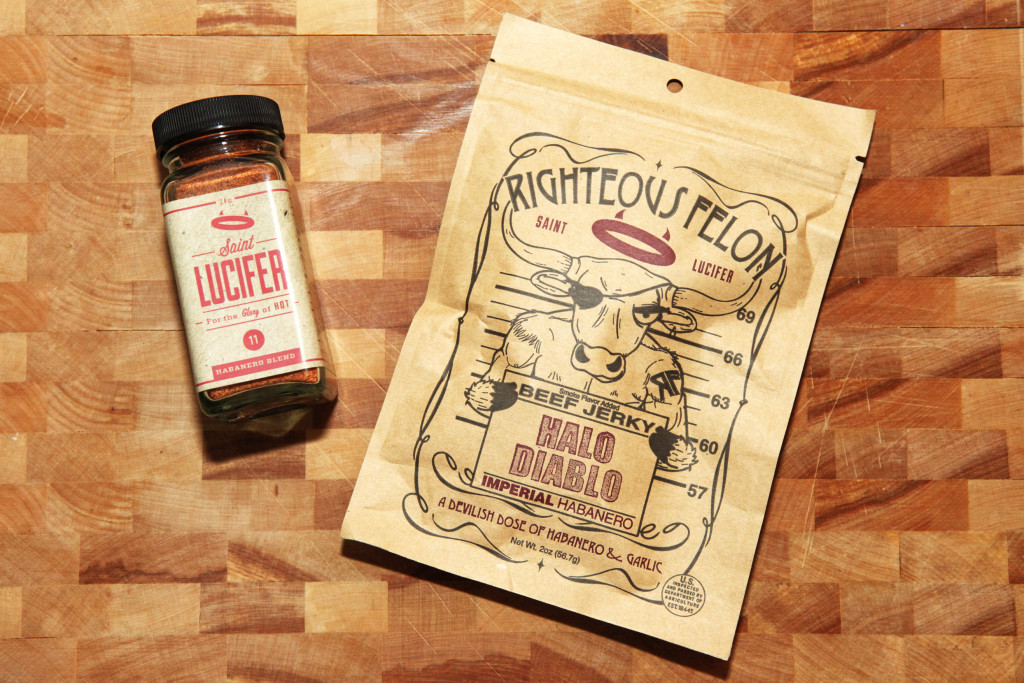
I couldn’t believe it. This next bit was like providence. The bottle of spice tumbled out along with a bag of beef jerky!
IMG_1771

Are you kidding me?!?? I JUST started my jerky page the other day, and when I was browsing the Saint Lucifer website in my research of their product, I was really intrigued by the jerky that I saw there for sale. Holy fuck… what a bonus that they included it! The jerky is flavored with Saint Lucifer, and it is cleverly called Halo Diablo jerky, which they made as a collaborative effort with the Righteous Felon jerky brand. I’ll stick to the review of Saint Lucifer here. You can check out the Halo Diablo Jerky review afterwards if you want.

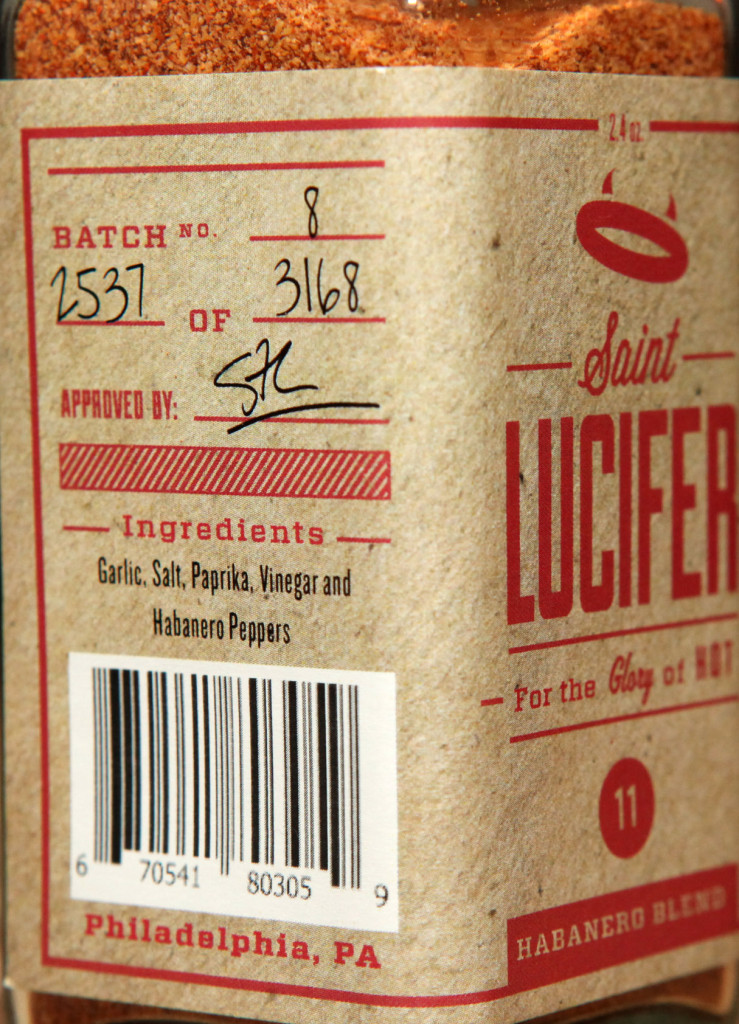
My first instinct was to go right to the ingredients. Nice and simple, easy to read, no chemicals, no bullshit. Only five things were listed: that’s it! Garlic, salt, paprika, vinegar, and habanero peppers.
IMG_1779

The taste starts off as sweet and vinegary, with a garlic nose. Then the spice creeps up. Dry and hot, like the desert, but not too cranked up to the point where you are crying and your ears are throbbing. It’s a good heat; a heat you can cook with or just dabble on as you see fit. The smell is a sharp hit of sweet garlic up front with a sweet lingering vinegar aroma. Then there’s an undertone of something evil lurking beneath the surface, something that might fuck you up if you sniff too hard or dive too deep. The habanero…

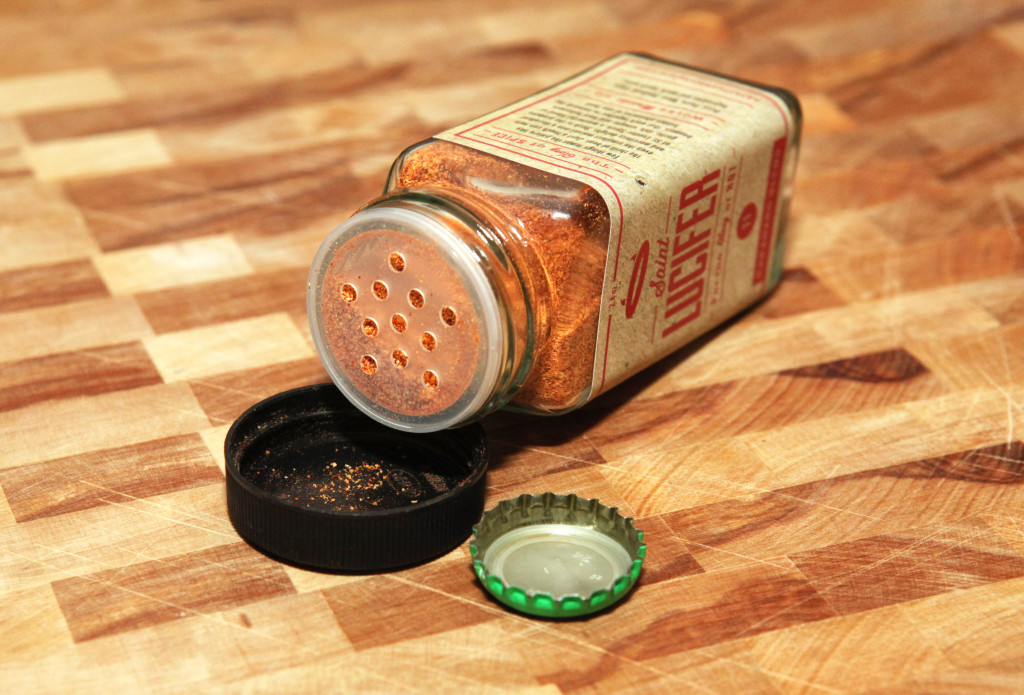
The shaker hole opening size is good for this powderized product. It’s not too big where you will accidentally dump too much out if you’re not careful, and not too small where you are shaking forever just to get a few dandruff particles out.
IMG_1783

The beer bottle cap is in there so you can gauge the size of the holes easier with that being a familiar/known size reference.
IMG_1819

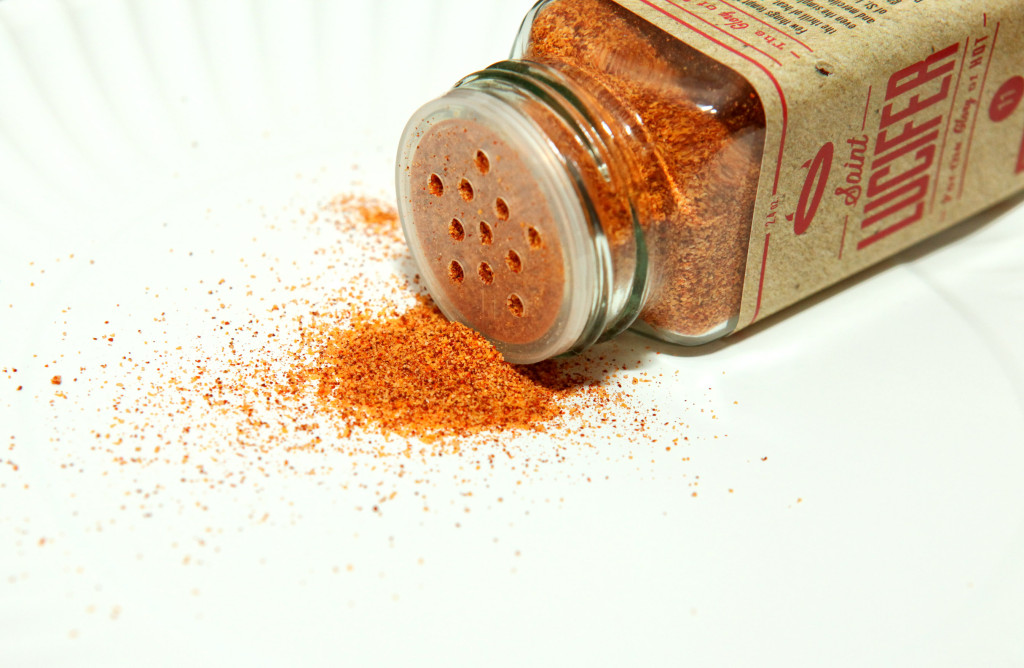
As  you can see, the color of this stuff is like fire put into solid, powder form. It’s actually a really aesthetic and beautiful blend of reds, yellows and oranges.

Suggestions for improvement: Nothing, really. This spice is awesome as-is. One thought I had though, perhaps, would be a version of the spice that is JUST habanero: no garlic, no salt, no paprika and no vinegar. I know Huy Fong makes some spicy sambal sauce products both in a garlic version and a non-garlic version. I always prefer non-garlic because I like to cook with fresh garlic, rather than powdered/dried, which can sometimes be overwhelming and inadvertently boost the sodium content of foods too much.

Suggestions for companion products: How about a ground jalapeno pepper spice, or a ground chipotle spice? Like granulated habanero powder, I don’t normally see those in the grocery store. That would make for a great three-pack gift set, and it would corner the market on unusual pepper powders in one fell swoop.

Either way I see a big future for Saint Lucifer, and I’m glad I have it in my spice cabinet. Congratulations, Ted and Tom, on creating an awesome new ingredient and food glorifier.

So where can you get it? CLICK HERE for a list of all retailers that have this shit on the shelves in their stores. Or you can navigate to their online store and buy it directly from them.

FOR THE GLORY OF HOT!

One More, Senor

My brother in-law inadvertently invented one of the greatest drinks ever described to me. One night he made himself a margarita or two. After drinking, there were still some tasty, salty, boozy ice cubes left in his glass that he didn’t want to go to waste. So he decided to throw a shot of tequila into that bitch. Then he cracked open a beer and poured that into the glass (perhaps it was a Corona?), and followed it up with some agave syrup. Why toss out those delicious margarita ice cubes when you can have one last drink with them? We were mulling over a name for this genius cocktail at Easter dinner when it hit me like a bolt of lightning…

Call it “One More, Senor!”

The Smoky Mountain Beehive

This is a really fucking simple drink recipe that packs a lot of flavor. I call it “The Smoky Mountain Beehive” for a few reasons. It is “smoky” from the peaty scotch. It is “Smoky Mountain” because of the Tennessee whiskey aspect. And bee-cause of the honey flavor, I went with beehive. See below:

  • 1 part Laphroaig (or any other equally peaty scotch)
  • 1 part Jack Daniels Tennessee Honey whiskey (or you can double the Laphroaig and add some straight honey into the mix)
  • 1 part orange liqueur
  • 1 part orange juice
  • 1 part seltzer

Pour contents over ice into a shaker. Shake the fuck out of it. Pour contents of shaker into a lowball and drink up. I like this with rocks, and it can be garnished with an orange peel or some other bullshit.

Sous Vide Filet Mignon

This is one of the simplest things to make, now that I have a sous vide machine at home. I honestly don’t think I will ever order a filet mignon out at a restaurant ever again, because this shit comes out so fucking perfect at home.

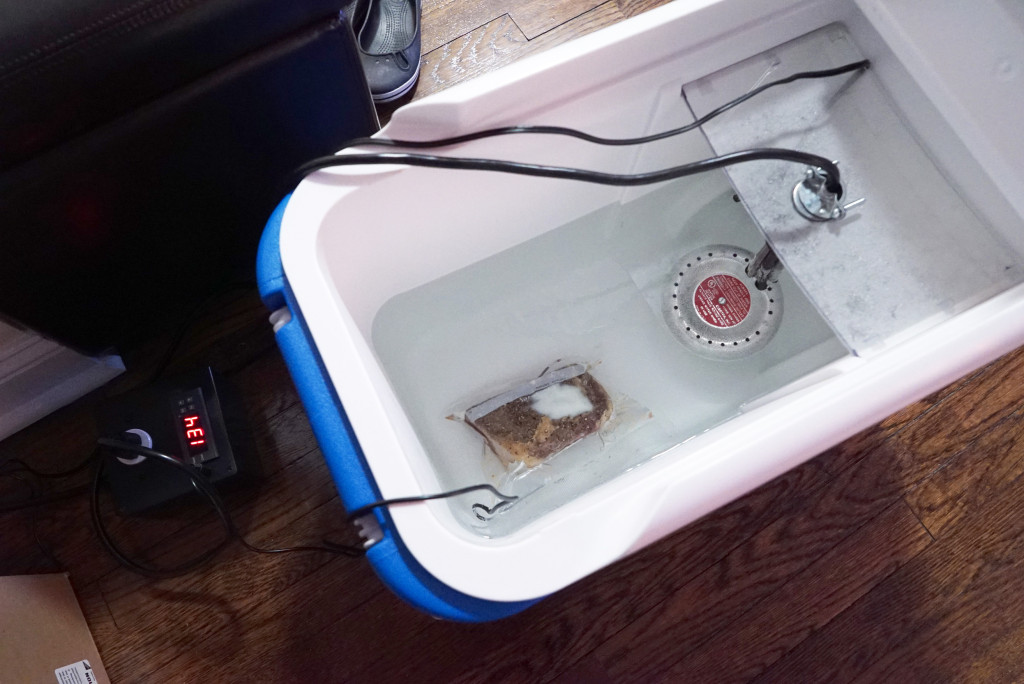
The only catch here: you need a sous vide machine (the vacuum sealer and Searzall are optional). They can be pricey, but if you have the balls, you can make one yourself like a real man (or have your cousin make you one, like I did) for a quarter of the cost of a store-bought machine.

Step 1: Buy filets

Step 2: Season filets however the fuck you want. I used salt, pepper, garlic powder, garlic oil and crushed red pepper.

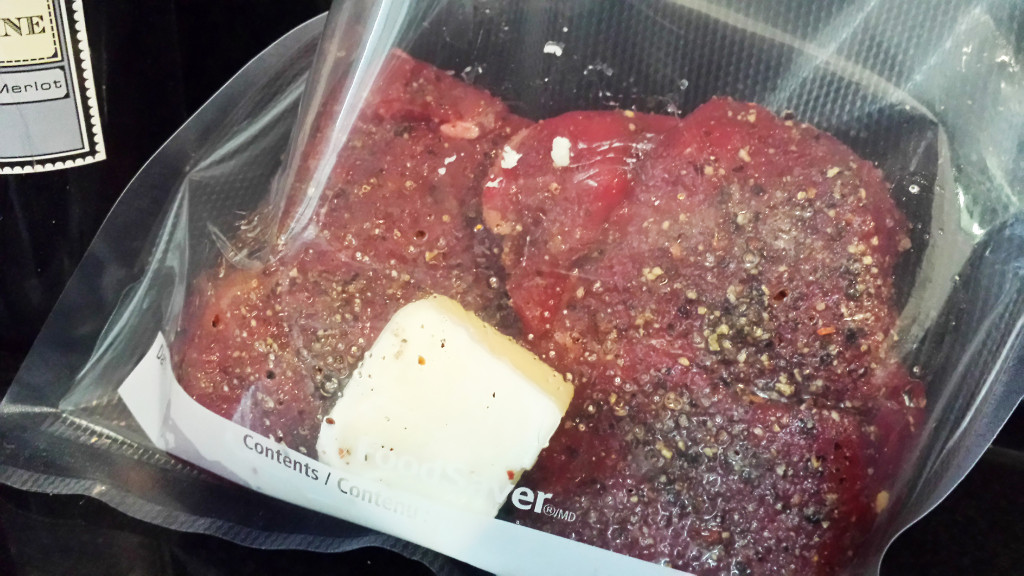
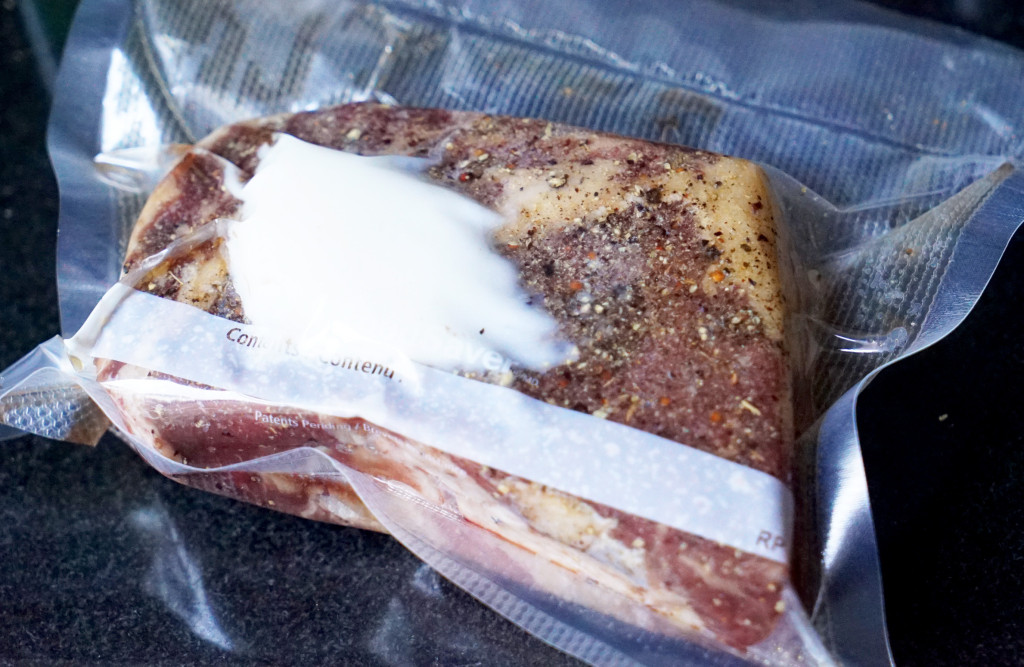
Step 3: Place filets into vacuum seal bag and seal it the fuck up, with some butter and herbs inside (thyme and rosemary are always nice).

sous vide steak recipe

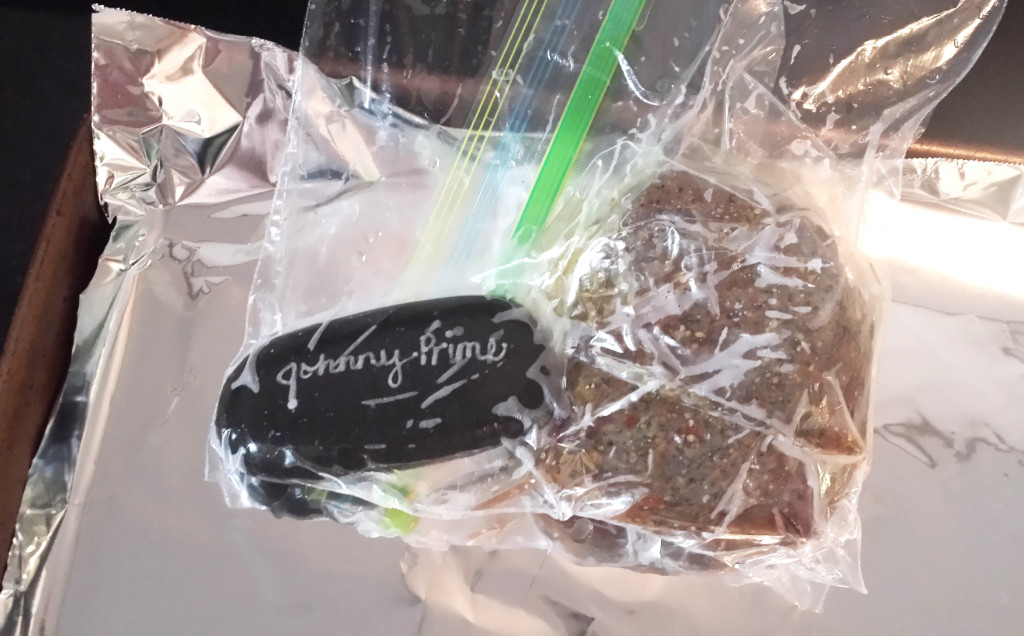
If you’re a poor bastard and can’t afford a vacuum sealer, you can use ziplock bags. Place your meat into the bag and begin to submerge the bag into the water bath. Once you are all the way close to the zipper, zip it shut. The water surrounding the outside of the bag will push out all the air from inside – poor man’s vacuum sealer. If you do this, you may want to put a smooth, clean rock in there too, just for good measure, to keep the meat from floating.

ziplock

Step 4: Set your temperature to however the fuck you like your steak cooked. I put mine at 138º F for a nice medium rare / medium. I’m dealing with grocery store meat here, people. Don’t give me any bullshit about that being too well done.

Step 5: Wait. About an hour or two. Don’t panic, assholes! You can’t overcook your steak in a sous vide bath. That’s the whole point of it!
Step 6: Remove your steak from the water bath and re-season it a bit, if so desired.

Step 7: SEAR THE FUCK OUT OF IT. I used a Searzall, because I am a fucking badass with a massive bag dangling in the area between my asshole and my dick shaft. Listen to that fucking sizzle just before I flip it over:

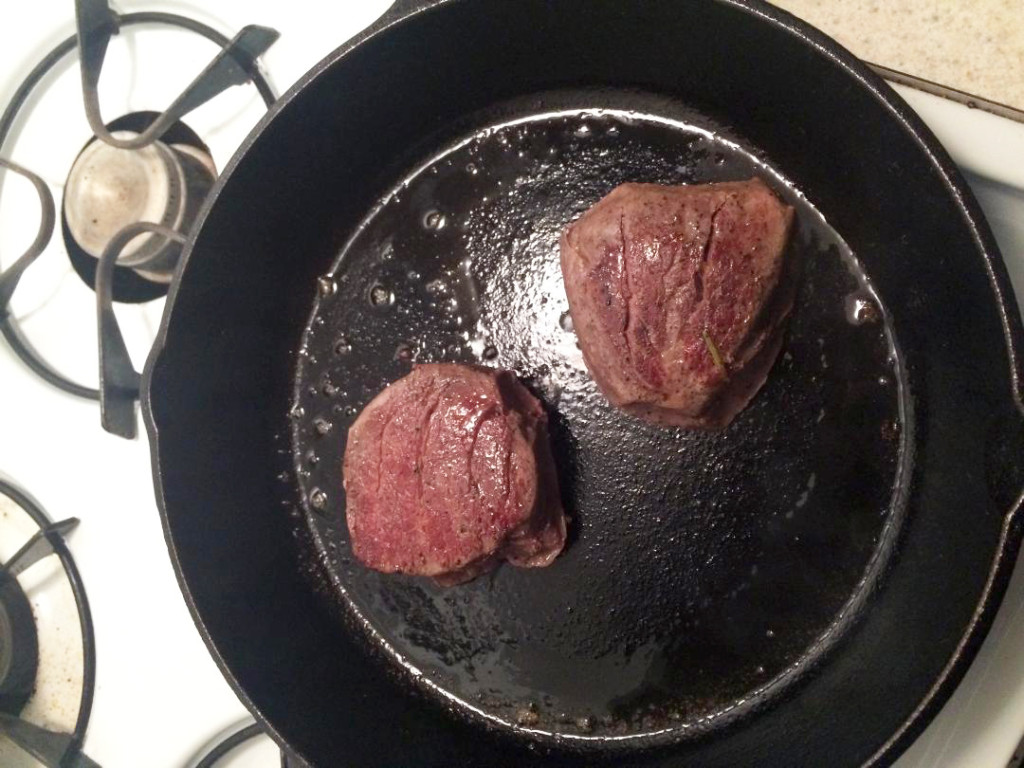
But you can easily just toss this baby into a real hot cast iron pan with some more butter and herbs to get that brown and crispy coating. That’s how my cousin does it – see his results below:

IMG_2345

IMG_2346

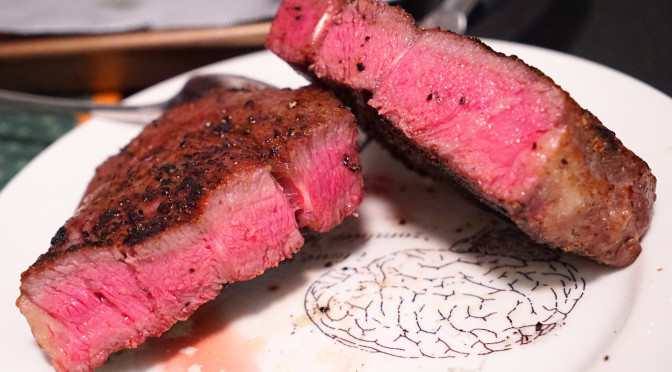
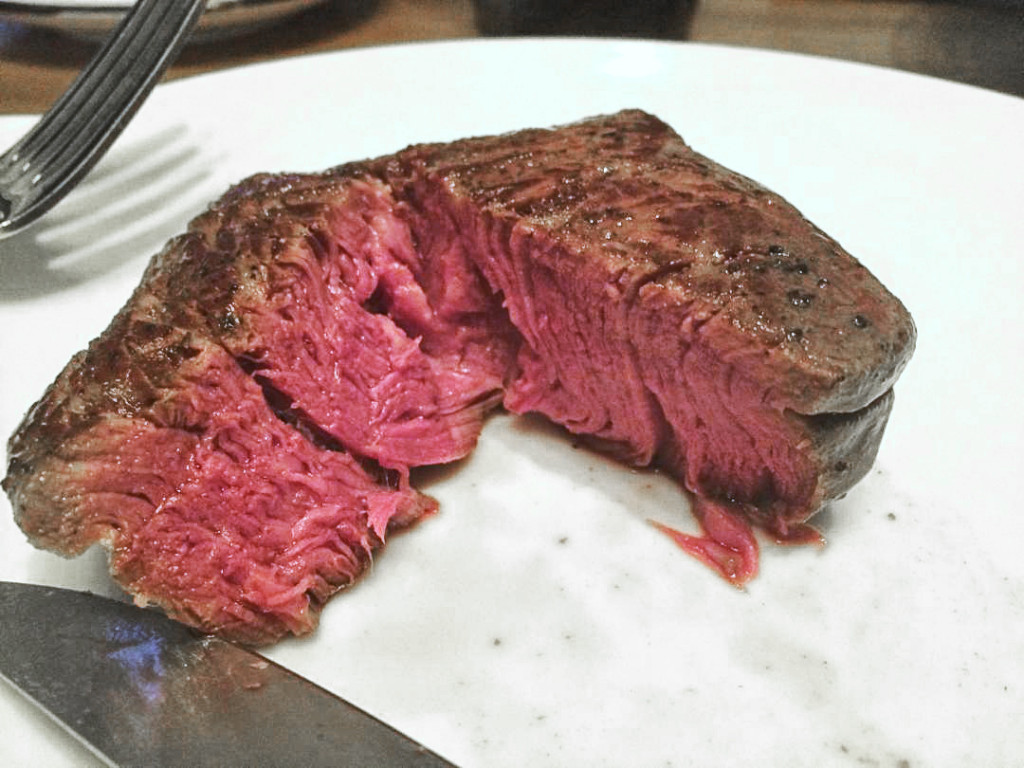
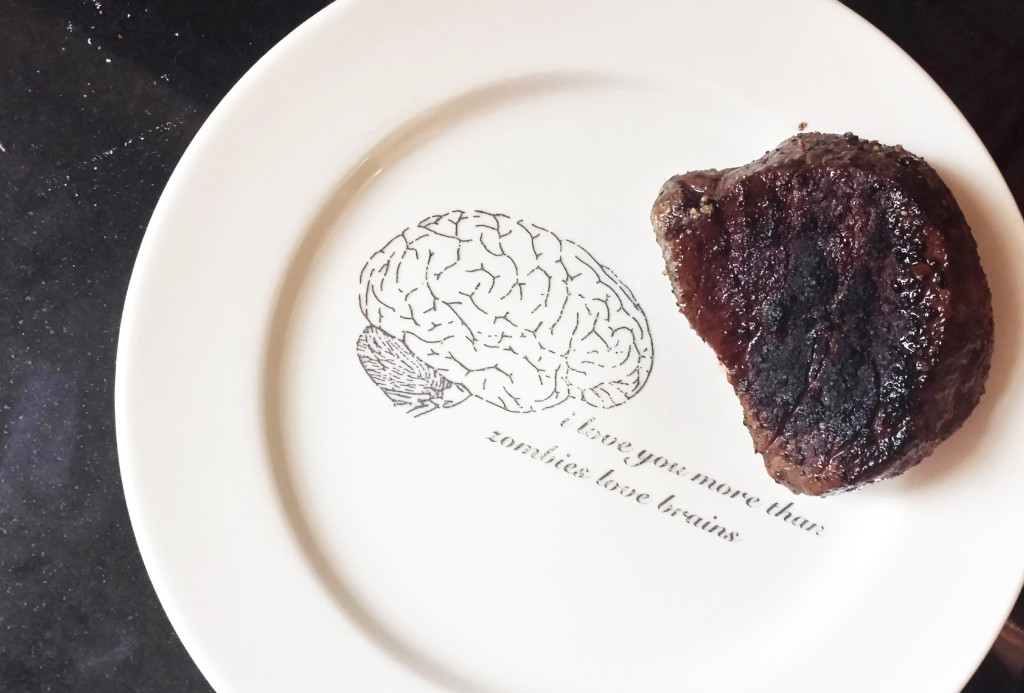
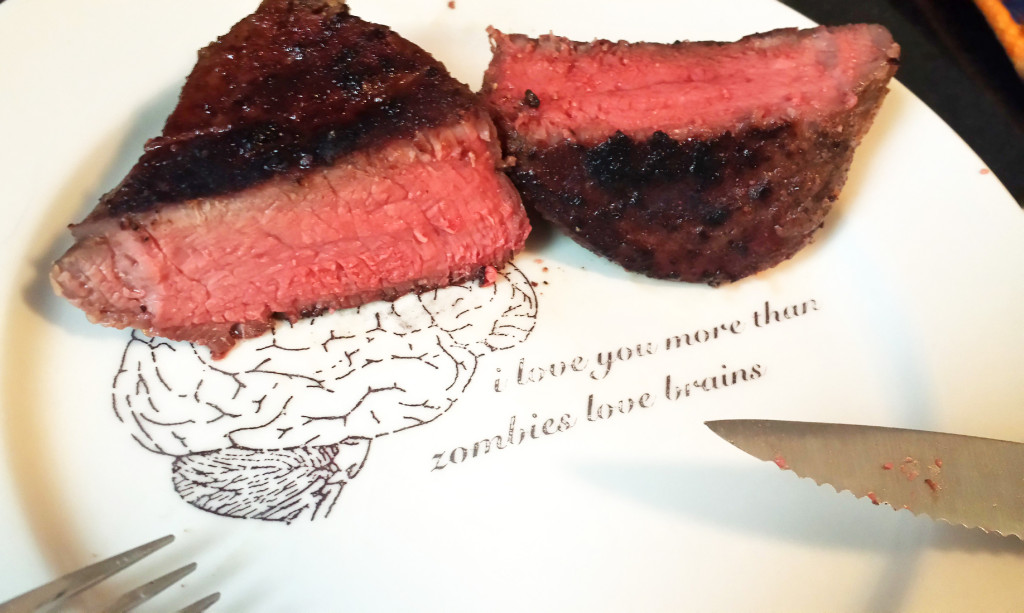
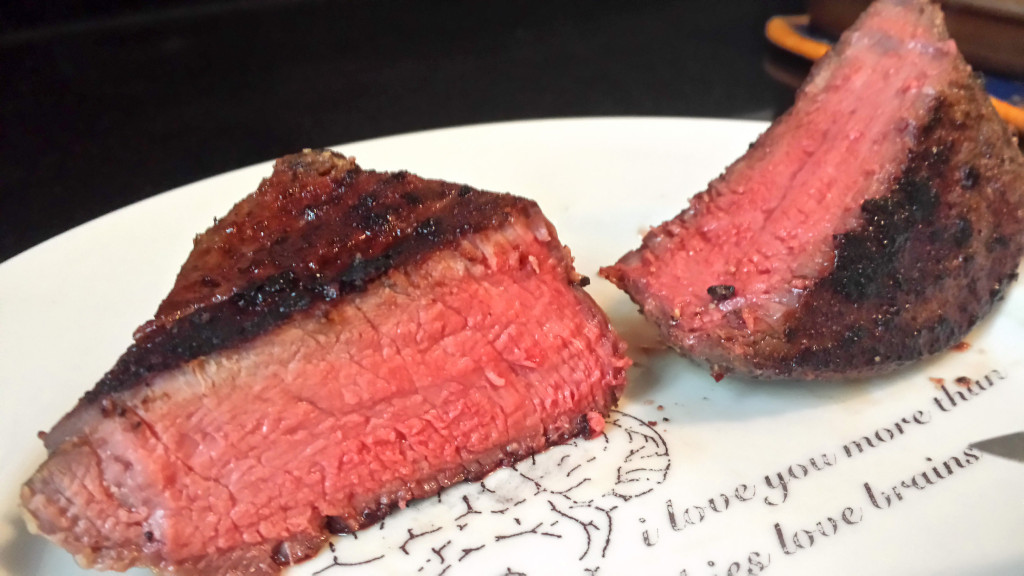
As for mine? Check it out below… Seared to a fucking crisp on the outside, and pink as a snatch inside:

outside crust

sliced filet home 2

sliced filet home

Step 8: Pour yourself a hefty glass of Scotch whisky.

The ice sphere is so much cooler than the ice cube. The ice cube is such a square.

Step 9: Drink it, then refill it, and then EAT while you drink that second glass of Scotch. Here: watch me devour one of the filets in under two minutes and then lick the damn plate.

Step 10: Jerk the fuck off and brag about how awesome you are, which I clearly did in the video above, shit the booze out of your system, and then fall asleep drunk and naked in the bathroom.

Feel free to use any cut that you want for this. I recently did the same thing with some Mosner grass-fed rib eyes, with some added duck fat to round them out. See below for the setup and results:

DSC04703

DSC04704

DSC04707

DSC04710

DSC04713

Irish Nachos

Happy St. Pat’s Day! This is a dish I first saw at a local Irish bar on Long Island, and it was actually the inspiration behind my Hillbilly Nachos dish. I was blown away by this shit, so I had to share it here. It’s really simple. Use this shit:

1) extra thick cut potato chips
2) crispy browned corned beef
3) Russian dressing
4) shredded swiss or cheddar
5) sautéed or griddled onions
6) minced chives
7) bacon crumbles
8) sour cream
9) jalapenos
10) coleslaw, sauerkraut or shredded cabbage

Create your layers and add each ingredient to taste. Be cautious with your cheese, sour cream and Russian dressing ratios; you don’t want to overdo it. I like just a drizzle of Russian dressing across the top, not gobs of it.

Mead & Winemaking

In carrying on the tradition of my late grandfather, my dad and I make wine at home. In fact my cousin does as well.

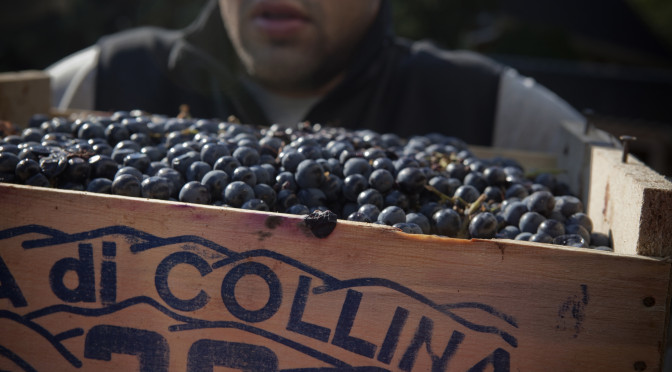
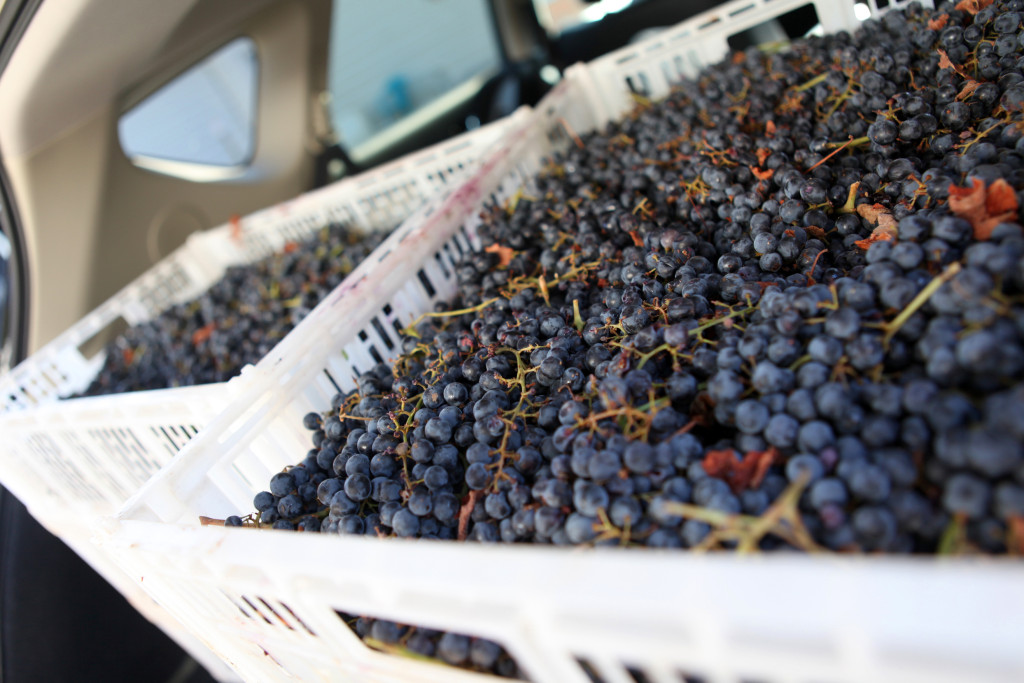
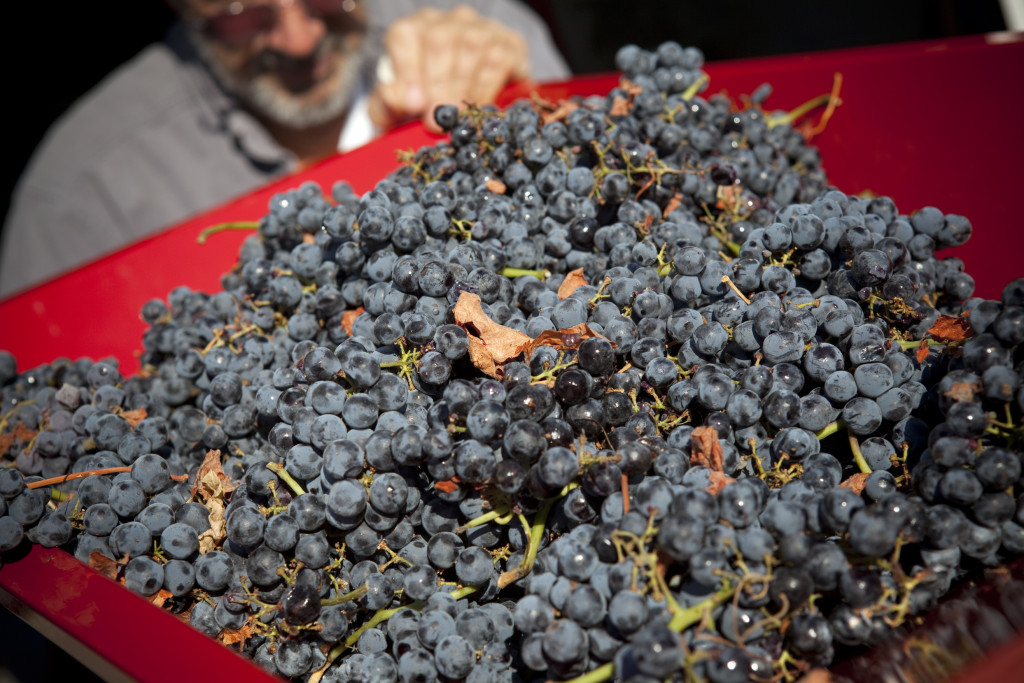
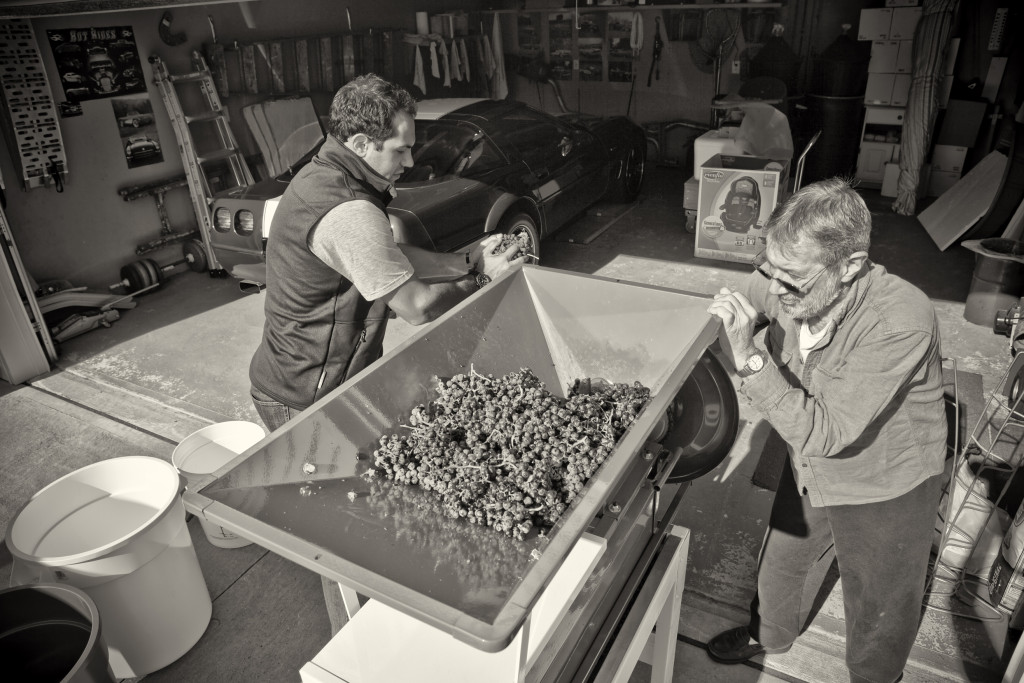
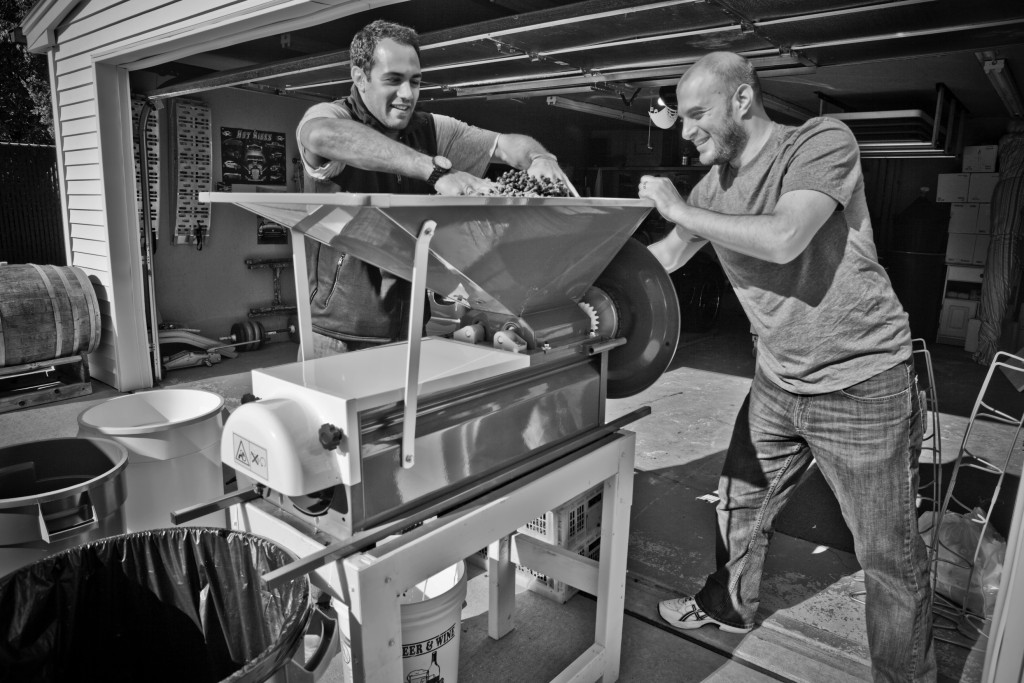
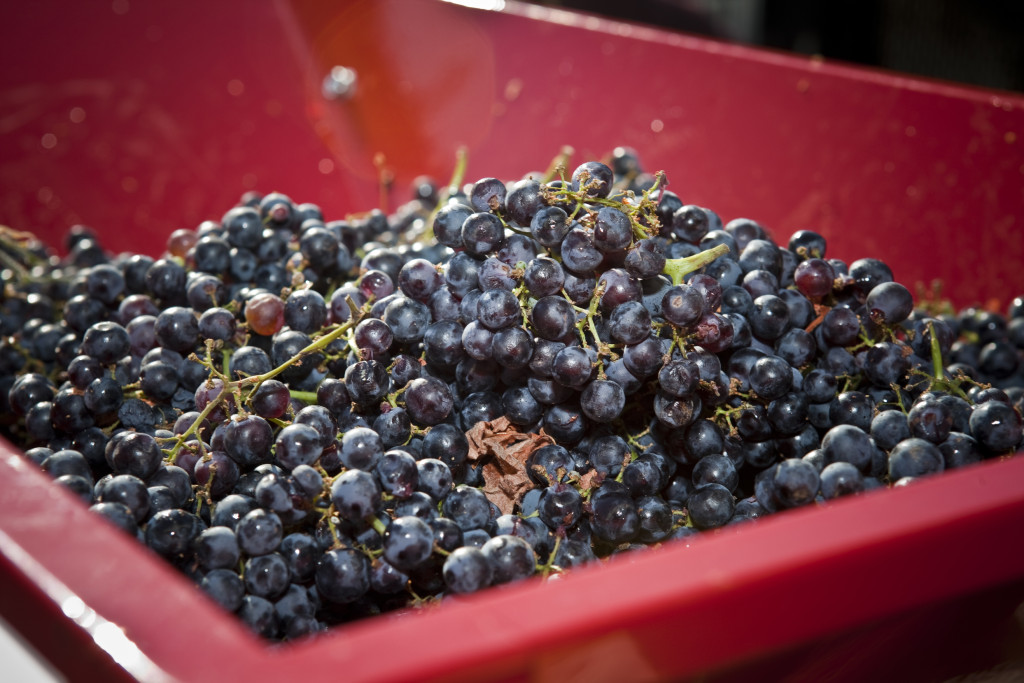
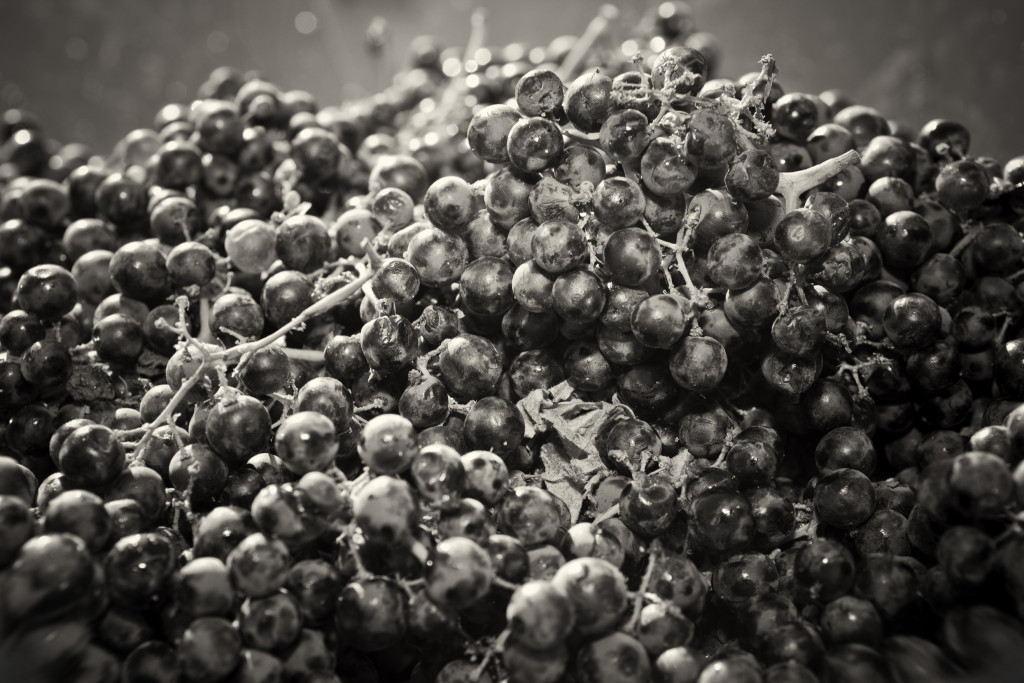
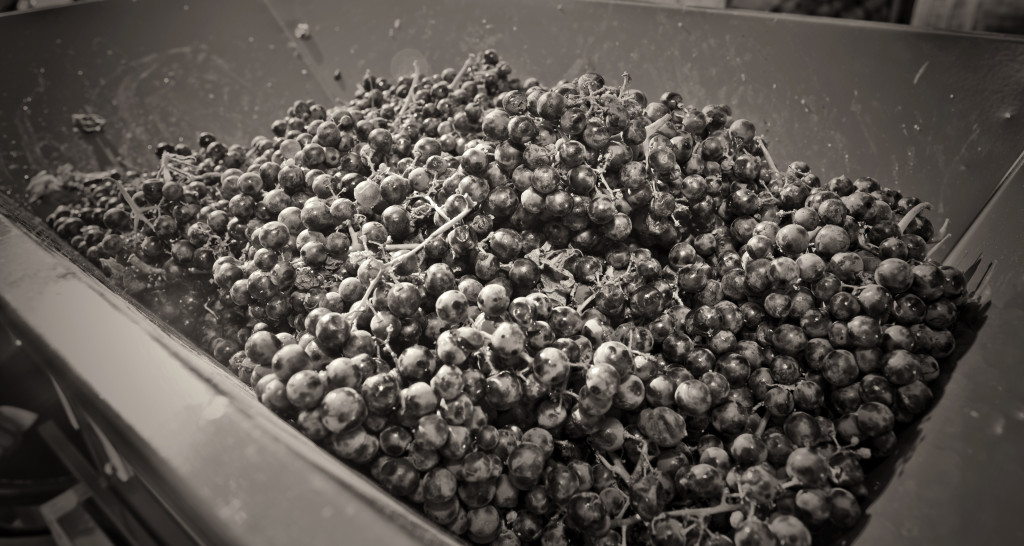
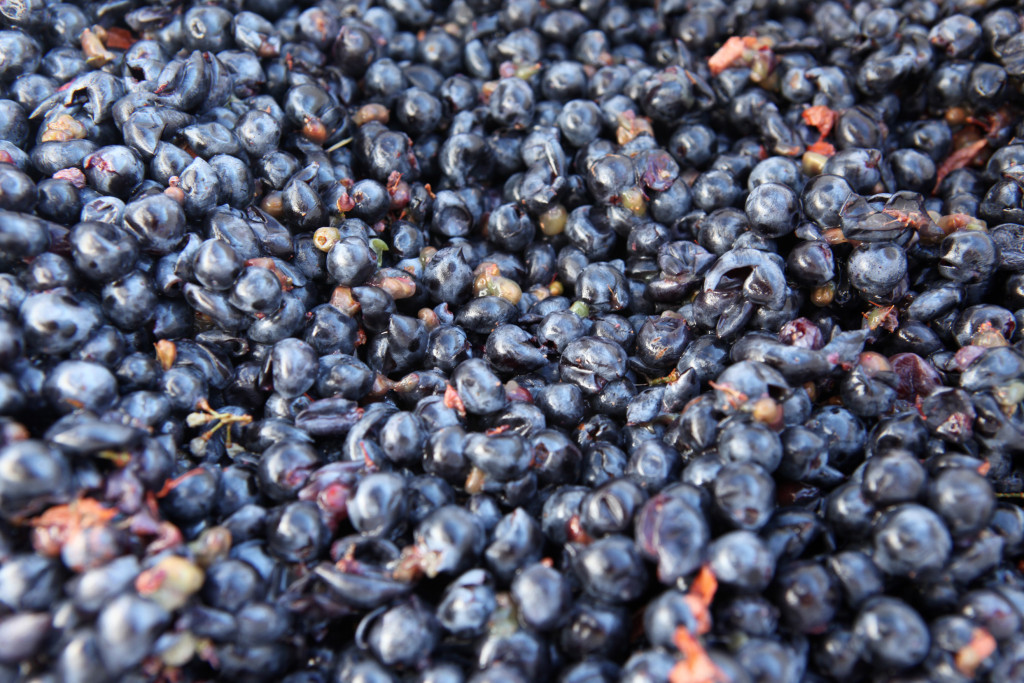
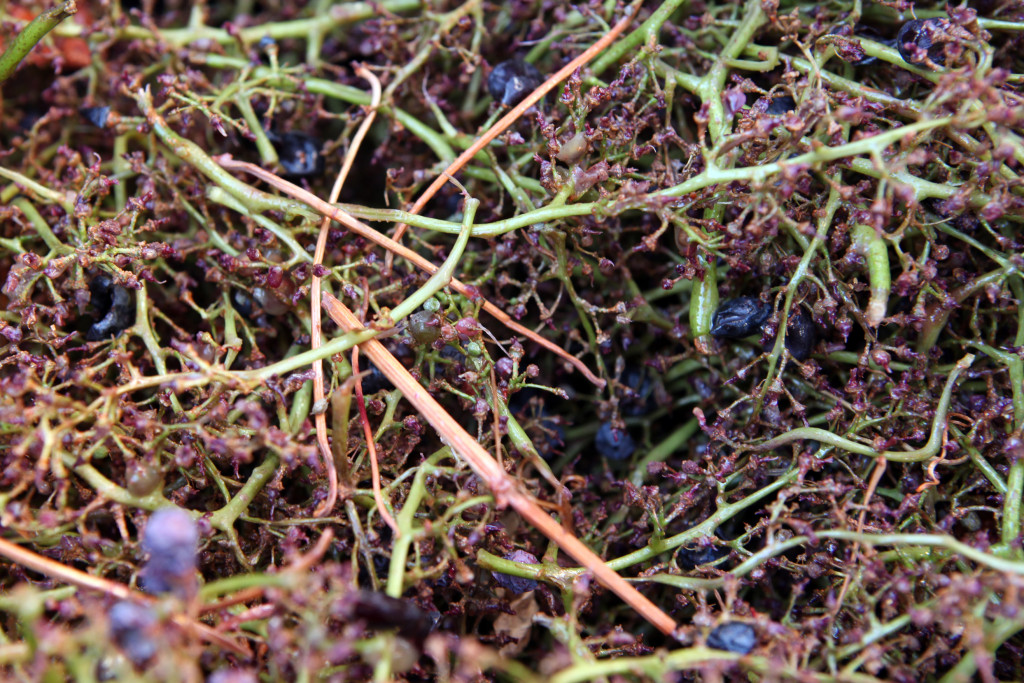
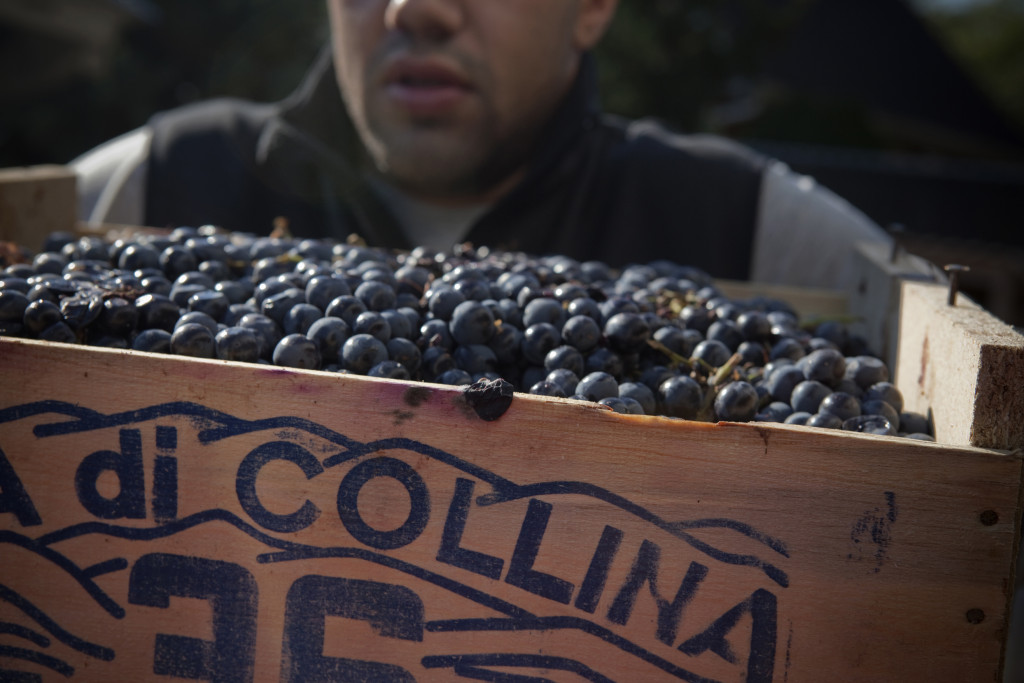
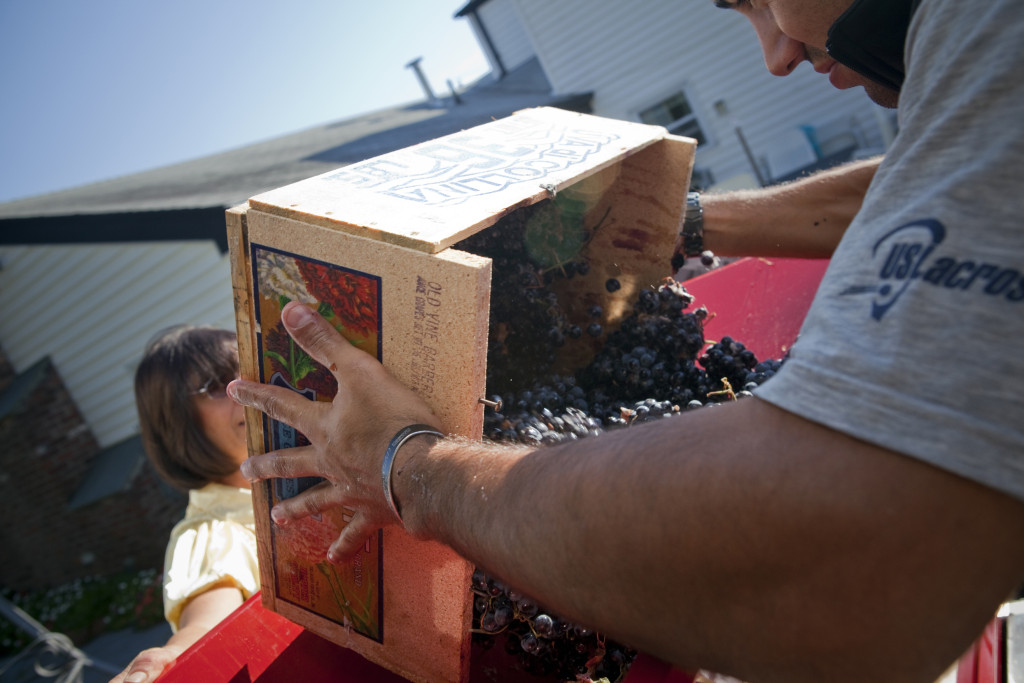
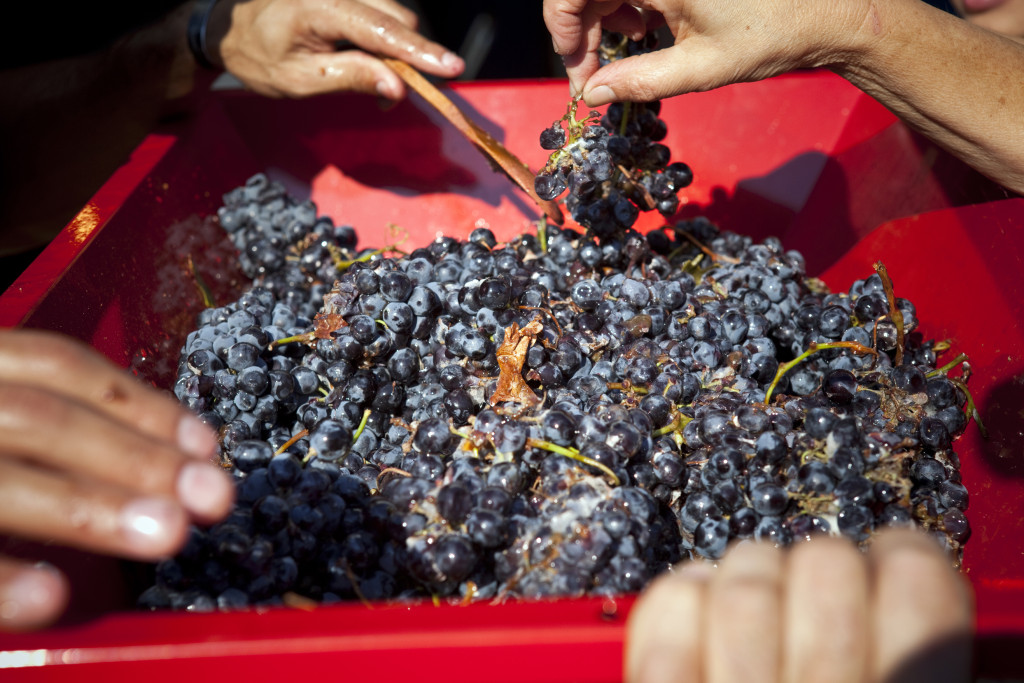
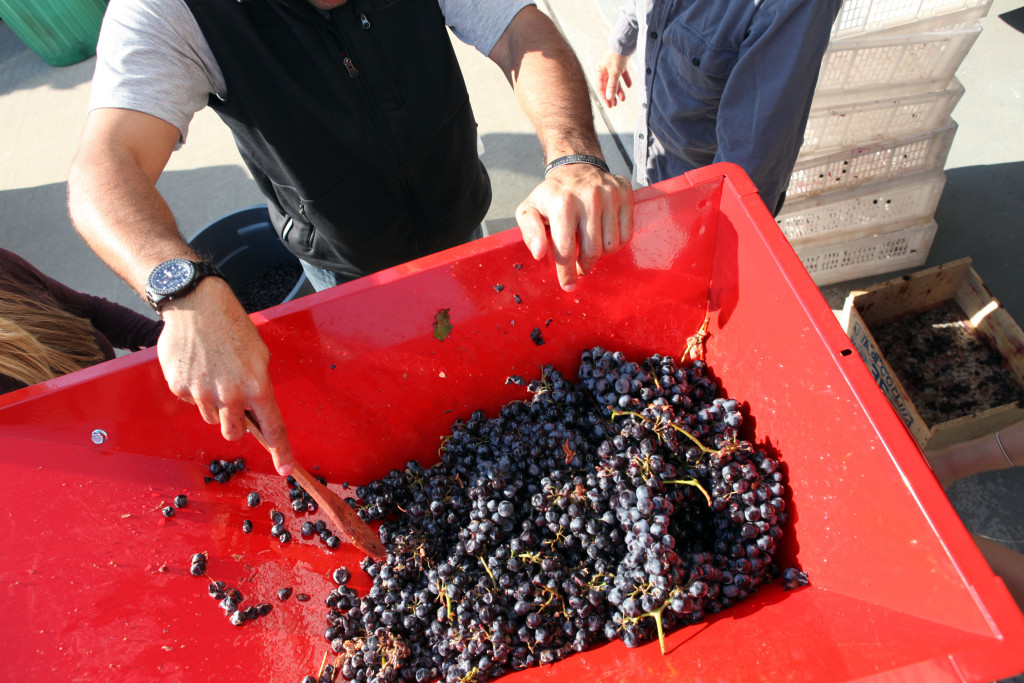
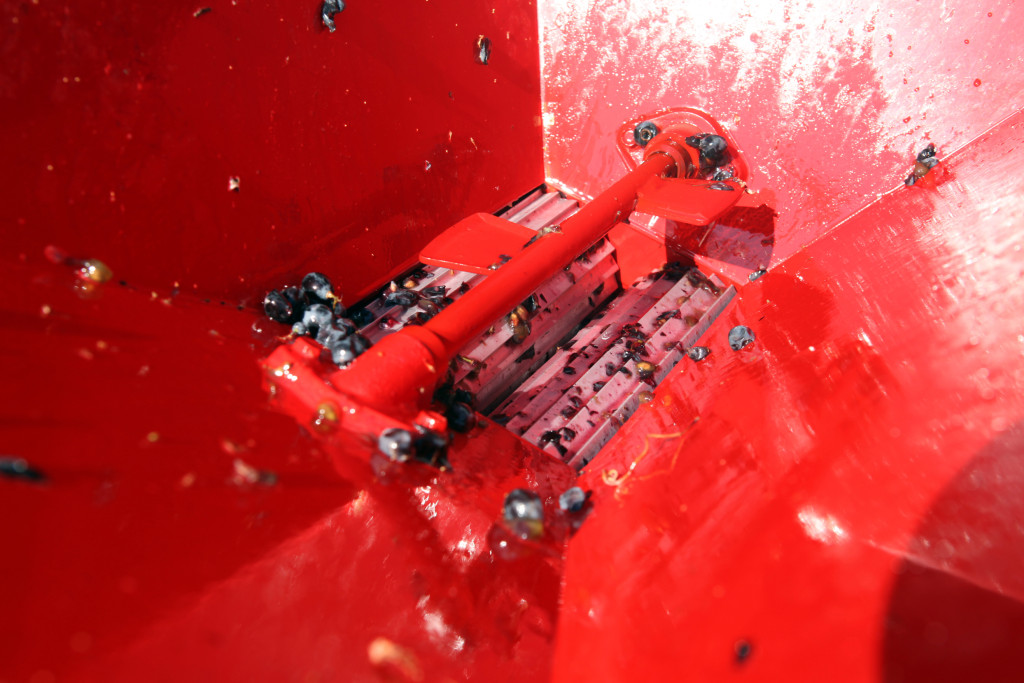
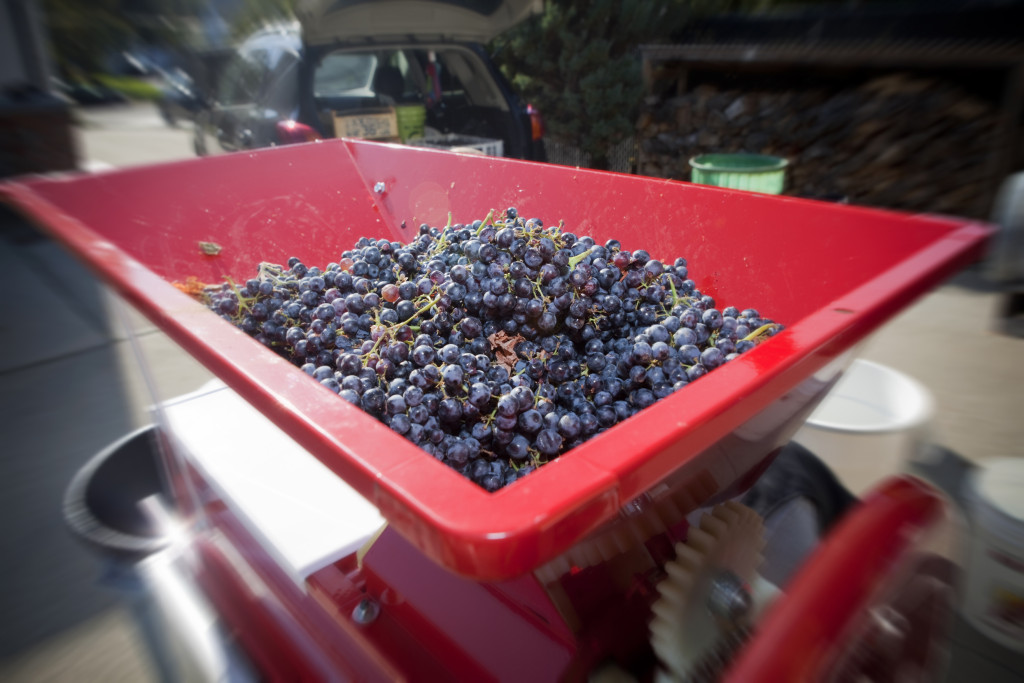
After my grandfather passed, I convinced my dad that we should carry on the tradition. What started out as a simple kit wine merlot turned into buying grapes from a local vineyard and using our own crusher/destemmer to process our own wine.

grapes 004

grapes 011

grapes 015

grapes 018

grapes 021 edits

grapes 022

grapes 023

grapes 026

grapes 034

grapes 052 edits

grapes 060

grapes 074

grapes 079

grapes 081

grapes 082

grapes 090

grapes 096

grapes 098

grapes 100

My dad even converted half of his basement into a temperature controlled wine cellar. The only thing we don’t do is grow the grapes, but I’m still trying to convince my dad to plant some on the hill in his yard.

I made my first batch of bathtub wine in a NYC apartment back in 2003 or 2004 with frozen grape juice concentrate and bread yeast in an empty one-gallon milk container, using a balloon and a rubber band as my air lock. It was a fucking awful, headache-inducing monstrosity.

My dad, meanwhile, had picked up some good equipment. Carboys, primary fermenter buckets, bungs, air locks, siphon tubes, thermometers, acidity testing strips, etc. We used merlot juice that we picked up from a local home brew shop, and the end result was excellent. The early success inspired us to move on to actual grapes instead of juices. My dad’s first attempt with grapes was a pinot noir, notoriously fickle to make a good wine. The resulting wine was the best bottle of pinot I had ever tasted. We still talk about it today. It was absolutely amazing.

Another great batch was my and my wife’s wedding wine favors. We made blackberry merlot for our wedding favors. Awesome.

wedding wine

I like wine just as much as the next guy; I’m not a wine snob, and I usually prefer a beer or cocktail with my meals. Making wine is pretty damn simple though, so it is a great skill to have. The wine you end up with, if you know what you’re doing, is better than most of the store bought crap that you can find for under $100, so it’s worth it to get into this hobby if you are into wine.

Making mead is a very similar process, just cleaner and a little easier. If you don’t know, mead is honey-based wine as opposed to grape-based. The great thing about making mead is that you can really get experimental with the flavors. My first attempt at making mead was one of our best booze making endeavors to date. I used honey, blueberries, rose petals, cinnamon and cloves. It was a really nice spice wine type of drink. Strong and sweet, great for the holidays.

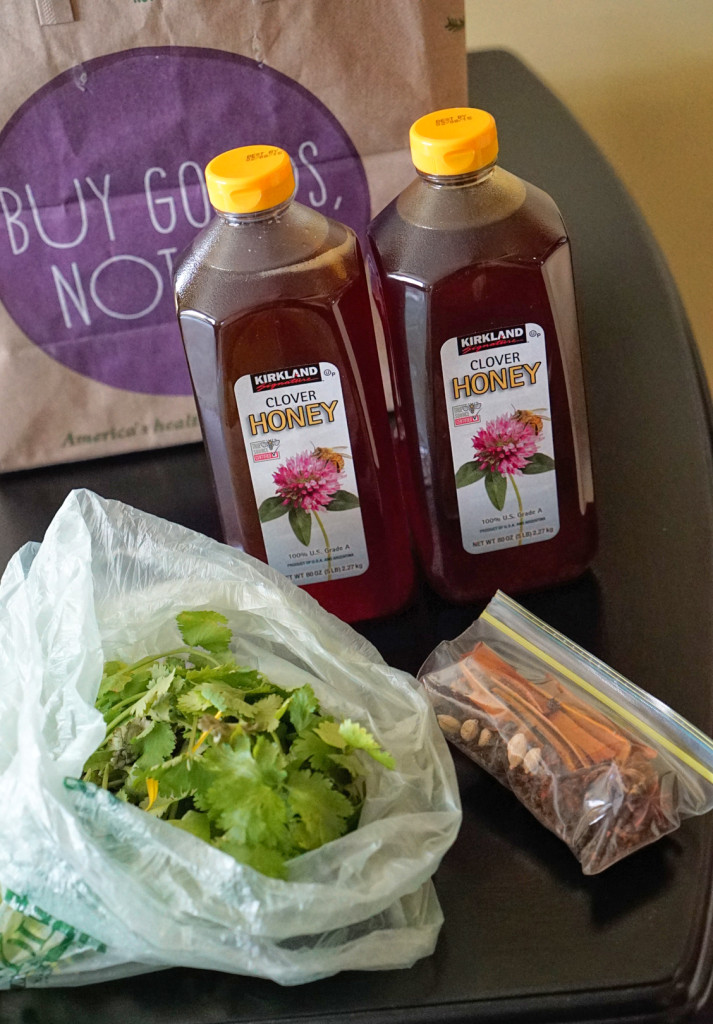
I’m writing this post because I’ve just started another batch of mead, only this time I stuck to just honey and spices. Ten pounds of honey, a bag of spices like star anise, cinnamon, cardamom, clove, black peppercorns and cilantro.

DSC03143

Here’s how you make mead:

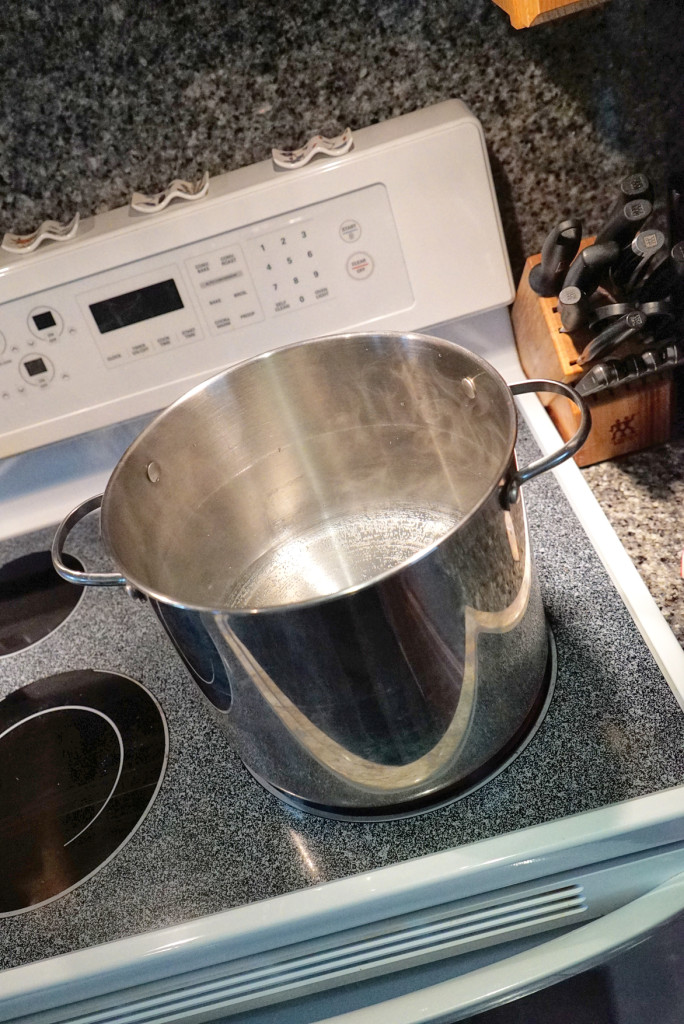
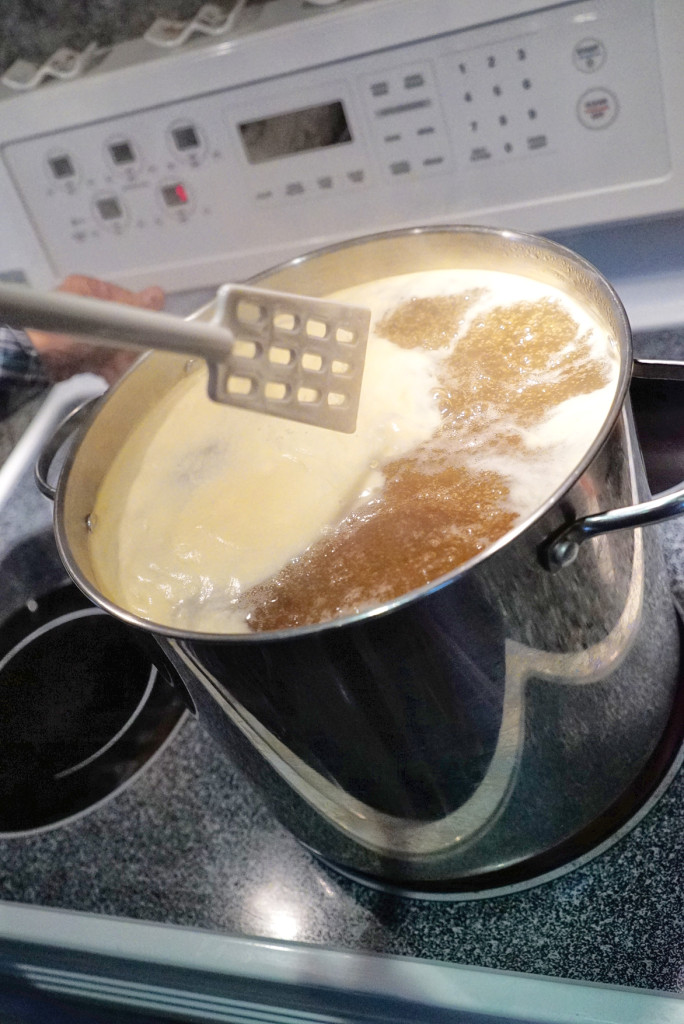
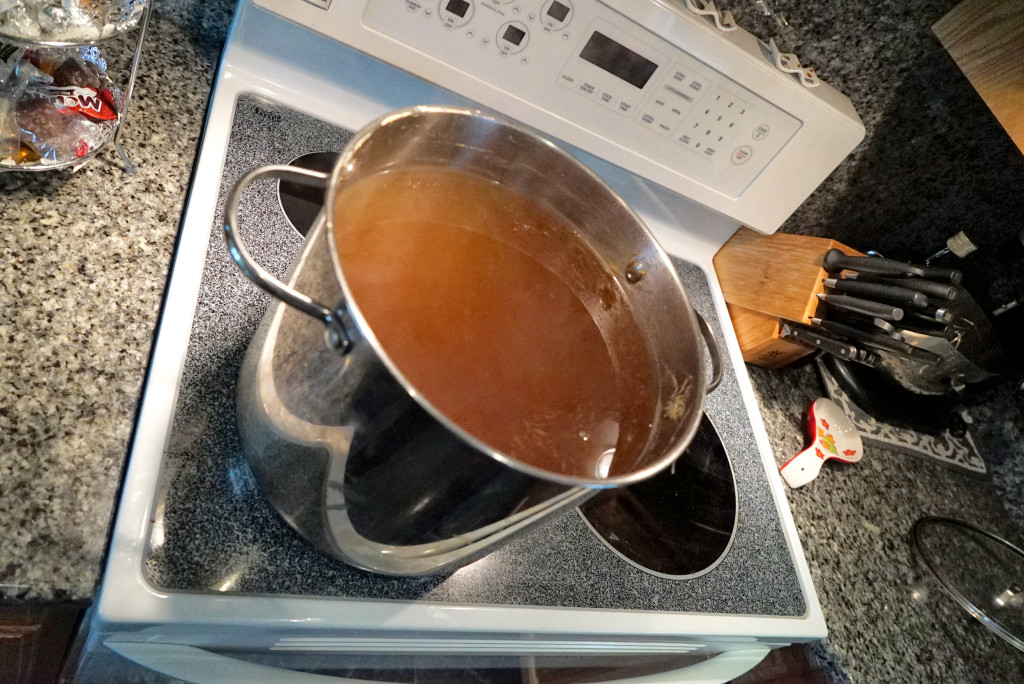
First, you boil some water. Then you add the honey into the desired amount of water, skimming off any white scum that forms at the top of the liquid as you go. Since I was going for strong and sweet, I dissolved the honey into three gallons of water (total amount, after honey was added), but you could probably use a ratio of two or two and a half pounds per gallon if you want. Boil for about 30 minutes and then let the liquid cool down so it is no longer boiling/bubbling.

DSC03148

DSC03149

DSC03150

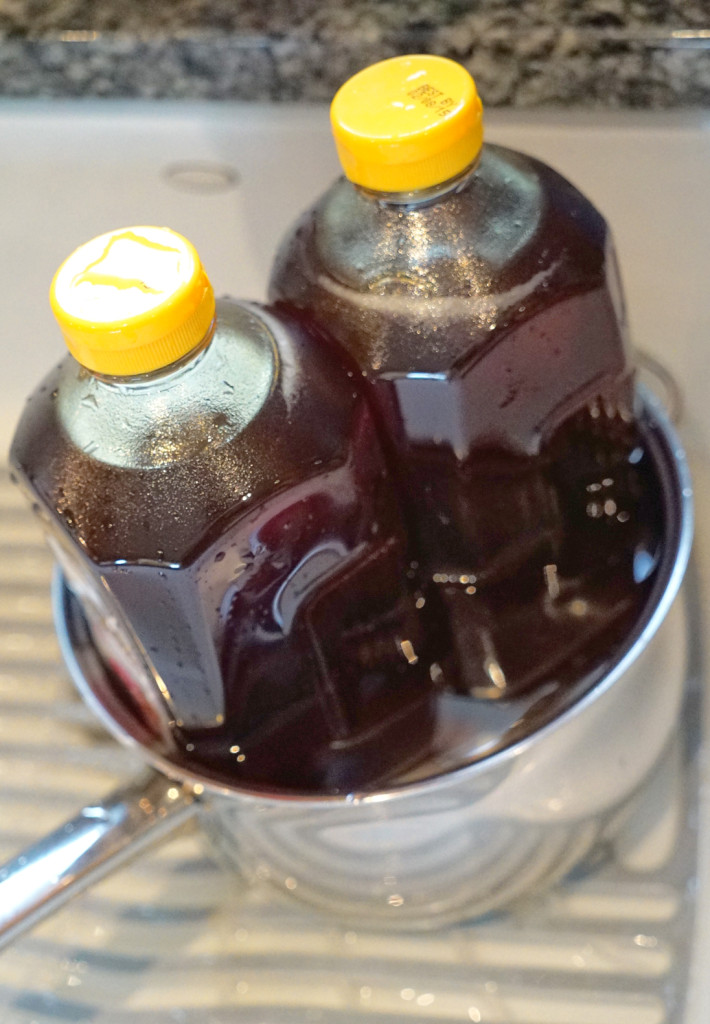
TIP: You may want to put your honey bottles into some hot water so the honey is easier to pour out, and you don’t have to burn your arms while waiting to pour all that honey out over a boiling pot of water and steam.

DSC03147_2

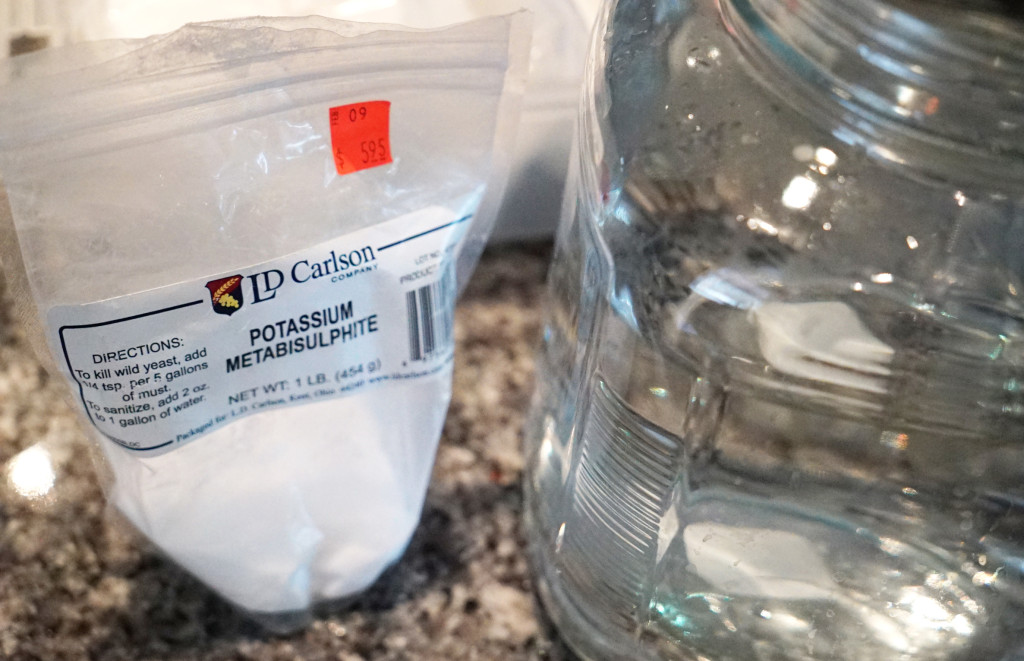
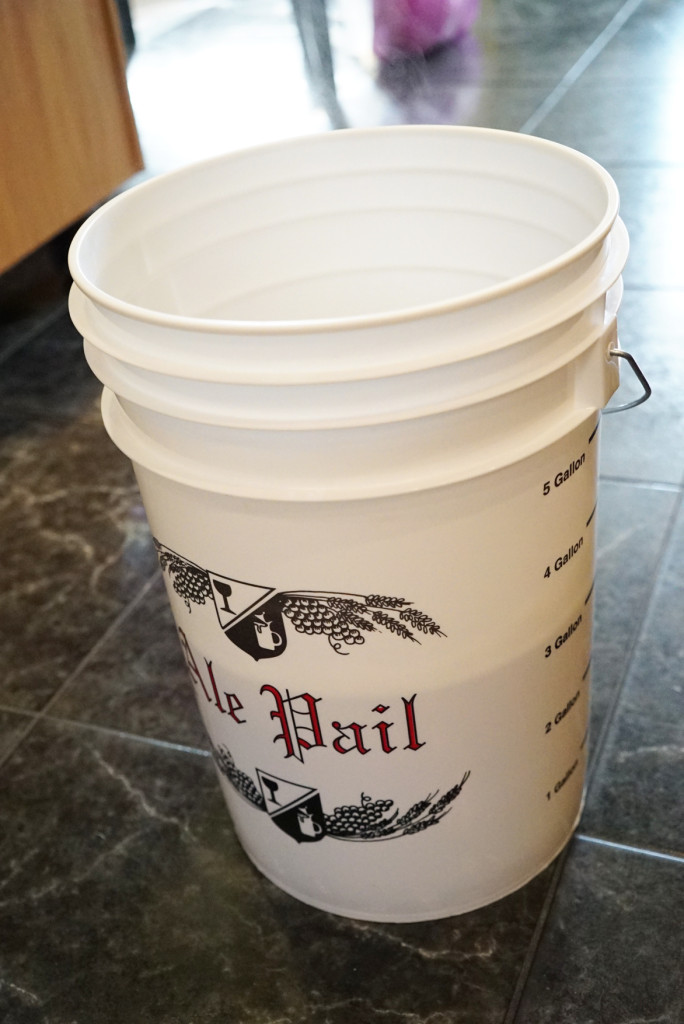
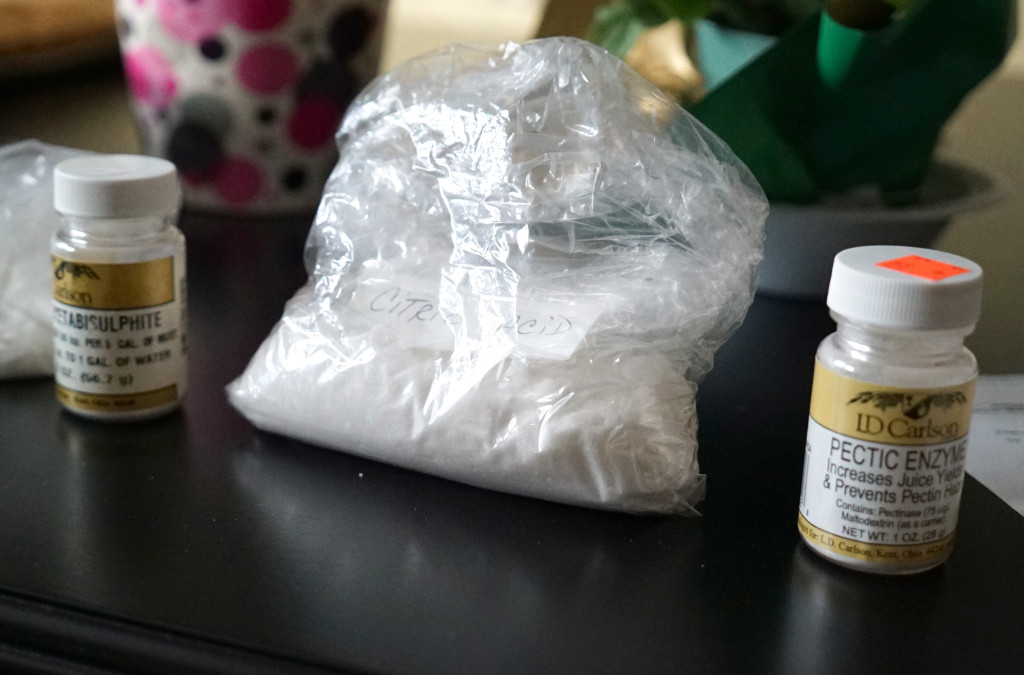
Sterilize your primary fermenting bucket as per the instructions on your packet of potassium metabisulfite. Don’t be frightened by this step. It’s really just a matter of mixing the power into the water at the right proportion, and then sloshing the water around in your equipment for a little bit. Then dump out and dry it off.

DSC03146

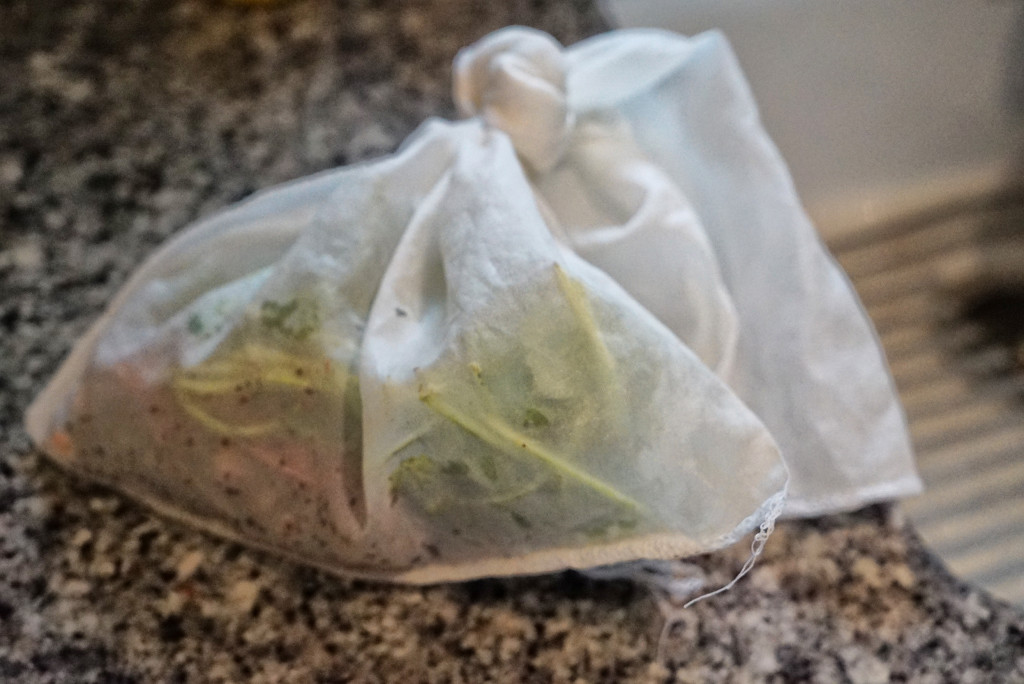
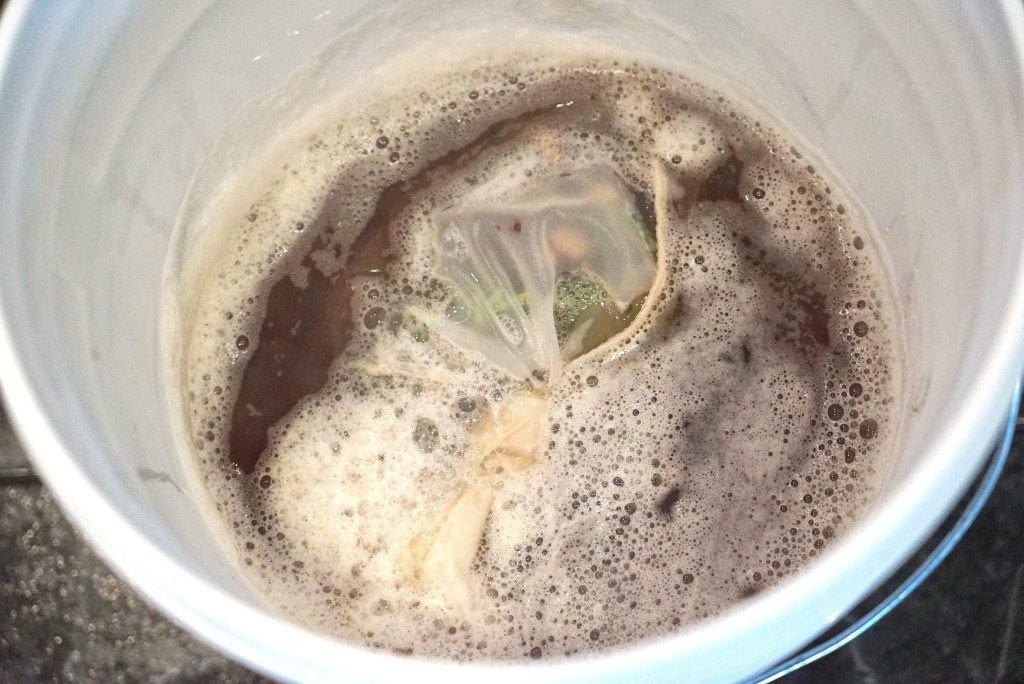
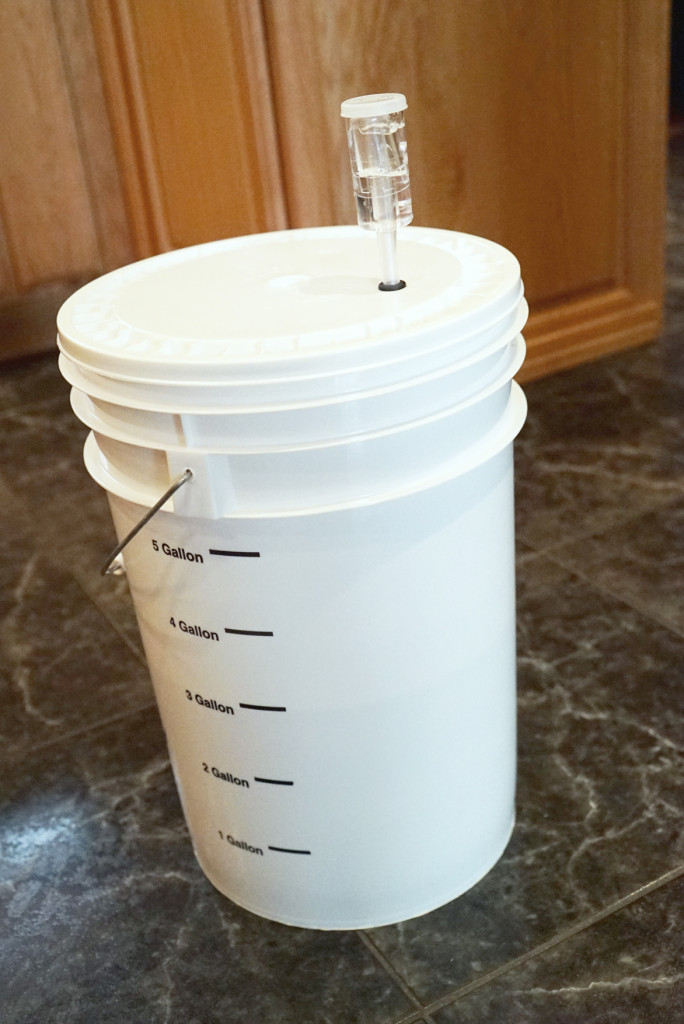
Pour the hot honey water over your bag of spices, which you should secure in a straining bag, and into a primary fermenting container (usually a bucket that you can later secure with an air lock).

DSC03145

DSC03153

Activate some yeast in a separate cup while you wait for your honey boil to drop down to about 120 degrees or less.

DSC03152

At this point you can add your citric acid (3/4 tsp), pectic enzyme (1.5 tsp), yeast nutrient (3 tsp) and any other things you might find that are helpful for the process.

DSC03144

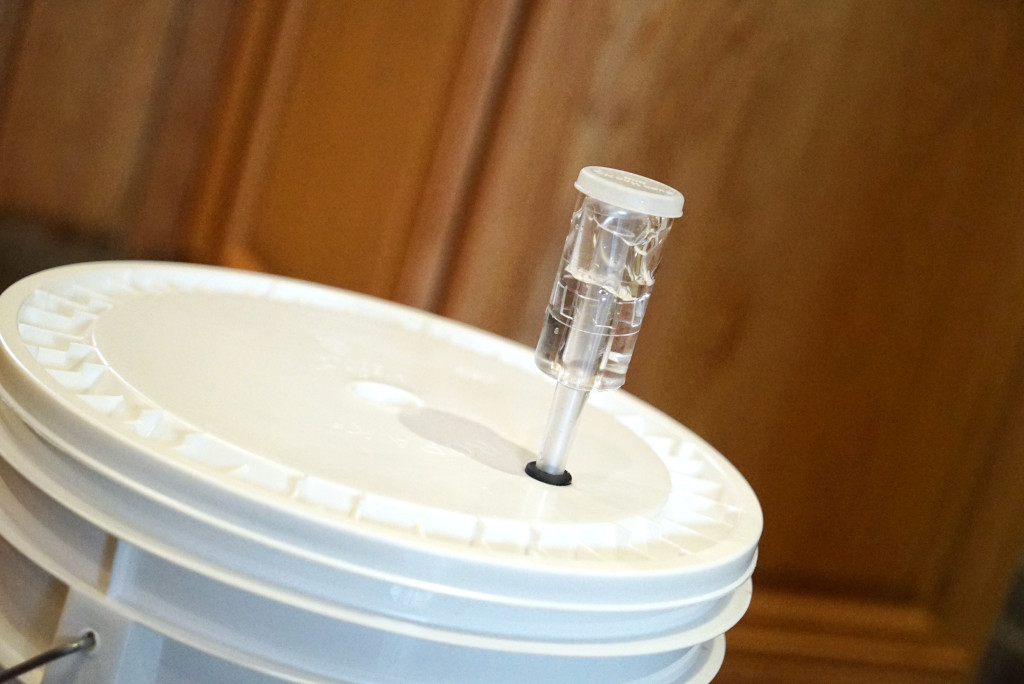
Once it cools down, add your yeast and give the mixture a swirl before closing the bucket and affixing an air lock on the top.

DSC03154

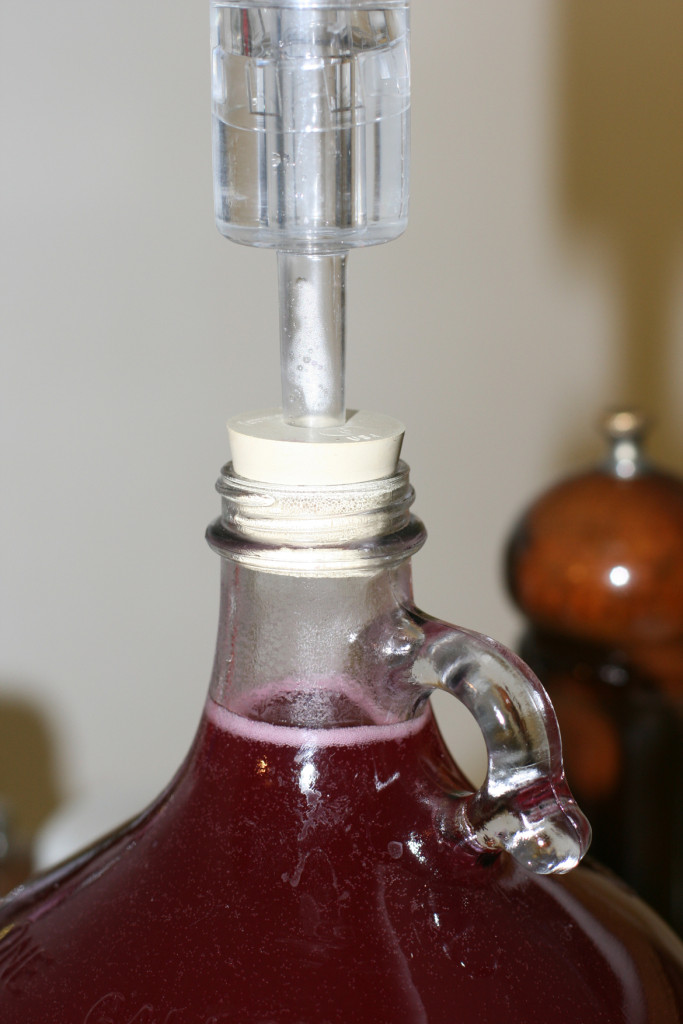
What is an airlock? It’s a gas trap. It allows gas byproduct to escape the container without allowing air to get back in. Think of the toilet or sink J-trap. It essentially prevents the alcohol from turning into vinegar. When gas escapes, the air lock will bubble up, as seen below:

DSC03157

At the peak of fermentation (yeast eating sugars and releasing lees (sediment), alcohol and gas as waste byproducts), this airlock will be rumbling pretty regularly. At first it may take a few days to get started.

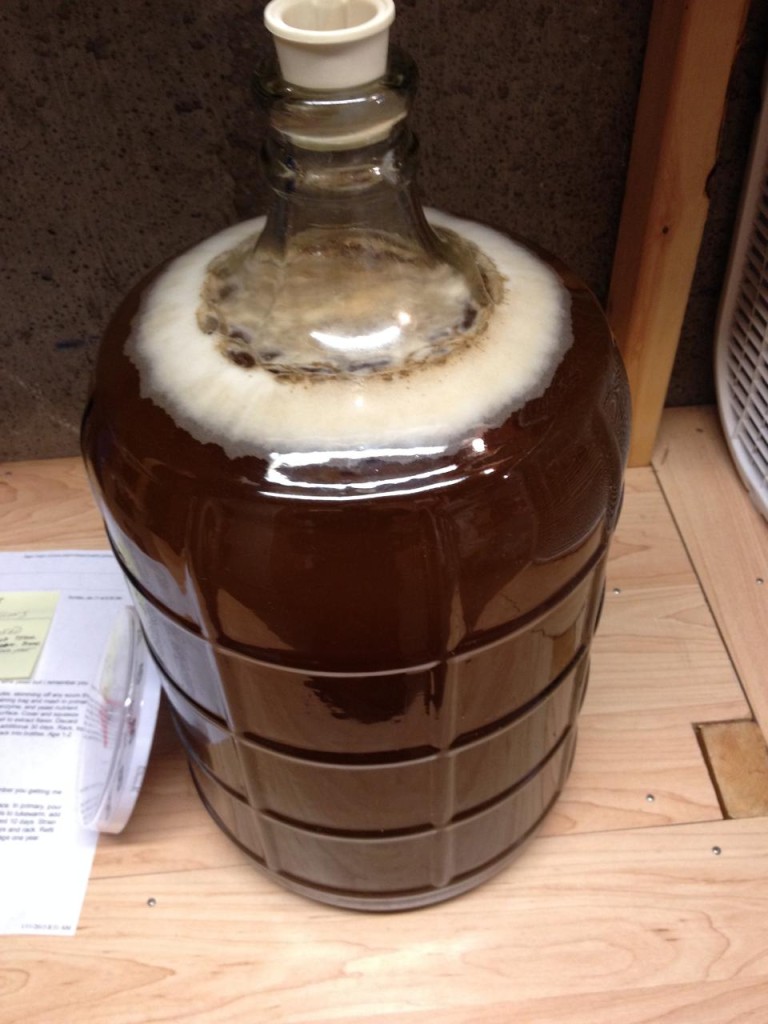
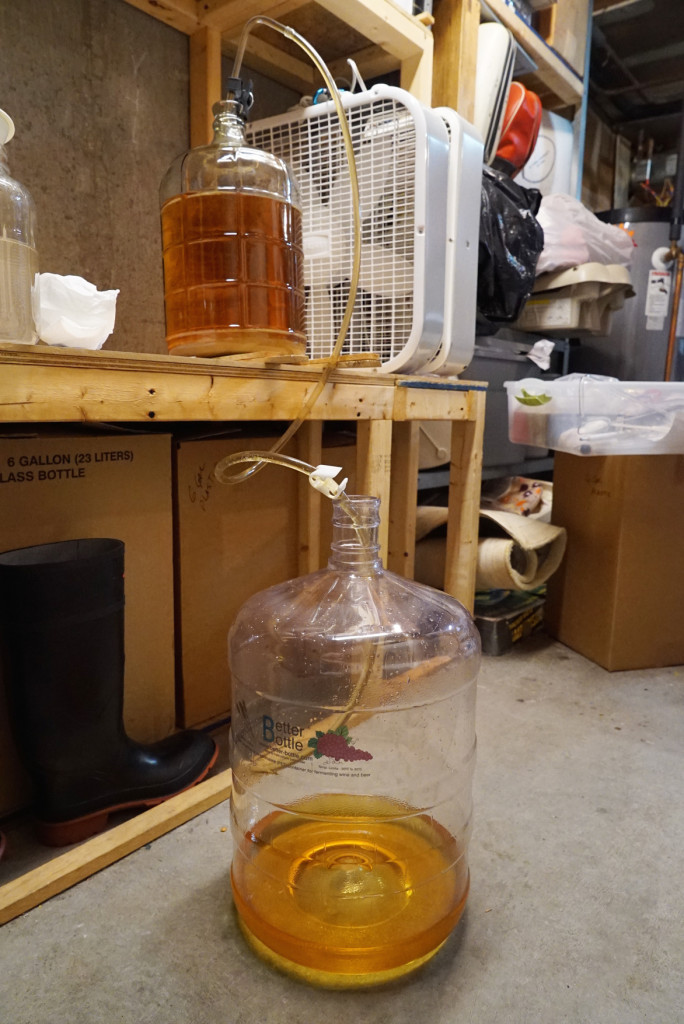
Next step is to pretty much wait. Just leave it alone, keeping the bucket in an undisturbed place that is room temperature or slightly more (maybe 70-75 degrees). When the air bubbles pretty much stop, you are ready to siphon the mead off the dregs and into a secondary fermenting container, or carboy. Place a siphon tube down toward the bottom of the bucket without entering the sediment. Raise the bucket high up onto a table, and line up your carboy or secondary fermenter nearby on the floor. Siphon the liquid from bucket to carboy, and then discard the sediment at the bottom of the bucket. Attach an air lock to the carboy and let it stay that way for a month or two.

picture 027

If there is more build up of sediment at that time, rack it off again (siphon it off) and into another carboy.

IMG_0026

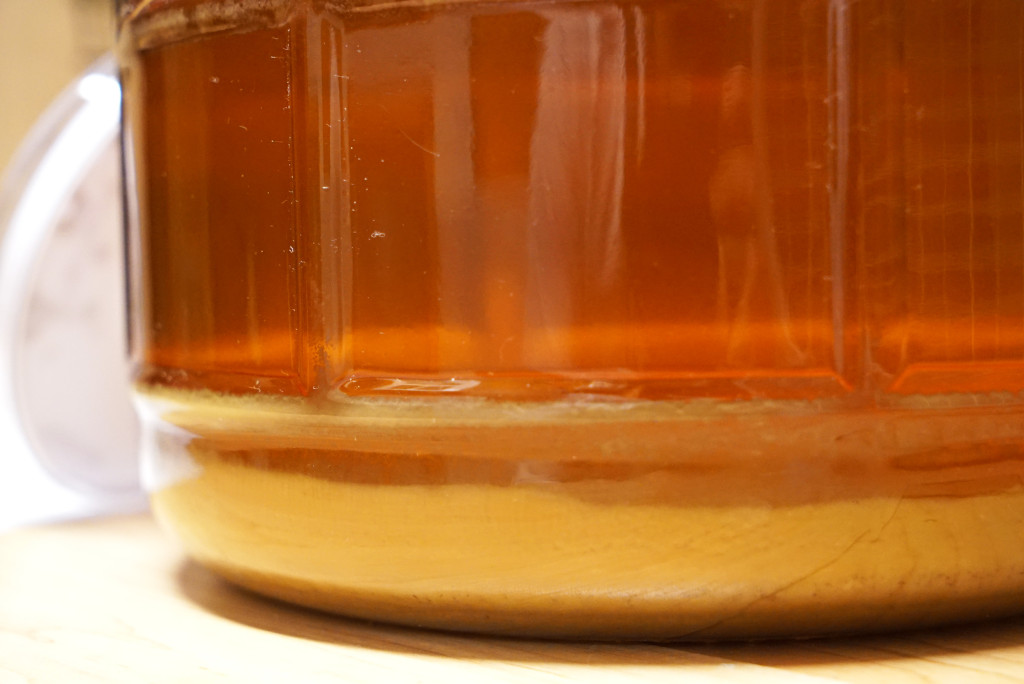
Repeat until the mead no longer drops off any sediment. In the picture below, you’ll see a good three to four inches of sediment at the bottom of the one-gallon carboy. This was my first batch of blueberry rose mead.

wine sediment

Once you are confident that the fermentation has stopped, you’ve racked your wine/mead off the sediment a few times, and no more sediment is falling out of the liquid, then it is time for bottling and/or, soon enough, drinking!

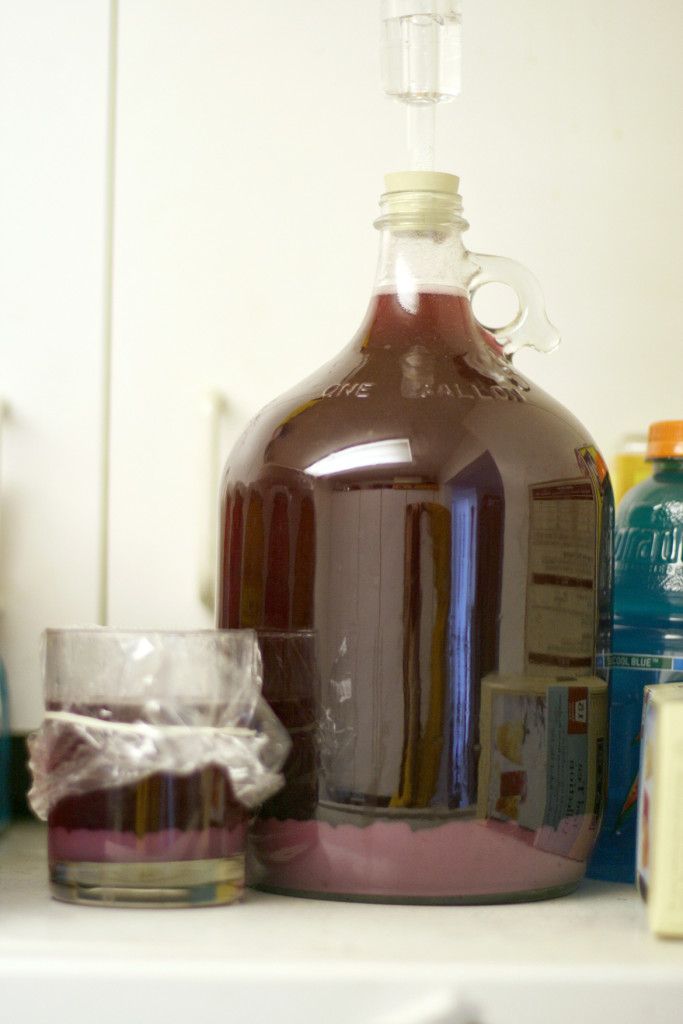
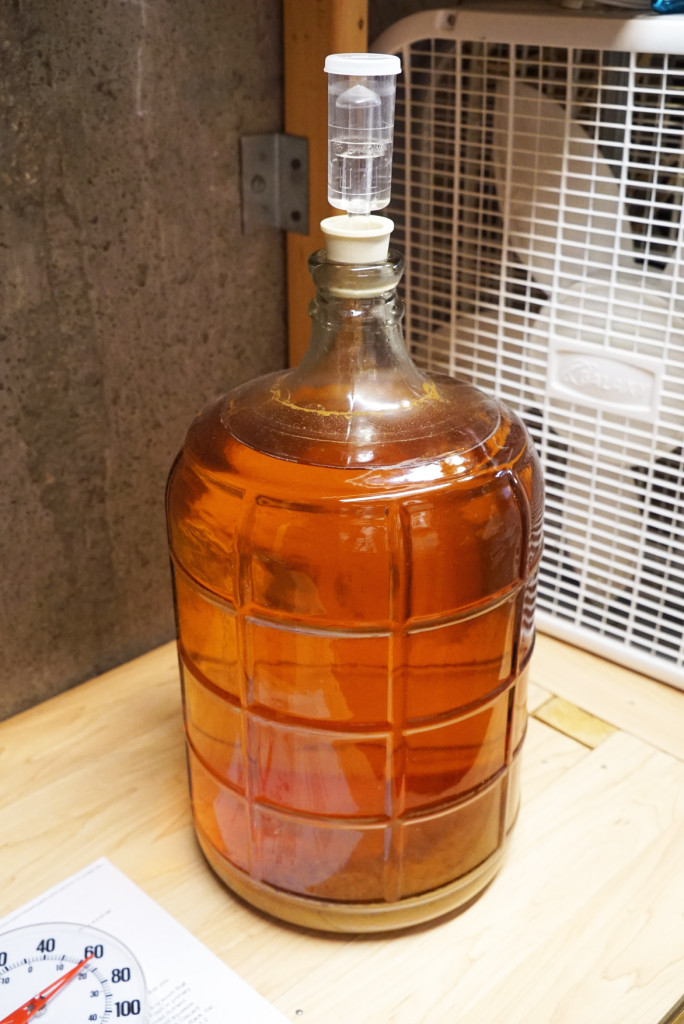
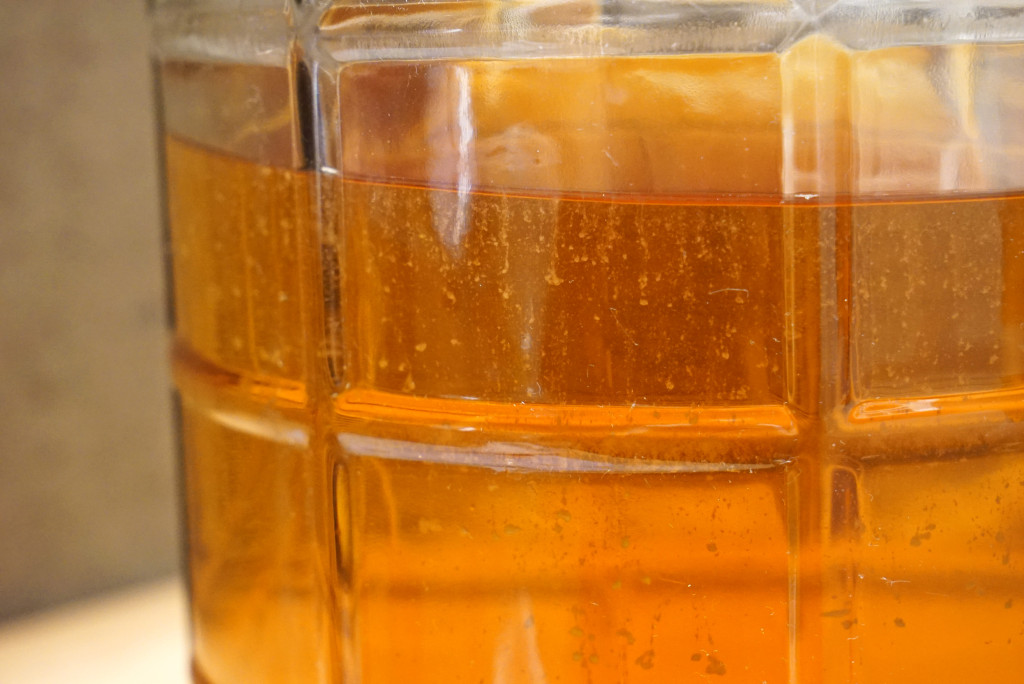
UPDATED PHOTOS – the brown, murky liquid in one of the above pictures (slightly blurry) has now fermented into this golden-amber beauty:

DSC04127_2

The liquid was once sticky to the touch, due to the sugar content. All that sugar has now turned into alcohol. The mead is strong, sweet, and comforting.

My father and I racked it off the sediment almost two months to the day after we initially began the project:

DSC04128

DSC04132_2

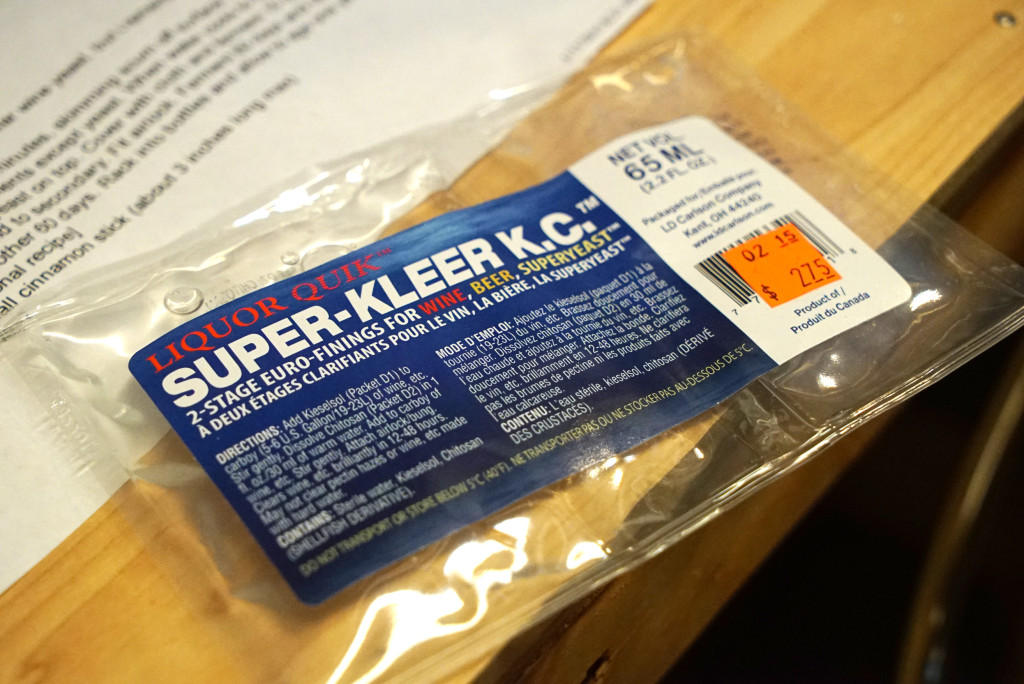
Then we added a clarifying agent to pull out some of the remaining suspended sediment:

DSC04134

DSC04133

It is now crystal clear. One more racking and then another period of waiting until we can bottle it up.

Bring Home the Bone

As you know, I eat a lot of steak and consume large quantities of meat. If Conehead is to Johnny Prime, then beer and chicken embryos is to rib eyes and porterhouses.

As you might imagine, my steaks and meats are often still connected to some kind of bone when they come to the table.

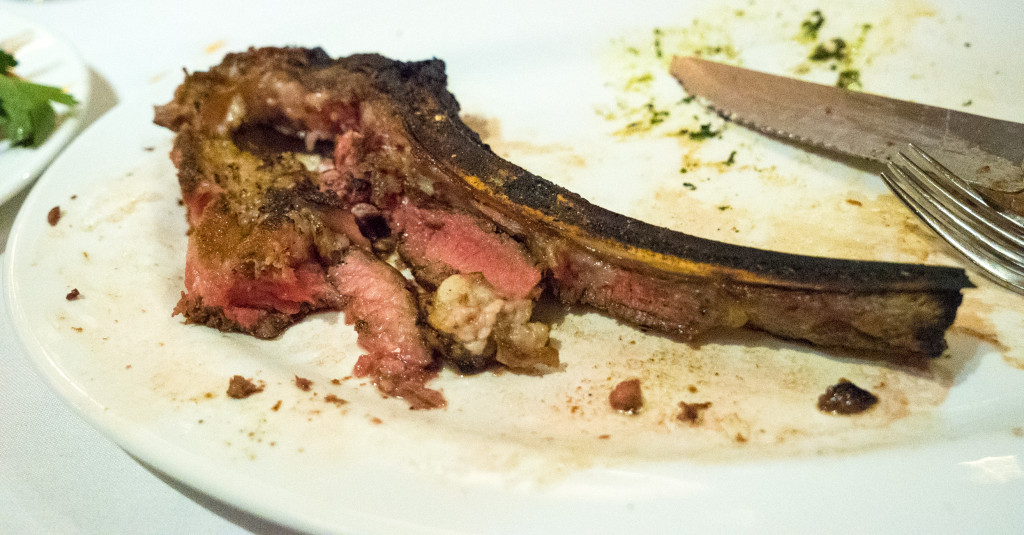
DSC03123

“Bring Home the Bone” is a project of mine that’s meant to keep that meaty, beefy, steakhouse goodness going all week long, after the meal has concluded. I’ve even seen this starting to become a trend in the food world, with a few articles discussing the idea.

Chow article.

NY Times article.

Some places just serve broths now. There’s even a video about it too:

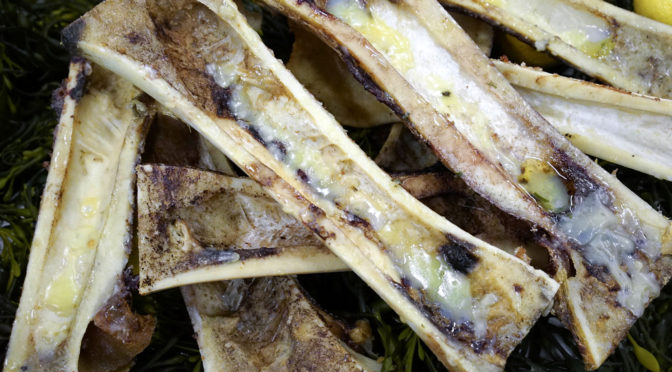
What exactly happens in my BHTB initiative? This isn’t fucking rocket science, people. I take home the scraps and bones in a doggy bag. If we get a bone marrow app, the bones get packed. If I eat a bone-in rib eye, or a porterhouse for two, I’m taking those fucking bones home.

bring home the bone

It’s a great way to conserve and save too. Shit is expensive these days, even the offal, less common/cheap-o cuts and bone bits are pricey at the grocery store – especially marrow. People are waking up to how good these things can be if put to the right use. The market is responding to the demand and costs are rising. And there’s simple inflation as well.

So what am I making with the bones and scraps?

BROTH/STOCK

According to the great Alton Brown, a broth is a liquid that has had meat cooking in it, and a stock has to be made from bones. In most cases, I’m making a broth or stock, but in the case of BHTB it is stock. Boil the bones and scraps with some other herbs and spices, add a little salt, and after a while you can strain it off into a container to use later as a soup base. Some flavors I like to play around with are what I like to call “faux-pho,” which is star anise, cloves, cinnamon and sometimes cardamom. Add noodles and some of your own thinly sliced eye round and you’re set for a delicious meal.

Vietnam 02 192

If not, even a hot cup of clarified broth is sometimes enough to do the trick, especially in winter. Hot beef liquid is better than coffee, tea or hot chocolate in my opinion. More nutritious too.

SAUCES/GELATINS/FATS

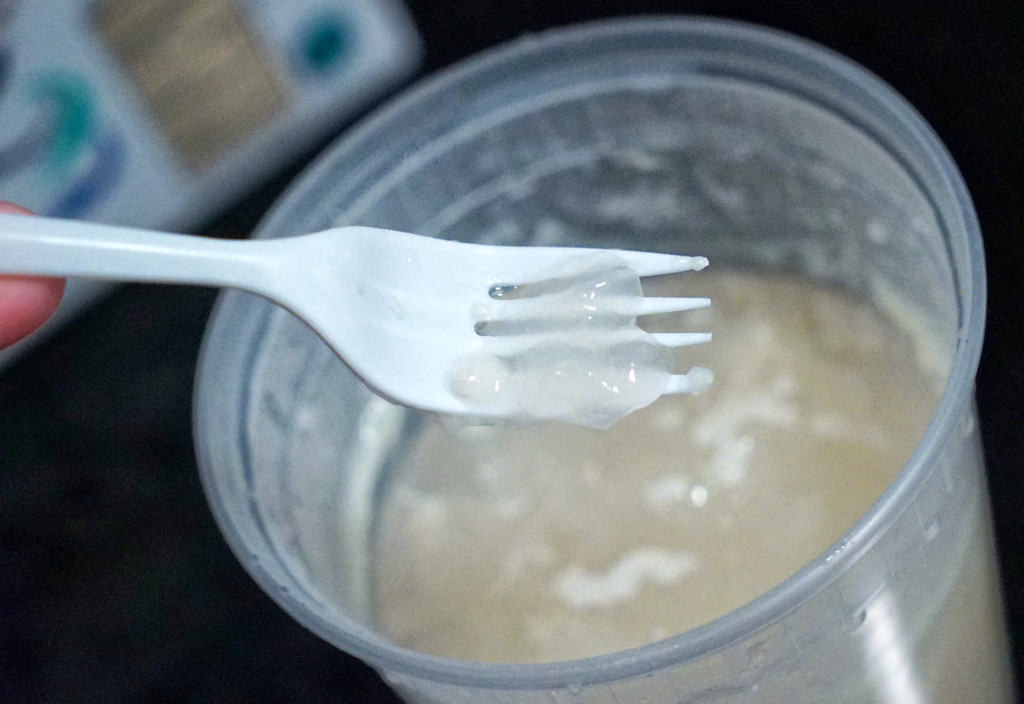
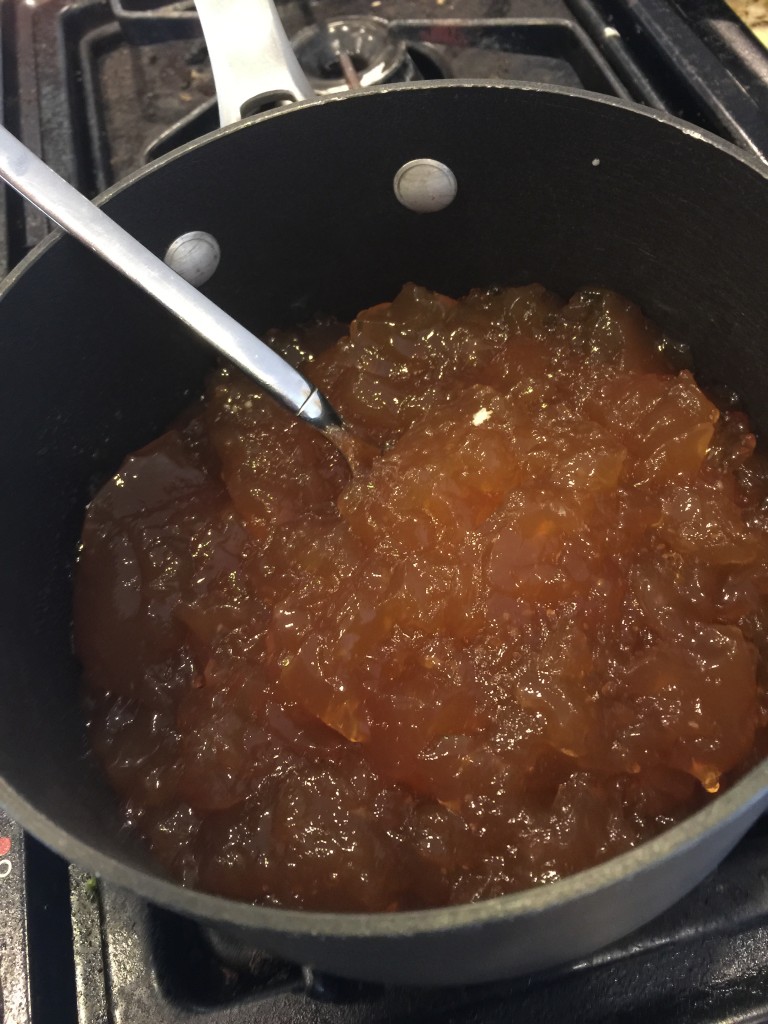
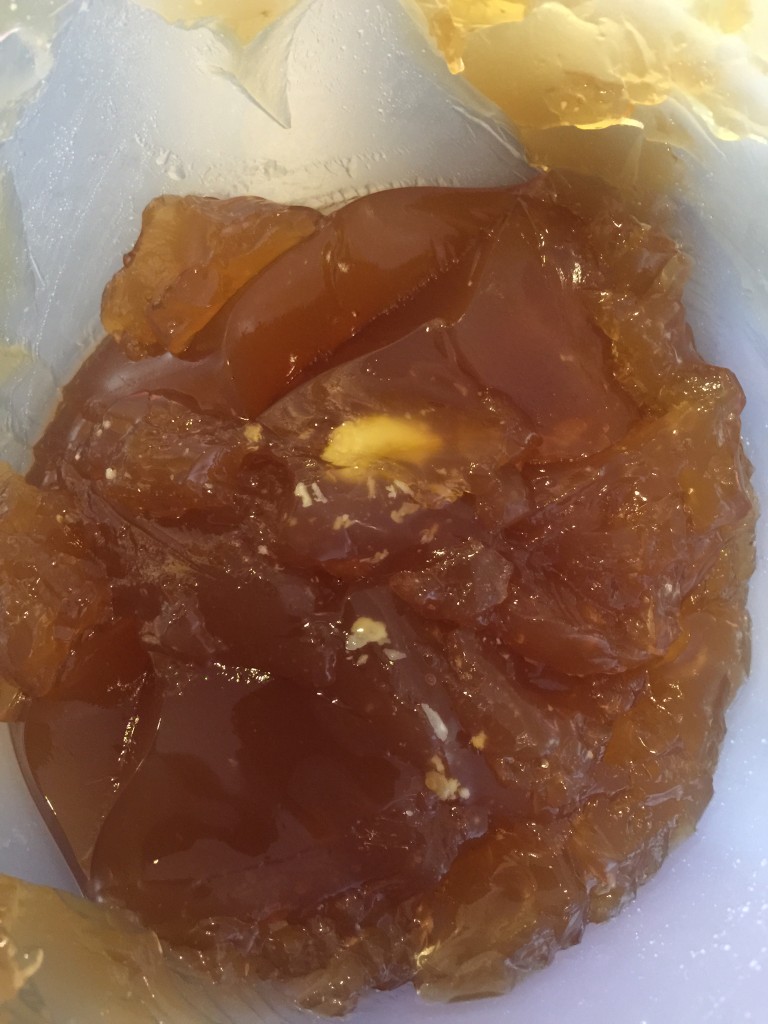
In other situations, I’ll make a sauce or concentrated beef gelatin of some kind. Essentially this means I just keep reducing the above broth until it becomes less liquid. I don’t do anything to thicken, solidify or gel up the base other than to keep boiling. The fat, marrow, gristle and cartilage break down into collagen and blend into the water and these substances will naturally thicken on their own. Most times, when I do this, I pop the stuff into the fridge and the liquid gels up into a substance that is more like jello than liquid. I can then scoop or spoon that out to use as a flavoring or cooking agent while cooking something in a pan, or to coat some pasta after boiling, during the saucing phase.

DSC03172

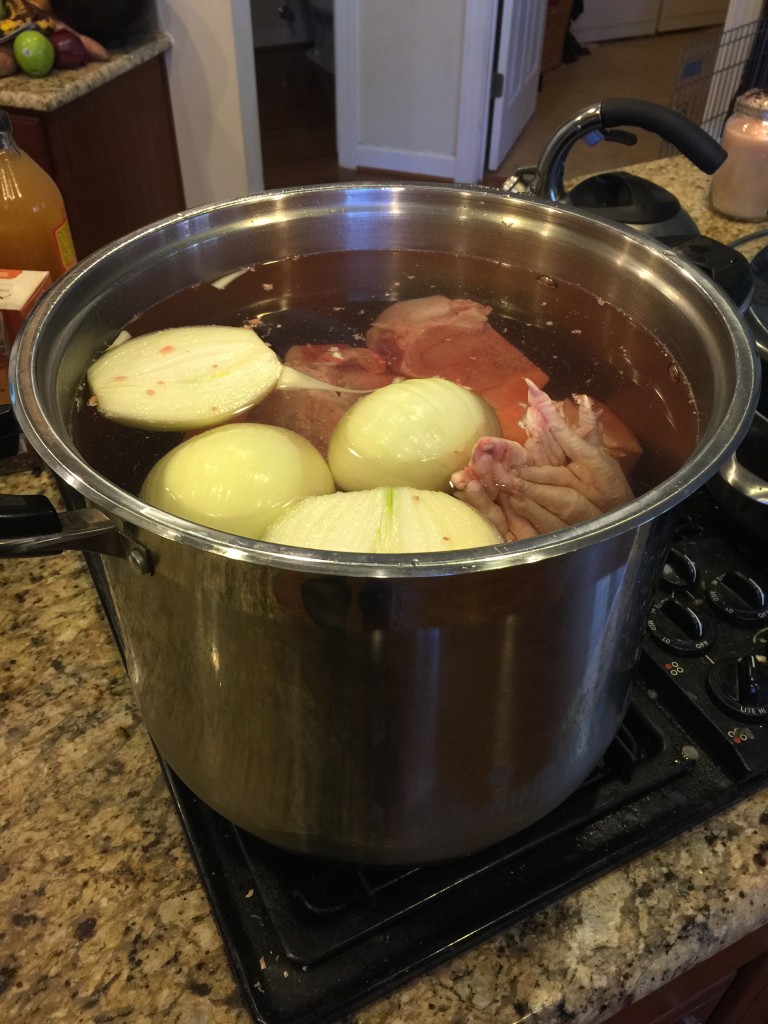
Here’s a shot of a friend’s process. His bones cooked for a few days. Look at the delicious jelly-like stuff:

IMG_0217

IMG_0222

IMG_0223

Here’s his recipe:

  • ~15 pounds of Frozen grass-fed beef marrow bones
  • ~8 frozen chicken feet (from local farm, pasture raised chickens)
  • Fresh thyme (whole package from grocery store)
  • ~10 Fresh Bay Leaves
  • 2 Onions
  • ~ 1/3 cup apple cider vinegar

He filled the 20 quart pot up with water to the top. He put in enough bones to reach the top of the 20 qt pot, then applied water to match the top of the bone level.

On the second day he added in two 8oz beef shanks to add some more meat flavor.  He noticed an improvement to the broth on the second day.  First day was mostly clear, second day turned a golden color.

While cooking he was skimming off the fat, and removed roughly 48 oz of fat from the top of the pot over the course of 2 days.

The fat also rises to the top in the fridge and naturally separates from the beef gel or stock. You can sometimes lift it away with your fingers and put the solidified fat into a separate container. I use this like I would use butter or olive oil. Beef fat is a great way to grease your pan for cooking eggs, cornbread or whatever. Even better if you’re using pork bones in your “Bring Home the Bone” endeavors. The fat is softer.

DSC03170

STEWS/LEGUMES/GRAINS

It’s always good to add a bone of some kind when you’re making barley, stewed beans or lentils, rice or even something like split pea soup. Throwing in a ham hock, or a bone with some bits of meat still clinging to it, is an excellent way to add flavor and depth to all these items.

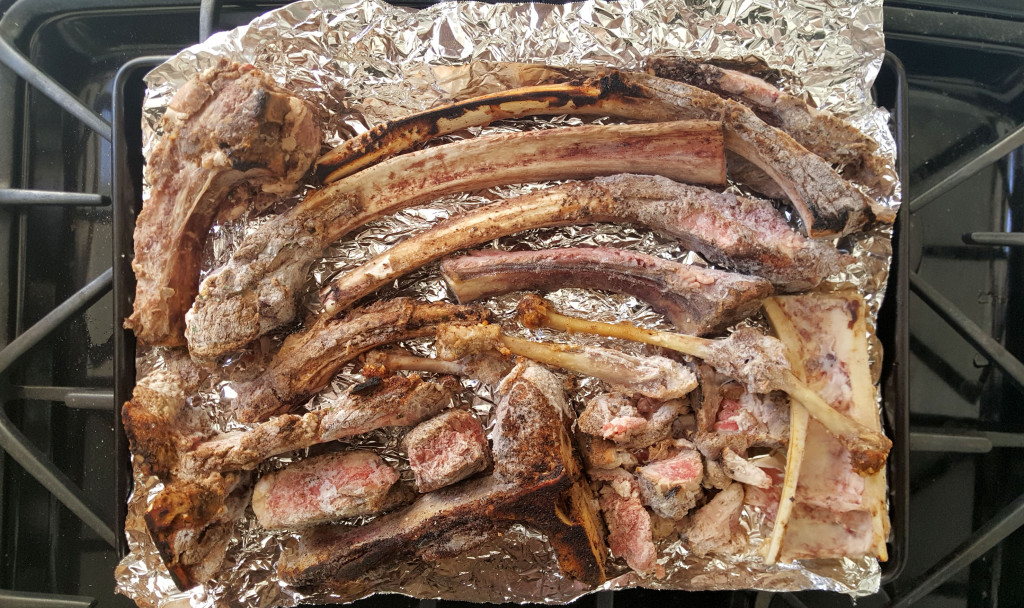
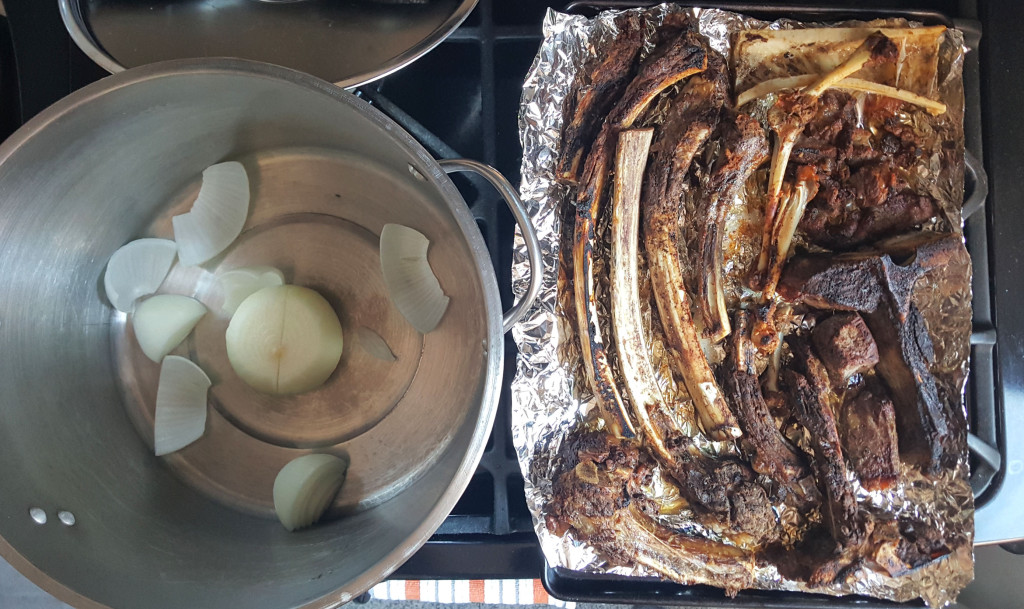
In it’s simplest form, you can just gather all your bones and put them on a baking sheet. Roast them in the oven to punch up the flavors.

20151108_115003

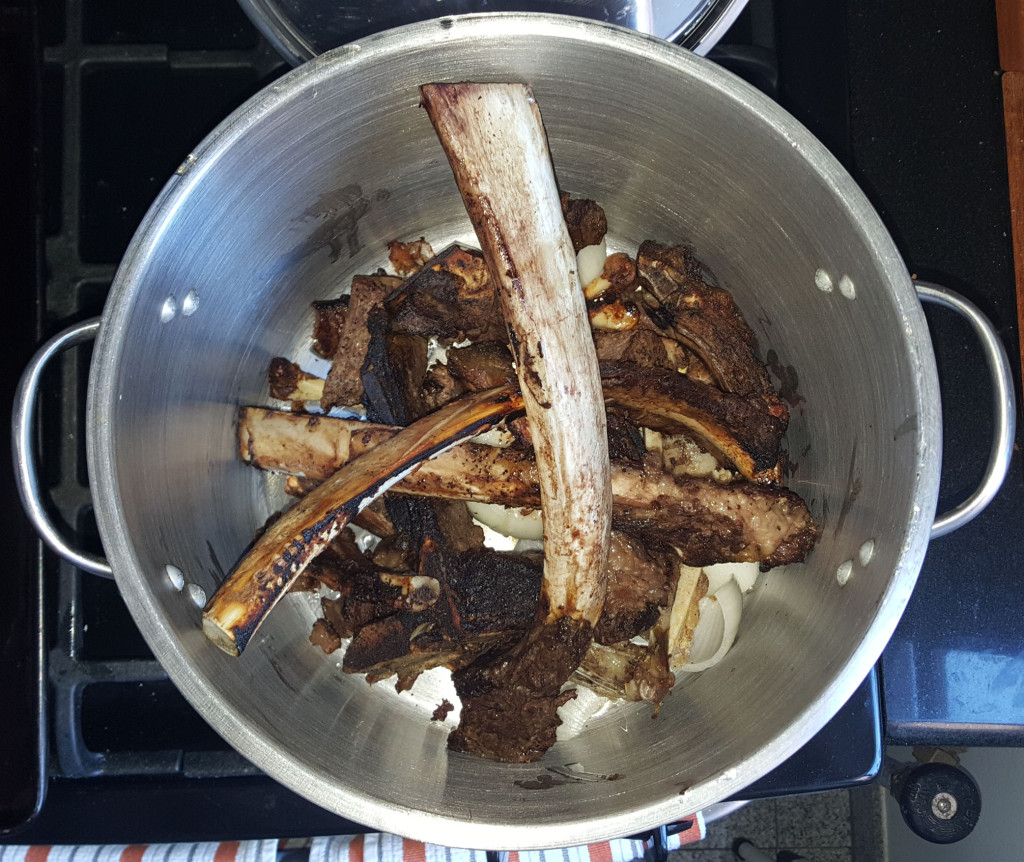
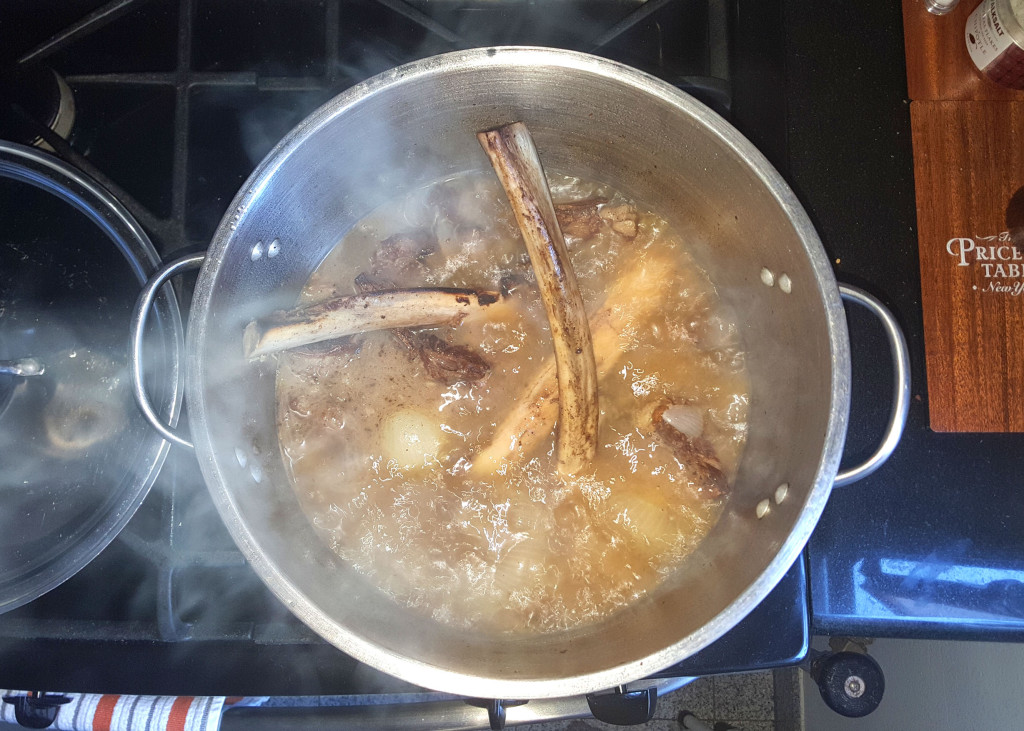
Once your house or apartment smells amazing, take them out and put them into a pot with some onions, garlic, and whatever spices you want. Boil or simmer for several hours, at least until all the excess scrap meat comes off the bones and is falling apart with the touch of a fork or stirring spoon.

20151108_122002

20151108_122619

20151108_134256

Pretty simple, right? Bring home the fucking bone, yo.

Four Course Meal

This is more of a pictorial of a psychotically awesome meal I made for my wife as opposed to an actual recipe.

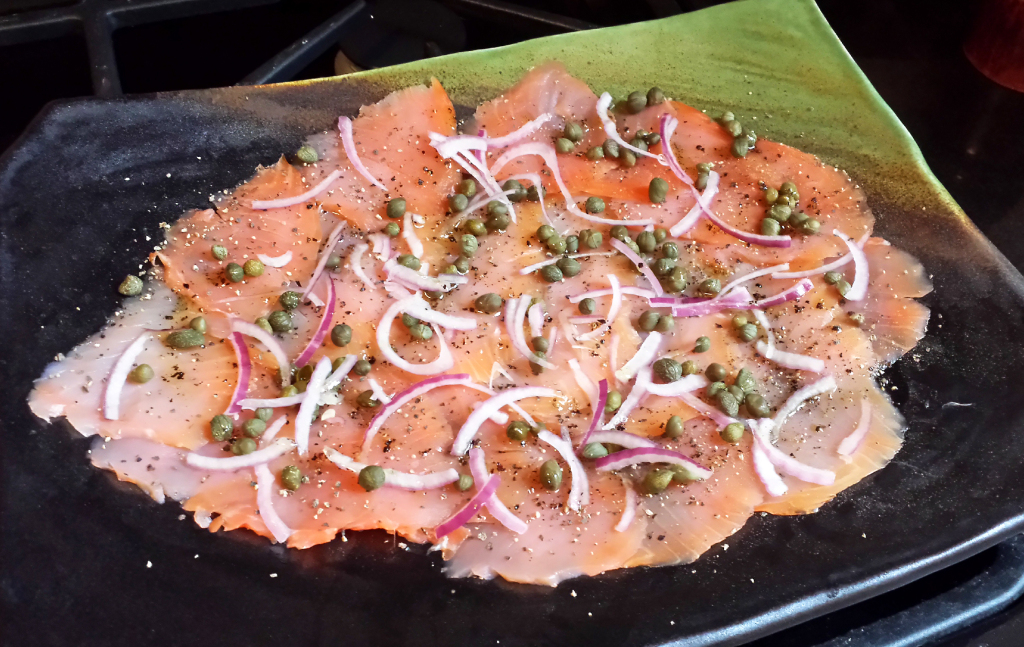
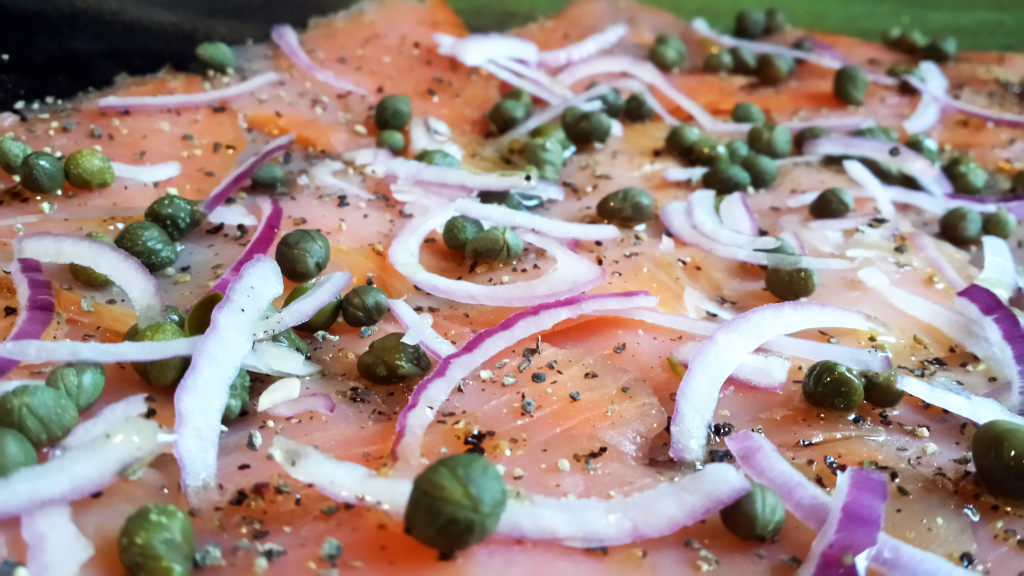
I started by prepping the cold dishes. The first course was simple: slice up some red onion, take some capers out of the jar, unpack age the smoked salmon, and arrange.

COURSE 1: smoked salmon with capers and onions

salmon

As you can see from the detailed image, I added some cracked black pepper and some olive oil.

salmon close up

I popped that bitch in the fridge until it was go-time.

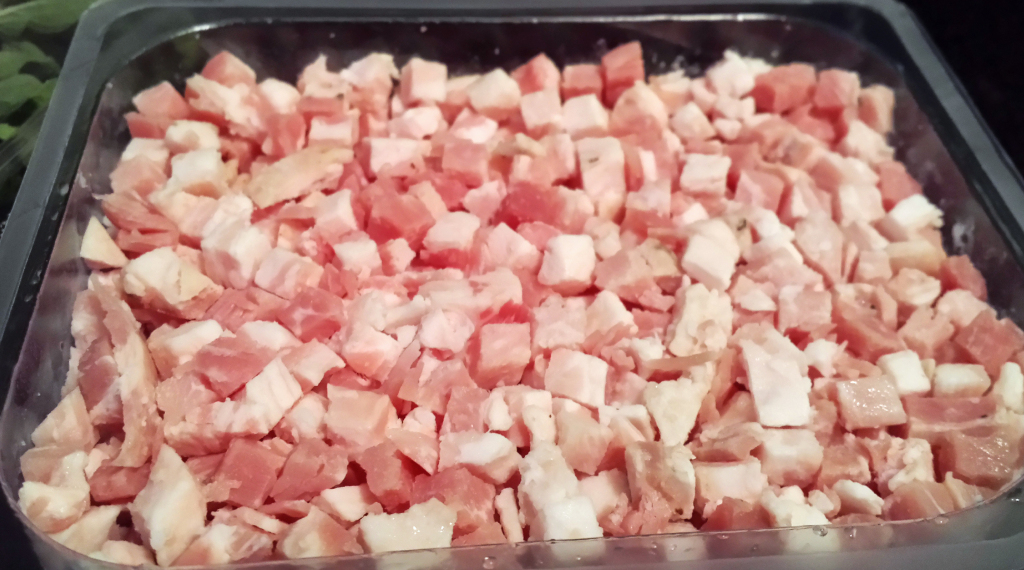
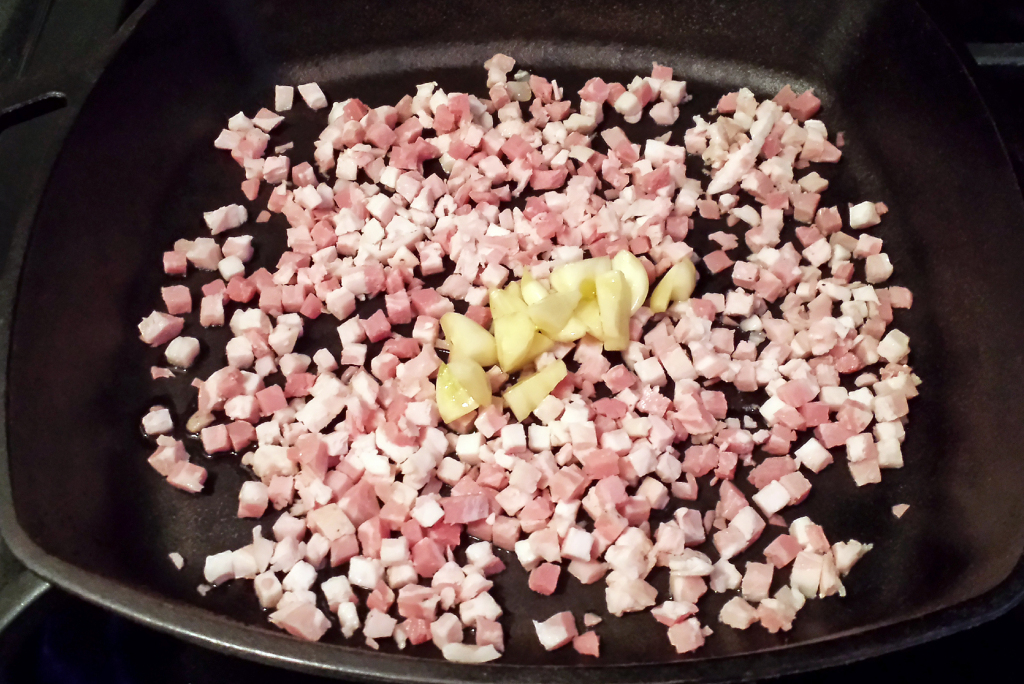
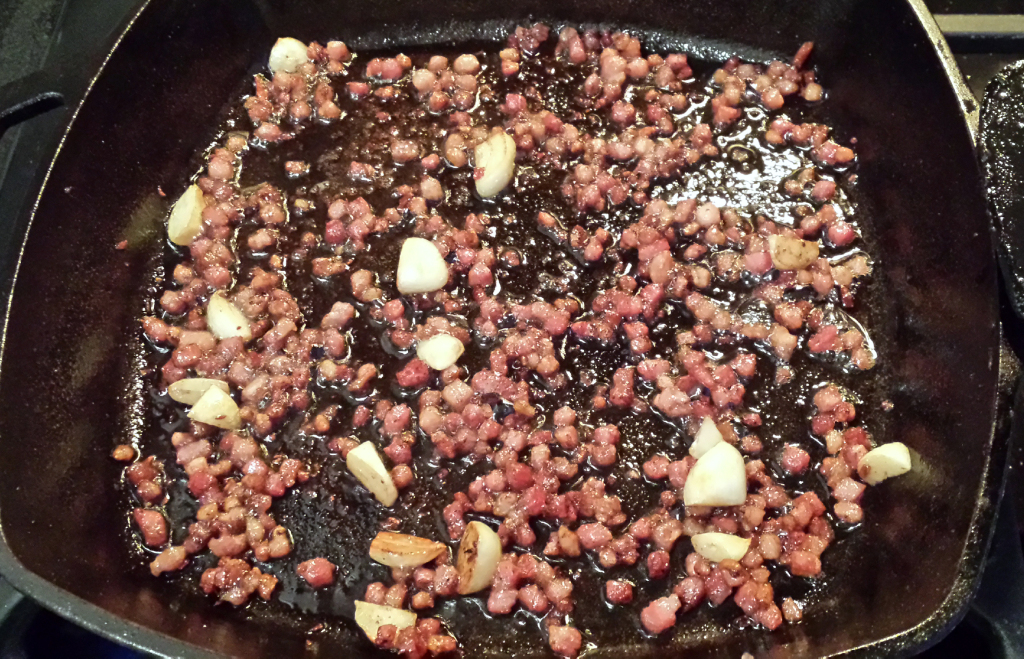
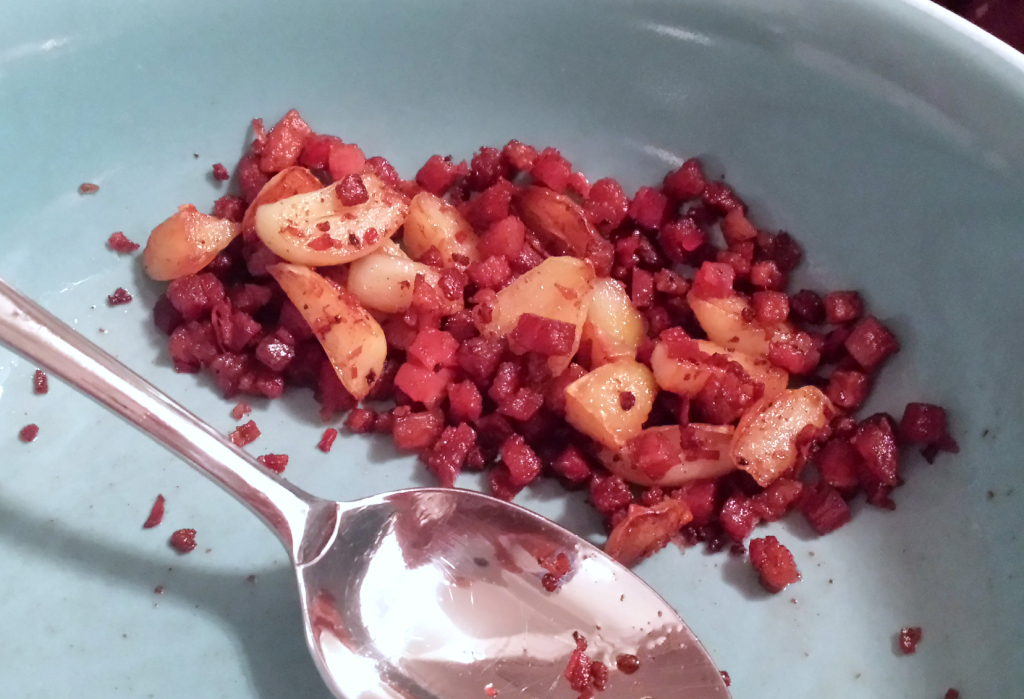
Then I blanched some asparagus tips and rendered some diced pancetta in a cast iron pan with some coarsely chopped garlic cloves. This will all come together in the end: I promise.

pancetta 1

pancetta 2

pancetta 3

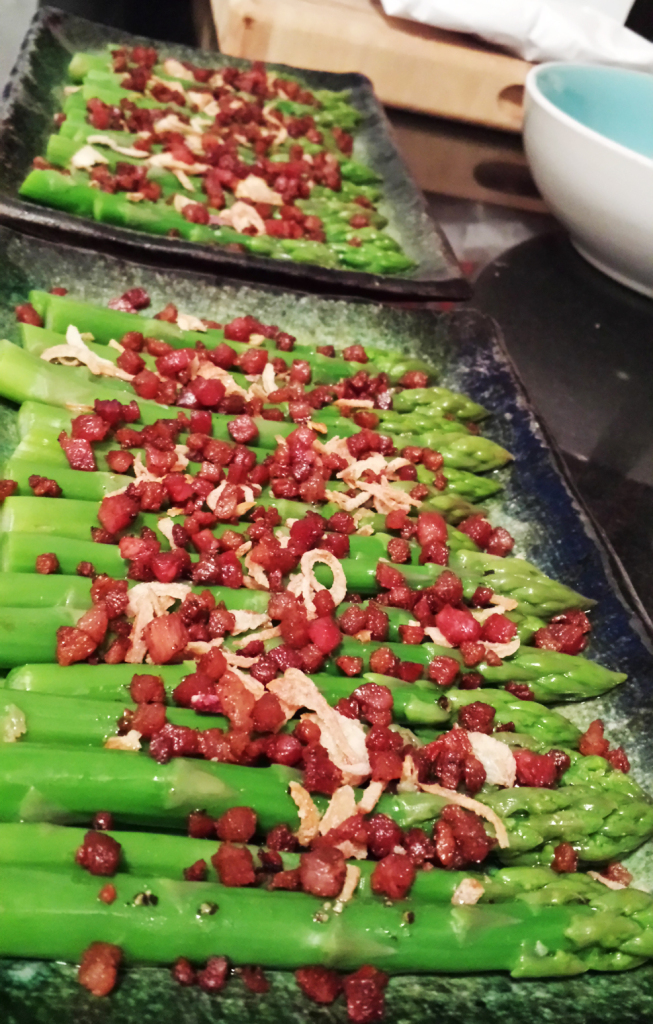
The majority of the pancetta was sprinkled over the chilled asparagus tips, which were then topped with crispy shallots and drizzled with a combo of oils (garlic oil, peppercorn oil, chive oil, onion oil, and olive oil).

COURSE 2: blanched asparagus tips with crispy pancetta and crispy fried shallots.

asparagus

I popped THAT bitch into the fridge too. Both dishes were served chilled.

I saved the bacon-fried garlic and a few spoonfuls of the pancetta for another dish that will come up later.

pancetta 4

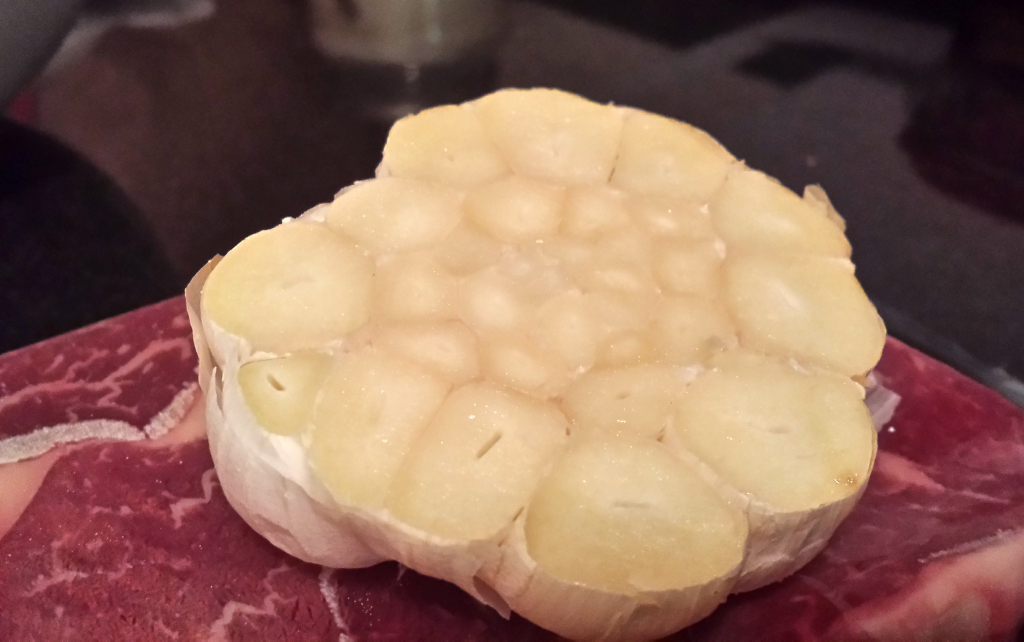
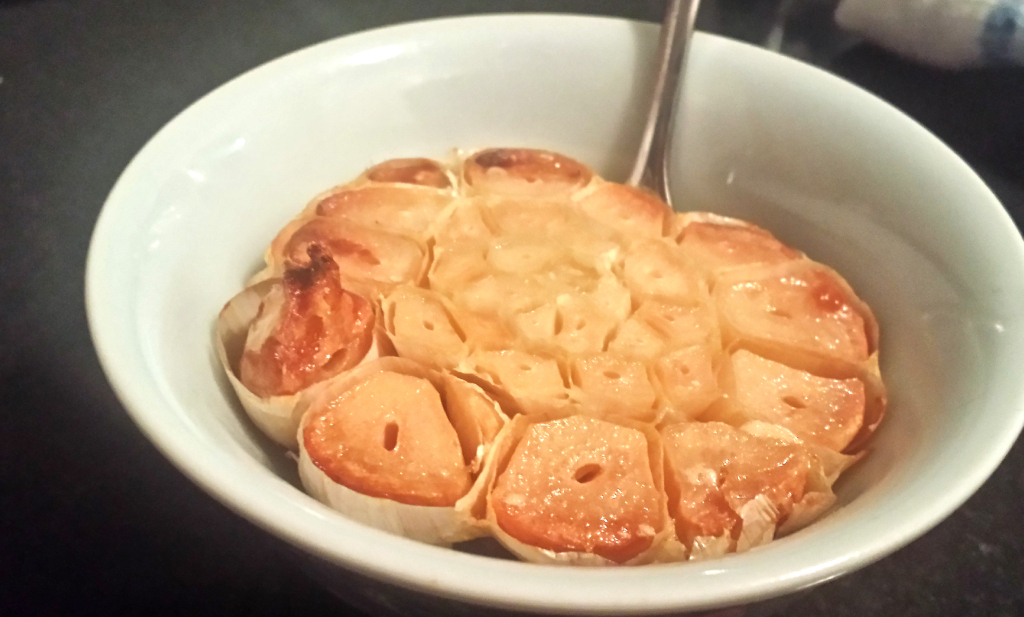
I chopped off the top of a bundle of garlic and roasted it in the oven at 450º for nearly 40 minutes.

garlic 1

garlic 2

This is for spreading onto the next two courses.

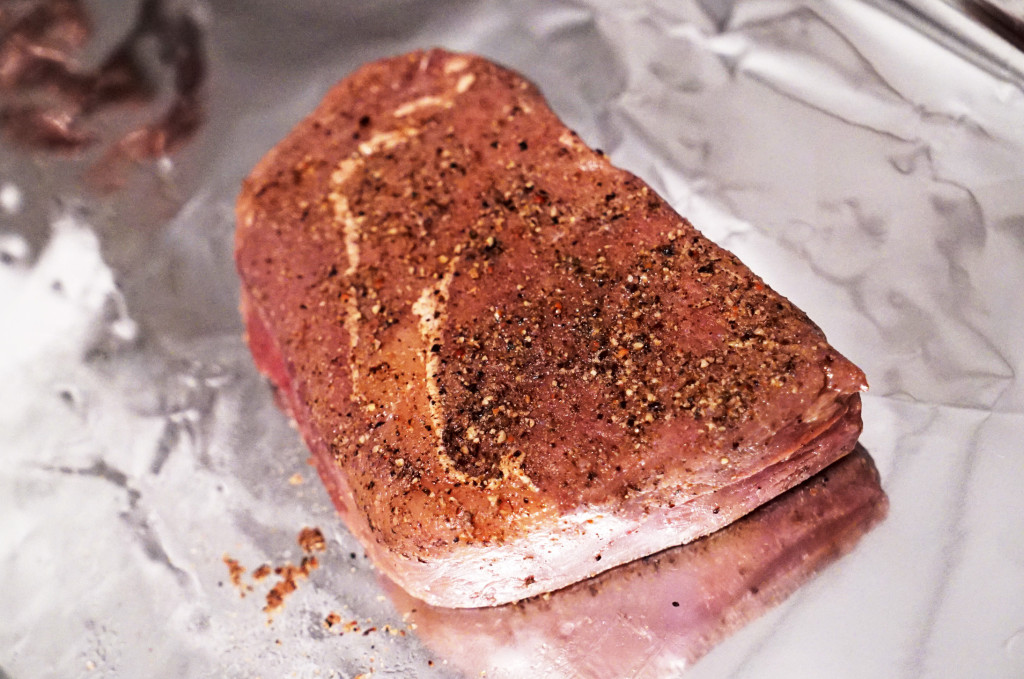
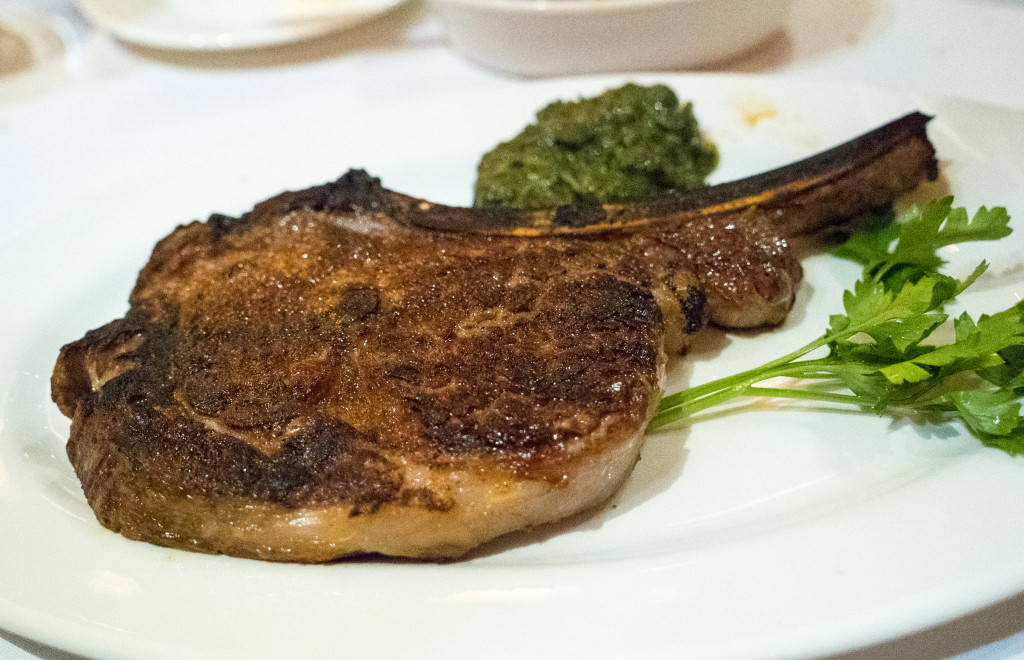
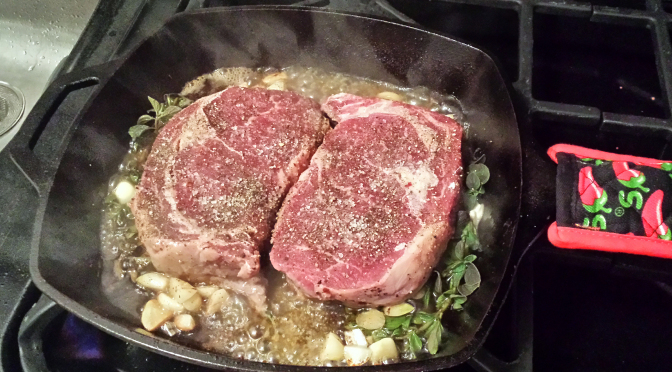
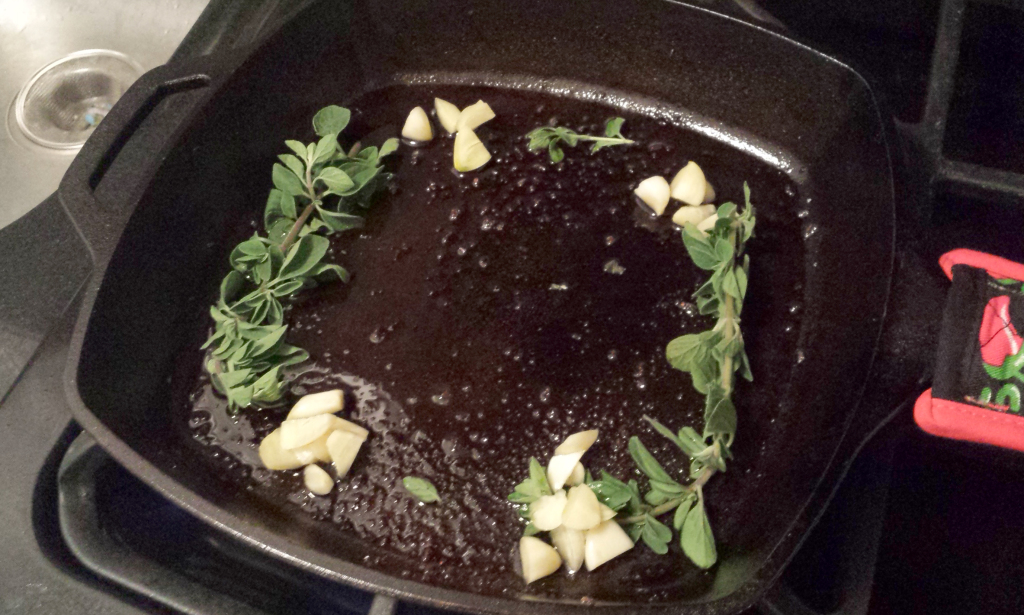
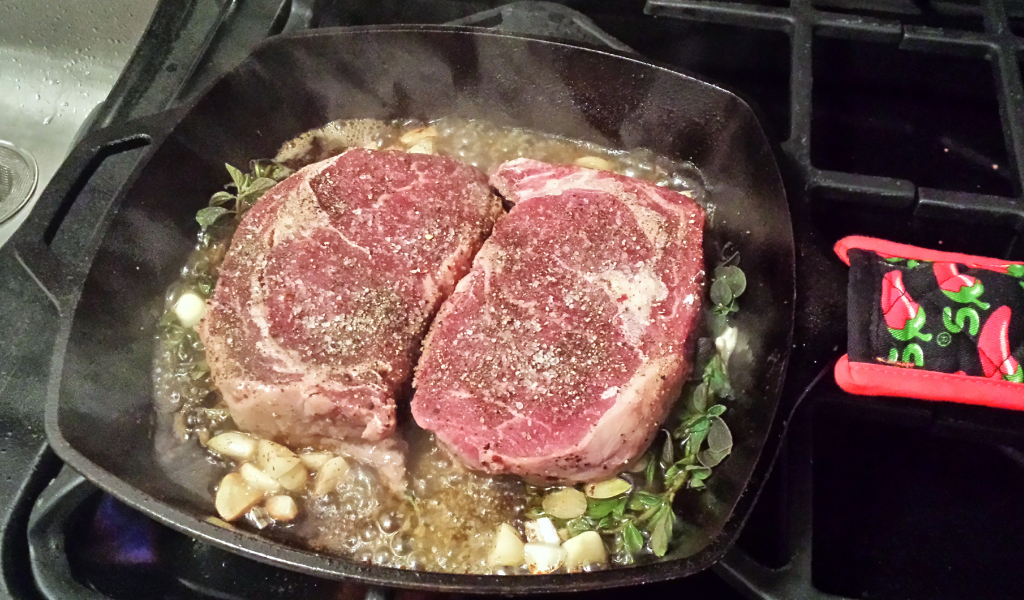
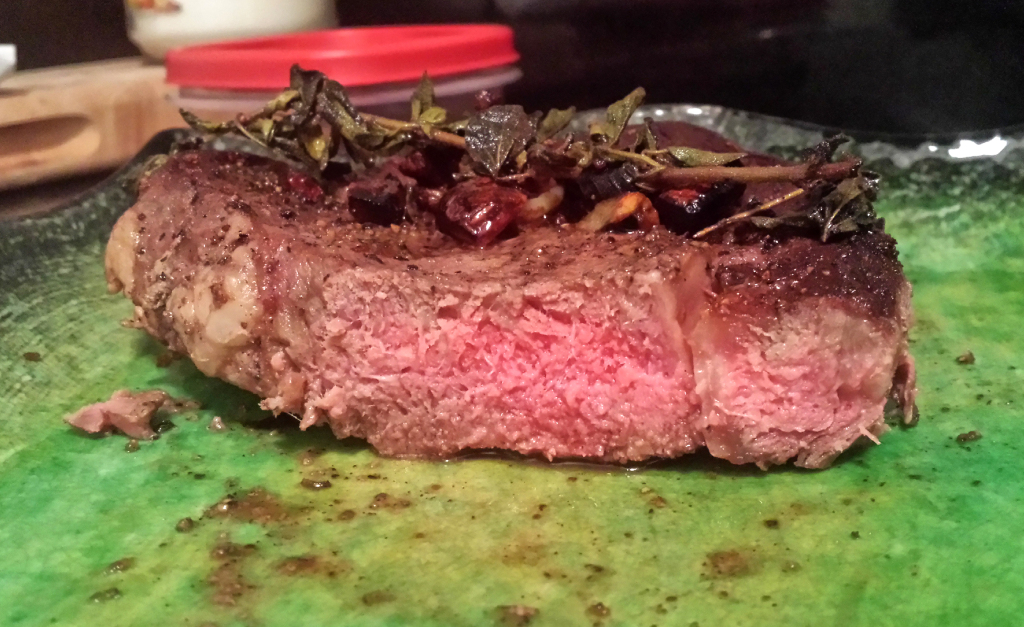
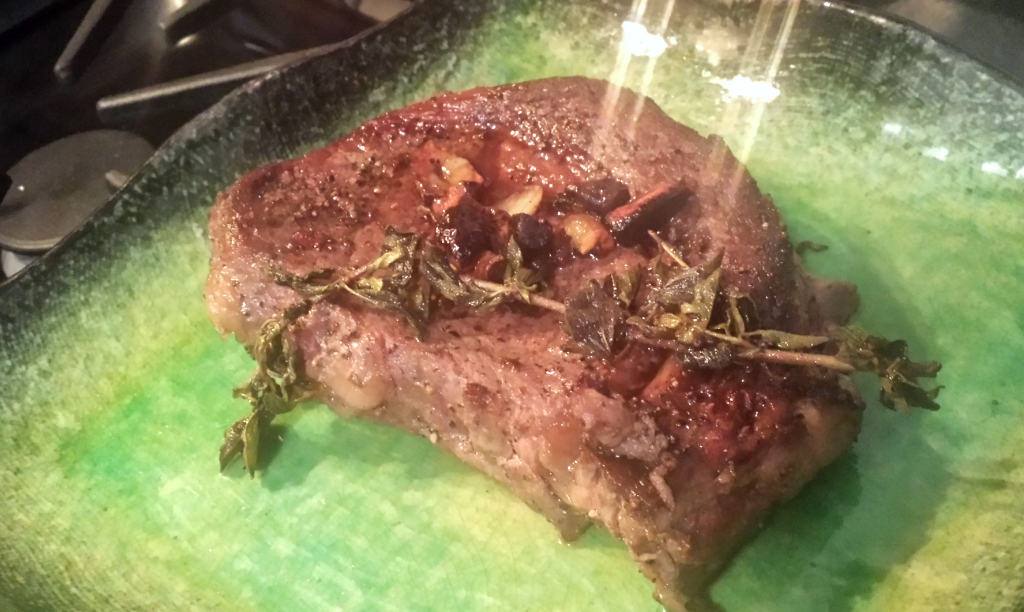
My next task was to sear off some Mosner grass-fed rib eyes in the same cast-iron pan where all that nice pancetta fat was still hanging out. I threw in some more garlic, and some Greek oregano (since the grocery store didn’t have rosemary).

pan 1

pan 2

Flip:

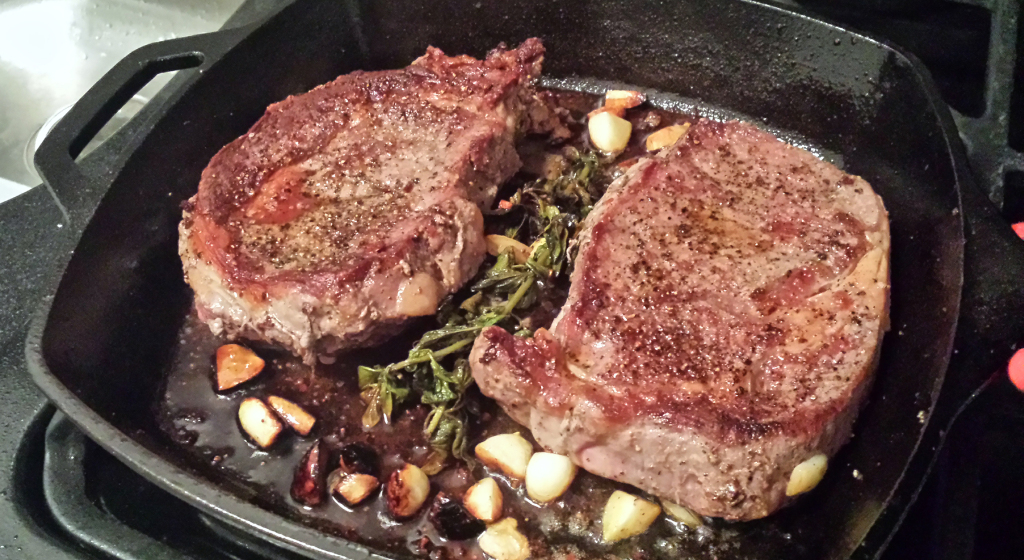
pan 3

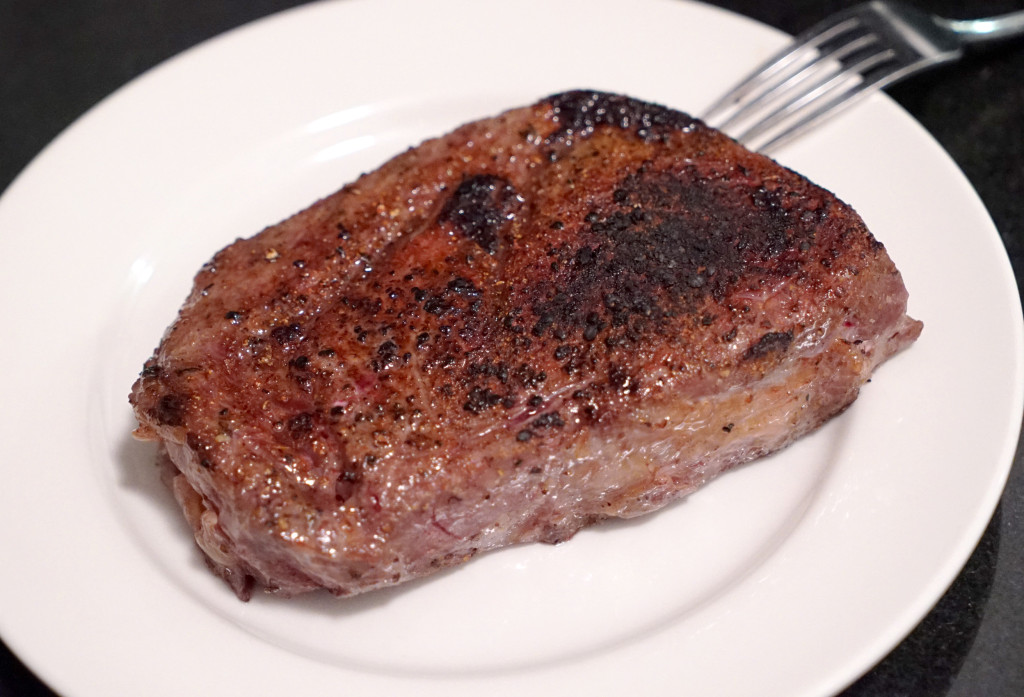
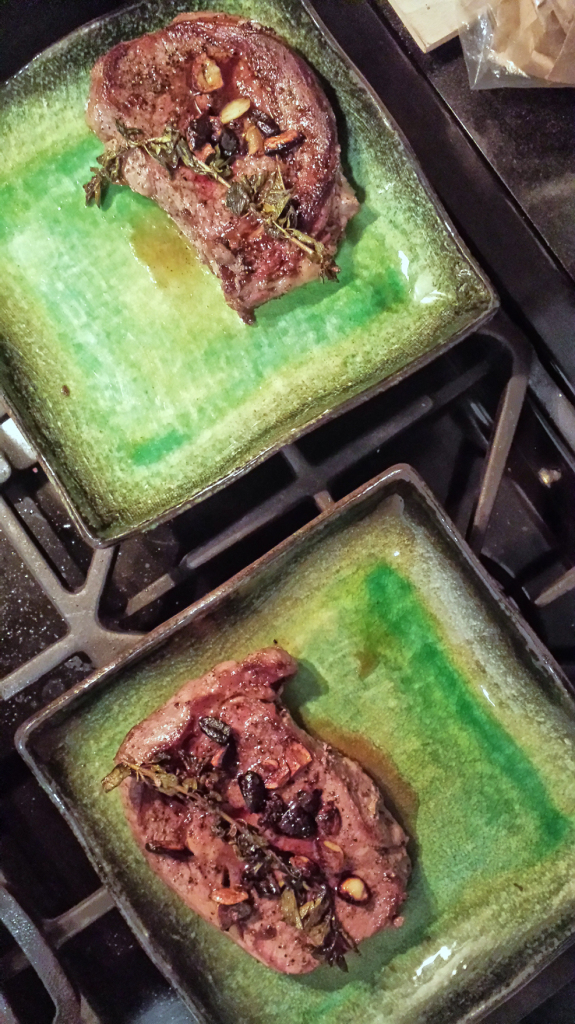
COURSE 3: pork fat rib eyes with garlic and oregano.

steak 2

steak 1

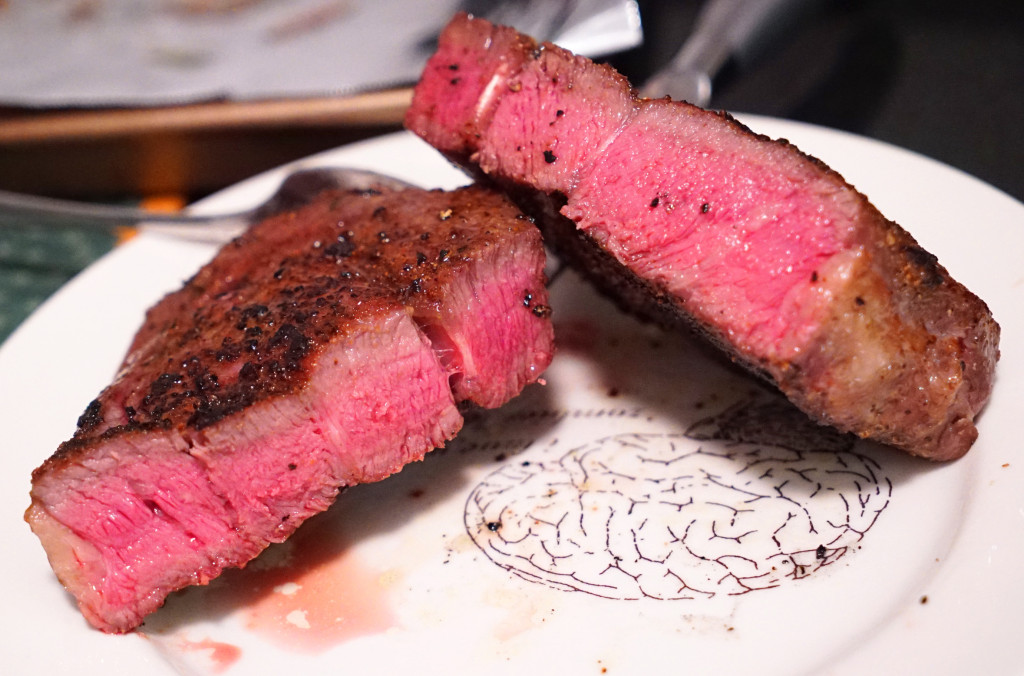
As you can see, I started to overcook these.

steak 3

There is almost no marbling in a grass-fed slab of meat, and the meat itself is tight-grained. The animals are lean, so intra-muscular fat is nearly nonexistent. Lesson learned. Next time I will cook for a much shorter amount of time on each side.

I opened a bottle of wine to let it breathe.

wine

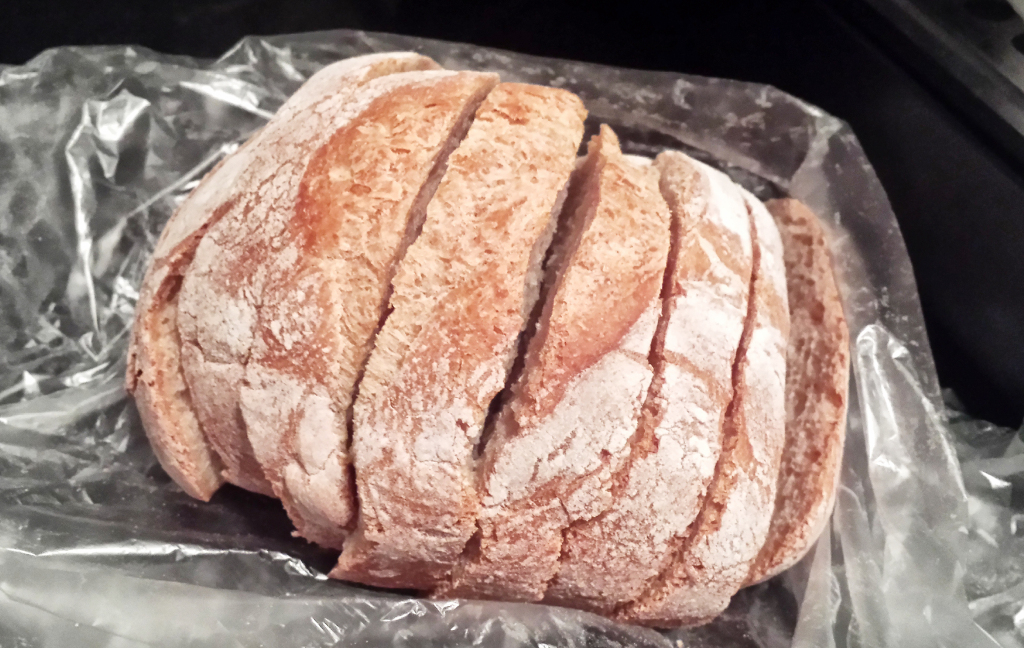
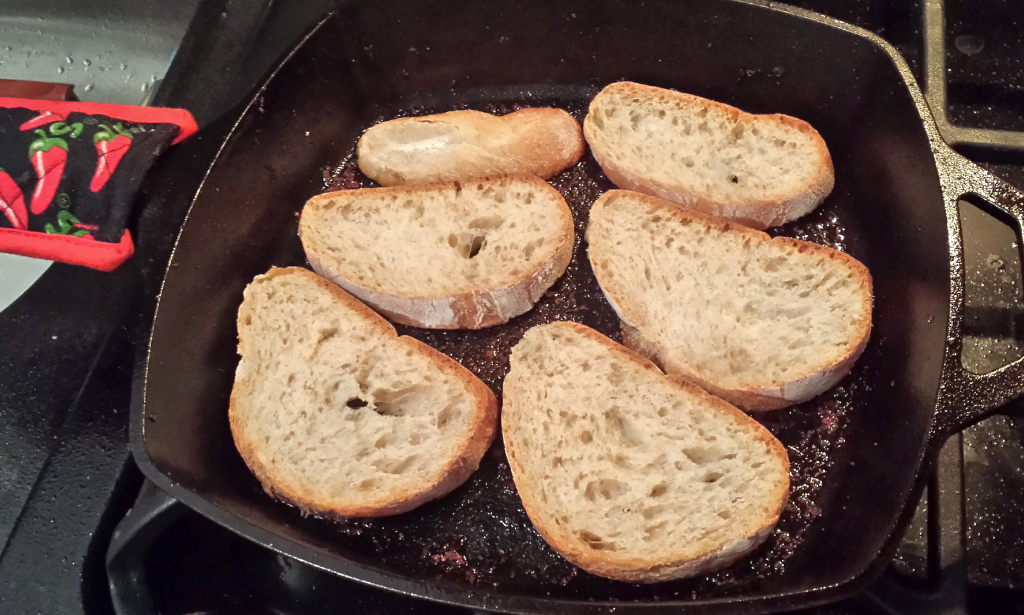
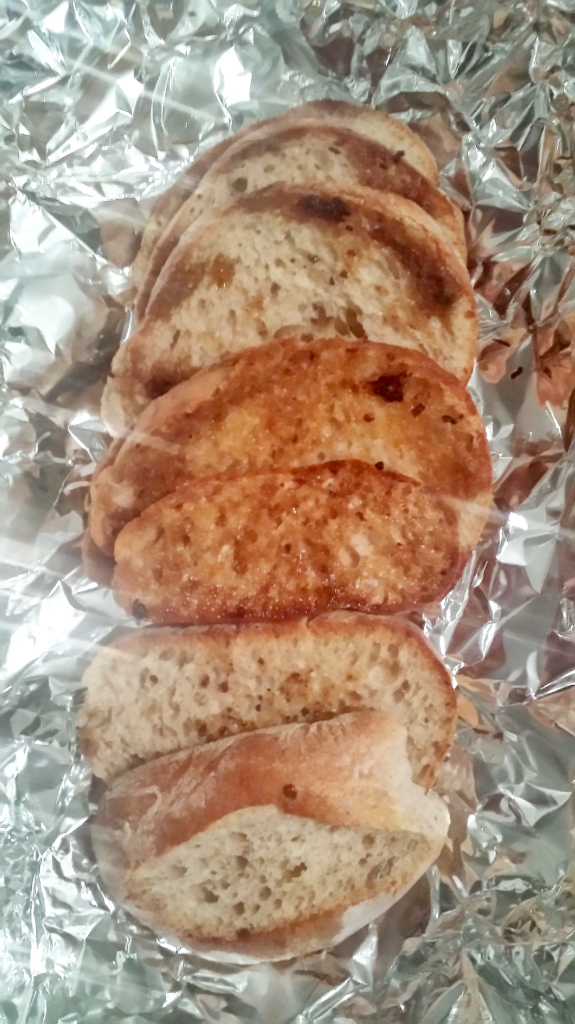
Right about now is when my wife got home from work, so I quickly set the table and put the cold items out. Then I sliced up some ciabatta bread and toasted it in the pan, which still had the steak drippings and garlicky bacon fat within:

bread 1

bread 2

bread 3

What could this be for, you ask?

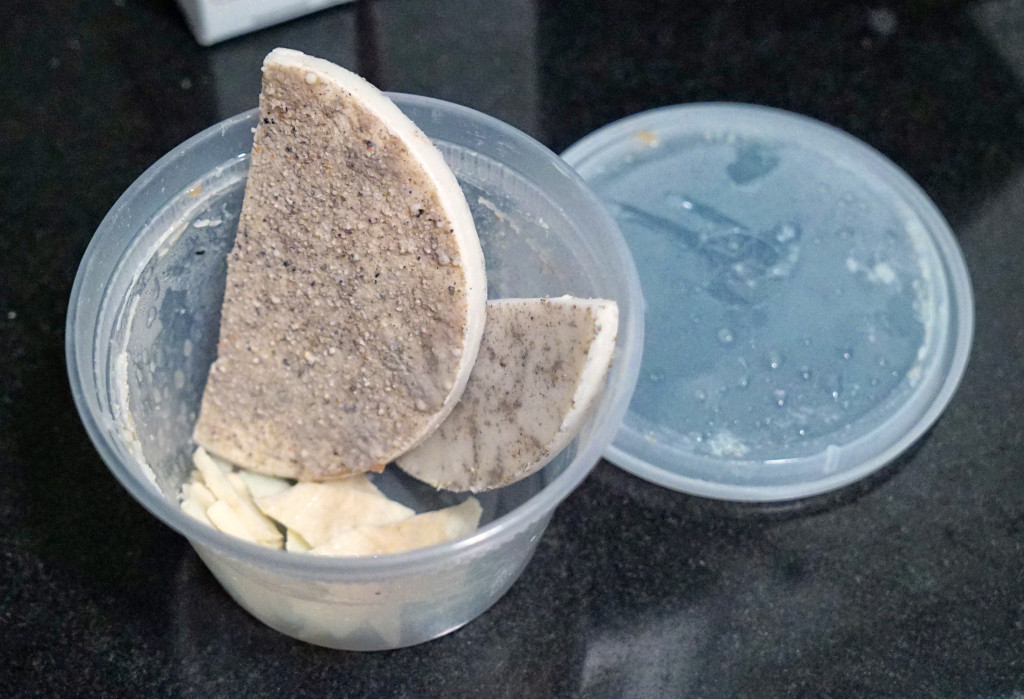
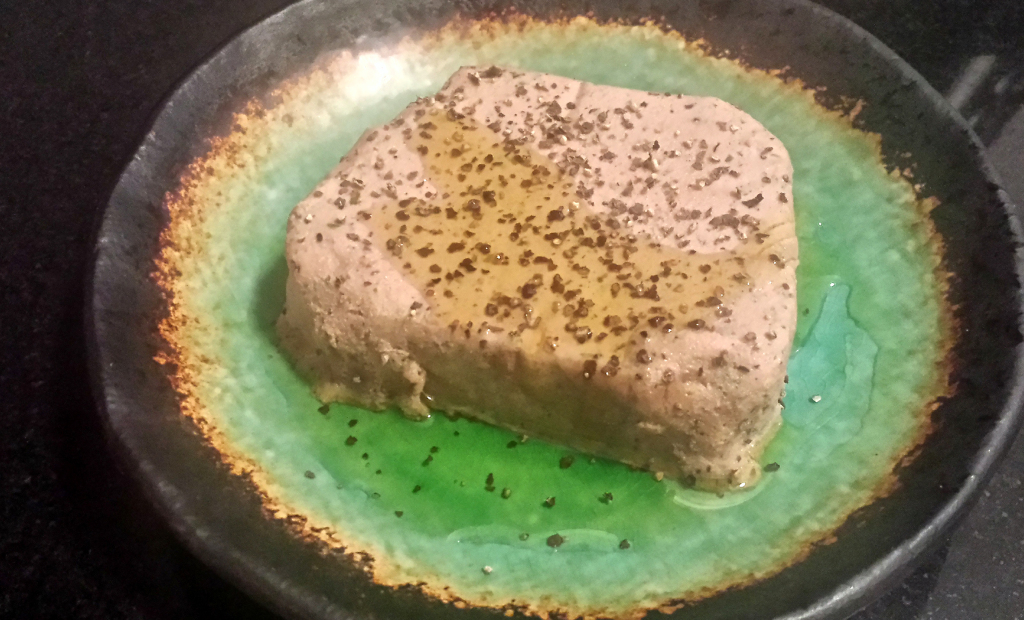
COURSE 4: truffle pate

pate

I essentially just opened the package and added some olive oil and fresh cracked pepper. BUT… we spread that shit onto the pan-grilled bread, and then sprinkled some of the leftover pancetta and roasted garlic on top (which I had set aside above). Fucking delicious.

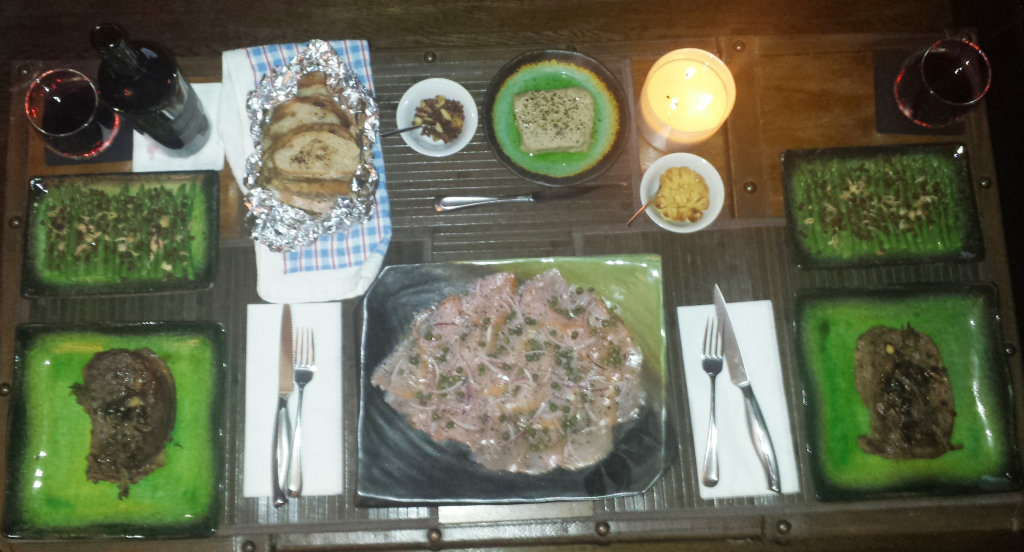
table

The meal was a hit, despite nearly overcooking the steaks. In any case, they turned out great, especially with the roasted garlic smeared onto each bite. Most satisfying, to me at least, was my planning and timing of everything. I think I nailed that more than anything in the food-execution realm (especially considering that three or four items were already half prepped for me – the pre-made truffle pate, the smoked salmon, the already-baked bread, and the pre-diced pancetta).