Category Archives: Recipes

Flight of the Noble Turducken

My industrious, ambitious and extremely brave friend and co-creator of Hungry Dads endeavored to prepare a Turducken for his Thanksgiving feast this year. Lots of people these days, who are interested in indulging in such a menage-a-fowl, are buying them pre-prepared because it is an arduous task to do it oneself. When my buddy told me he made a Turducken on his own, I was extremely impressed. Below is a write-up that he provided for me to share with you, as well as a time-lapse video of his work. Well played!

Flight of the Noble Turducken

Hugh Gallon

www.HungryDads.com

When it comes to cooking, I’ve embraced the words of my high school Driver’s Ed teacher, Mr. Woods, who preached that people who claim they can’t cook are likely lazy and/or stupid. Any idiot can follow directions. Recipes are just directions. Taking Mr. Woods’ philosophy into adulthood, I’ve boldly undertaken many culinary ventures with unwarranted confidence – yielding more than a few disasters. And when I naively committed to preparing a Turducken for Thanksgiving, I didn’t expect it to be the greatest undertaking of my adult life.

For the uninitiated, a Turducken is a turkey, stuffed with a duck, stuffed with a chicken. Arrogant and uninformed, I assumed I would just need to shove a small bird into the cavity of a larger bird, repeat, cook, and eat. It turns out the Turducken is a true Frankenstein’s monster of poultry. After 3-5 hours of web research, I began to regret my fowl hubris, but ultimately ended up with a solid strategy by combining a few different recipes. Unexpected challenges included:

De-boning all three birds. I guess I could have gotten my birds from a butcher already de-boned, but I am not lazy or stupid, Mr. Woods. The internet provided some good instructions with photos, which I promptly ignored and instead just hacked away at the poor things like I was Dexter blindfolded.

Flavor vs. poison. When you have this much raw meat, and it comes from three separate animals, there is a lot of opportunity for nasty little bacterial microbes to fester. You gotta cook those buggers out, but not at the expense of your juicy meat. If you layer up that much raw meat and put it in the oven, the exterior turkey will dry out before the inner “ducken” is cooked. The website Serious Eats (The Food Lab) had a great solution: poach the chicken and duck portions before putting it together.

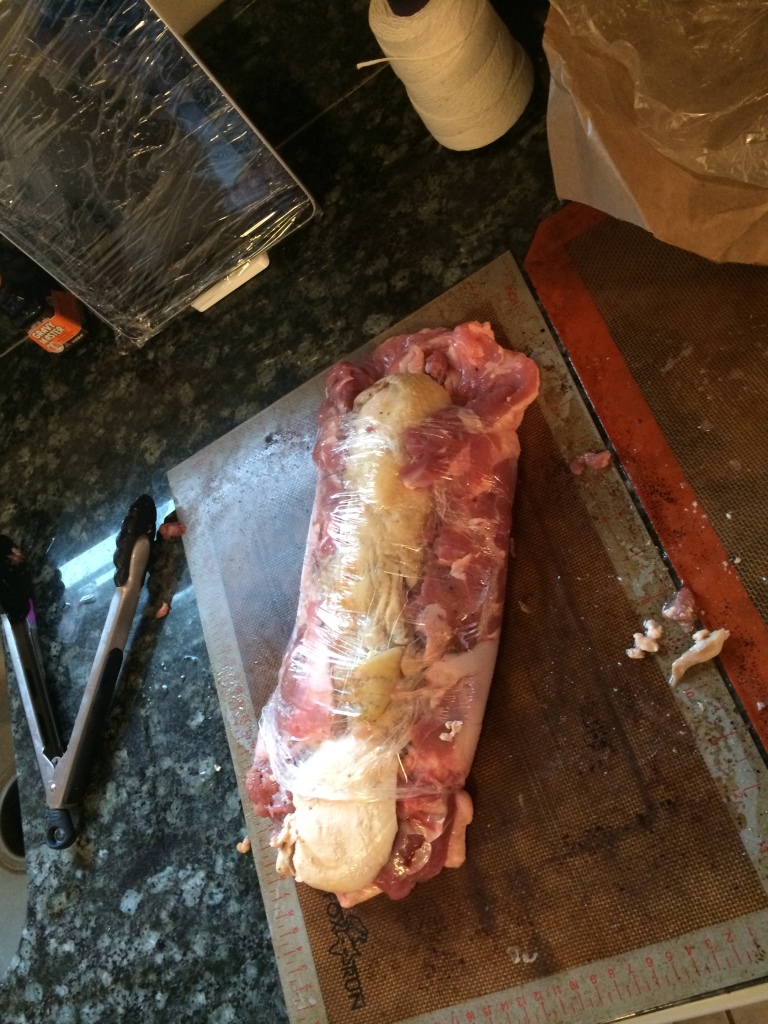
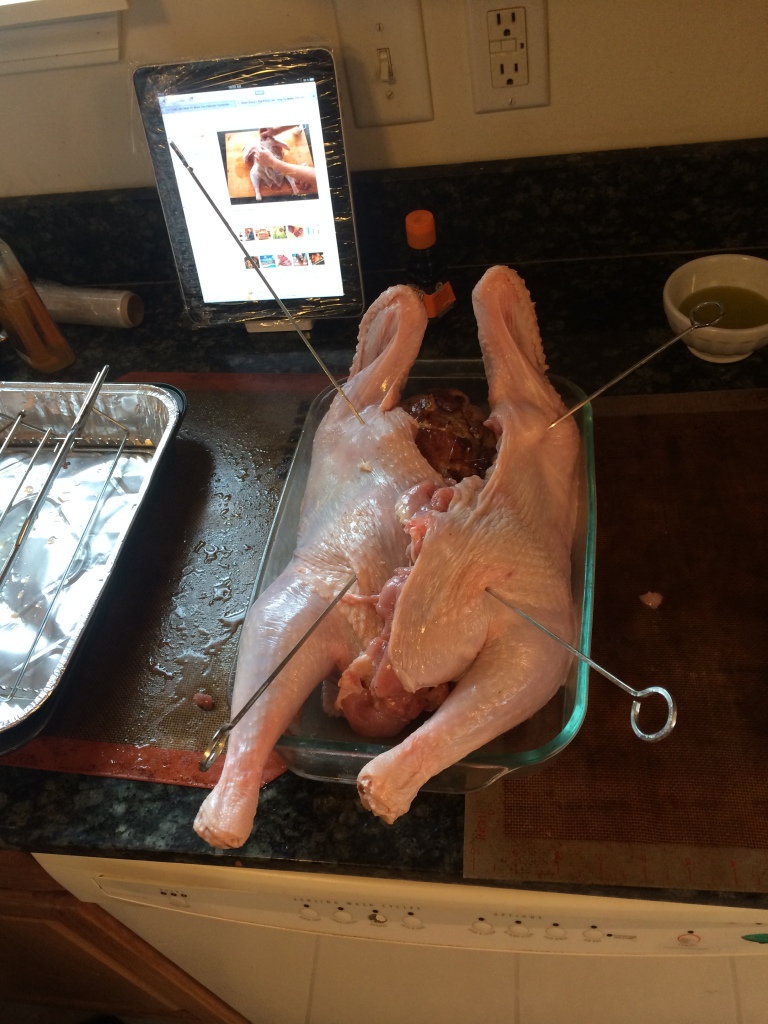
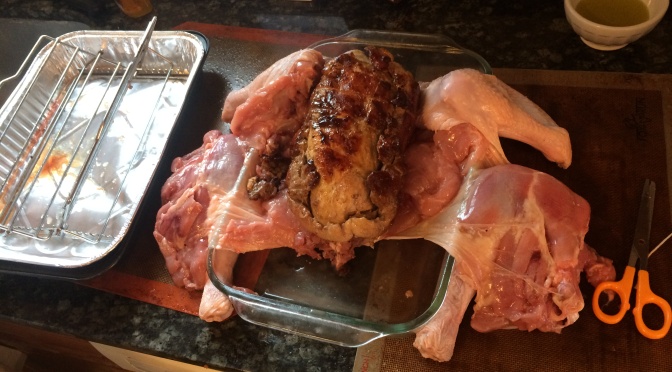
a The Ducken ready for poaching

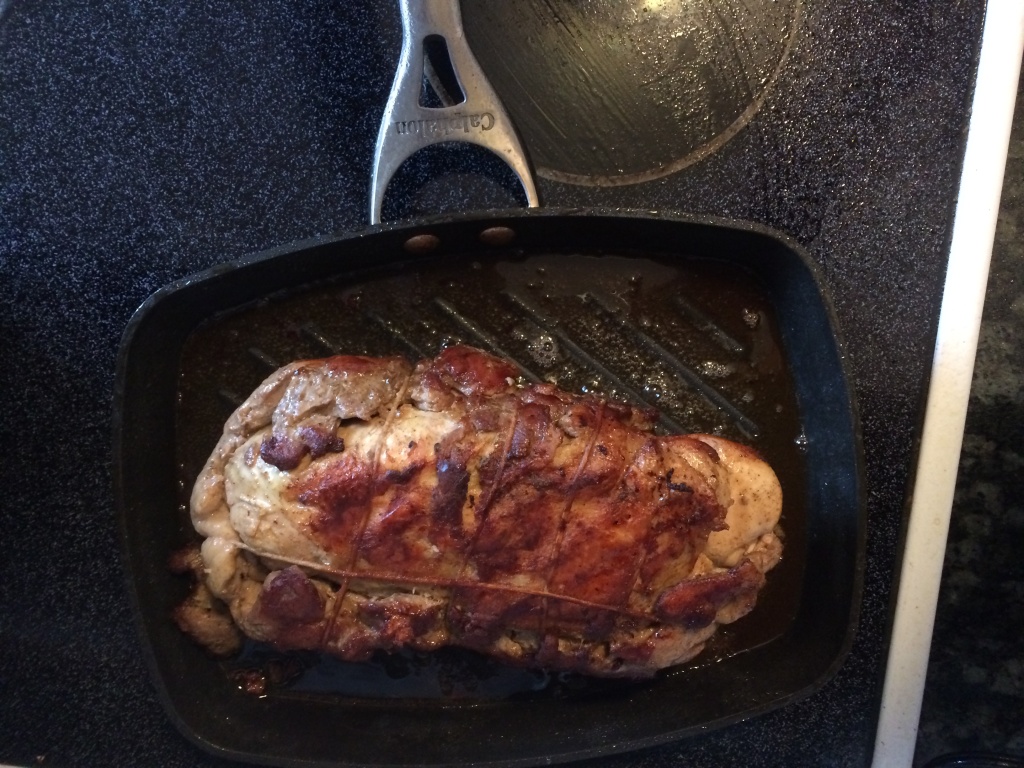
They also recommended browning the duck skin over the stove to add some nice fried fatty flavor.

b The Ducken fried up

Structural integrity of stuffing. Bread stuffing is controversial in a normal turkey scenario (under-cooking risks and such) – but in a Turducken, stuffing is important to fill in the gaps like spackle. But web research revealed that traditional stuffing might buckle under the weight of so much bird flesh, resulting in a lop-sided or bulged Turducken. One of the goals of the Turducken is to make it look like a regular turkey on the outside, but with pure un-boned meatiness on the inside. Once again it was the Serious Eats Food Lab with a solution: stuff with sausage instead of bread stuffing. More meat = better anyway.

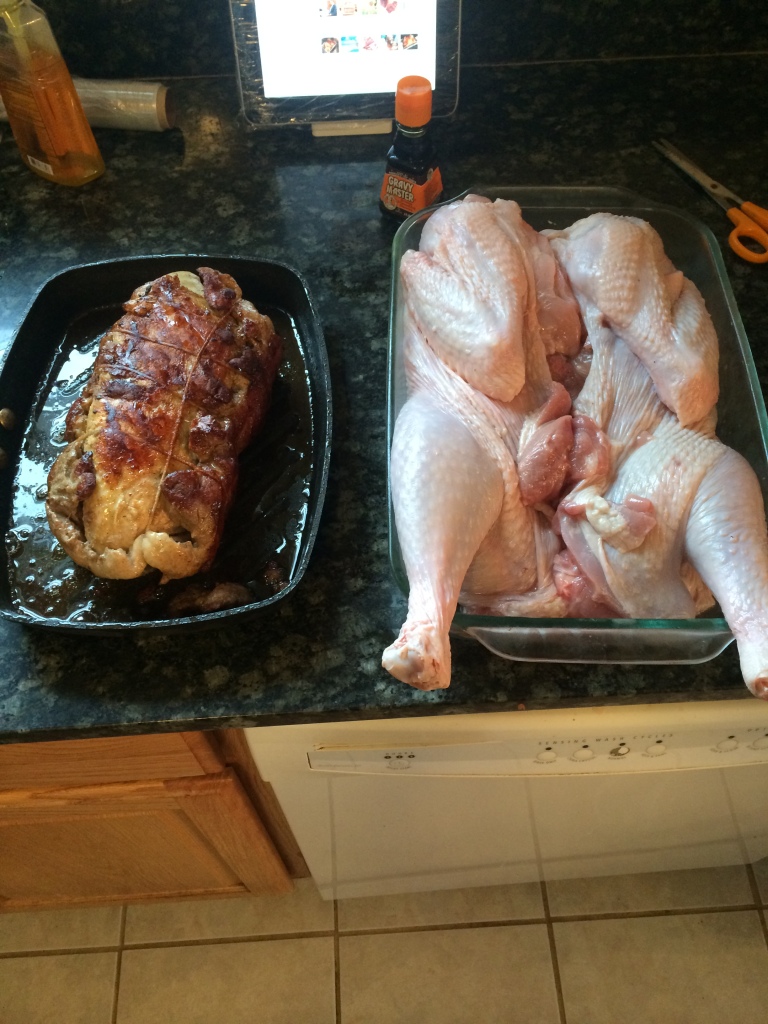
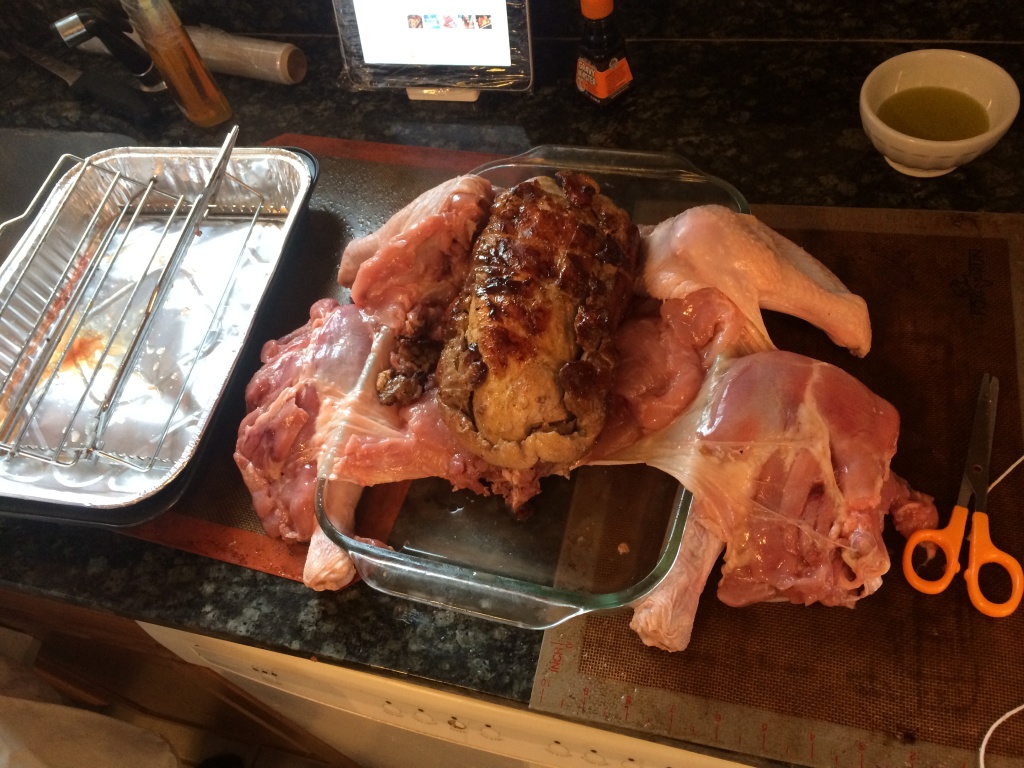
Duck is mushier than snot. Trying to layer and form everything was a real pain. It was the only point in the process I considered bailing out. But by then I was up to my elbows in soft, fleshy bird tissue – so I crammed raw meat to and fro until everything fit and the outside looked like any other unassuming turkey.

c Tur meet Ducken

d The Melding of Flesh

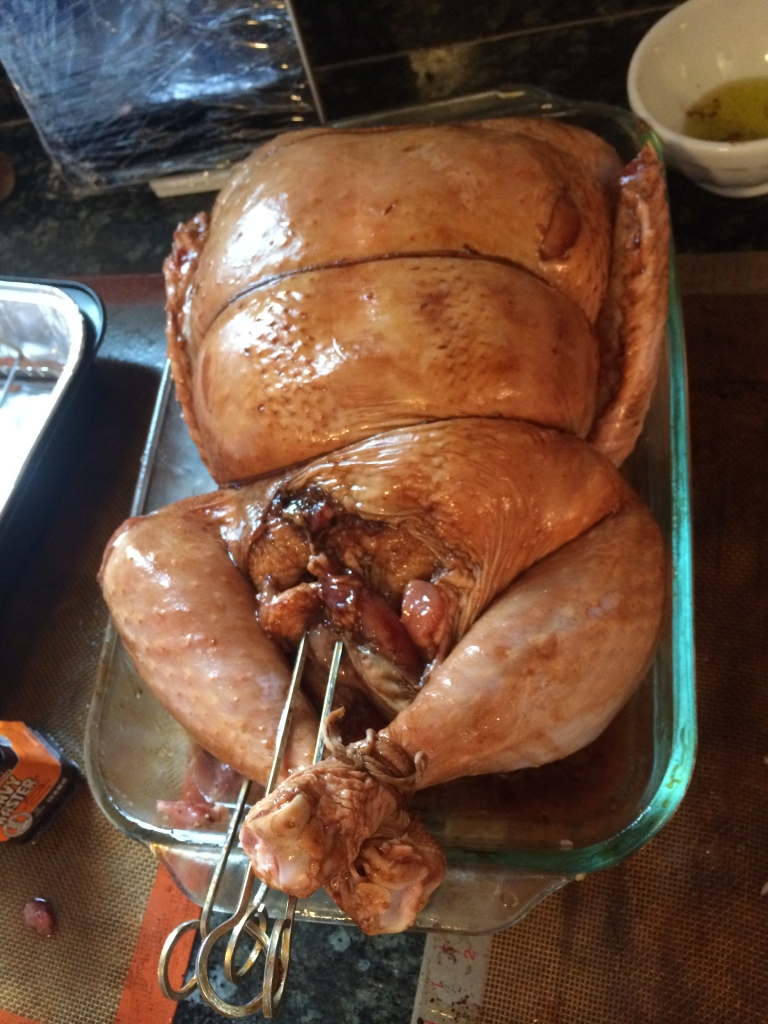
e Skewer that Shit

f Trussed with Browning Sauce

The process is better shown than described, hence my two minute Turducken documentary:

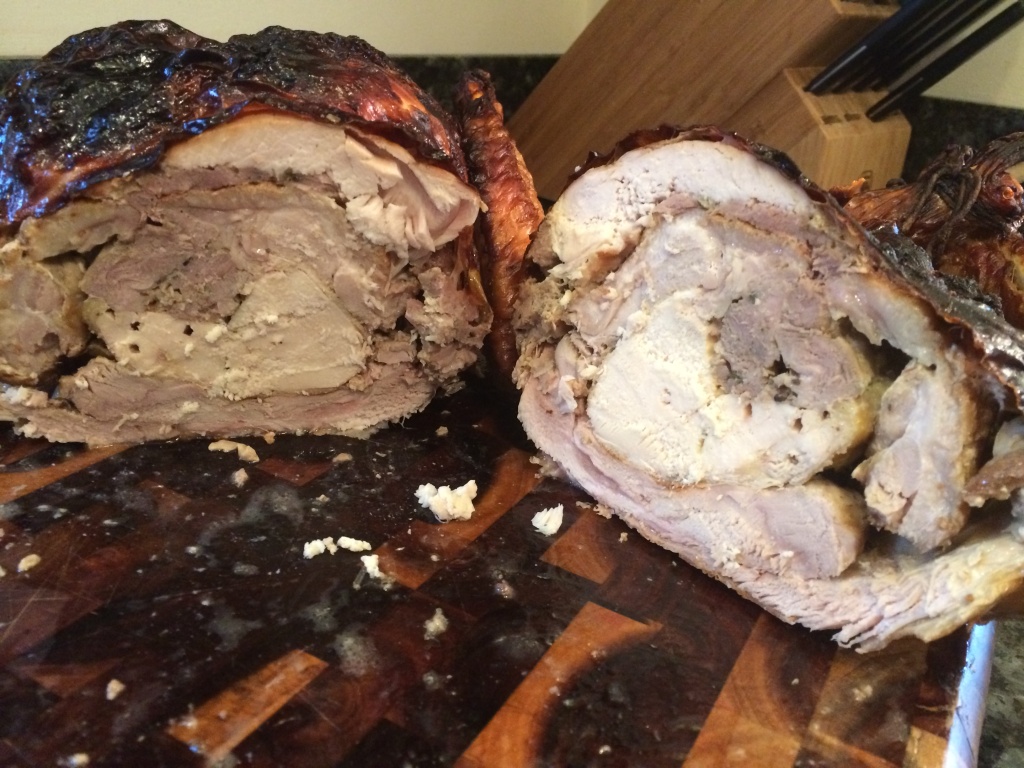
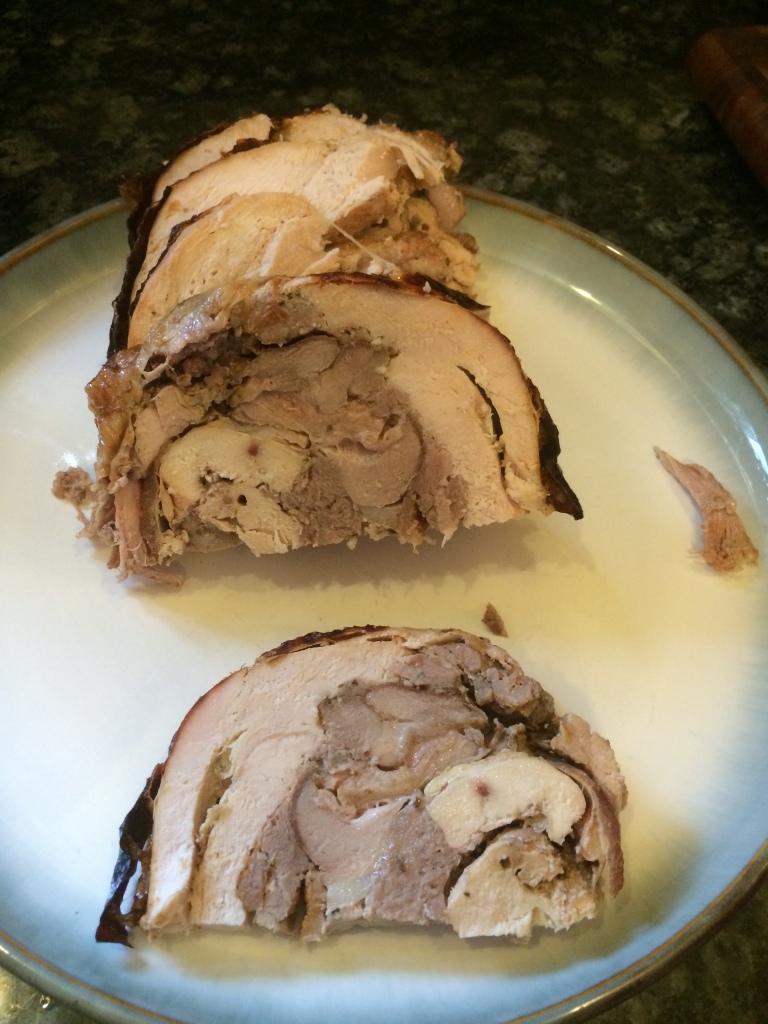
The verdict? Well, I am confident that I created a successful Turducken. It probably wasn’t perfect, but it looked like a real turkey on the outside. Cutting into it revealed a lovely mosaic swirl of dark/light meat on the inside. And wasn’t dry. So I’m calling it a success.

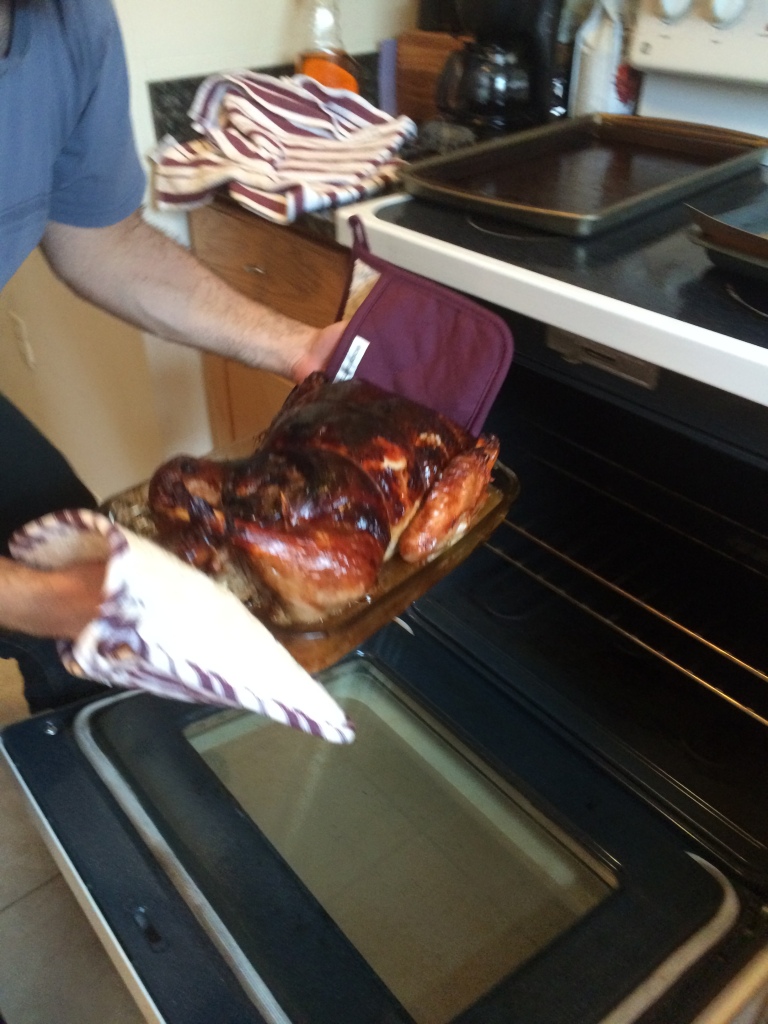
g Out of the Oven

h Poultry Swirl

i Meaty Mosiac

That said, in a final anti-climactic taste review, I must say that the flavor was just so-so. I didn’t think the three birds’ flavors melded particularly well. The chicken and duck skin on the inside didn’t stay very crispy and was a little rubbery. I’d have to say each bird would have probably tasted better on its own.

Nonetheless, a Turducken is about the journey more than the destination. I took pleasure in telling friends and family about the project and enjoyed merely having the opportunity to say “Turducken” on a regular basis. Regardless of flavor, the legend and legacy of my noble Turducken will soar like an eagle for many family Thanksgivings to come.

Thanksgiving Leftovers: The Stuffing Burger

A number of variations on this gem can be concocted depending on what’s left in your fridge after the annual gorge-fest known as Thanksgiving. I had an abundance of leftover stuffing and ham, so that’s the route I went this time. Check it out, assholes.

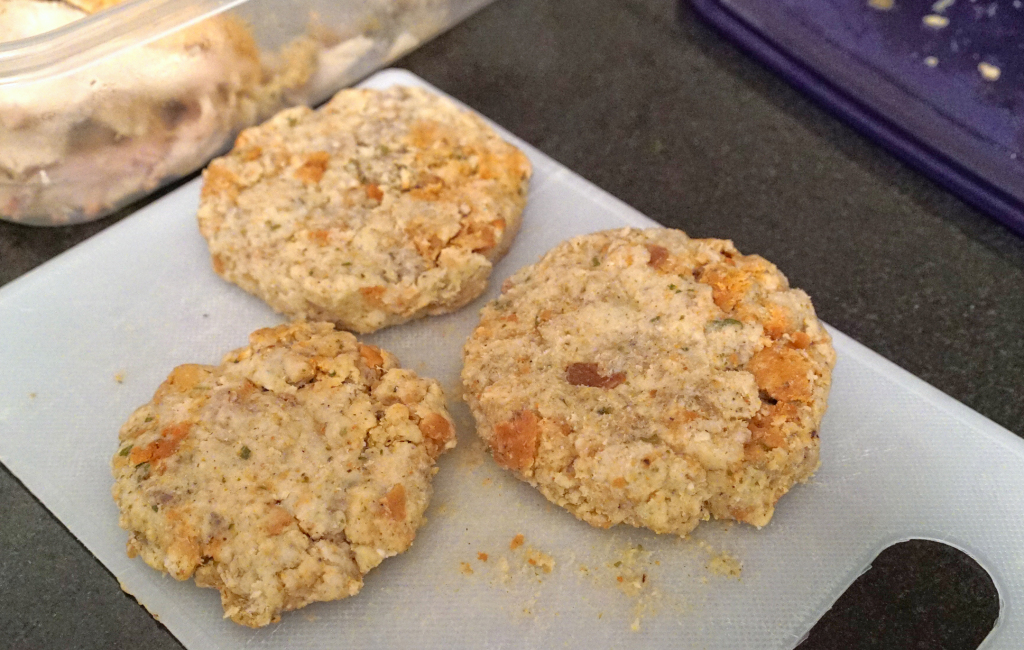
STEP 1: Sculpt your stuffing into burger sized patties. My patties were pretty sweet since my stuffing also had sausage meat already incorporated into it (Momma’s recipe is amazing).

DSC02173

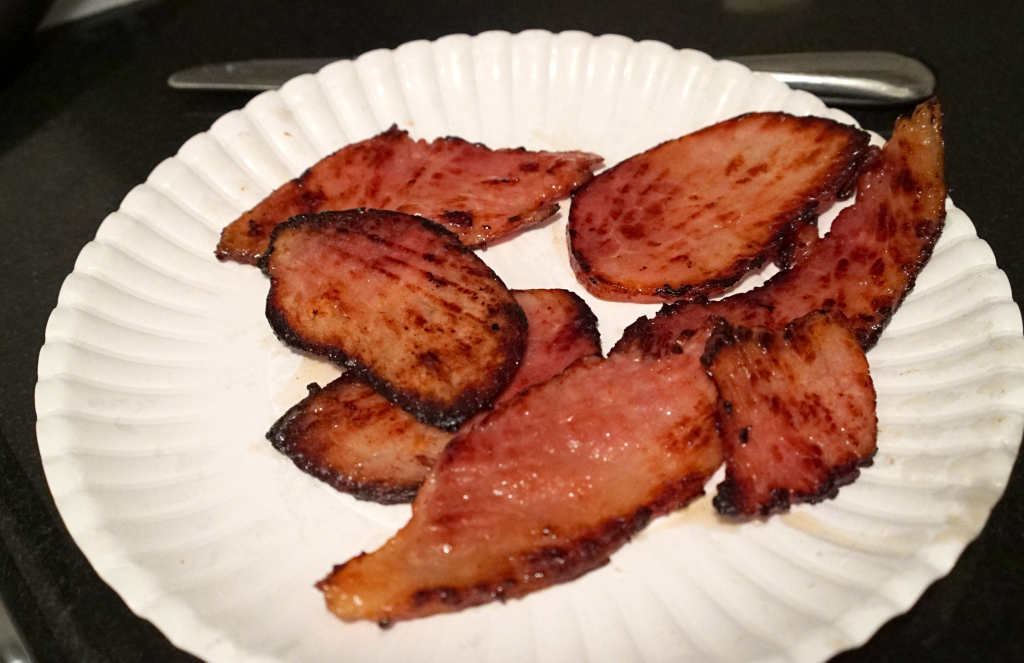
STEP 2: Fry off some ham. Get it nice and brown/crisp on the edges.

DSC02174

DSC02175

STEP 3: You should have some hammy oil in the pan now. LEAVE IT! Put your patties in and let them sizzle up like a regular burger.

STEP 4: Flip once, when they are browned.

DSC02176

STEP 5: Add first layer of cheese. If possible, cover the pan so the cheese begins to melt from the steam that builds up.

DSC02178

STEP 6: Pop some ham on that bitch.

DSC02179

STEP 7: Add second layer of cheese (and cover if possible).

DSC02180

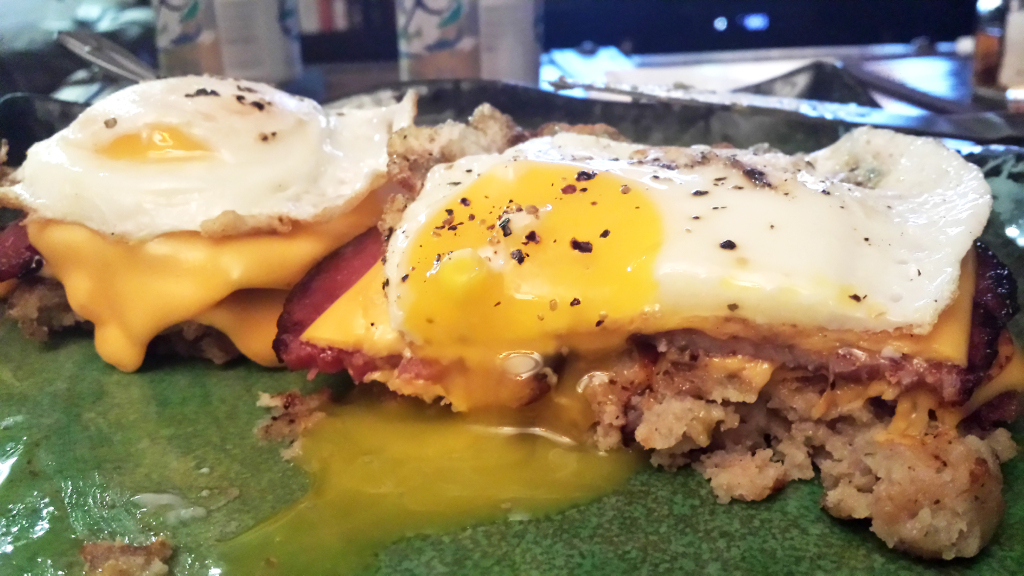
STEP 8: Take the burgers off the pan with a spatula and fry up some eggs for the top.

DSC02181

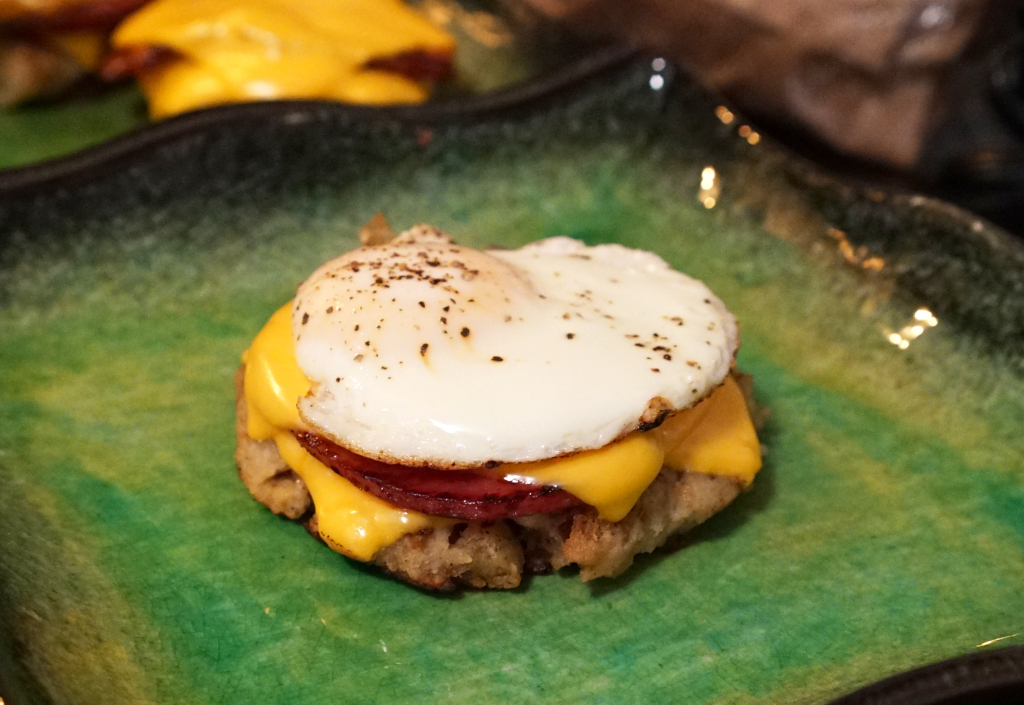
STEP 9: Top off your burgers with an egg or two.

DSC02183

DSC02186

DSC02184

STEP 10: EAT.

20141201_185510_LLS

I had no buns in the apartment, but since the burger is primarily made from bread, there’s really no need for a bun anyway. Just fork and knife it.

Hillbilly Nachos

Hillbilly Nachos:

  • Cheap ass BBQ flavored potato chips
  • Left over coleslaw from a fried chicken dinner
  • Bacon or bacon bits (depending on your budget)
  • Easy cheese (spray-can, whipped-cream style cheese)

You’re fucking welcome.

Oh you wanted pictures? Are you kidding me? Look at the ingredients. Ask yourself: What would it look like? Probably very similar to what it’d look like in the toilet bowl. No pics this time, folks.

Actually… with the benefit of post-publish-editing, I can present to you an actual photo of this shit. Rod Budget, over at Hungry Dads, tried this recipe out. The Easy Cheese didn’t sit well with him, and he was not a fan of how the flavor of that product worked with the other items (despite his love and affection for Easy Cheese, mind you), but the combination of chips, coleslaw and bacon were a success, in his view.

hillbilly nachos

The LGBT AKA The Pride Sandwich

I figured I’d share this nice recipe for those who are celebrating all things pride-related.

This sandwich is very easy, really.

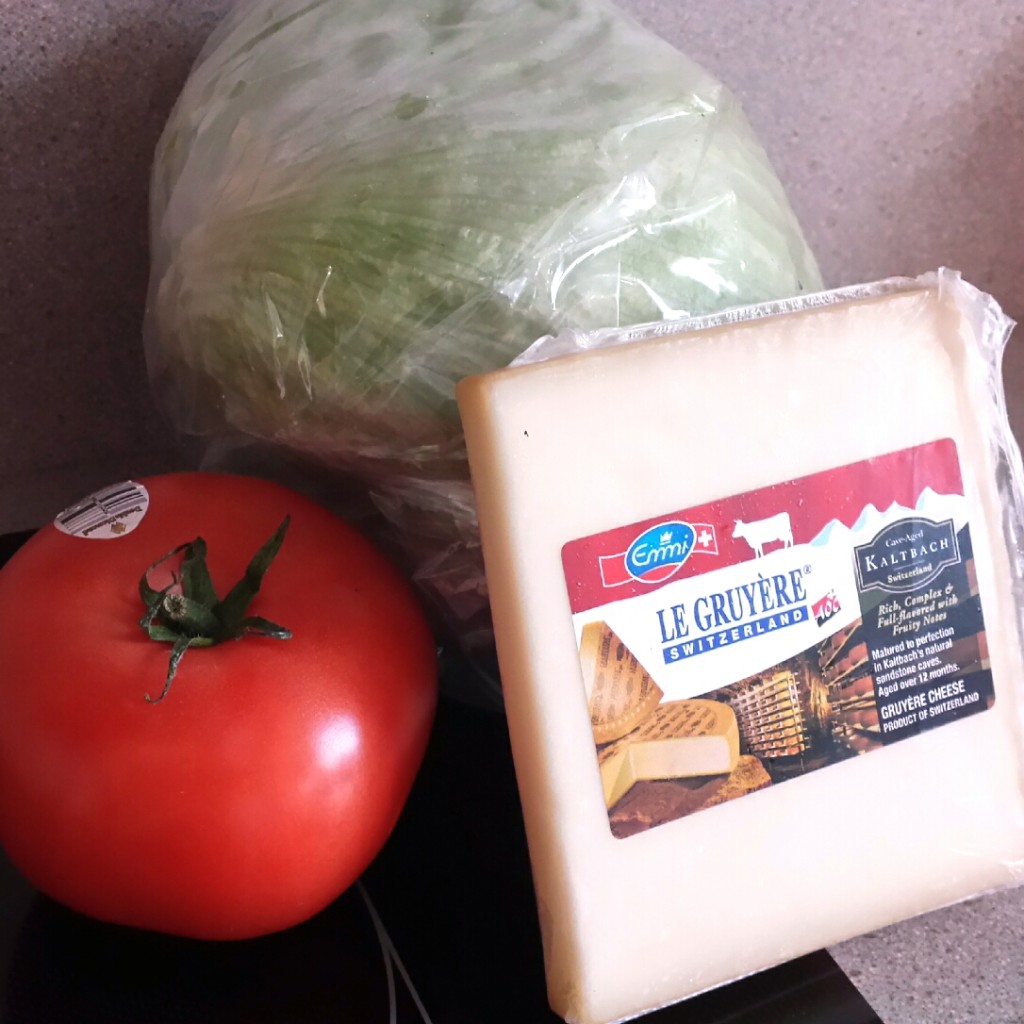
L is for lettuce
G is for gruyere cheese
B is for bacon (of course)
T is for tomato

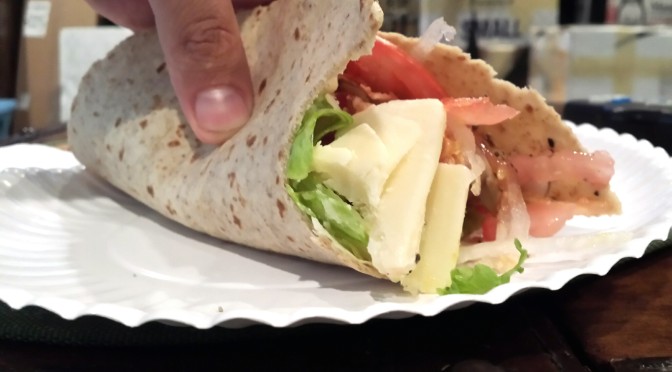
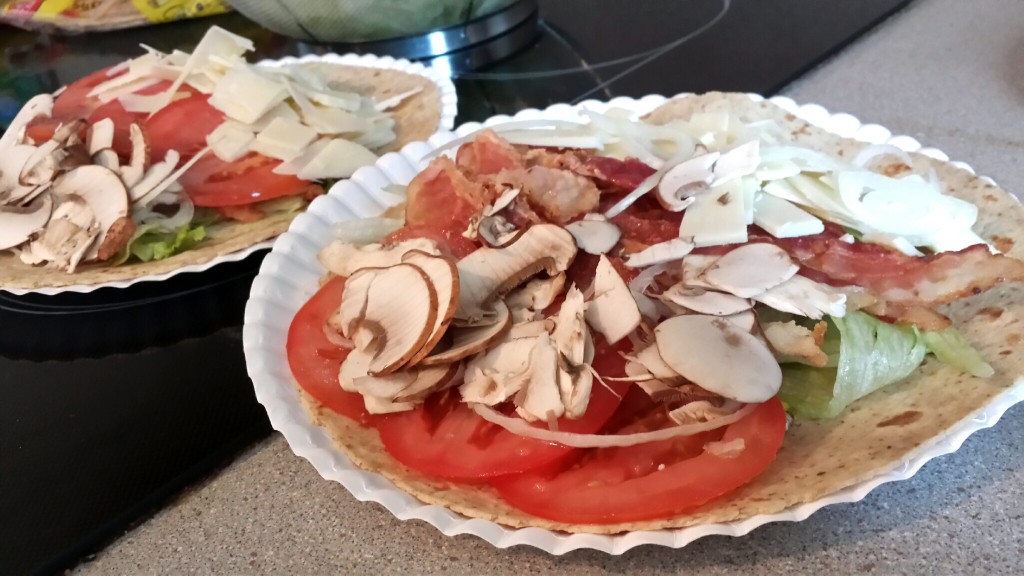
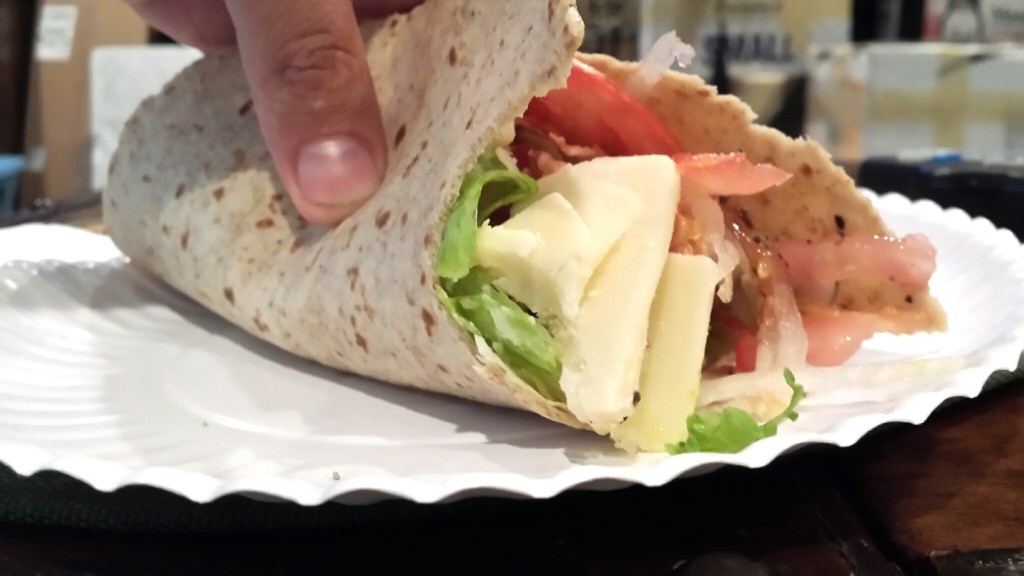
I used some whole wheat wraps we had laying around that I wanted to use before the move back to NYC. Add some sliced onions and mushrooms, cracked black pepper, and a little mayo or mustard to round it off, and you’ve got a queerly tasty sandwich. Get it? KNEE-SLAP!

20140629_135023_LLS (1)

20140629_141104_LLS (1)

20140629_141524_LLS (1)

Chocolate Donut Tacos

This is simple and fucking delicious. But make this your only calories for the day, since it is a fat guy snack for sure.

20140513_195422_LLS

Step 1
Flatten a glazed donut with a rolling pin. Don’t mash it.

20140513_203409_LLS

20140513_203535_LLS

Step 2
Add a dollop of chocolate pudding on top to be the main filling (or you can use Greek yogurt if you want to be a healthy dick about it).

Step 3
Sprinkle on some Cinnamon Toast Crunch, shredded coconut, and chopped almonds or cashews. Also add a strip of bacon, that is, if you have massive testicles swinging between your legs.

20140513_203817_LLS

Step 4
Drizzle some sweetened condensed milk across your mountain of yum.

Step 5
Fold in half and eat it, taco style.

20140513_203908_LLS

I was happy to see that Hungry Dad Hugh Gallon made these at home one day, and he put together a nice image of his process. Is that Yoohoo in there? NICE ADDITION!!!

kevins chocolate donut tacos

Roman Ramen

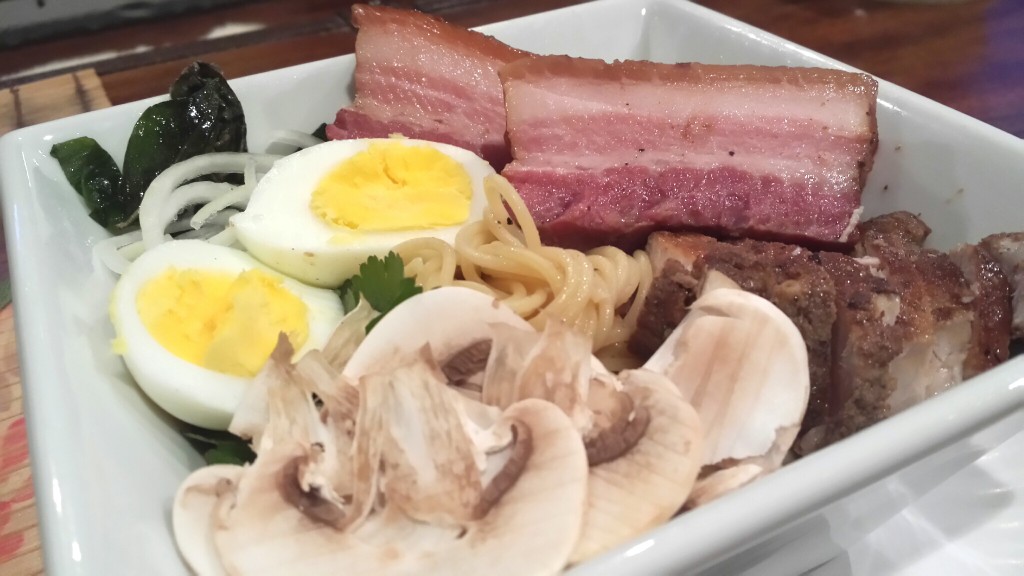
Taking inspiration from Maialino, I tried making my own homemade “Roman Ramen.” It turned out pretty fucking awesome, so I figured I would share my technique with you, my loyal meat minions.

Shit you’ll need:

  • Package of Boneless Pork Ribs or Pork Shoulder
  • Package of Hormel “Salt Pork”
  • Slow Cooker
  • Rosemary
  • Turkey Stock
  • Chicken Stock
  • Beef Bullion Cubes
  • Onion
  • Garlic
  • Garlic Oil
  • Garlic Powder
  • Onion Powder
  • Onion Oil
  • Olive Oil
  • Szechuan Pepper Oil
  • Fresh Cilantro
  • Fresh Italian Basil
  • Oregano
  • Salt
  • Cracked Black Pepper
  • Crushed Red Pepper
  • Egg
  • Mushrooms

Prep: Step 0
Sear or quickly brown your pork meat and salt pork in a frying pan with a little bit of olive oil and seasonings. Then put into a slow cooker with dry spices (oregano, red pepper, salt, black pepper, garlic powder, onion powder), and add water so that meat is just covered with water. Set on low for 6 hours.

Step 1
Put your chicken and turkey stock to a pot. Add two or three beef bullion cubes in, as well as a healthy handful of rosemary, twiggy bits and all. Bring to a simmer, then add your dry spices to taste (oregano, red pepper, salt, black pepper, garlic powder, onion powder). Now add your oils in to taste (garlic, olive, pepper, onion) – all of which are optional, but they really do boost the flavors incredibly.

Step 2
Meanwhile, you should rinse and prep your toppings, which will be fresh cilantro, fresh basil, raw thinly sliced onions, and raw thinly sliced mushrooms.

Step 3
Add water to a large pot and turn on high. Add a few eggs in (these will eventually be part of the toppings). Once the water reaches a boil, remove the eggs and add a box of dry spaghetti. After about nine minutes your spaghetti should be done. Strain it and hit it with some olive oil to prevent sticking.

Step 4
Strain your soup base to get all the rosemary bits out. Then ladle some soup into a bowl. Add a portion of spaghetti, and arrange your toppings neatly, as the Japanese do. Don’t forget your eggs! Peel and slice.

Step 5 (optional)
One thing I wish I added here was a few stalks of broccolini. I had a bunch in the fridge but completely overlooked the shit. A few nicely sauteed stalks laying across the top of the soup bowl would have been a perfect way to get some healthy greens into the meal. Plus it would have looked even more beautiful than it did:

20140428_195739_LLS

20140428_202105_LLS

20140428_202124_LLS

20140428_202124_LLS_20140428203133708

20140428_202147_LLS

collage_20140428203822243

Bloody Mary Skirt Steak

This is a pretty simple one, and a close riff on one of my earlier skirt steak recipes. Buy yourself a bunch of skirts, some habanero peppers and some tomato juice (or Bloody Mary mix), and you should be pretty much set with the rest of the shit in your pantry.

Shit you’ll need:

  • Tomato Juice or Bloody Mary mix
  • Garlic Powder
  • Sea Salt
  • Cracked Black Pepper
  • Crushed Red Pepper
  • Fresh Habanero Peppers (optional)
  • Horseradish (optional)

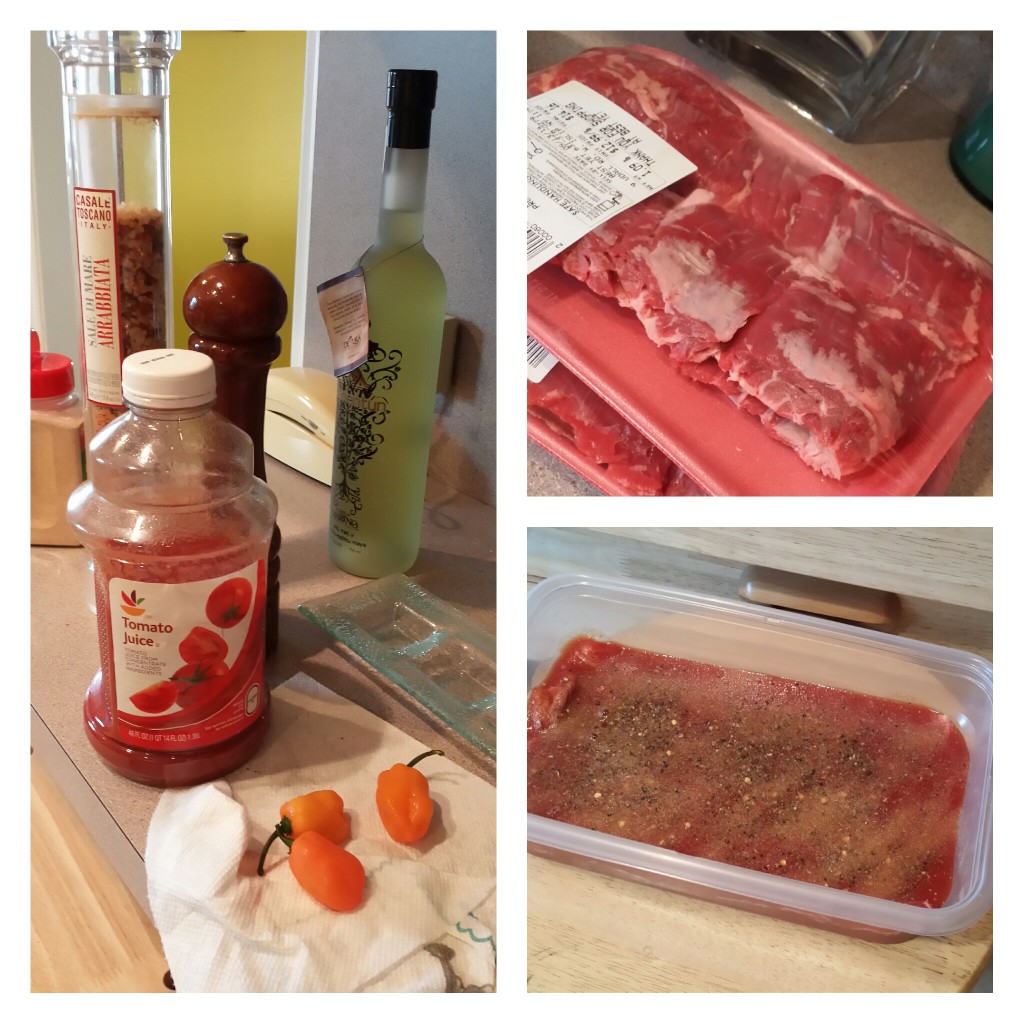
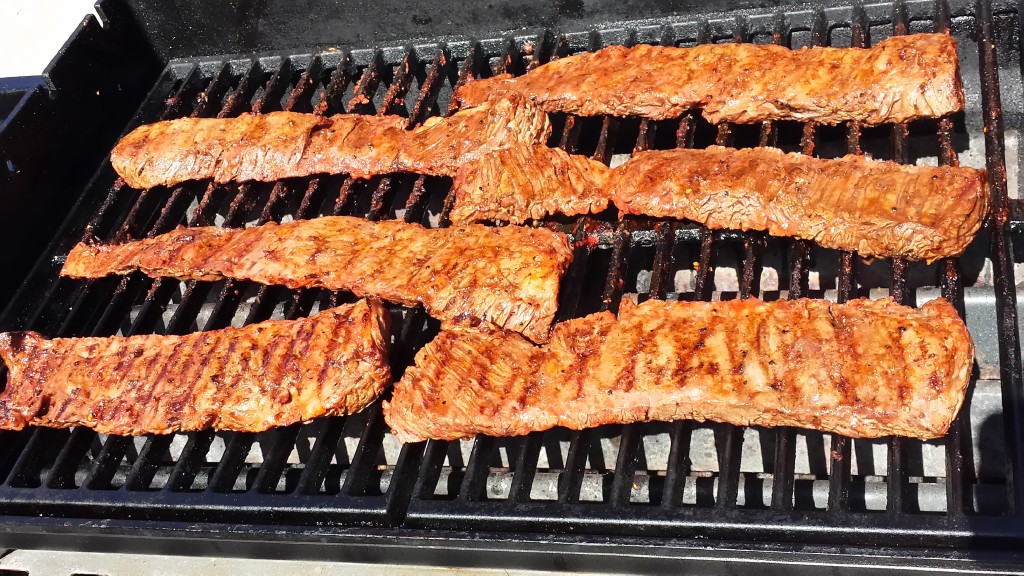
Grab a large, long piece tupperware and pour some tomato juice into the bottom to create a little layer of marinade. Season with crushed red pepper, cracked black pepper, salt, and garlic powder. Drop a few slices of your habanero pepper in too. Then place two of your steaks in, and repeat in layers until you run out of steaks. I like to use a whole pepper per layer, because I like spicy shit. Top off your tupperware with a little more juice and spices so every square milimeter of meat is covered with the marinade. Then throw that shit in the fridge for several hours, or overnight.

collage_20140511073503937

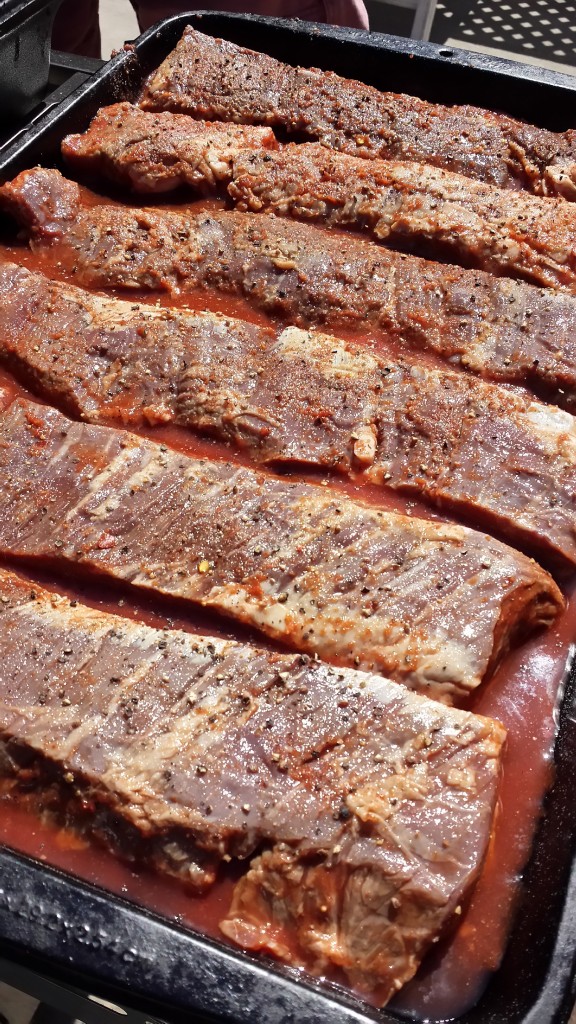
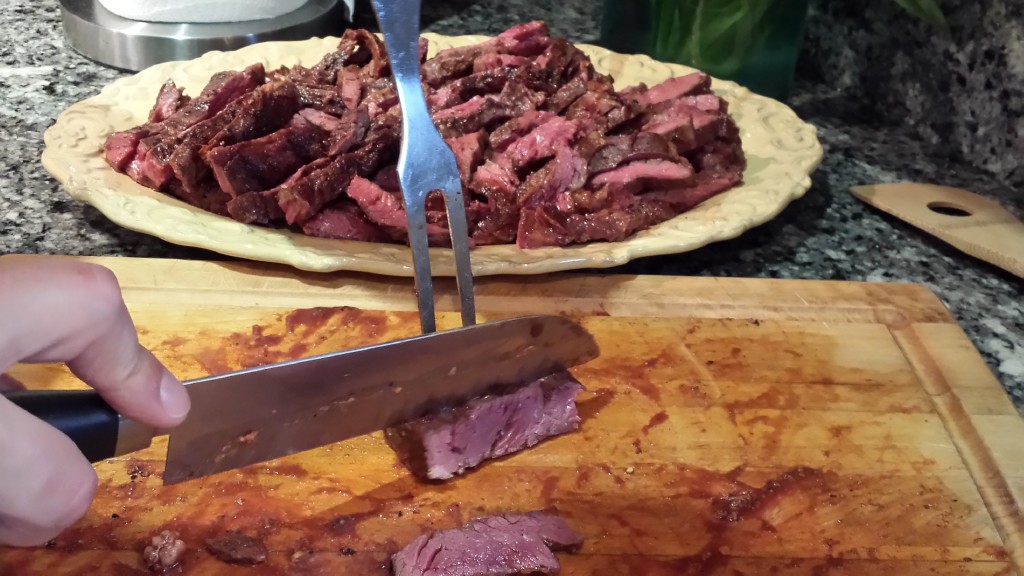
When you’re ready to eat, get your grill screaming hot. I’m talking 500 degrees or more. Drip-dry or paper-towel-dry the meat before you slap it on the grill. You want to get as much of the liquid off as you can, so that you end up with GRILLED meat instead of STEAMED meat. If you need that sauce for some reason, you can boil up the remainder of the marinade in a sauce pot to use as gravy topping, or you can baste lightly as the meat grills. If you have a little more time, you can reduce the marinade into a really awesome, thick BBQ sauce. It comes out delicious when you do it right.

20140511_102656_LLS

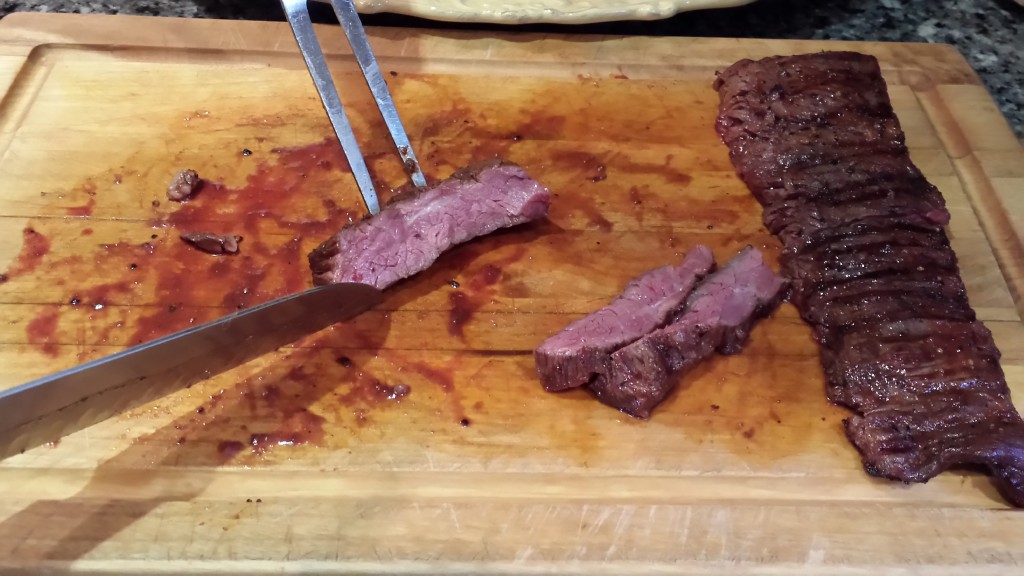
You’ll only need about three minutes per side, max, to get a nice medium rare temperature. So three minutes, flip, three minutes, then pull them off and let them rest.

20140511_103625_LLS

20140511_103805_LLS

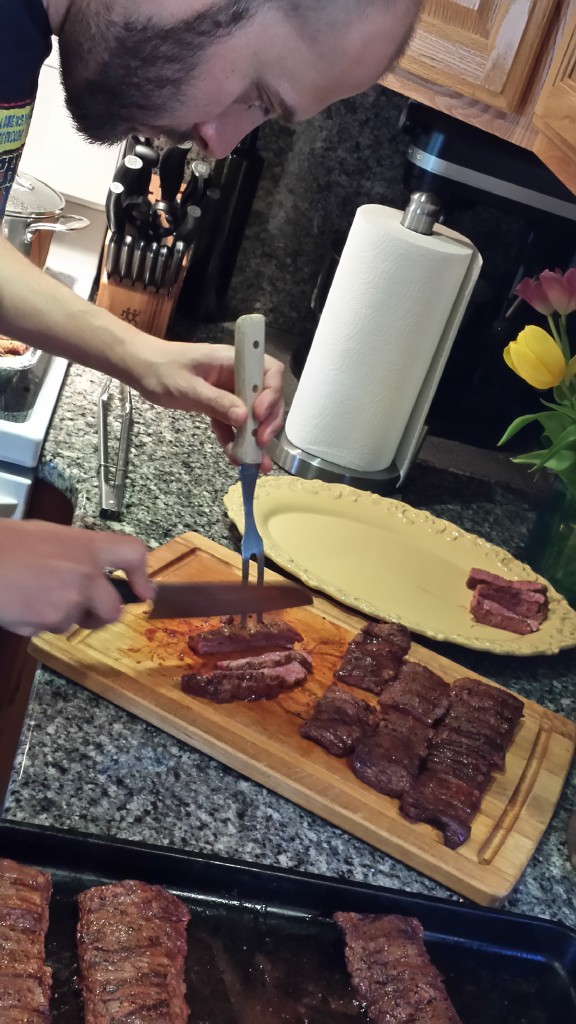
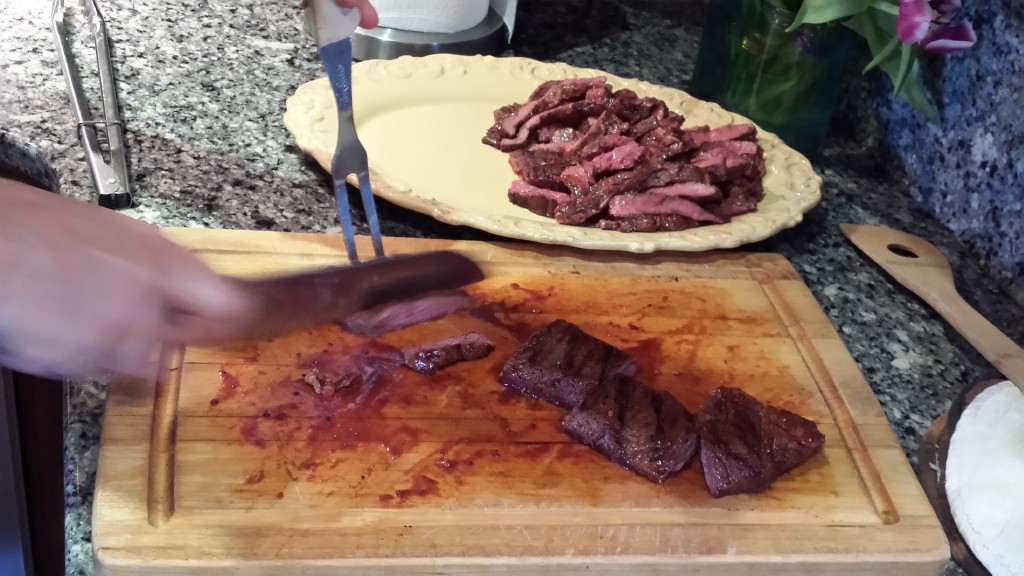
Now here’s the key part of the process – the slicing… First, cut your skirts WITH the grain into four or five inch chunks. Then, spin each piece 90 degrees and slice AGAINST the grain for plating and serving. This cross-grain cutting is absolutely key to eating this kind of steak. It makes for an easier-to-chew bite of meat; way more tender.

20140511_104551_LLS

20140511_104838_LLS

20140511_104717_LLS

20140511_105205_LLS

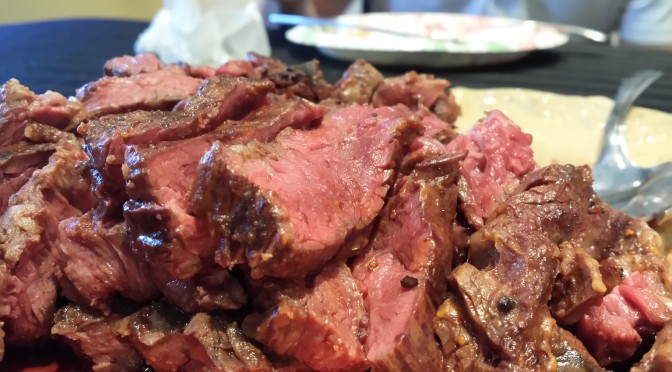
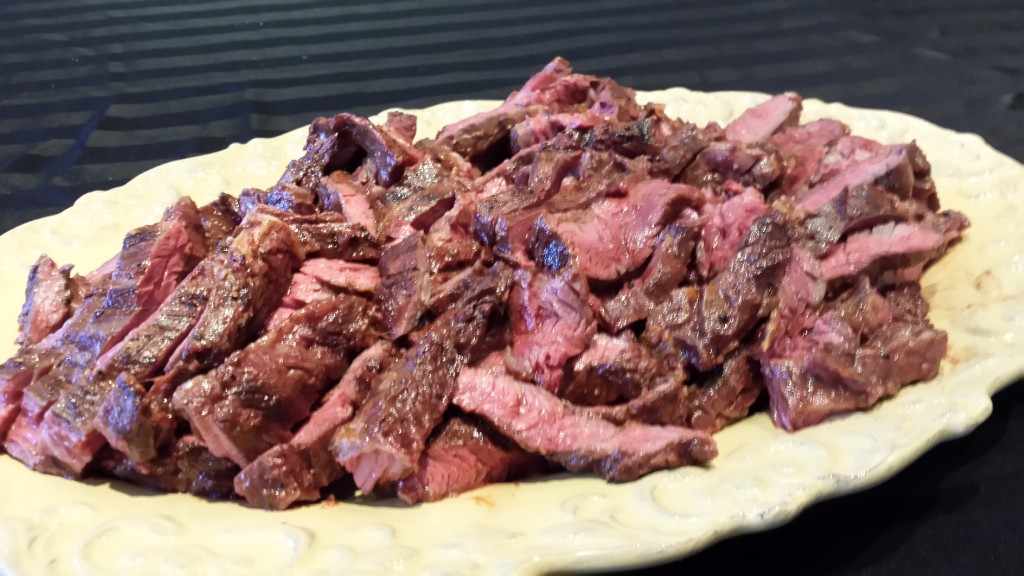
The finished product: a plate of delicious meat. Pour some of your boiled marinade over the slices if you want, and throw a little horseradish on top. Enjoy with a refreshing Bloody Mary to double down on the flavors.

20140511_105343_LLS

20140511_105328_LLS

20140511_110636_LLS

A fun part of this – take your leftover meat and broil in the oven on some garlic bread smothered with mozzarella cheese to make an incredible sandwich. Good shit.

Sweet & Spicy Pork Sandwich

I whipped this bitch up after a surprise trip to the Mosner family meat processing plant for a tour and butchery class. Check out my write-up of that shit HERE.

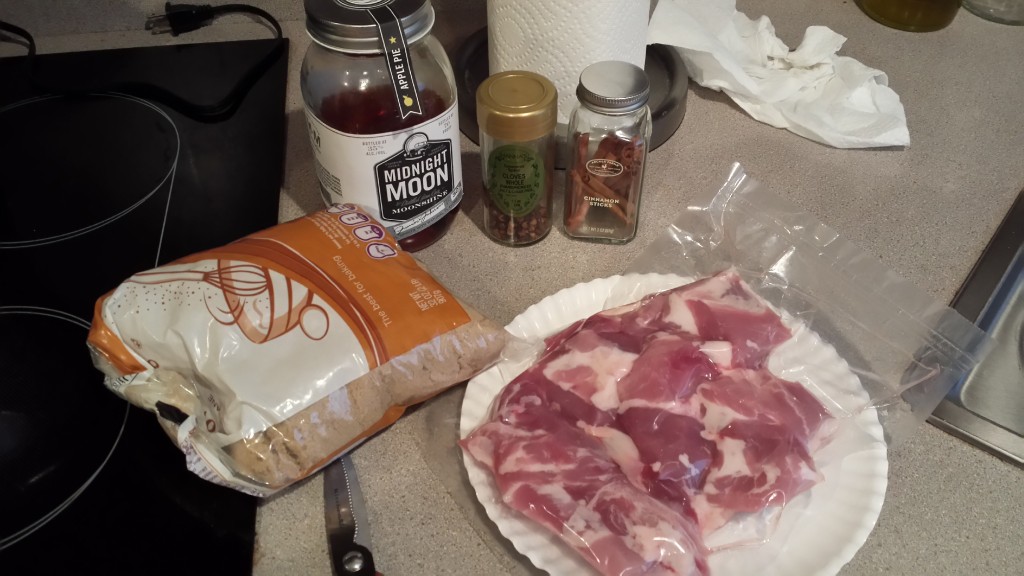
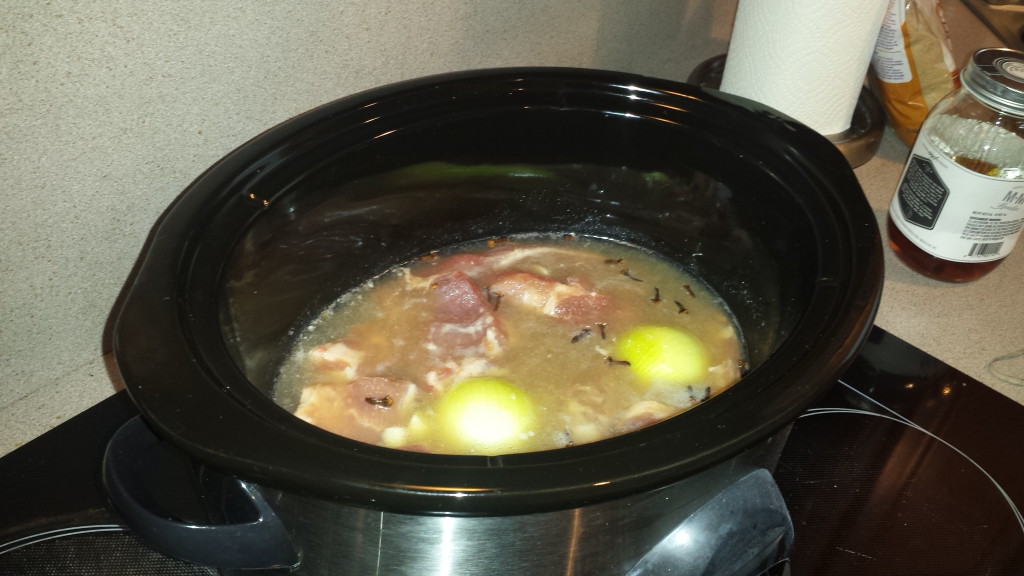
Once we got home, I was itching to try some of what we just worked on, so I took the stew meat scraps and threw them into the slow cooker with some apple shit and some spice shit.

20140405_181252_LLS

I set it on low and slow. Four hours later the result was amazing. My wife and I threw it onto a sandwich with some pickled cabbage and a spicy mayo. Check out the recipe below assholes:

What you need:

  • about a pound, or pound and a half, of pork stew meat
  • apple moonshine or brandy (3/4 cup)
  • can of apple sparkling water (12oz) or apple juice
  • one serving of apple sauce (unsweetened – 4oz)
  • 2 tbsp brown sugar
  • 3 cloves of garlic (cut each into thirds or quarters)
  • 1 small to medium sized onion (halved)
  • kosher salt to taste
  • crushed red pepper to taste
  • cloves (about 10)
  • 1 small cinnamon stick
  • fresh cracked black pepper to taste
  • handful of baby carrots, sliced thin
  • shredded cabbage
  • white vinegar
  • mayo
  • habanero hot sauce or sri racha sauce
  • sliced jalapeno
  • sub/hero bread

THE MEAT

1) Mix the apple sauce, apple brandy, and apple sparkling water to use as a braising liquid base. Add to the slow cooker.

2) Drop your stew meat into the slow cooker.

20140405_182207
stew meat swimming in the slow cooker

3) Add salt, pepper, crushed red pepper, cloves, cinnamon, garlic, and onion into the slow cooker.

Me, magic-wanding in a mix of kosher salt and crushed red pepper

4) Set slow cooker to 4 hours on LOW. Mix that shit around every so often while it’s going.

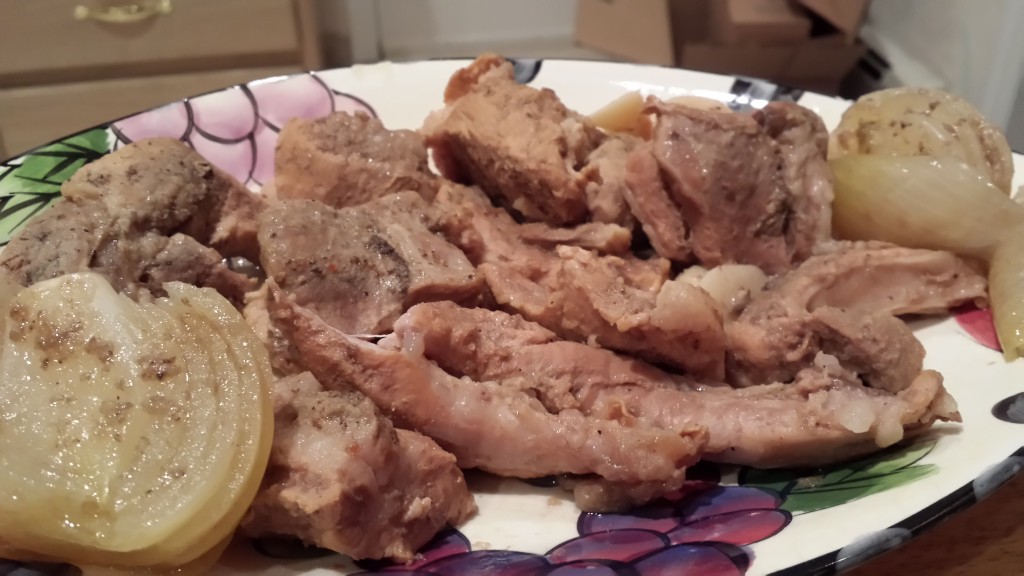
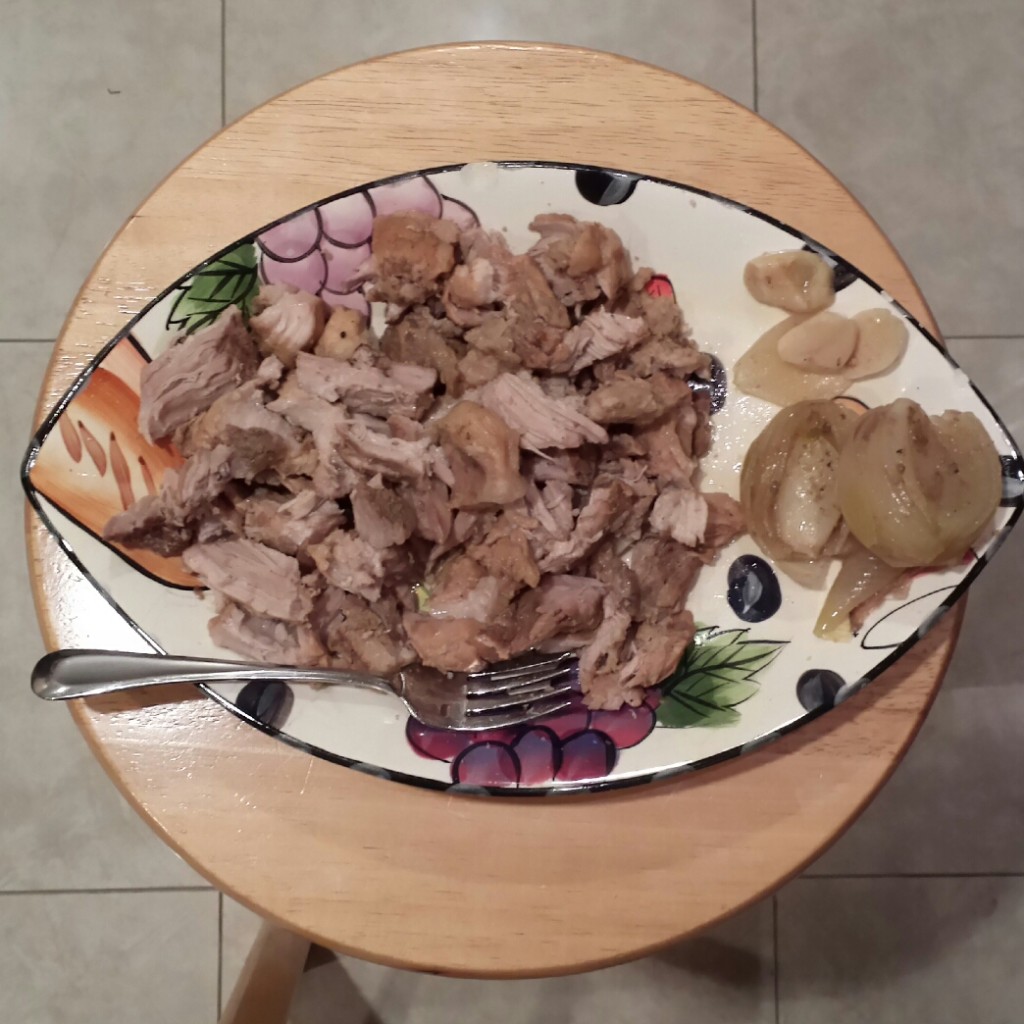
5) When finished, pull out of the liquid and cut the meat into manageable chunks for a sandwich.

20140405_223936_LLS 20140405_224404_LLS

NOTE: This meat is going to come out sweet if you go light on the spice, so what I did below was create some extras to balance the sweet with a little kick of spice. Be a man – do it.

THE TOPPING

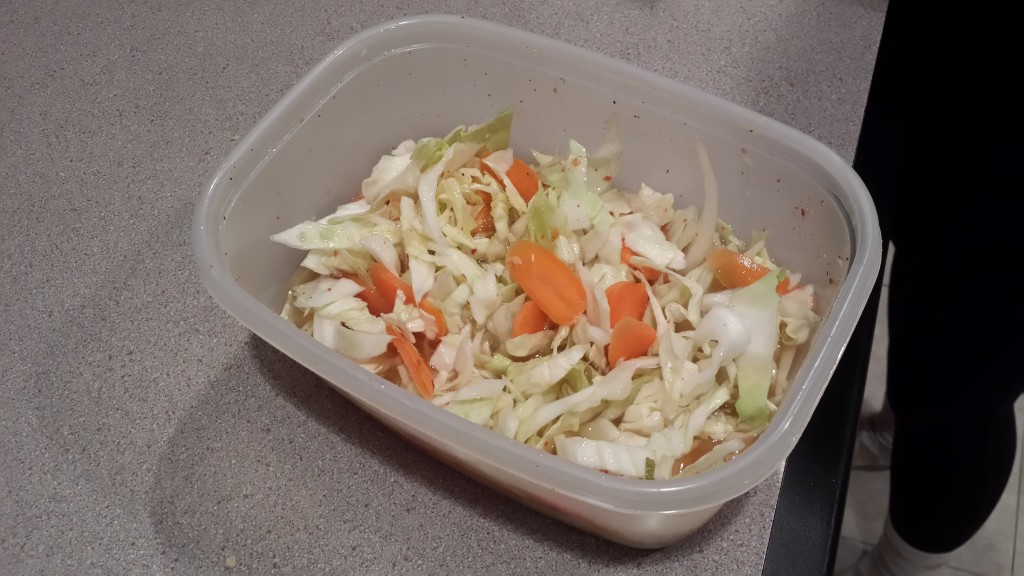
1) Get some tupperware and put the carrots, cabbage and white vinegar into it.

2) Add some spices as you see fit.

3) Let that shit sit and soak until it’s party time.

20140405_224910_LLS

THE DRESSING

1) Add habanero sauce or sri racha sauce to mayo as you see fit.

2) Mix.

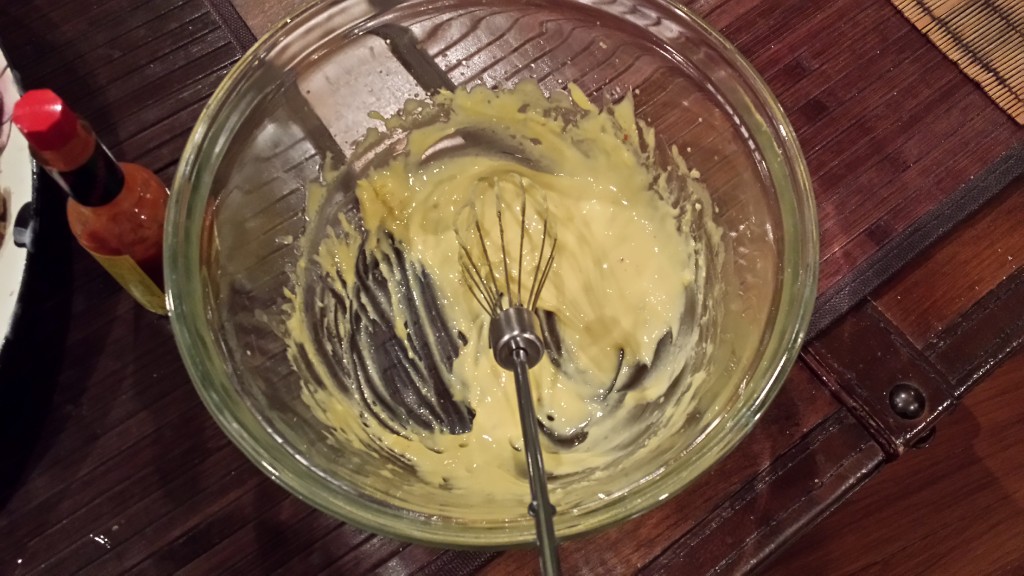
NOTE: if you have the ability, like my wife did, then you should make your own mayo from fucking scratch. How? Whisk together 1 egg yolk, a little blob of dijon mustard, a little white vinegar, a pinch of salt, a little olive oil, and a squirt of lemon juice until it becomes like a nice aioli. That shit will have a little zing of acid to cut the sweetness and spice of the other sandwich elements.

homemade mayo/aioli
homemade mayo/aioli

PUT ALL THAT FUCKING SHIT TOGETHER

1) Toast your bread to your liking.

2) Assemble the sandwich by first dressing each side of the bread with the mayo/aioli.

3) Add your meat and some of the pickled veggie topping. Here’s where you throw on some of those sliced jalapenos.

20140405_225932_LLS (1)

4) Eat that shit.

20140405_230109_LLS (1)

The Italian Peasant Sandwich

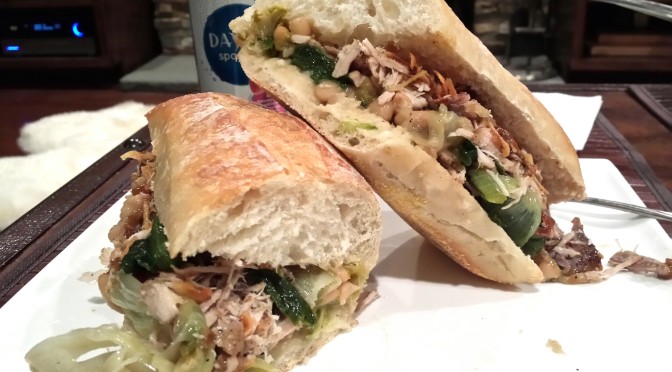
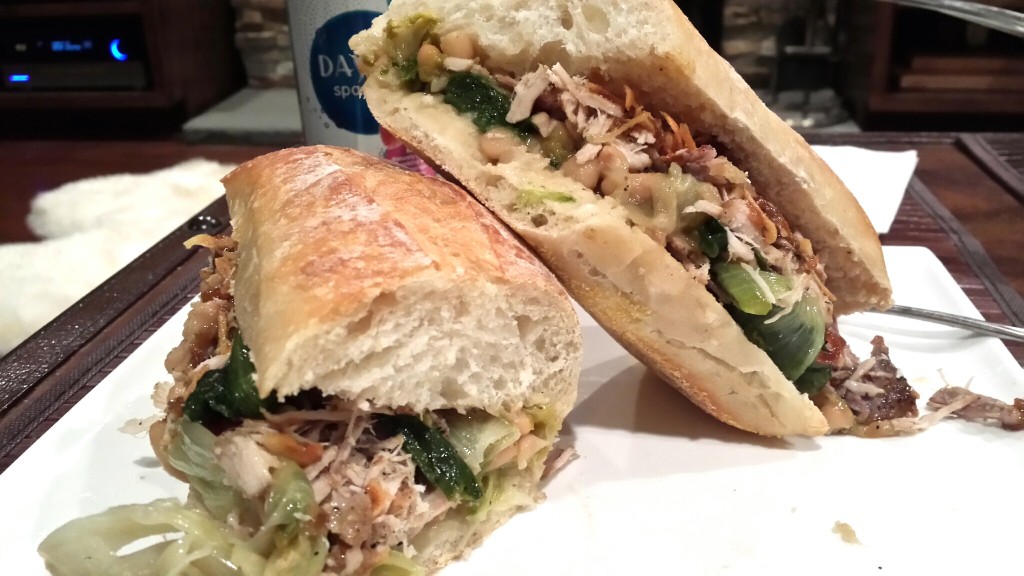
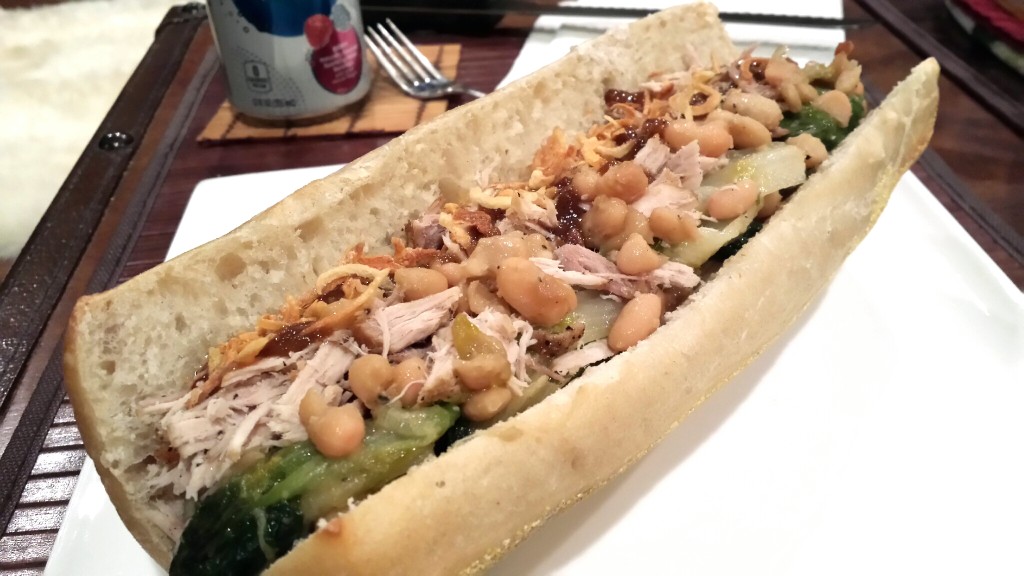
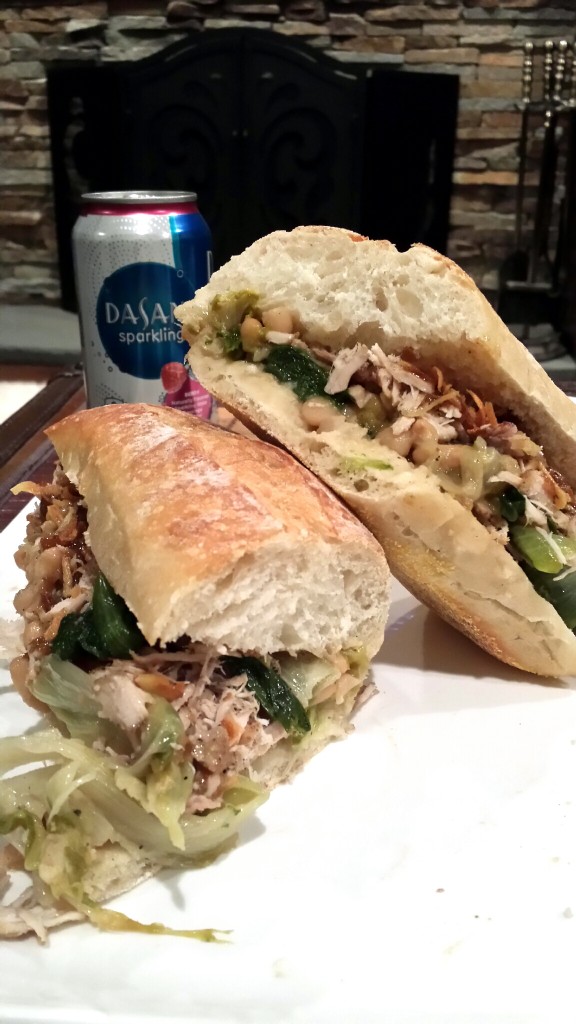
I grew up eating some classic Italian peasant food; recipes that were handed down from the old country to the new country. One such dish was escarole and beans. My mom used to make it so that it was like a porridge or thick soup. I thought: maybe I could make it less watery and throw it onto a sandwich with some braised pork. Below is what I came up with. I call it the Italian peasant sandwich.

20140324_194425_LLS

What you need:

  • 1 lb Boneless fatty pork meat (I used country style ribs here, but pork butt works too)
  • 1 head of thoroughly rinsed escarole
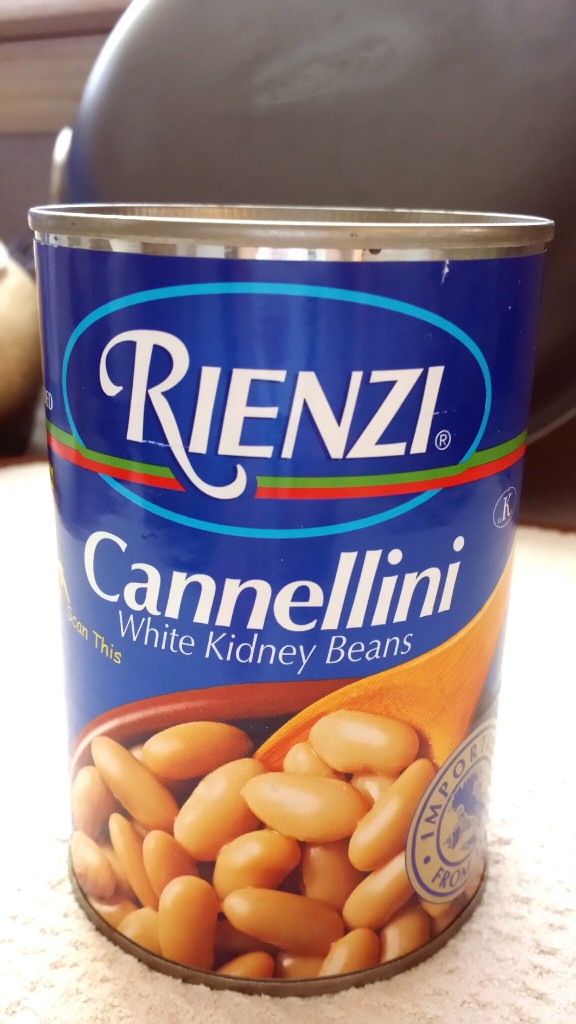
  • 1 can of cannellini beans (white kidney beans)
  • Crusty style sandwich bread – I would go with two 10-inch rolls
  • 5 Cloves of garlic (2 for the braise and 3 for the sautee)
  • Olive oil
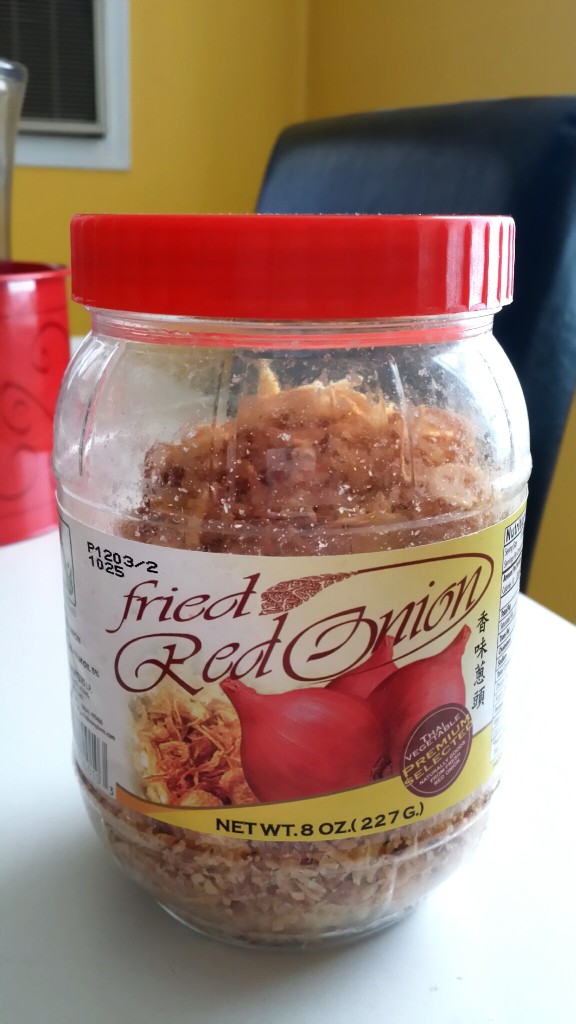
  • Crispy fried onions or shallots
  • Unsalted butter
  • Slow cooker or crock pot
  • A few sprigs of rosemary
  • Cheap white wine
  • Onion flakes
  • Onion powder
  • Crushed red pepper
  • 3 Thai chili peppers
  • Salt
  • Black pepper

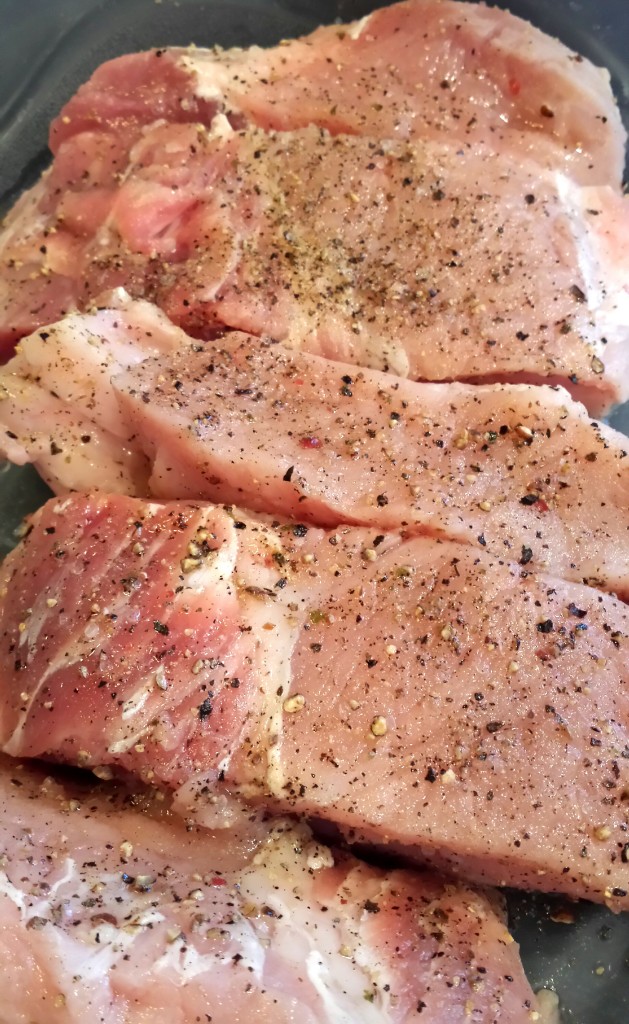
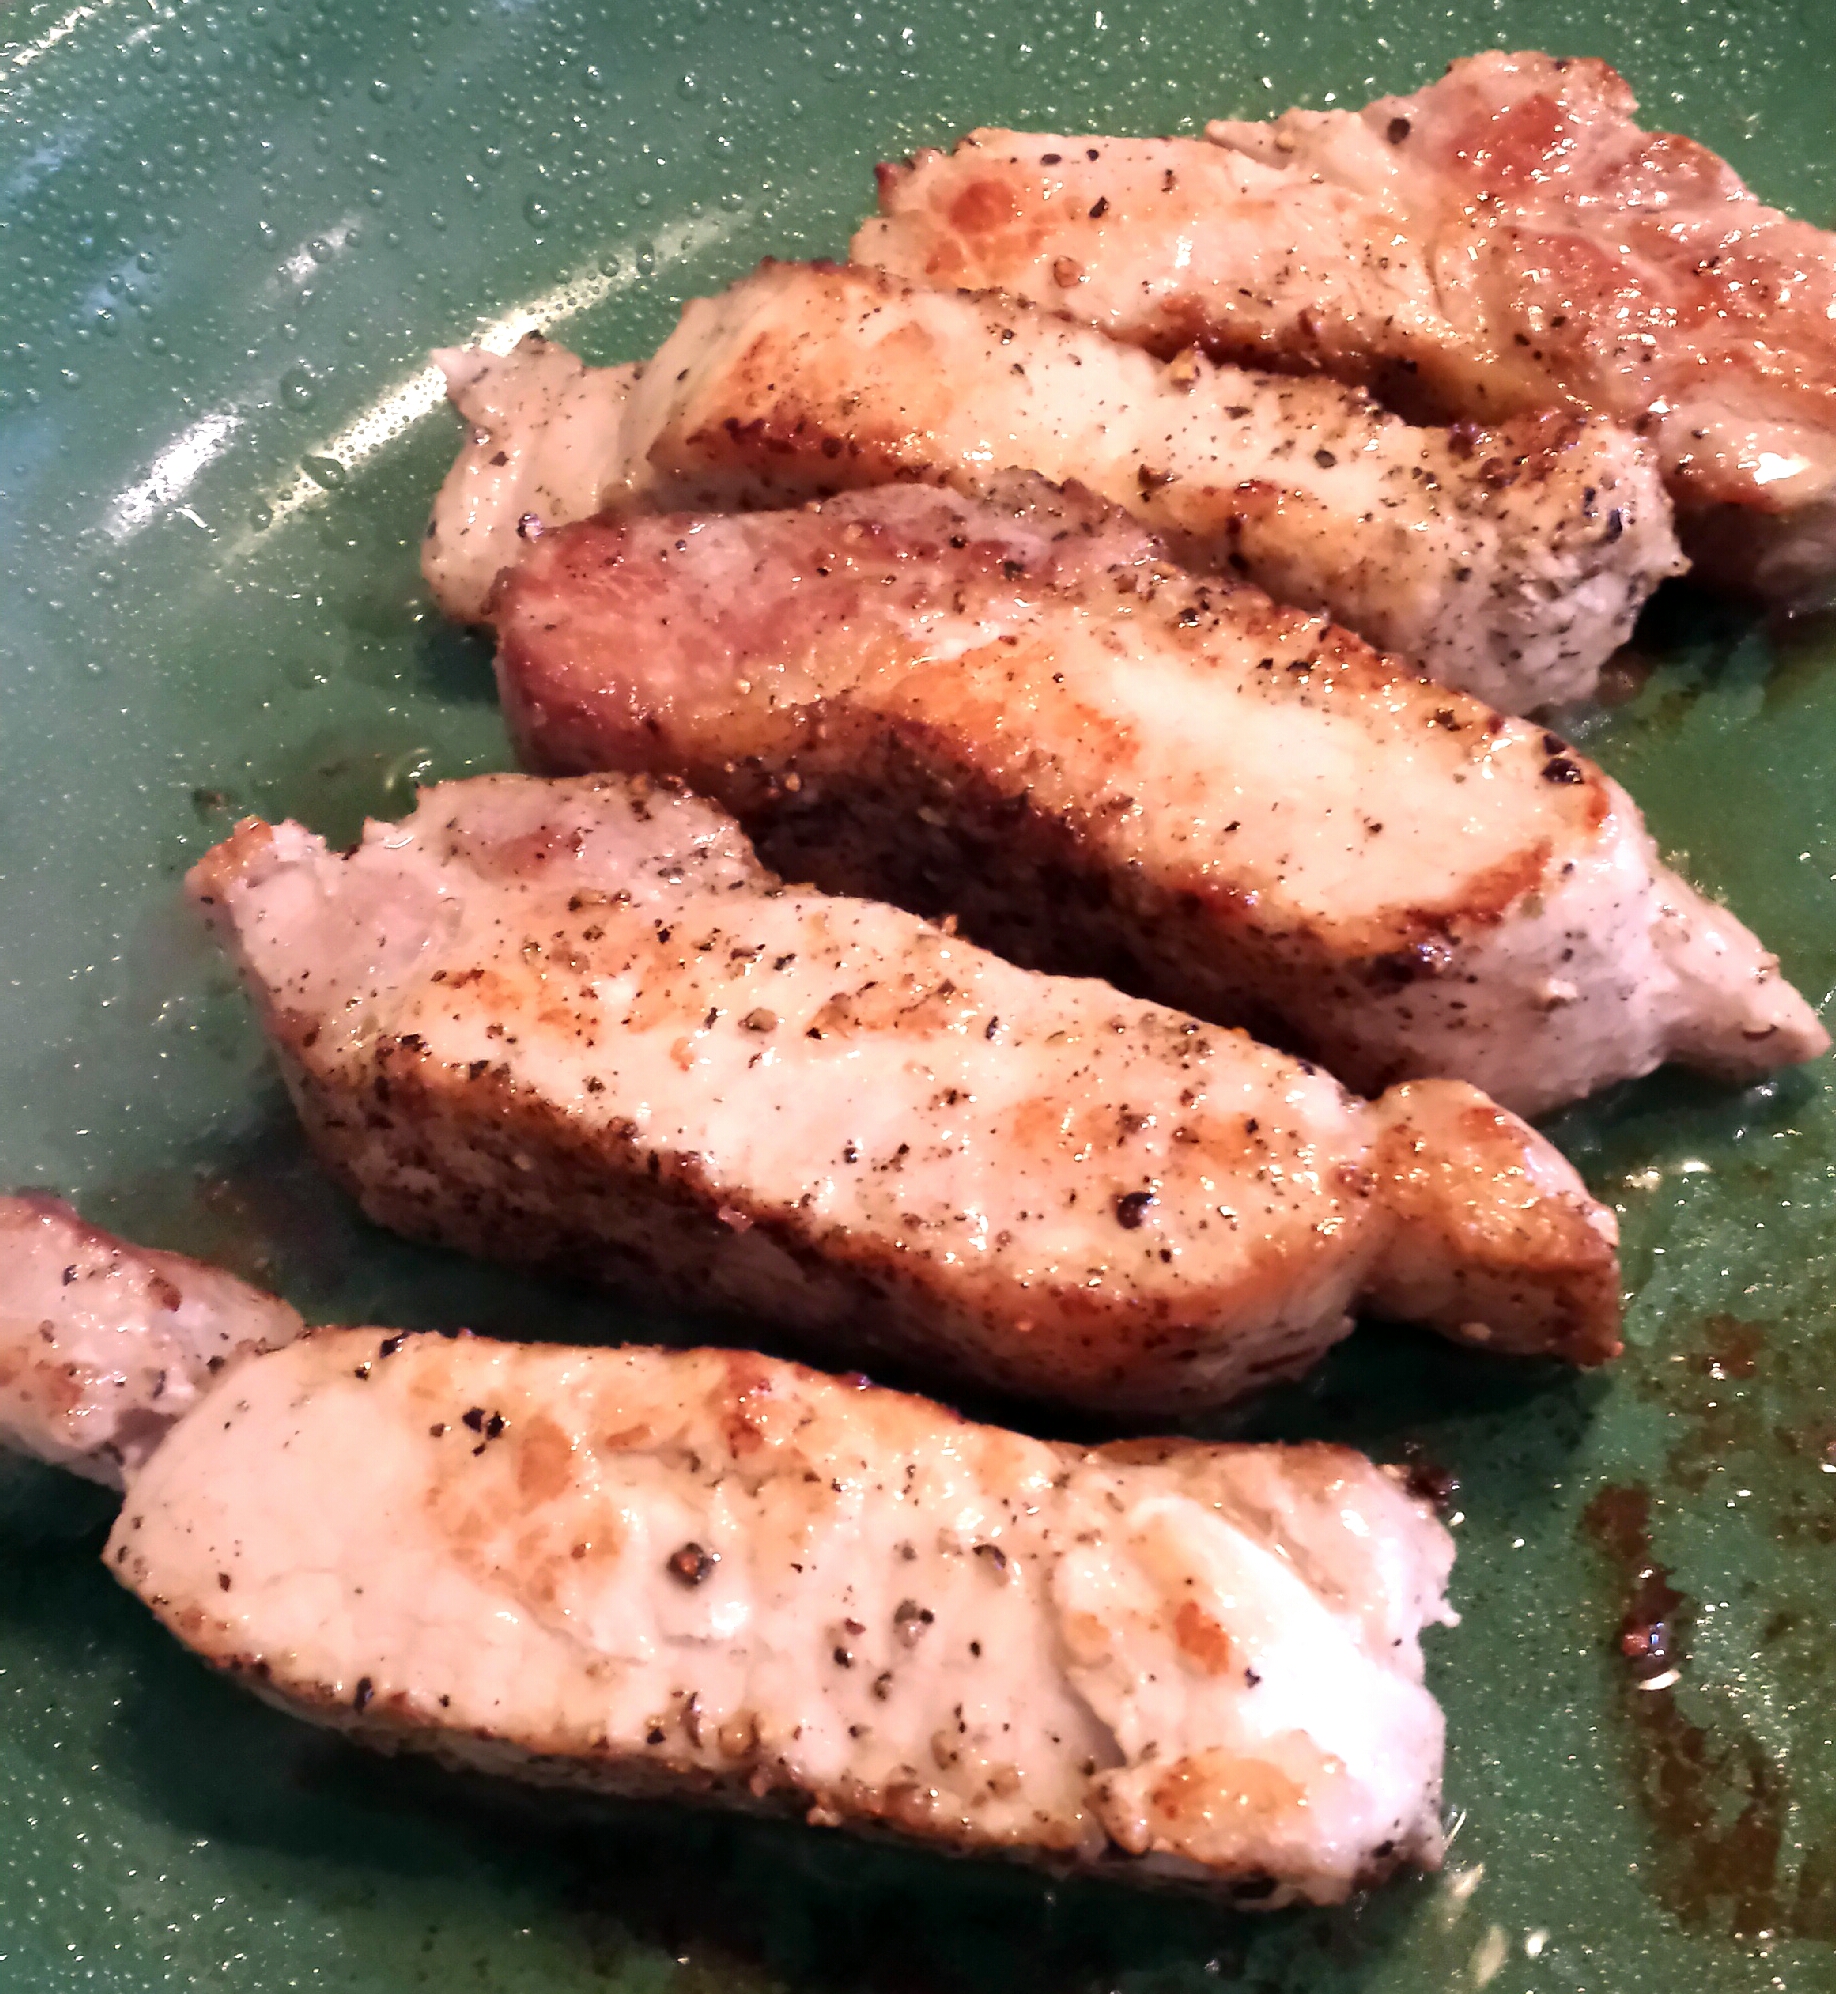
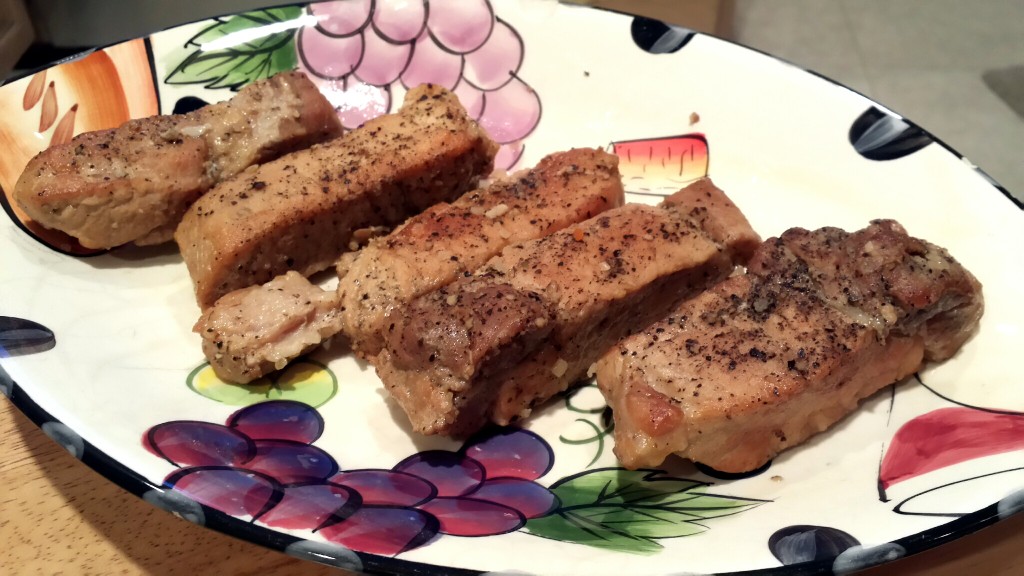
Step 1: Sear the pork quickly in olive oil after coating all sides with salt & pepper. This will lock in the pork’s juices when it braises. LEAVE THE PAN DIRTY – you will utilize that porky brown goodness in a later step.

20140324_153549_LLS

20140324_154052_LLS

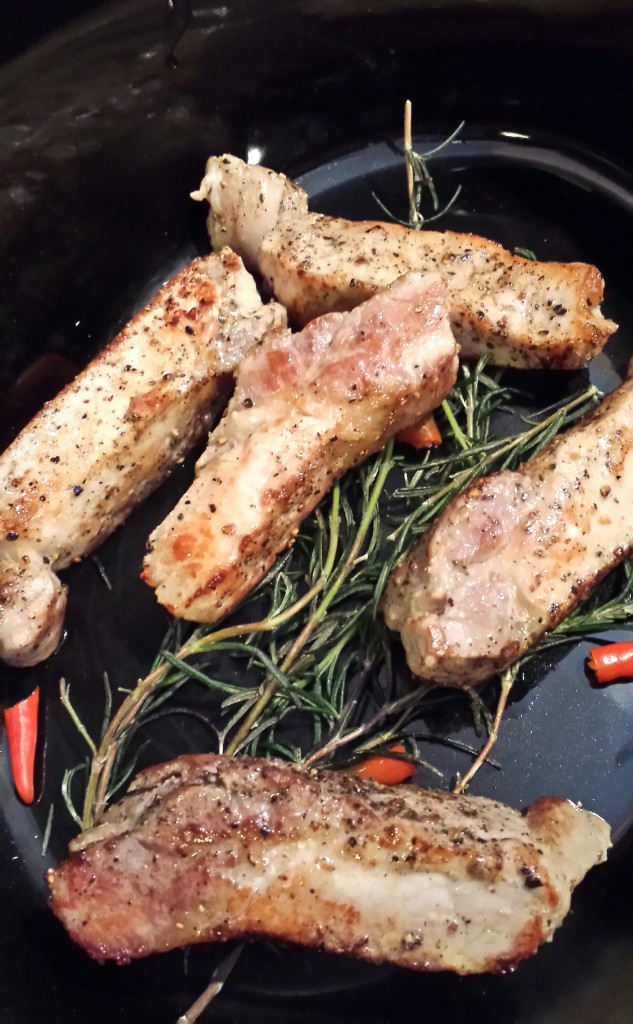
Step 2: Place pork into slow cooker with 2 cloves crushed garlic and wine, just enough to cover the meat. Maybe half to 3/4 of a bottle. Add salt, pepper, fresh chilis (cut into halves or thirds), onion powder, onion flakes, crushed red pepper, and rosemary. Set to cook 3 hours on high.

20140324_154218_LLS

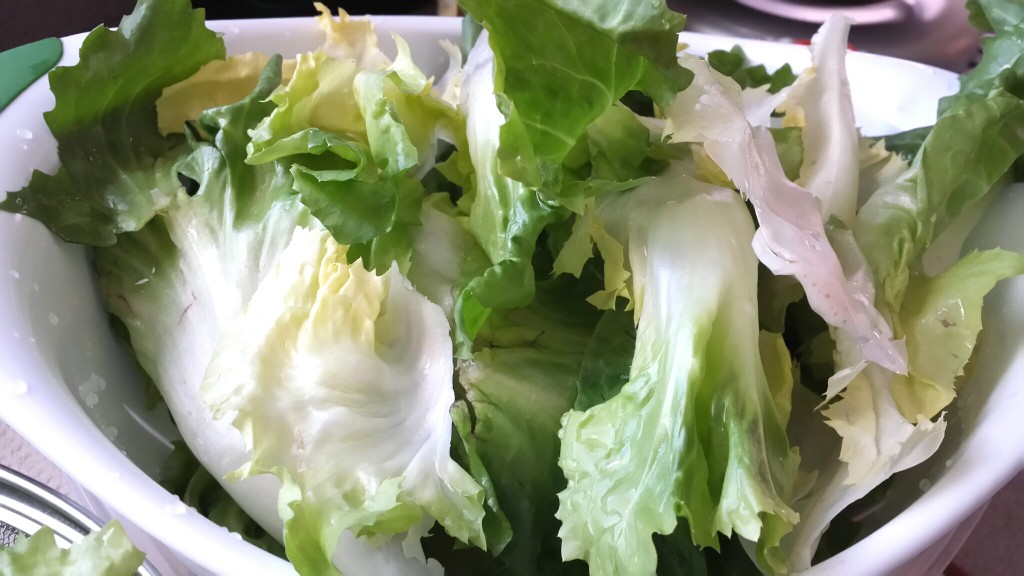
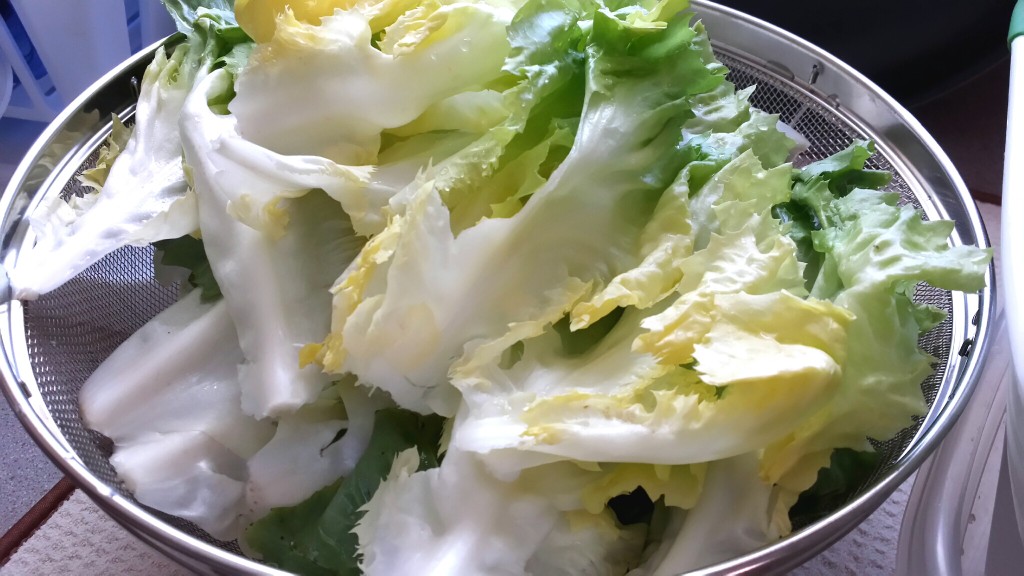
Step 3: Rinse your escarole to get all the fucking sand off. This green leaf is more “Sandy” than a chick with no arms and legs on a beach. Dry the leaves after rinsing.

20140324_150413_LLS

20140324_150440_LLS

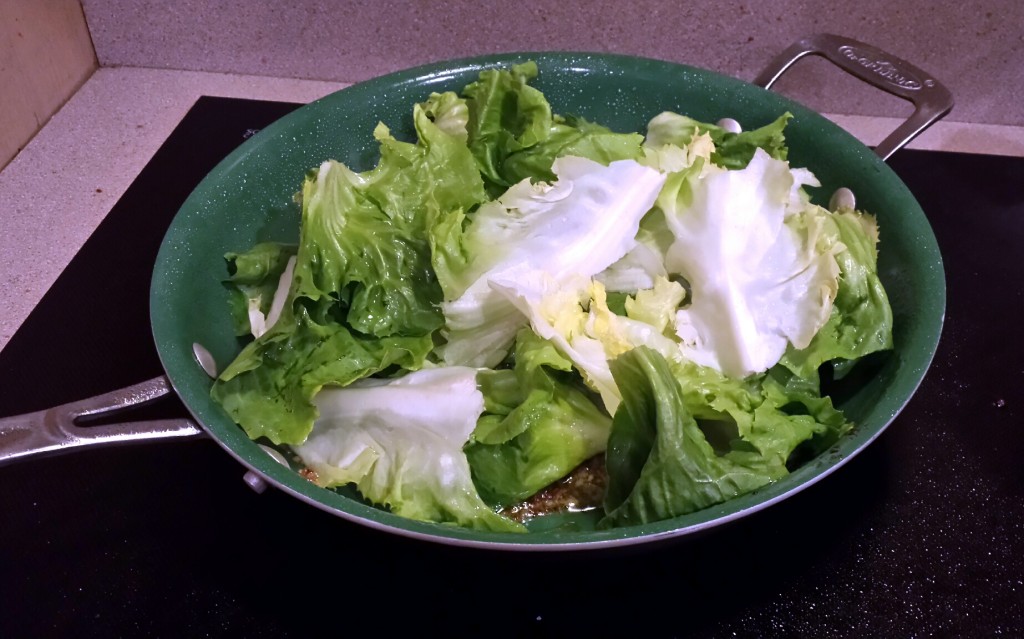
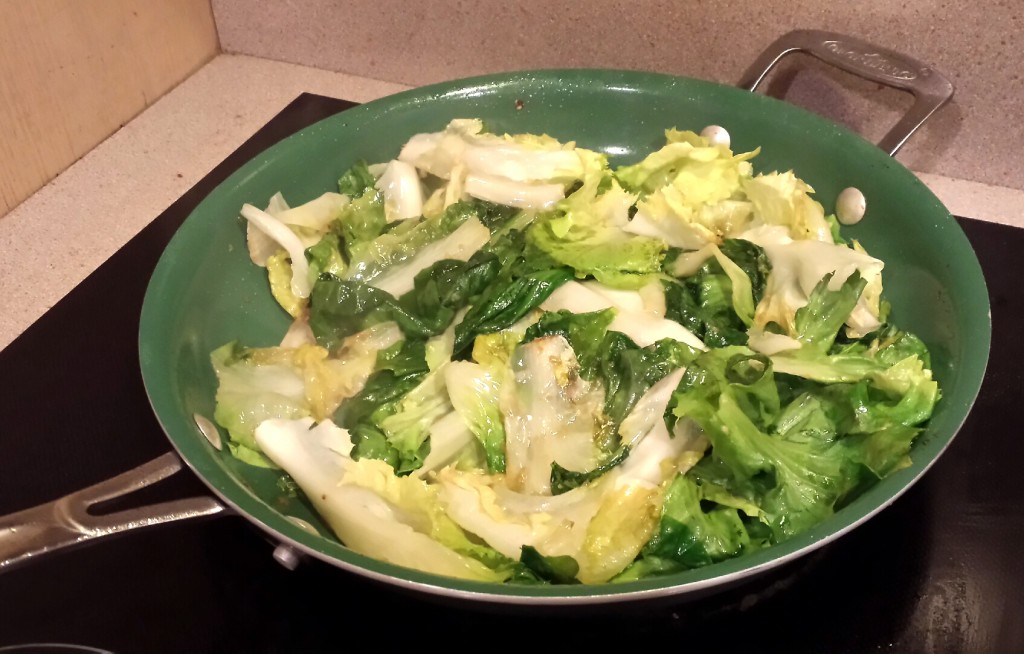
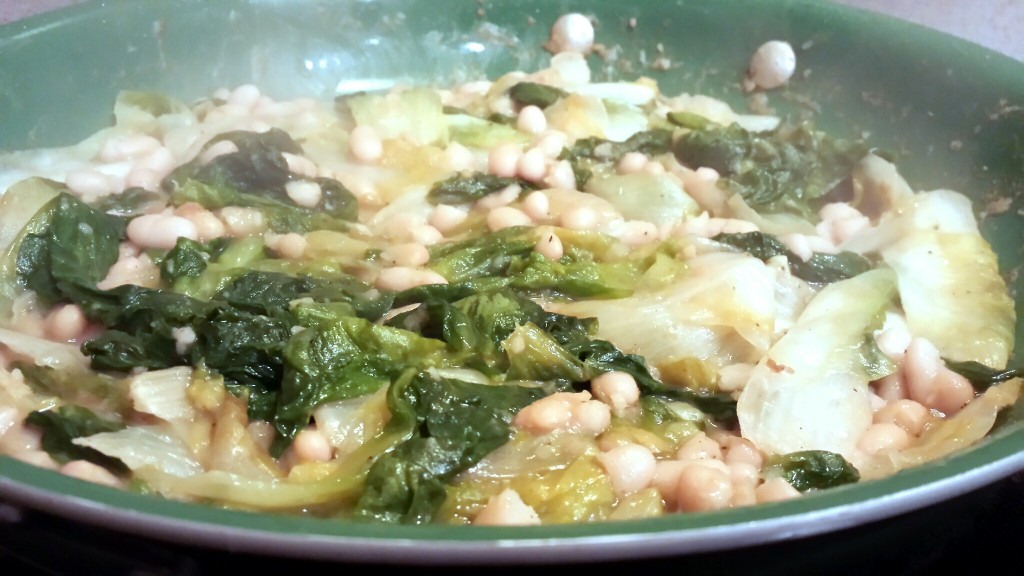
Step 4: Sautee the escarole with olive oil and 3 crushed garlic cloves on medium heat, putting it right back into the pan you just used to sear the pork. Start with half the escarole, let it wilt a little, and then add the rest. Trust me it will all end up fitting into a normal large sized pan.

20140324_191648_LLS

20140324_192050_LLS

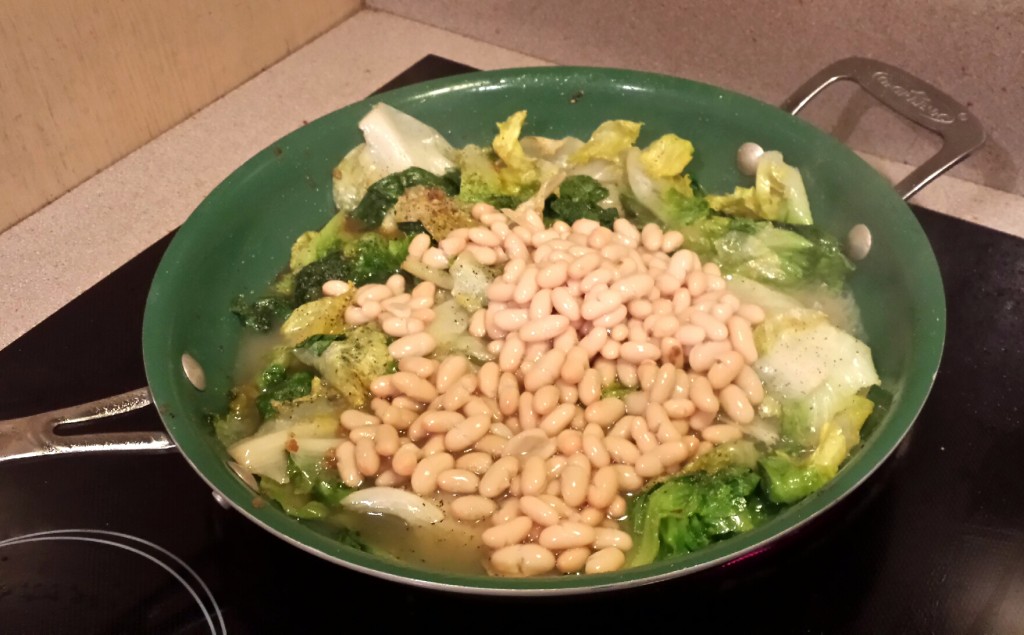
Step 5: Once the escarole is half wilted add the can of beans, plus the liquid in the can, and turn the stove to high. You want to boil off all the excess liquid while still retaining the flavor, infusing it into the leaves. Cook the liquid out, and add salt and pepper to taste as it finishes.

NOTE: As an alternative to adding the beans to the escarole in the traditional way, you could puree the beans into a spread, which you can then smear onto the bread.

20140324_150626_LLS

20140324_192212_LLS

20140324_192845_LLS

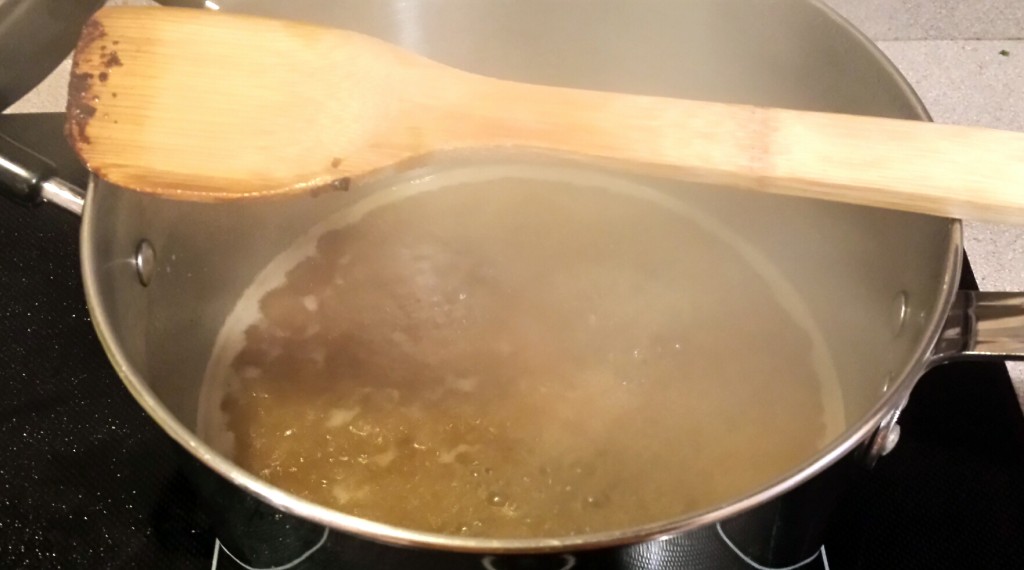
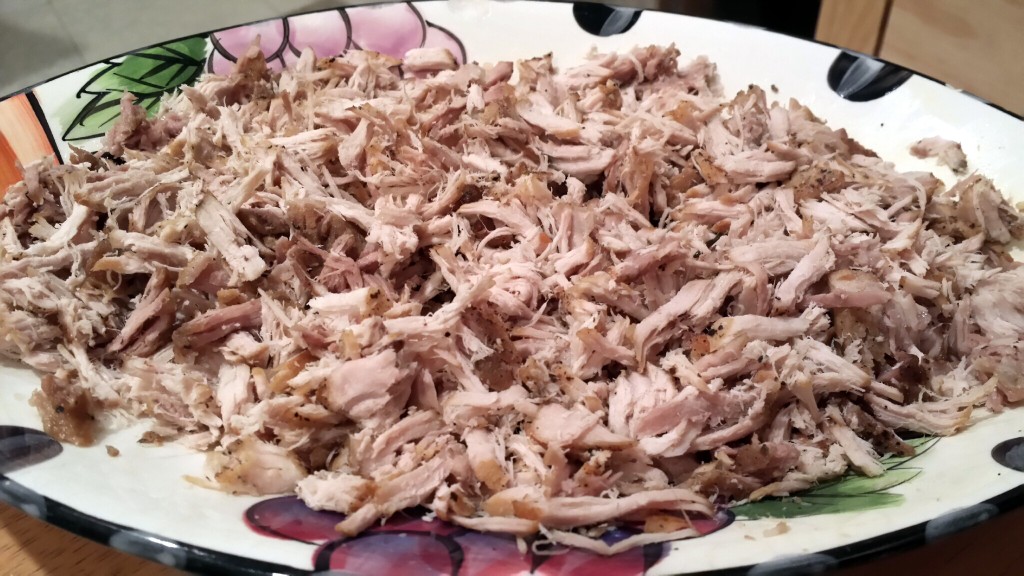
Step 6: Pull the pork meat out of the slow cooker and pour the excess braising liquid into a wide sauce pan or a wide based pot.

20140324_190125_LLS

20140324_191700_LLS

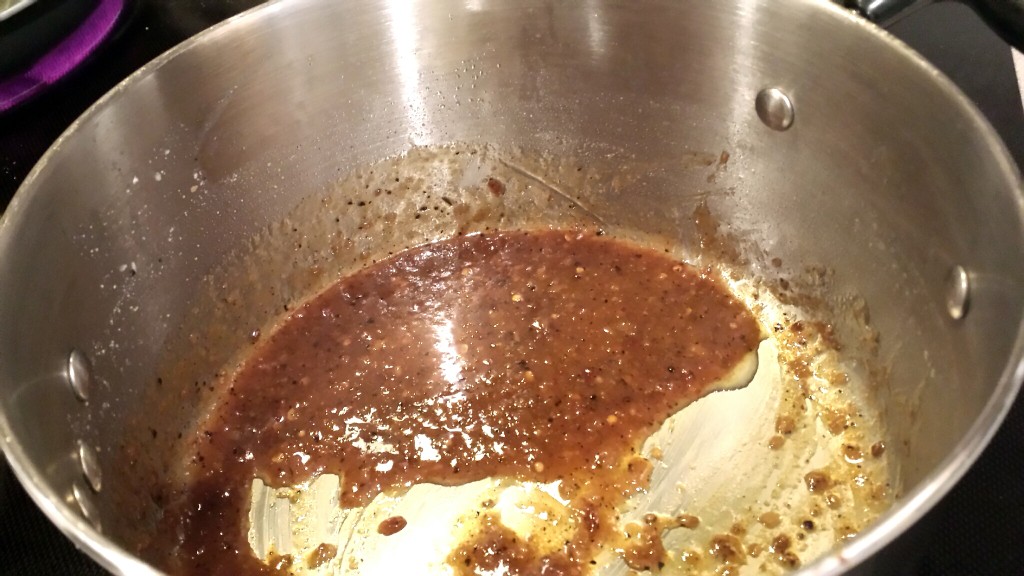
Step 7: Add a tablespoon or two of unsalted butter to the sauce pan and reduce the braising liquid into a thickened sauce. While you wait, pull the pork meat apart with a pair of forks.

20140324_192533_LLS

20140324_193214_LLS

Step 8: Toast the sandwich bread and slice it open. Fill it with escarole and pork, and top it with crispy onions and the sauce made from the braising liquid.

20140324_150528_LLS

20140324_155803_LLS

20140324_194237_LLS

20140324_194452_LLS

Step 9: Eat, shit, repeat.

Garlic & Rosemary Rib Eye

Since we had to pay Uncle Sam a fat wad of dough for tax season, I figured I’d save a little money and do a steak from home. Since I was in the spirit of giving, I also figured I may as well share the process with you meat-heads.
Here’s what you’ll need:

  • A Rib Eye Steak
  • A Few Sprigs Of Rosemary
  • A Few Tablespoons Of Soy Sauce
  • A Cup Of Olive Oil
  • Three Cloves Of Garlic
  • Course Salt
  • Black Pepper
  • Crushed Red Pepper
  • Onion Powder
  • A Frying Pan
  • Tongs
  • A Source Of Heat
  • A Plate
  • A Cutting Board
  • Something Sharp
  • Balls

You’ll also need at least one eye and one ear, to watch and hear the demonstration I put together below:

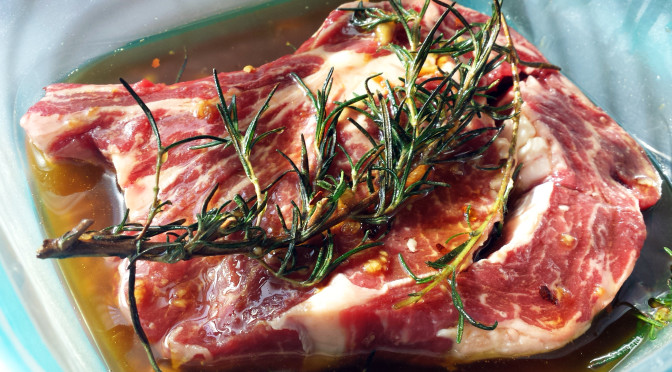
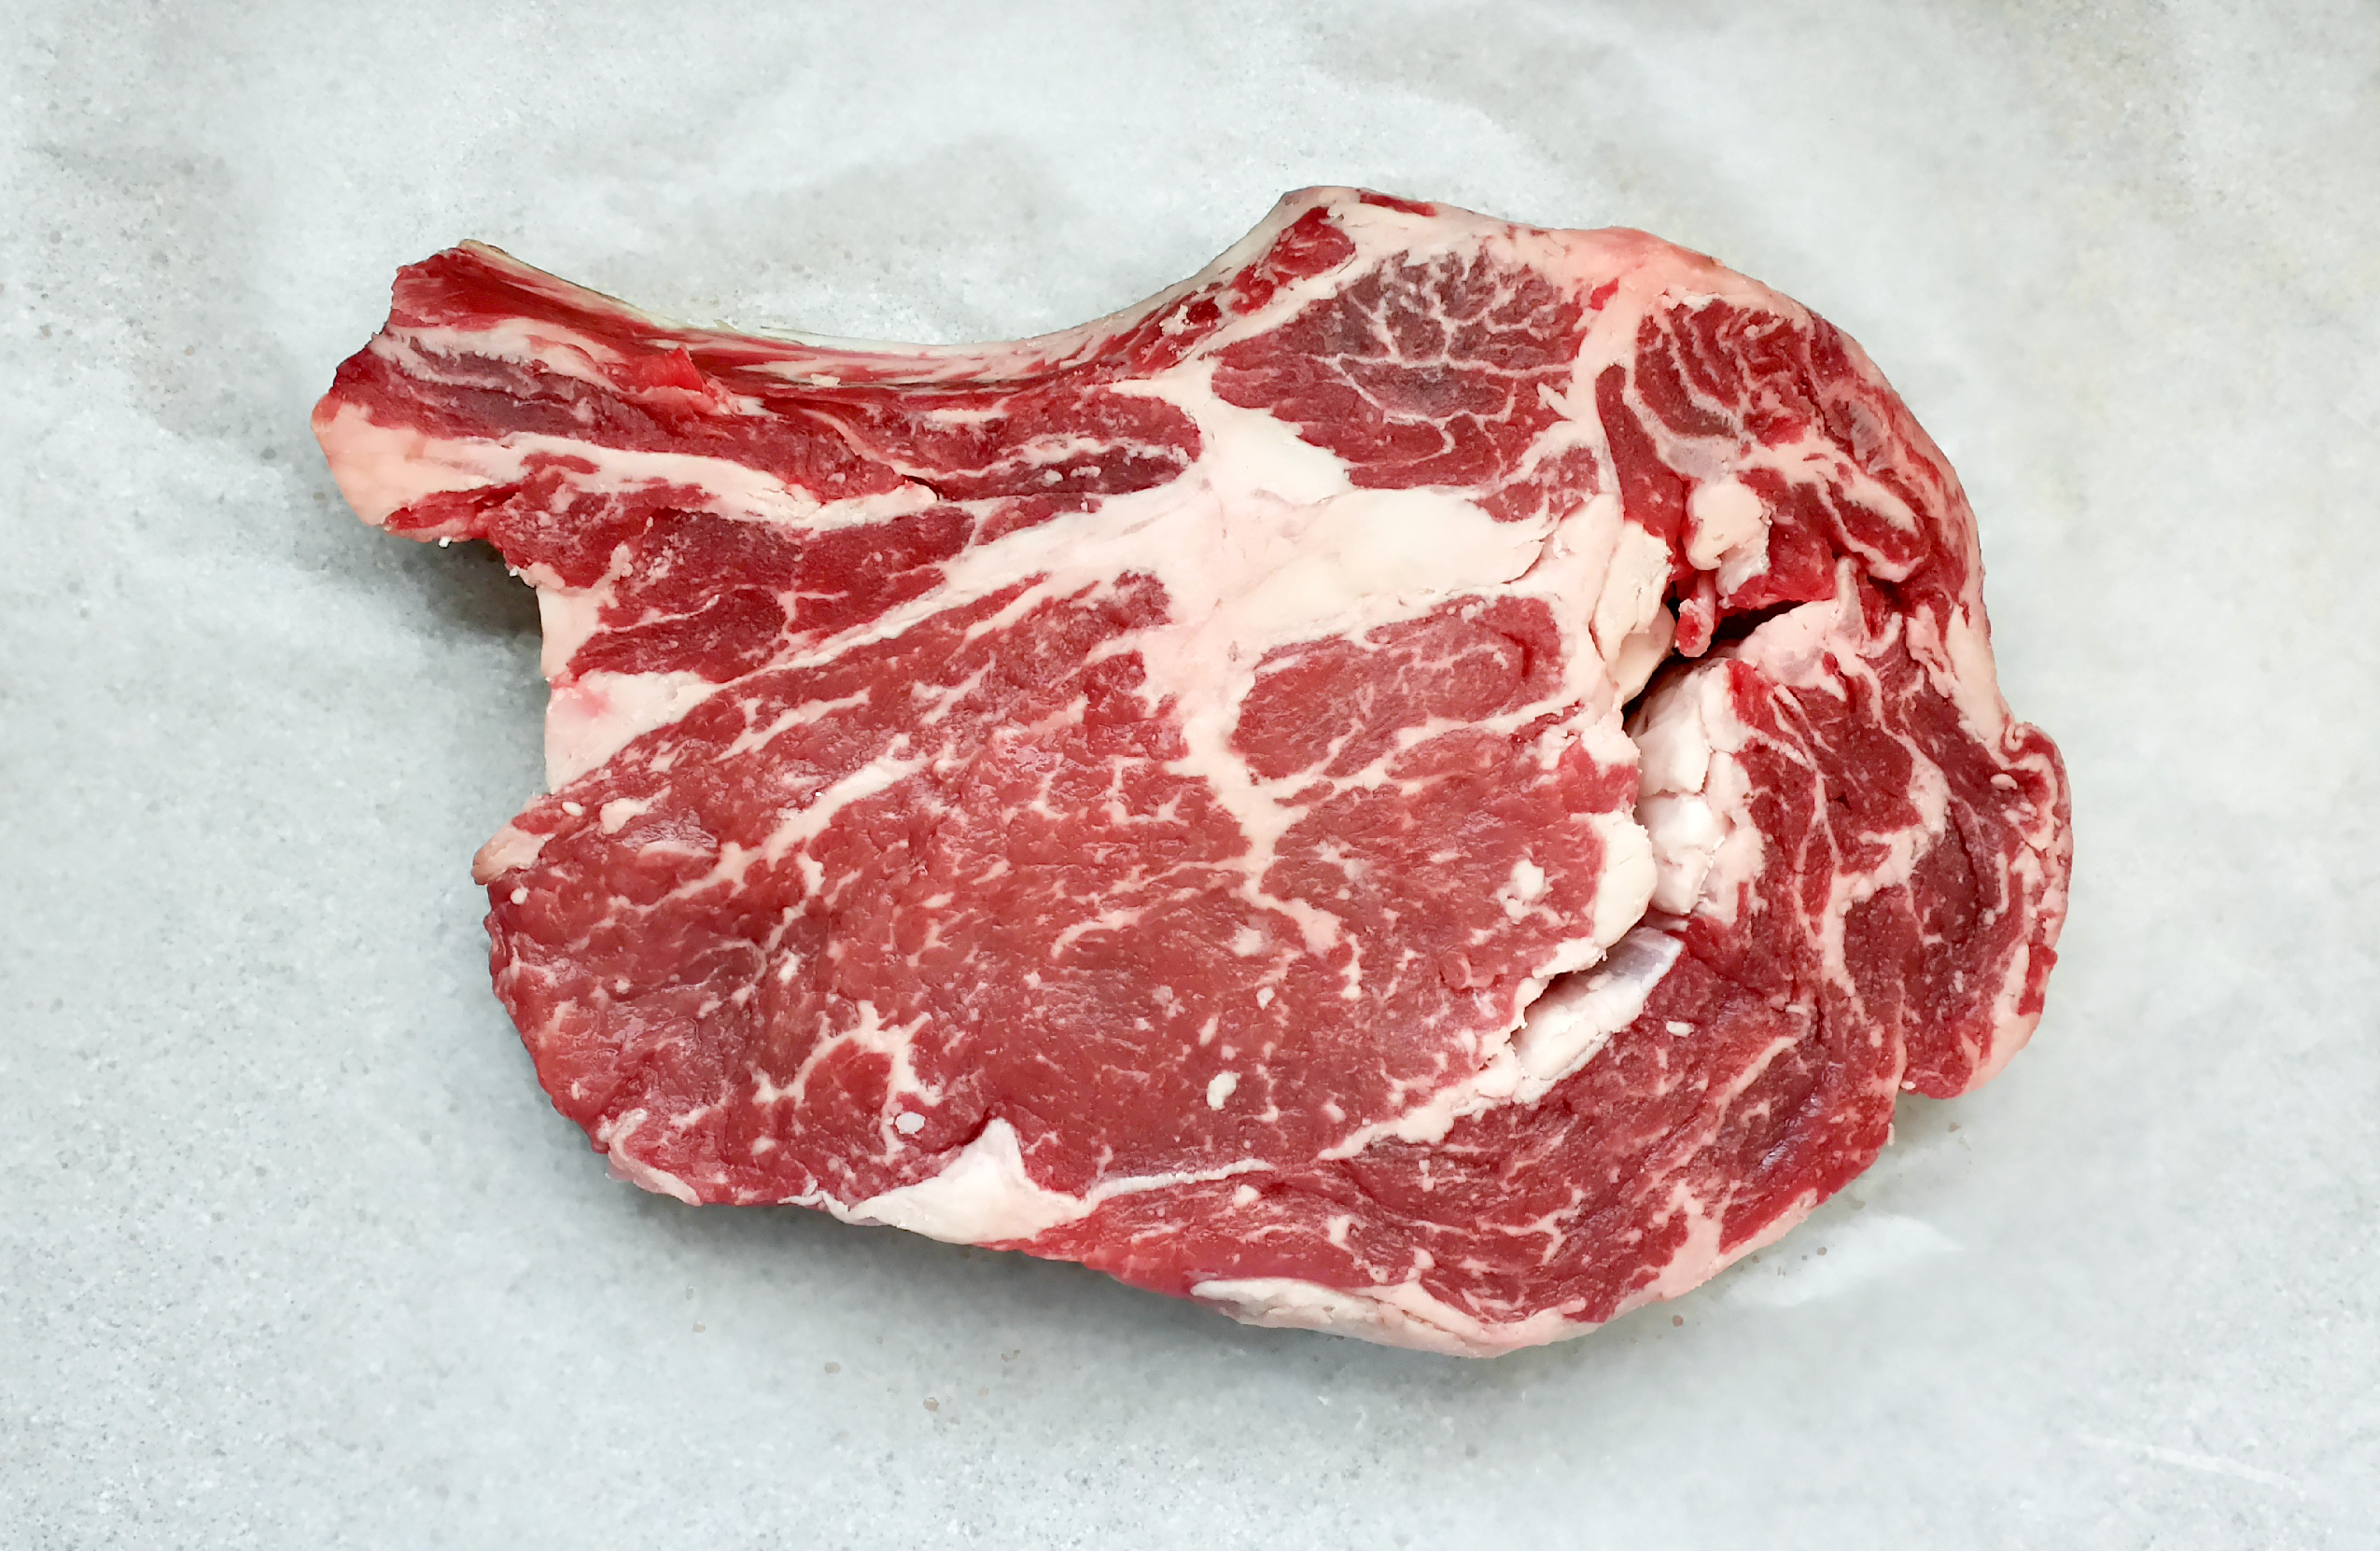
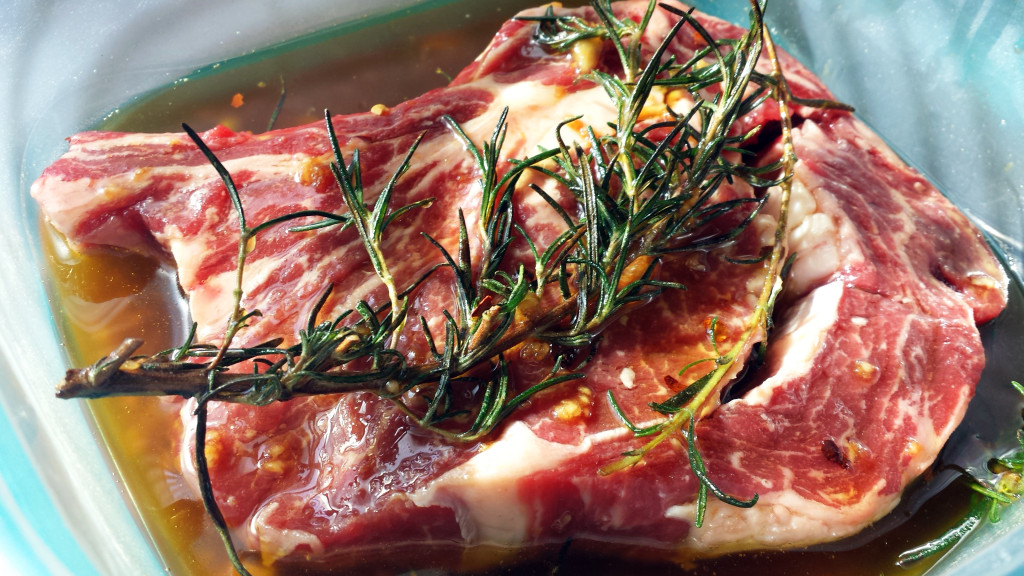
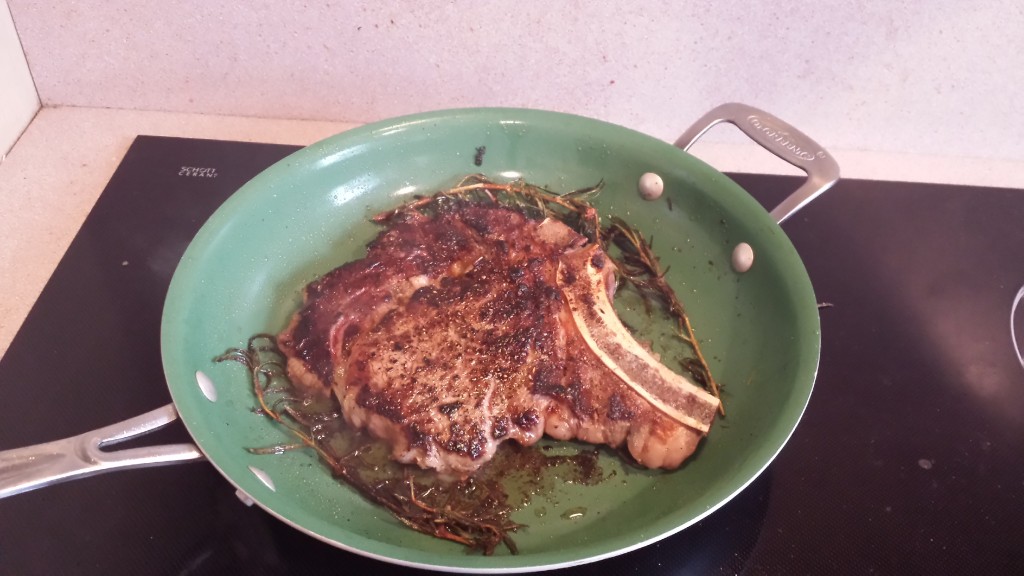
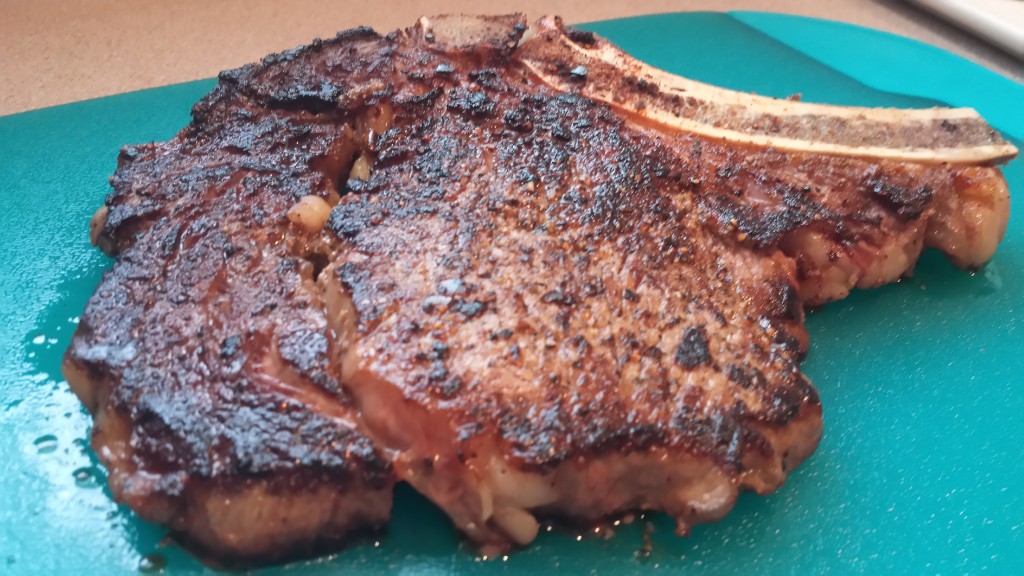
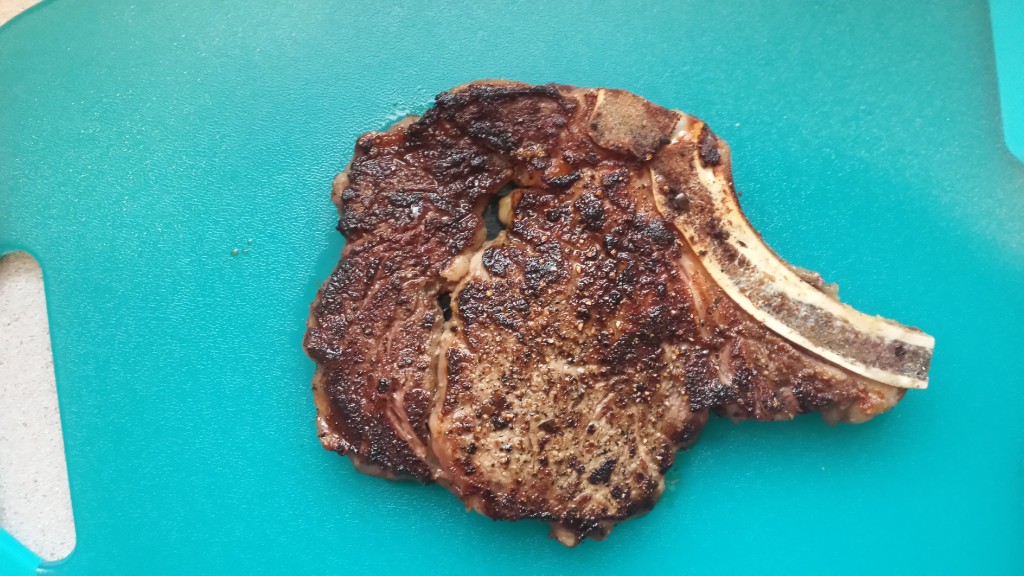
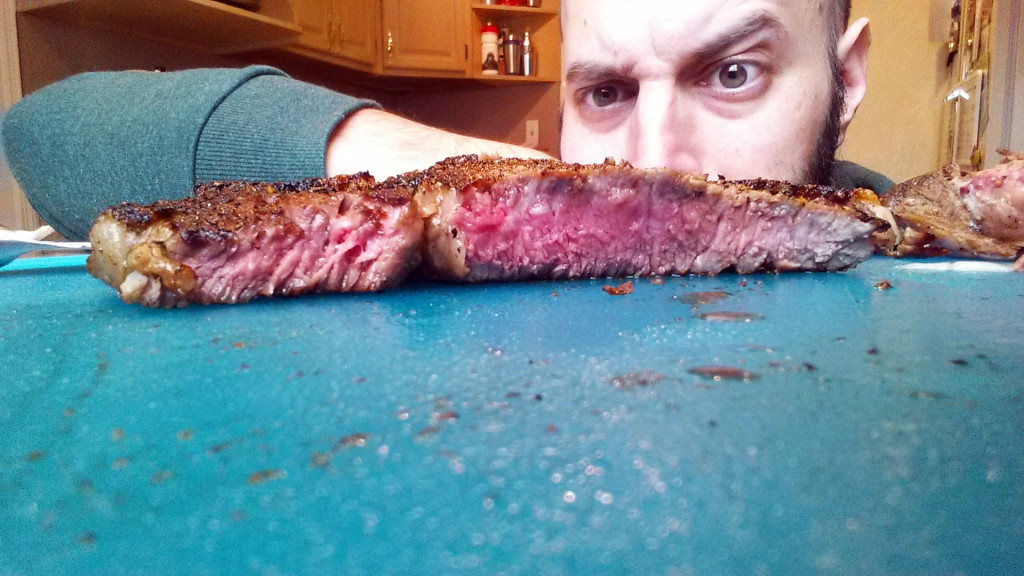
And no post is complete without a smattering of food porn photos. Here are some before, during and after shots:

20140322_091905_LLS edits

20140322_095108 edits

20140322_125651_LLS

20140322_130712_LLS

20140322_130802_LLS

20140322_131802 edits