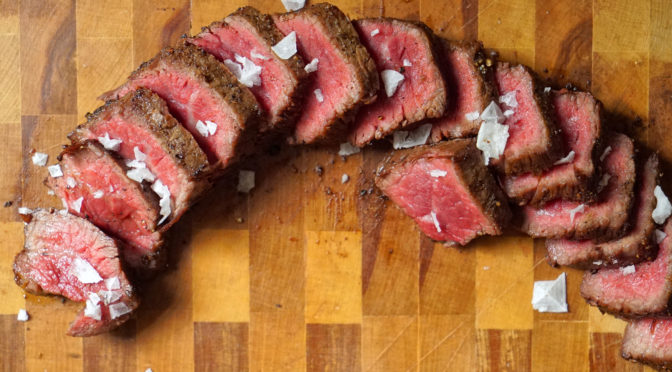
Every food-oriented website out there, whether it’s Eater, Grub Street, Thrillist or what have you, has their own version of “The Ultimate Guide for Cooking a Steak,” or whatever it may be. Many of them do offer good information, but they’re almost all incomplete. They set you up with one method for one cut of meat. This piece will serve as a place where you can get instructions for cooking several different cuts of steak via several methods. Let’s get right to it.
GRILLING
This is probably the method that most people are familiar and comfortable with. Since it is actually my least favorite way to cook one of the four major cuts, I will discuss it first, up front, with the caveat that I do actually prefer grilled skirt steak to any other cut that’s done on the grill. That said, there are some significant pros and cons for grilling. Depending on what you want out of your steak eating experience, you should take these into consideration before deciding if this is the right method for you. What time of year is it? Summer, winter? Are you grilling over charcoal or propane?
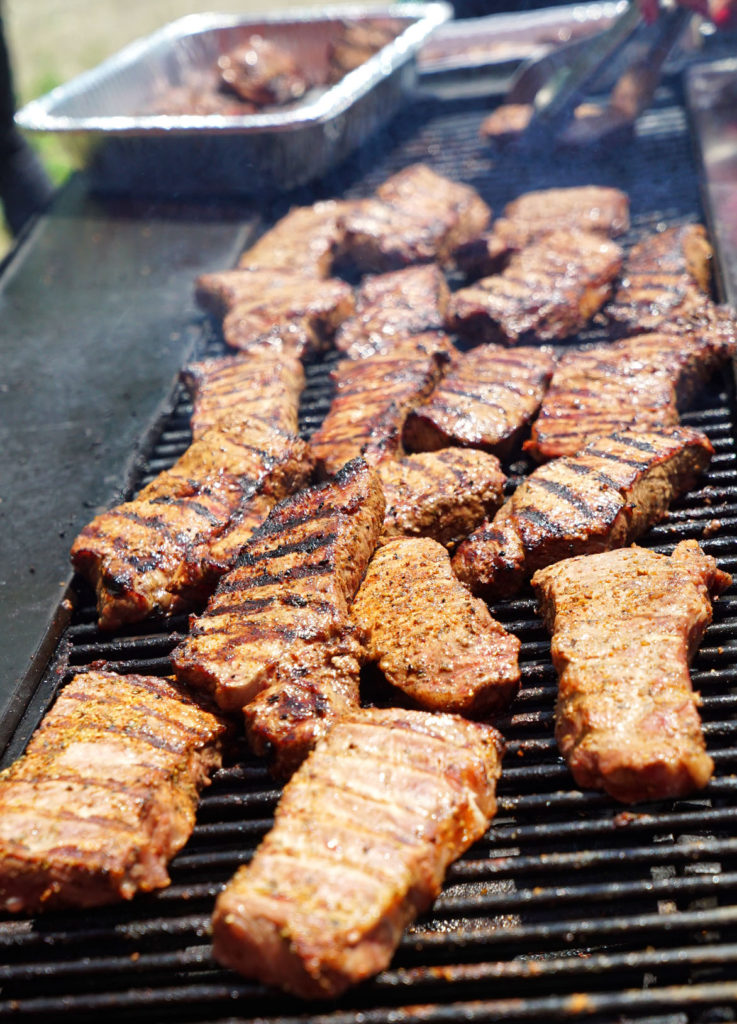
Johnny’s Preferred Cuts for Grilling: Skirt, Flank, Hanger
Pros
- Easily accessible
- Familiar and comfortable to most home cooks
- No smells or smoke indoors
- Can easily cook many steaks at once
Cons
- Fat, flavor and juices fall through the grill bars
- Can be difficult to control heat levels
- Lowered ability to sear evenly
Grilling is perfect for outdoor cooking in the warm months, and especially for large groups of people. You don’t get any lingering smells in your home, and you can enjoy the day like a good American, beer in hand as you cook. Since I like a good even sear across the entire cut of meat, I generally don’t like cooking the four major cuts of beef in this manner. Generally I go for skirt or flank, something that benefits from a good, fast blast of heat; something where I don’t mind if I lose a little fat or juice through the grill bars; and something cheap that can be sliced up and served family style. Charcoal is a tough medium to master. Some people are experts at creating and maintaining even heat levels for a cooking session. Others use propane. This is easier, cleaner, and more convenient, but you lose some of that desired charcoal and smoke flavor unless you’re adding soaked wood chips to the grill as you cook. If grilling is right for you, then read on below.
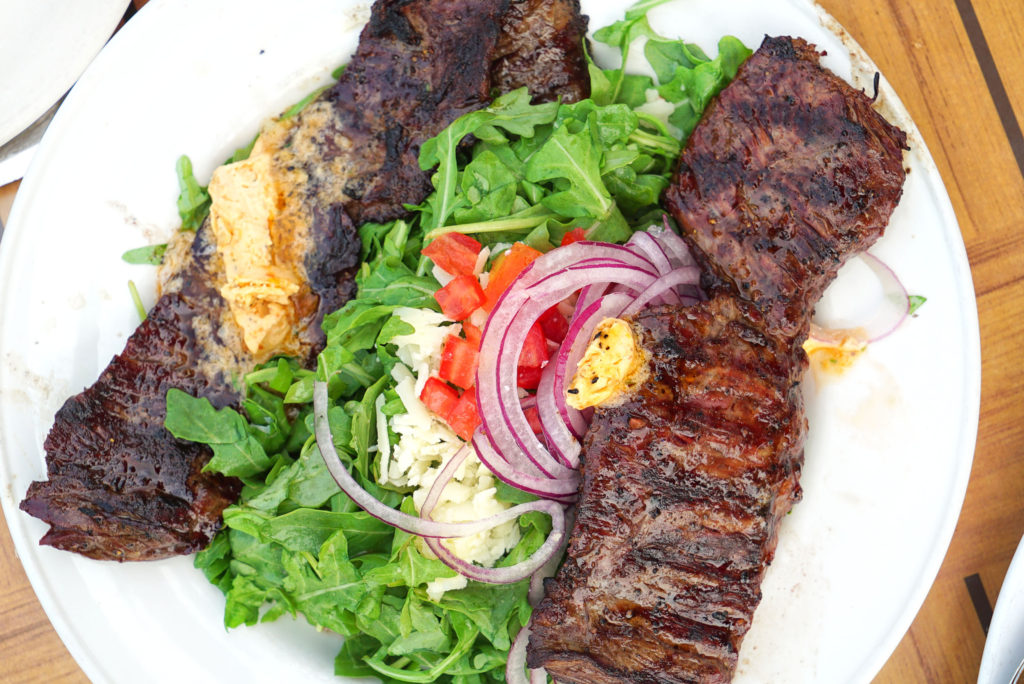
Instructions
- Get your steak up to room temperature and pat it dry.
- Crank up your grill to as high as it will possibly get.
- Season the skirt/flank generously with salt and pepper.
- Grill the meat with the grill top open. Do not poke, prod, press or move the meat once it is set down on the grill bars. Allow the bars to create nice markings on your meat.
- After a few minutes, flip once and repeat the previous step.
- Use a meat thermometer or the “hand test” to ensure that your steak is properly cooked to medium rare. Remove it from the grill at 125F.
- Let the steak rest for a few minutes on an elevated and porous surface, like a metal baking rack. During this time the meat will continue to cook a bit more while off the flames, and it will retain more juices during the next step.
- Slice against the grain of the meat, or “against the bias,” and serve.
PAN SEARING
This is probably my favorite method for cooking steak. I always try to use a cast iron skillet, as they just work better for creating that crusty sear that we have all come to know as steak lovers. If you can’t get your hands on one, then a standard pan will do.
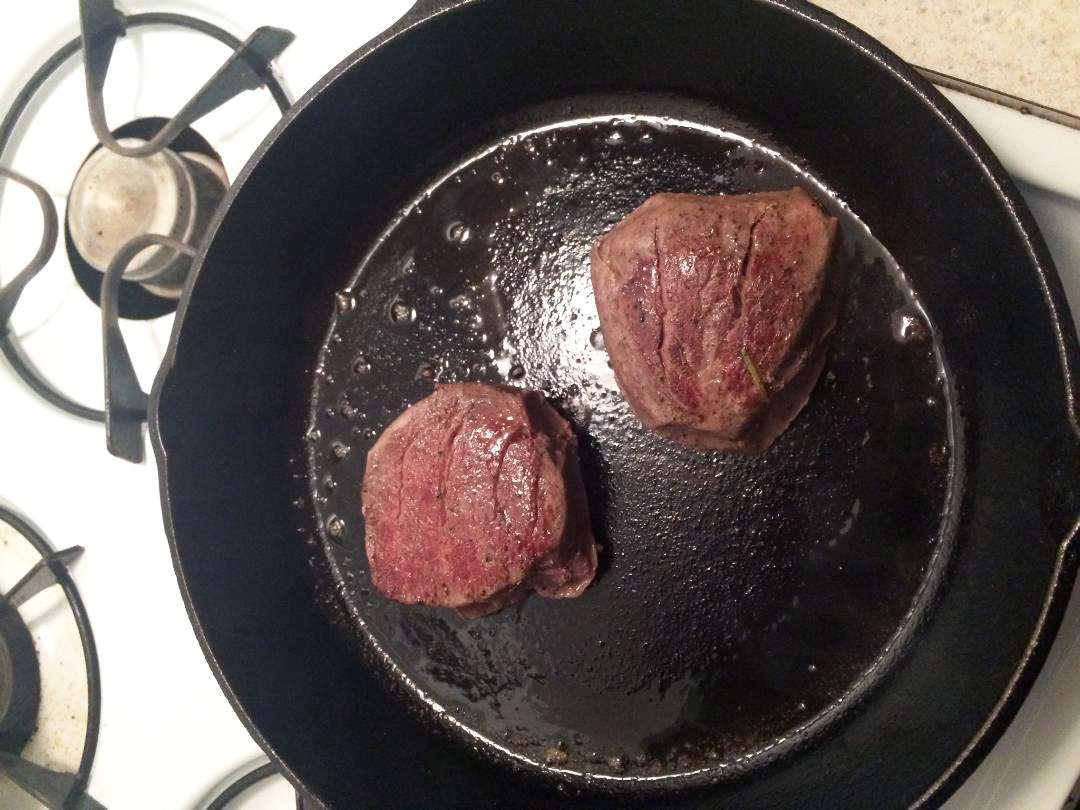
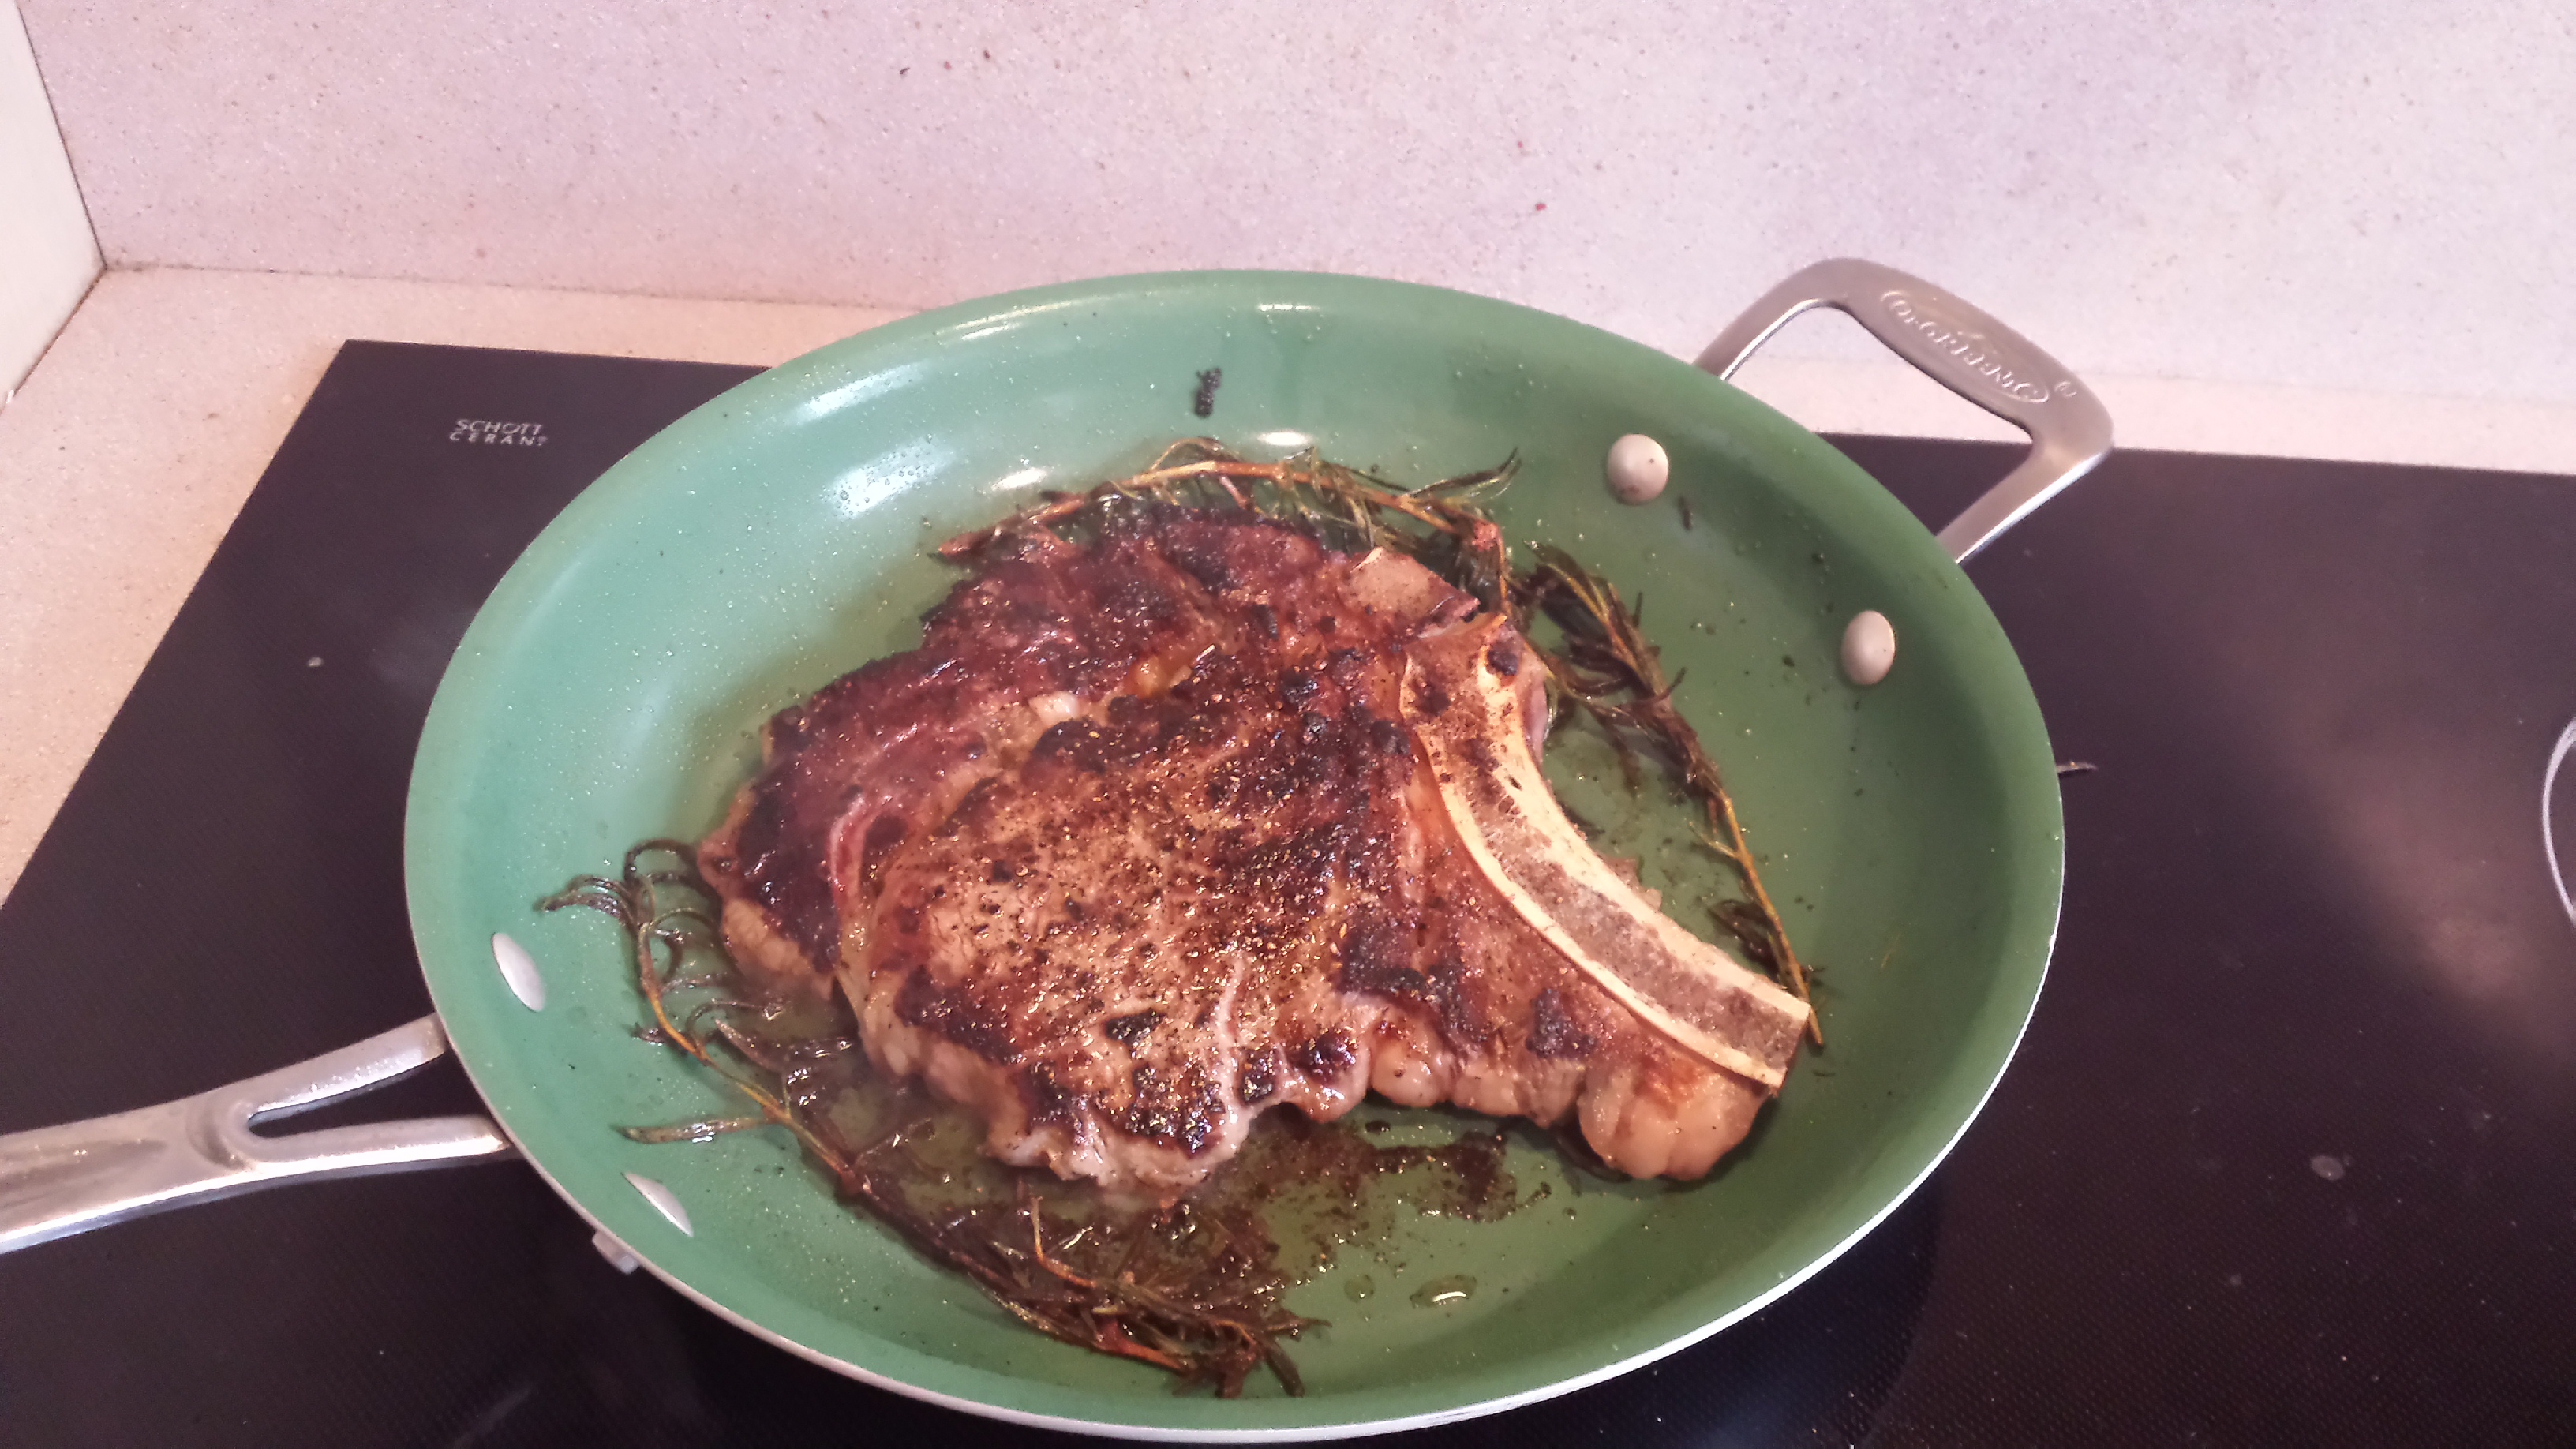
Johnny’s Preferred Cuts for Searing: Filet Mignon, Strip, Rib Eye, Porterhouse
Pros
- Even sear across entire steak
- Juices stay put
- Easy to execute
Cons
- Smoke smell can permeate the home, set off smoke detectors
- Pan cleanup can be annoying
- Large pan needed for big or multiple cuts
- Cast iron not ideal for glass electric cook tops
Instructions
- Get your steak up to room temperature and pat it dry.
- Crank up your burner to as high as it will possibly get, and heat up the pan with a small amount of butter.
- Season the steak generously with salt and pepper.
- Sear the shit out of your steak, and add a wad of butter to melt in the pan. Throw in some rosemary and garlic too, if you like. Do not poke, prod, press or move the meat once it is set down. Allow the meat to stick to the pan a bit, with as much of the bottom surface touching the pan as possible.
- Spoon the melted butter over the top as the meat cooks, basting it in flavor.
- After a few minutes, flip the cut with tongs and do the same thing of the other side of the steak.
- Once both sides are seared, then you should also sear the edges if you are working with a thick-cut steak. Anything over an inch and a half should get a little side sear if possible.
- Use a meat thermometer or the “hand test” to ensure that your steak is properly cooked to medium rare. Remove it from the pan at 125F.
- Let the steak rest for a few minutes on an elevated and porous surface, like a metal baking rack. During this time the meat will continue to cook a bit more while out of the pan, and it will retain more juices.
Alternative Instructions From Step 8 Onward
This secondary step is helpful if you have a very thick cut of steak, and a good, hard sear is all you can really get from the pan without overcooking. You want your meat to be pink from top to bottom, with no “grey band” in sight. To achieve this on thick cuts, lots of people will put the steak into the oven at a low temperature, like 250-300F, to allow the internal temperature to come up to medium rare once the pan-searing steps (1-7) are complete. Here, a meat thermometer is key to ensure that your meat is cooked to the proper temperature inside.
REVERSE SEARING
This is very similar to searing with an oven finish, like above, only done in the reverse order.
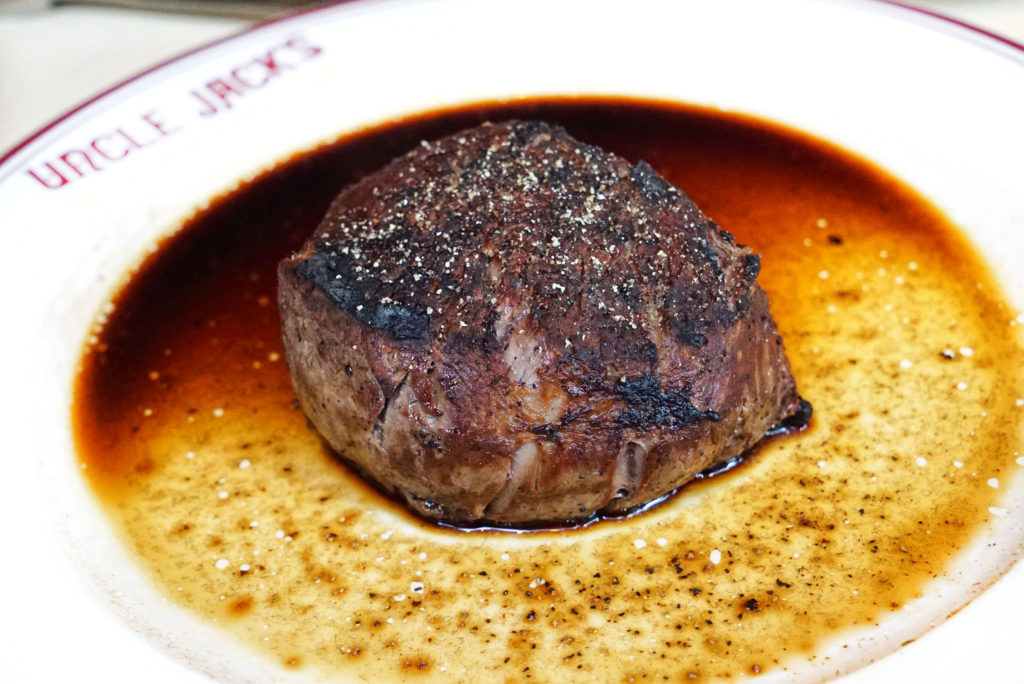
Johnny’s Preferred Cuts for Reverse Searing: Thick Cuts of Filet Mignon, Strip, Porterhouse, Rib Eye
Pros
- Even sear across entire steak
- Juices stay put
Cons
- Slightly more difficult to execute than a simple sear
- Multiple cooking steps and waiting
Instructions
Here, the first step is to cook your steak in the oven at a low temperature, like 250-300F, to allow the internal temperature to come up to rare or medium rare. Again, use a meat thermometer to ensure accuracy. Once that step is done, the steak gets finished in the hot searing pan with butter. This will form the desired crust on your steak. You just have to be careful not to overcook your steak in the pan as you are trying to get that crust to form. I recommend allowing your steak to cool down to room temperature before searing it off, and/or getting that pan screaming hot before you put the steak in.
BROILING
Generally speaking, broiling means that the heat source is coming from above the meat and close to the meat. Contrast with baking, which means that the heat source is below and more diffused or distant from the meat. Broiling a steak gives you more direct exposure to the heat source than baking, whether it’s an open flame (gas oven) or the heating element (electric). While not as direct as, say, touching a hot pan, broiling is better for cooking traditional cuts of steaks than baking, because you can get a charred outer crust easier and still get the inside of the meat to the desired temperature. Baking is better suited for roasting meats, since the heat source is often diffused a bit by the oven bottom when baking.
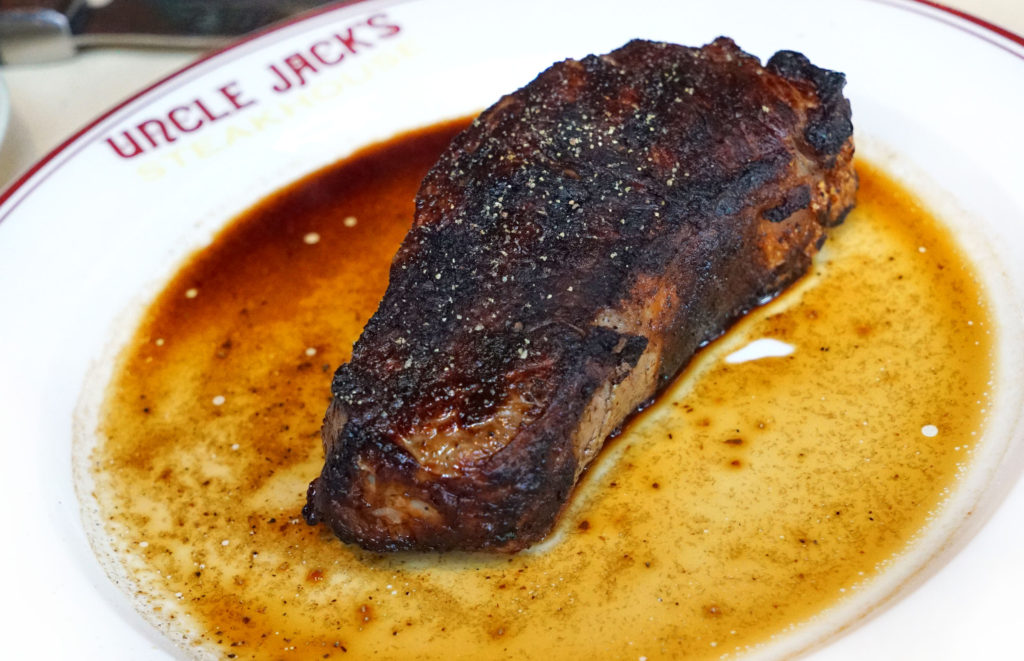
Johnny’s Preferred Cuts for Broiling: Thick Cut Bone-In Porterhouse, Thick Cut Bone-In Rib Eye, Bone-In Tenderloin, Bone-In Strip, Large T-Bone
Why the bones, you ask? When cooking with “surrounding” heat, like roasting or broiling in an enclosed oven, bones are very effective at radiating heat into the center of the meat tissue. This method, therefore, also makes large/thick cuts easier to work with.
Pros
- Cleaner, less smoke and permeating odors
- Relatively easy to execute
- Easier to get an evenly cooked center of your meat
Cons
- Easy to overcook if not careful
- Requires meat thermometer (puncturing meat is never good)
- Harder to get the desired crust than other methods
Instructions
- Get your steak up to room temperature and pat it dry.
- Set your oven to broil.
- Season the steak generously with salt and pepper.
- Bring your oven rack close to the heat source (near the top) and place steak in the oven in a shallow roasting pan that can catch any drippings.
- Once the top crisps up a bit, flip the meat in the roasting pan to get the crust on the other side as well.
- Use a meat thermometer to ensure that your steak is properly cooked to medium rare. Remove it from the oven at 125F.
- Let the steak rest for a few minutes in the roasting pan. During this time the meat will continue to cook a bit more, and it will retain more juices.
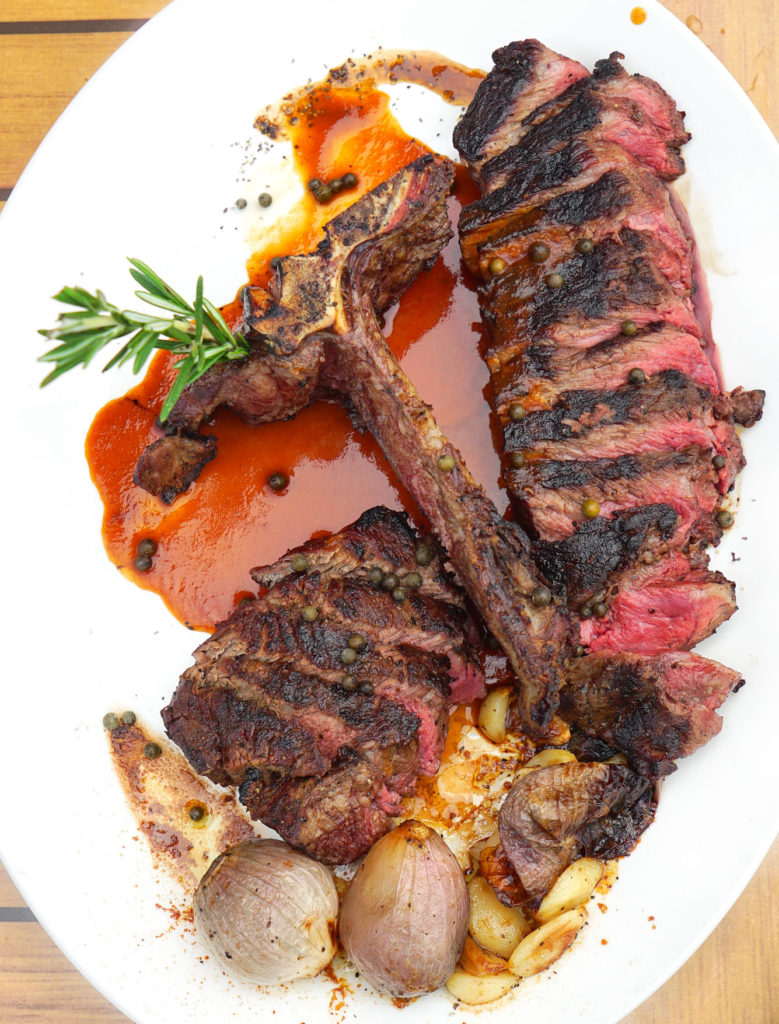
- Slice the major muscles off the bone, slice the muscle against the bias, and arrange the meat on a platter for serving.
ROASTING
Roasting is synonymous with low and slow diffused heat from a bottom source, or all around the meat, from all sides. This method is best suited for large hunks of meat that take a long time to cook down to the center, generally for serving many people.
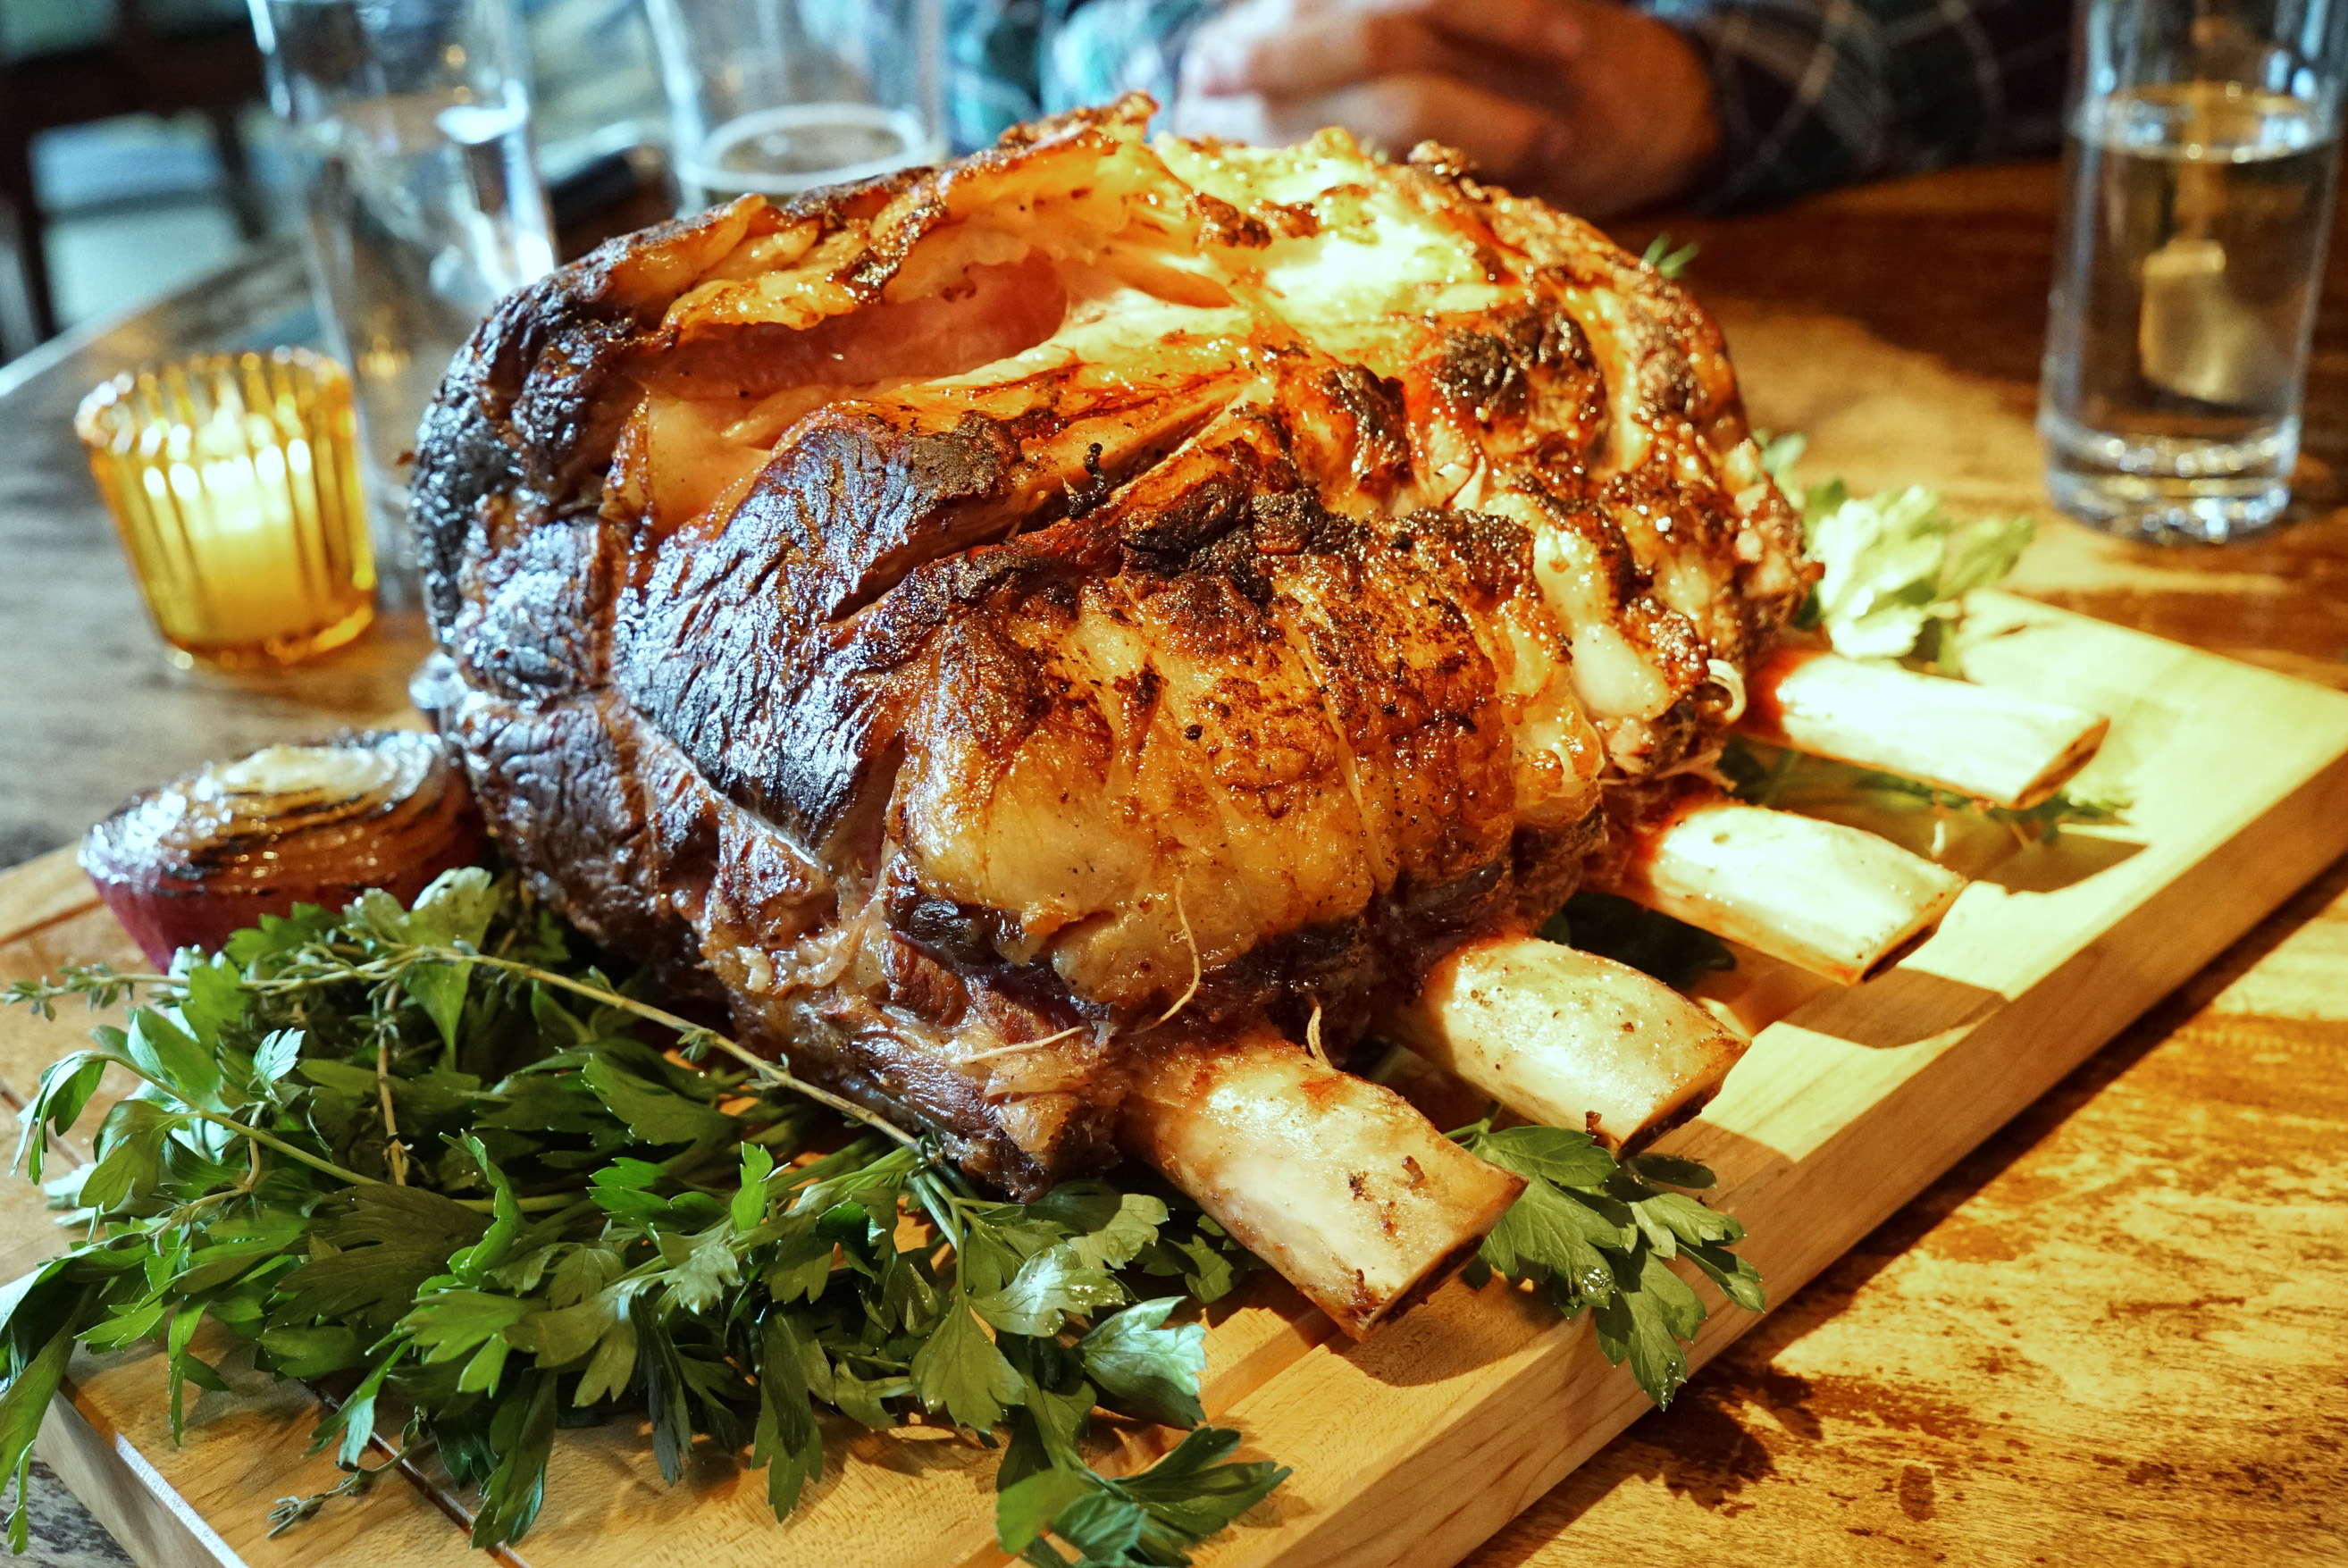
Johnny’s Preferred Cuts for Roasting: Standing Rib Rack Roast, Chateaubriand, Large Brisket
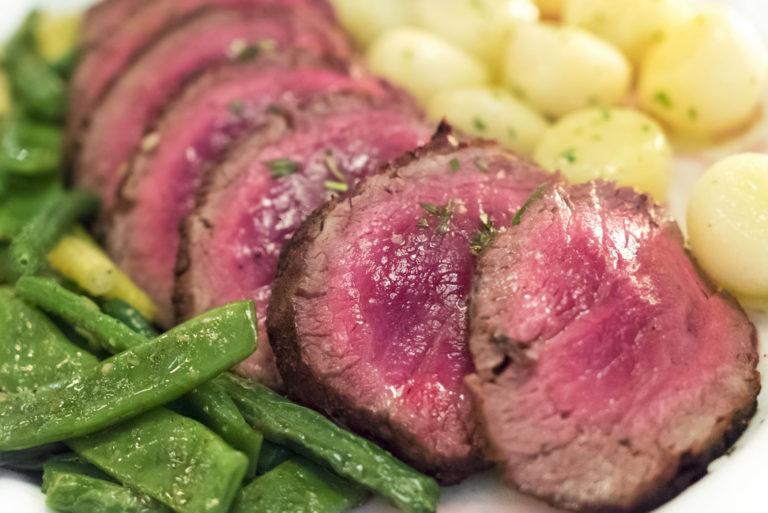
Pros
- Great for large format dining
- Easy to execute
- Result is very juicy, tender and delicious
Cons
- Takes a long time to finish
- May require extensive carving
- Generally lacks outer crust like a standard cut of steak
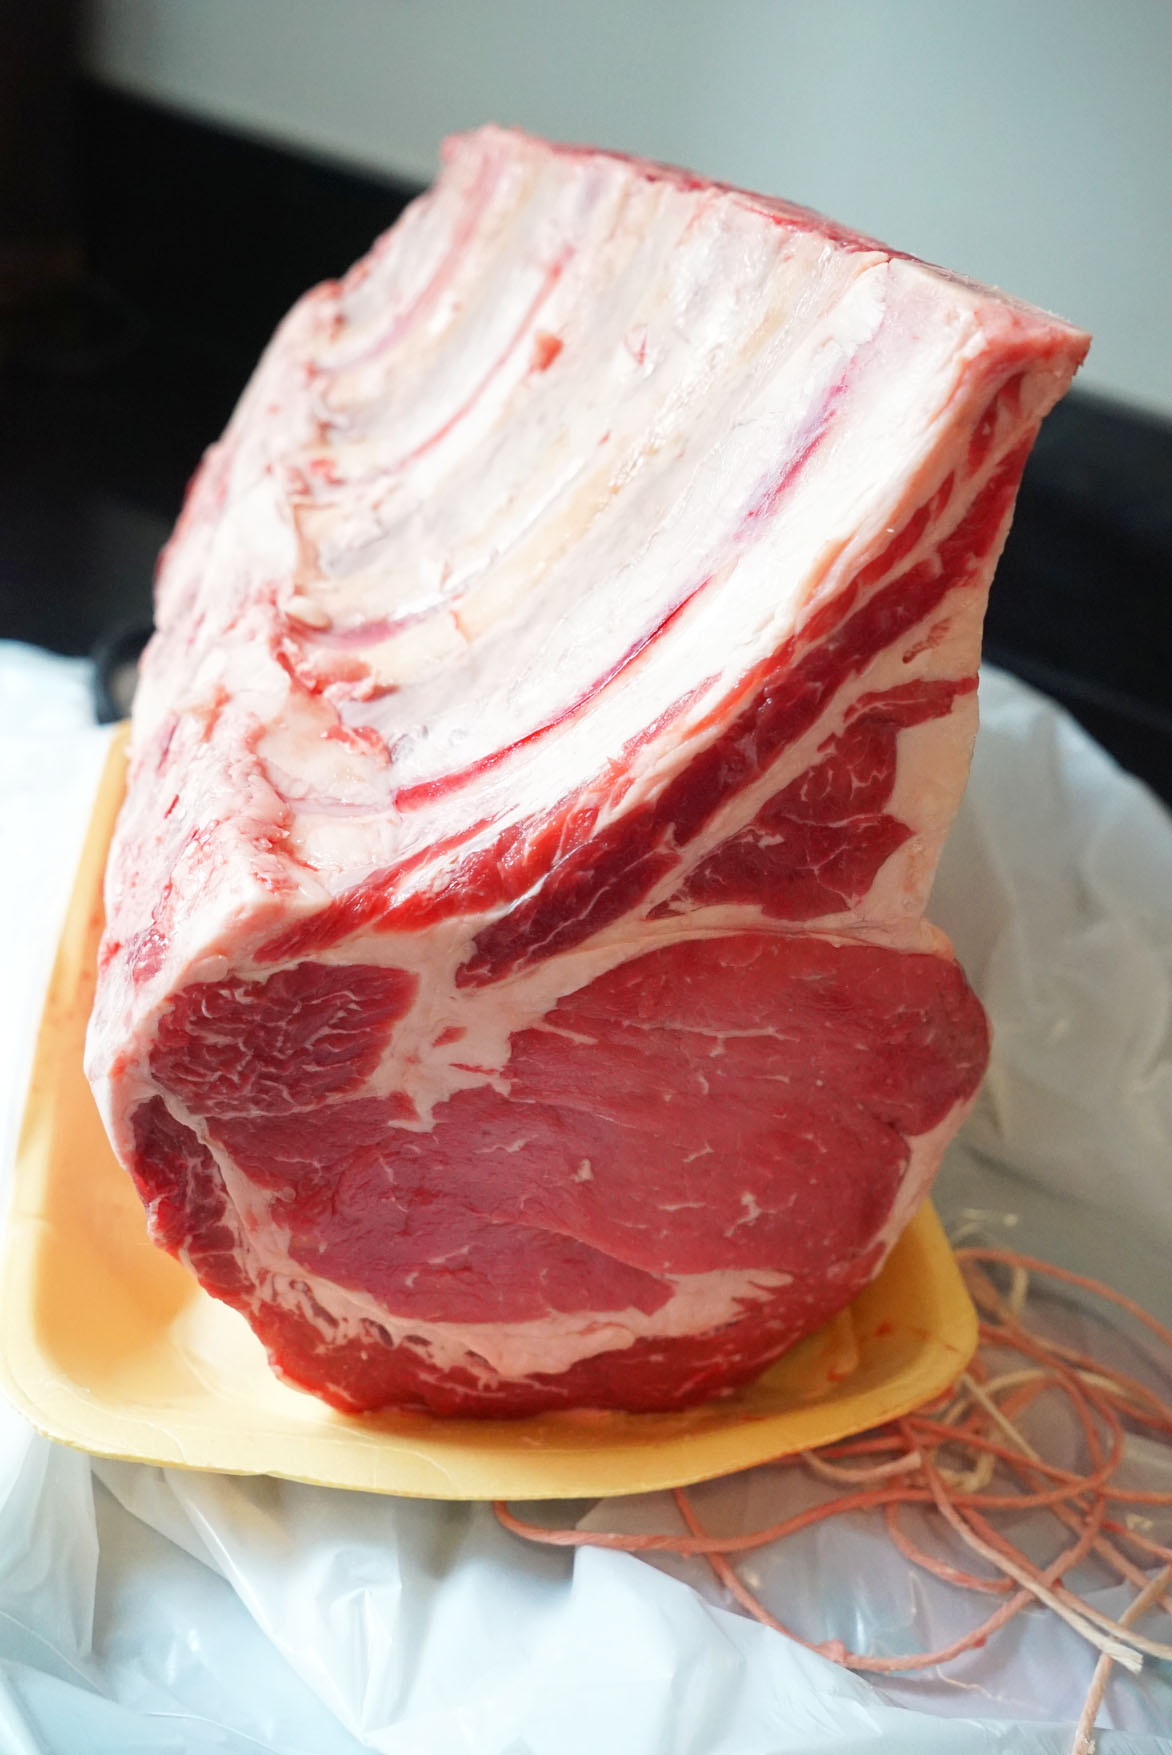
Instructions
- Many people like to brine their meats before roasting. While this is generally more common with pork roasts or fowl, some steps can be taken with beef to increase flavors. You can crush up some garlic and stuff it into your roast (flavor injectors), or rub it on the outside of the meat; you can rub it with rosemary or roast it on a bed of herbs; and you should season it generously with a multitude of spices. You want all those flavors to permeate deep into the meat, so massaging, rubbing and pushing into the meat is all recommended. If you use a flavor injector, I suggest getting a lot into one or a few injections, that way you don’t pierce the meat too many times.
- Set your oven to a low bake temperature, like 350F.
- Place your meat on a roasting pan to catch any drippings, and set it in the center/middle rack of your oven.
- Place your meat thermometer into the center of the roast.
- As the meat cooks, use a turkey baster to suck up liquids from the bottom of the roasting pan, and squirt it over the top of the roast occasionally. This will add some flavor to the outside and help to create a flavorful edge to the roast.
- Remove it from the oven at 125F. Let the meat rest for a few minutes in the roasting pan. During this time the meat will continue to cook a bit more, but the resting phase will help the meat retain more juices for the next step.
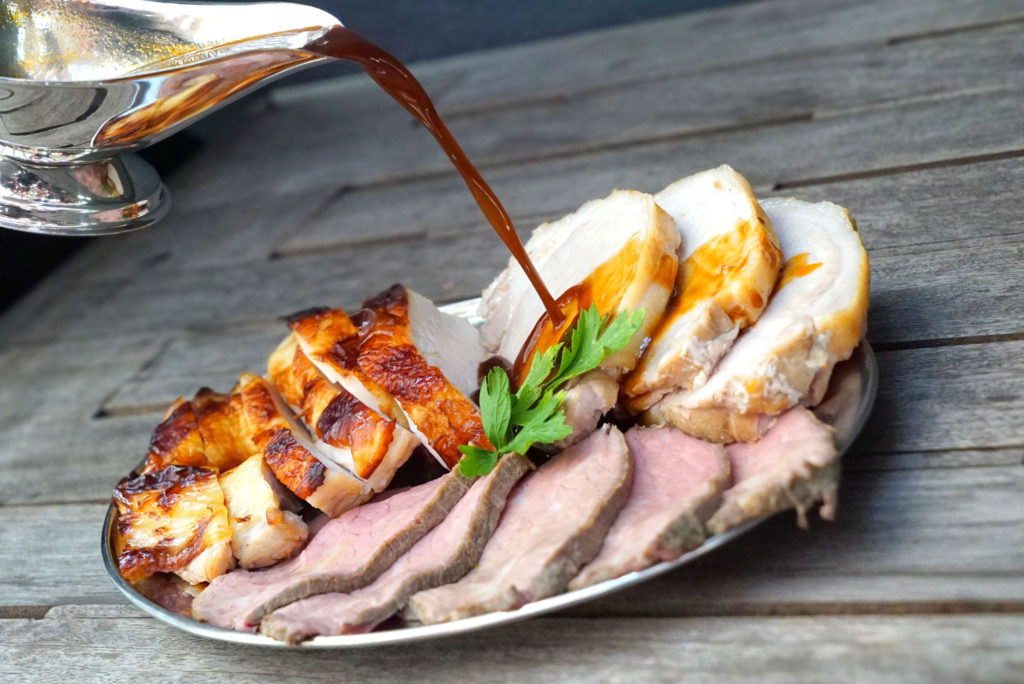
- Slice and carve for serving. Sliced roast beef pairs perfectly with both hot gravy and cold horseradish sauces (either cream-based or tomato-based).
SOUS VIDE
Sous Vide means “under vacuum” in French. In this method of cooking, you are cooking your steaks in vacuum sealed bags by submerging them in a hot water bath to precisely the desired temperature, and then finishing them in a pan as a secondary step. This may sound like high tech restaurant science only kind of stuff, but there are items available in the consumer market to do this with great results at home.
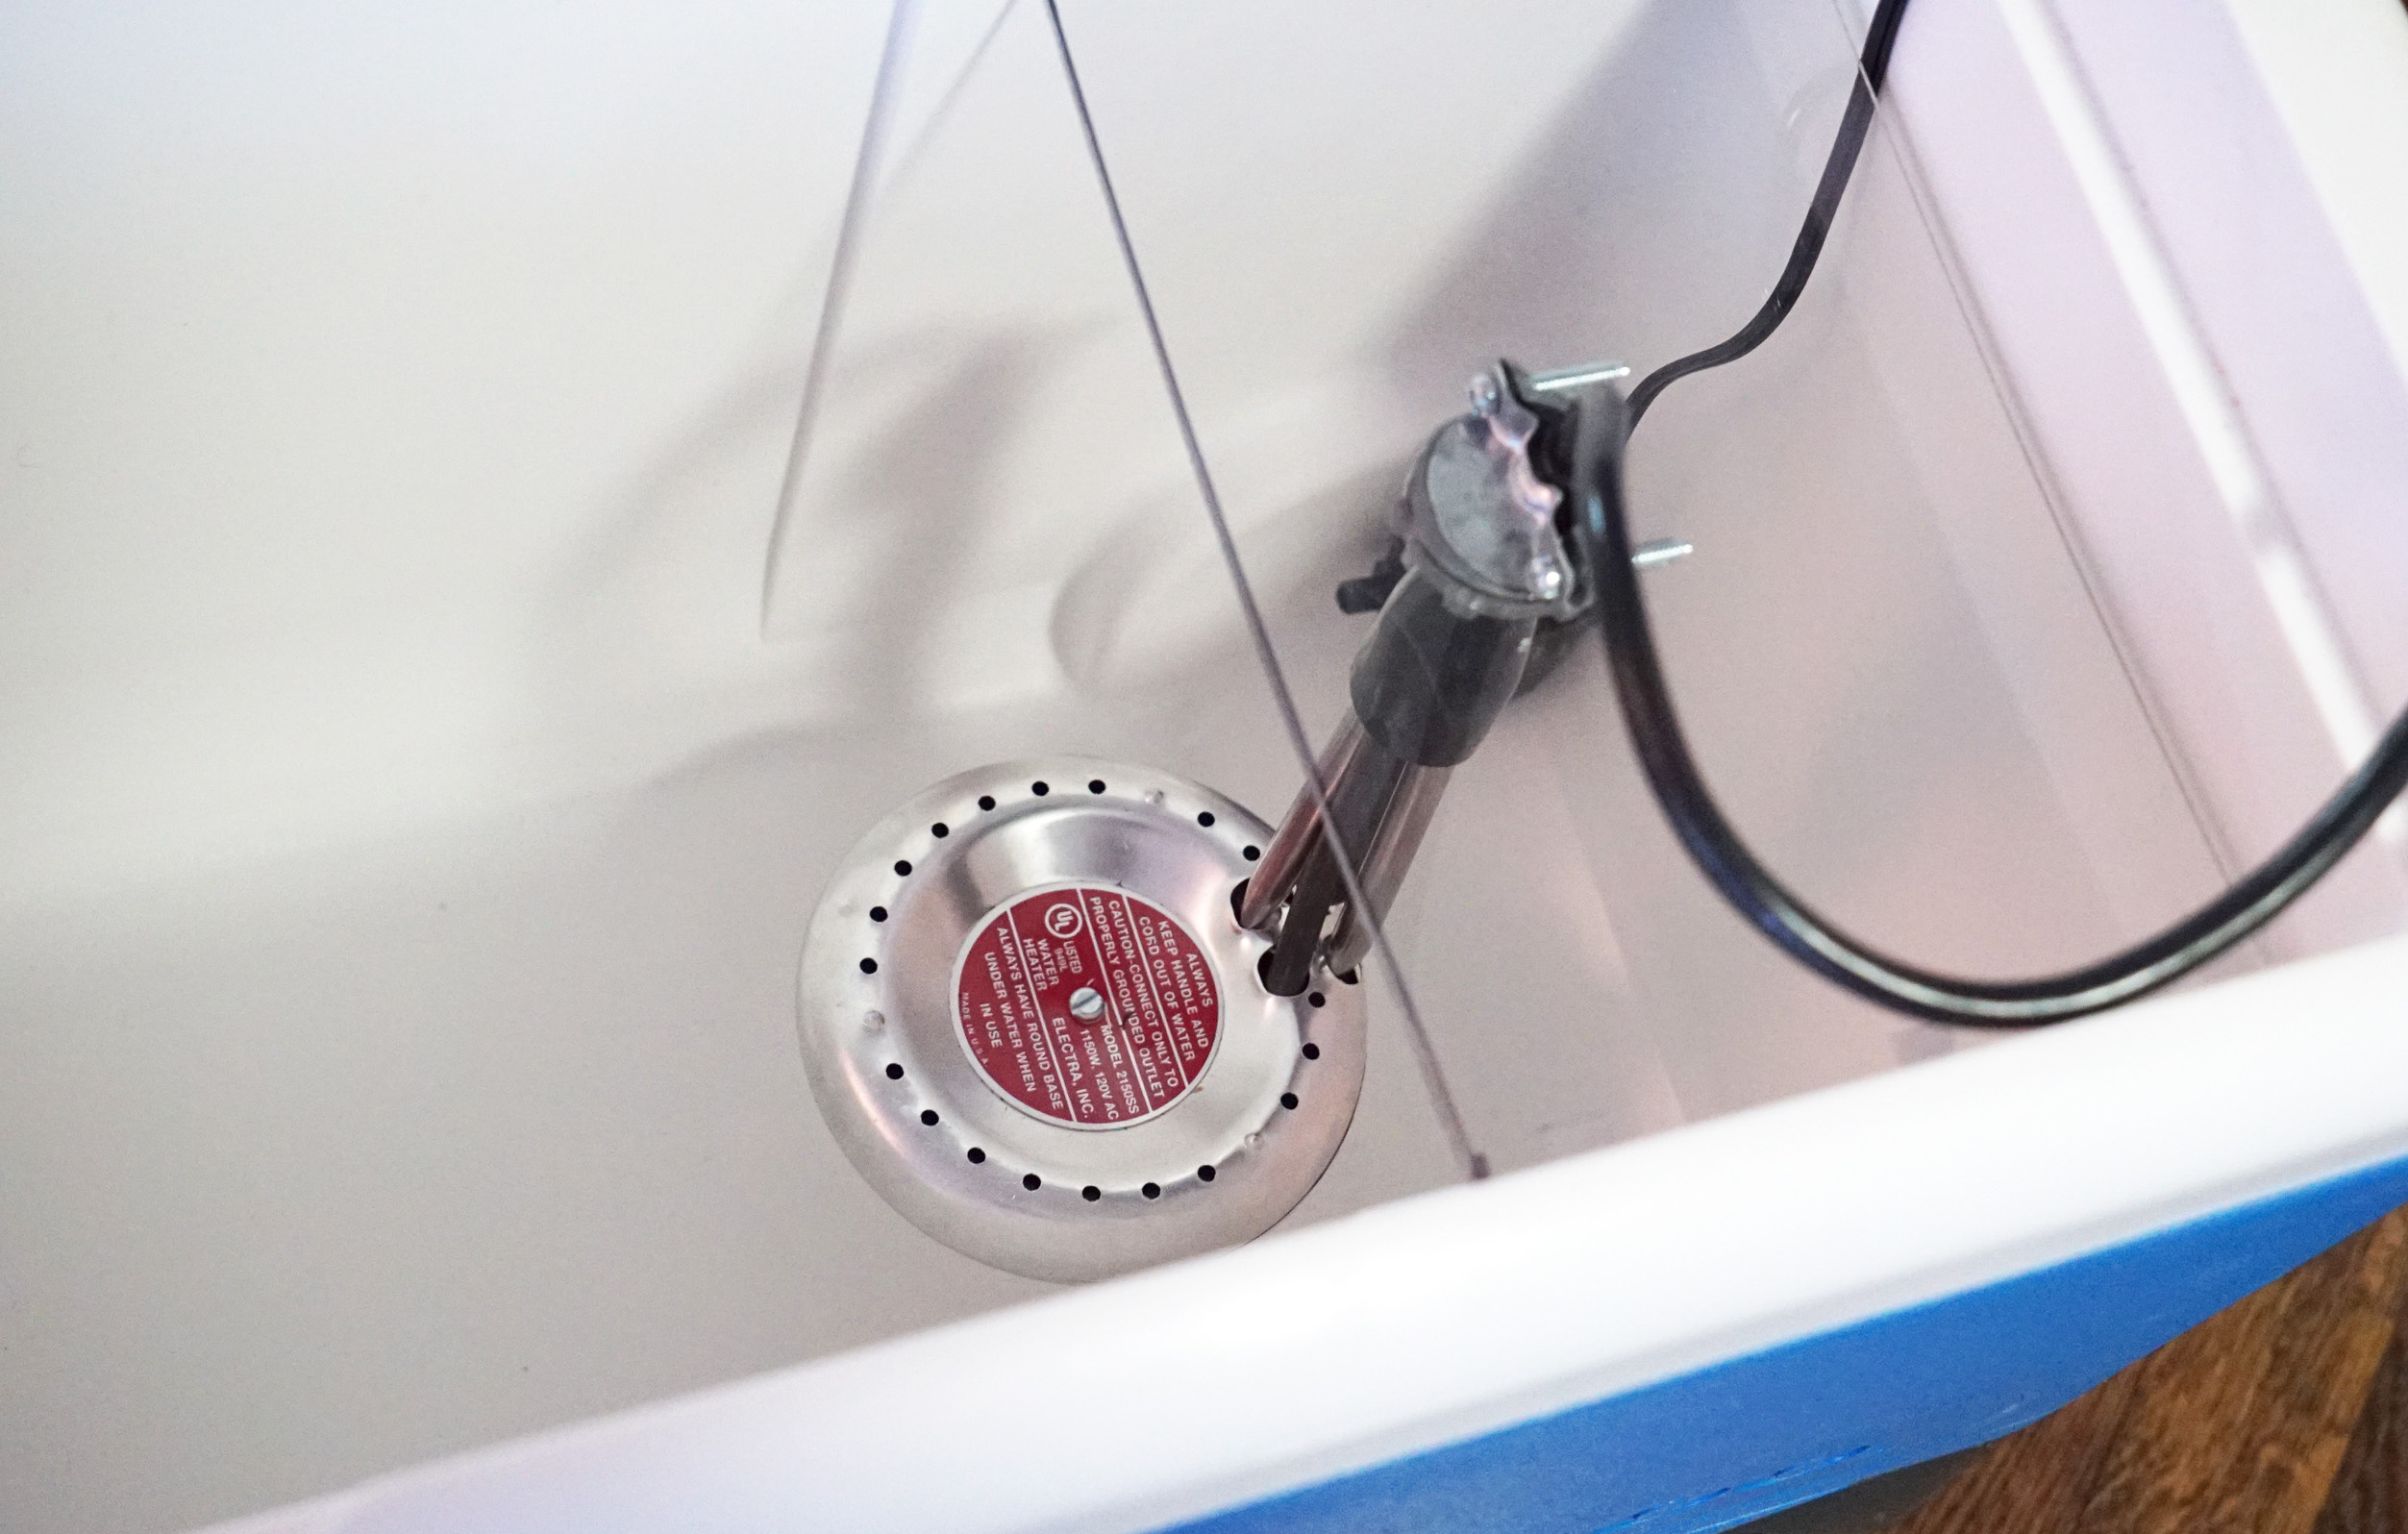
Johnny’s Preferred Cuts for Sous Vide: Thick Cuts of Filet Mignon, Boneless Strip, Boneless Rib Eye, Bavette, Denver Cut/Blade Steak
Pros
- Perfect internal temperature every time
- No monitoring necessary
- Easy to achieve success
Cons
- Requires a special unit or item, a vacuum sealer and bags
- Wait time can be lengthy
- Still need to use a pan (or torch) to sear the outside
Instructions
Lucky for you all, I’ve got a nice discussion of the sous vide cooking method here, with pretty pics and everything. In any case, here is the gist of it:
- Season the steak however the you want. I use salt, pepper, garlic powder, garlic oil and crushed red pepper.
- Place steak into vacuum seal bag and seal it up with some butter and herbs inside (rosemary is always nice).
- If you’re a poor bastard and can’t afford a vacuum sealer, you can use ziplock bags. Place your meat into the bag and begin to submerge the bag into the water bath. Once you are all the way close to the zipper, zip it shut. The water surrounding the outside of the bag will push out all the air from inside. This is the poor man’s vacuum sealer. If you do this, you may want to put a smooth, clean rock in there too, just for good measure, to keep the meat from floating.
- Set your temperature to however you like your steak cooked. I put mine at 125F for a nice medium rare. I’m dealing with grocery store meat here, people. Don’t give me any shit about that being too well done.
- Wait about an hour or two. Don’t panic! You can’t overcook your steak in a sous vide bath. That’s the whole point of it!
- Remove your steak from the water bath and let it cool back down to room temperature.
- Re-season it a bit, if so desired.
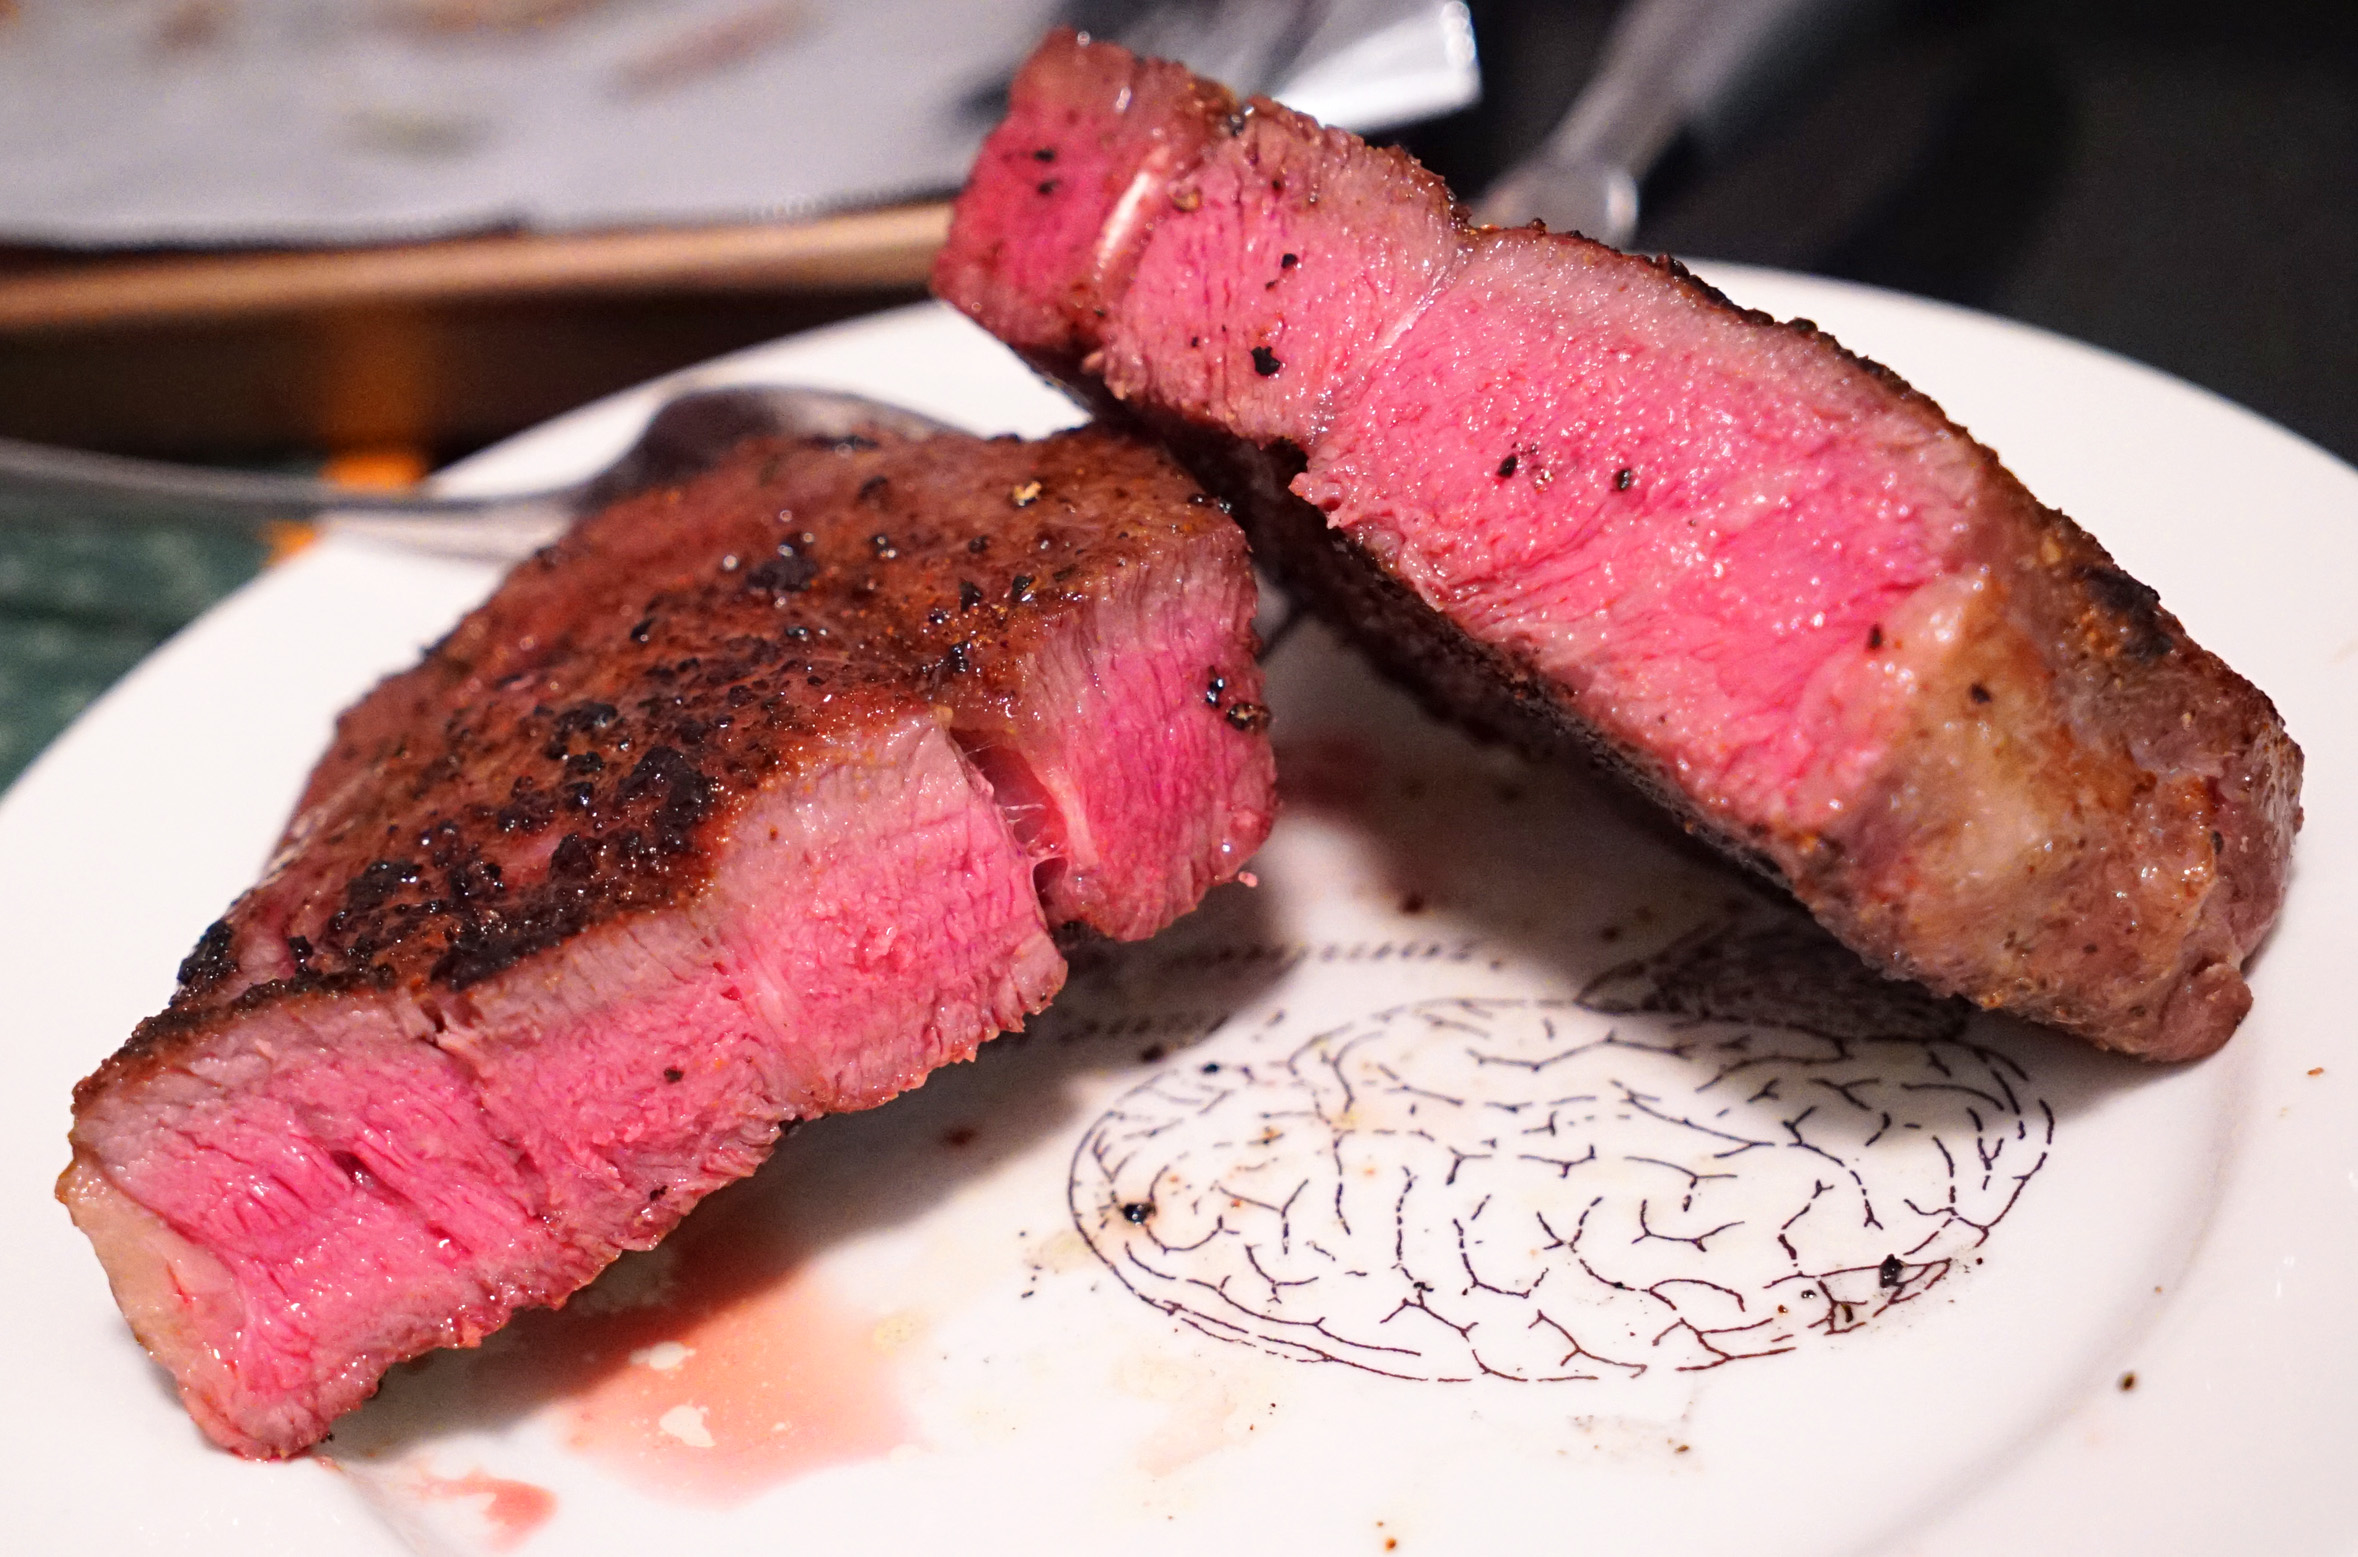
- Sear it. I use a Searzall, because why not? But you can easily just toss this baby into a real hot cast iron pan with some more butter and herbs to get that brown and crispy coating.
DIRECT FROM FROZEN
Some food scientist people were messing around and cooking strip steaks in a test kitchen; some cuts were thawed in a fridge overnight, and others were still frozen. The results stunned them. The steaks were cooked more evenly, with less “grey band” when cooked direct from frozen, and those steaks retained more juices (they lost less moisture during the cooking process). While they took longer to cook, they still browned at nearly the same rate as a thawed steak.
I think a major issue that home cooks with have here is that it may be difficult to prevent ice crystals to form on the outside of the meat during the freezing process. When cooking, these ice crystals will melt into water or sublimate into water vapor. At that point you are either boiling or steaming the bottom of your steak in the pan, which is bad. When doing that, you won’t ever achieve the crust that we carnivores all desire.
The scientists attempt to solve this problem by freezing the steaks in a special way at first, uncovered and flat. Once they’re frozen, they are then wrapped and bagged for storage. If you’re going to attempt this you will want to be very careful to replicate the freezing technique that the scientists utilized, to avoid excessive ice crystals from forming on the outside of the meat.
This method involves cooking in a pan that contains a good amount of oil. This is done to ensure that the nooks and crannies of the steak surfaces all get cooked the same amount, and it helps to displace any water that may melt out of ice crystals. Second, it also retains more heat, so you can bring the steak surface up to browning point faster, without overcooking any of the interview (which should still remain pretty cold since it is frozen). The result is less grey banding, and a more end-to-end pink steak interior.
You will still need to finish the steak in the oven, however, since the interior will likely be too rare or still frozen if you only use the pan.
In any event, here is my analysis:
Scientists’ Preferred Cuts for Frozen Steak Cooking: Strip
Pros
- No waiting for steak to thaw or come to room temperature
- Less meal planning needed ahead of time
- Nice, even cook temp throughout
Cons
- Difficult to avoid ice crystals
- Complicated freezing technique
- Still requires second step in the oven
Instructions
Refer to this link and the embedded video below for proper steak preparation and cooking instructions.
DIRECT ON COALS
I haven’t tested this method out myself yet, so you’ll have to take this with a grain of salt, as above, with the “Direct from Frozen” method. My first exposure to this method was when I saw Alton Brown discuss it on his blog. I was intrigued enough to include it here, but since I no longer have the ability to cook often with real wood, I have never tested this out.
Alton’s Preferred Cut for Coal Cooking: Skirt
Pros
- Fast
- Natural flavors
Cons
- Covering in foil step essentially steams the meat
- Potential for soot contamination
Instructions
I think the best bet here is to just follow the directions from Master Alton, since he’s a culinary wizard, and I’m a mere apprentice. One thing I’m apprehensive about, which I noted in the “cons” section, is the part where Alton wraps the hot steak in foil. This means the meat will cook in steam. He then tosses it back into the juices. All of this makes me think “wet steak,” and that turns me off.
___
For more specific recipes, as opposed to these more general methods of cooking, check out my recipe page.

