Tag Archives: recipe

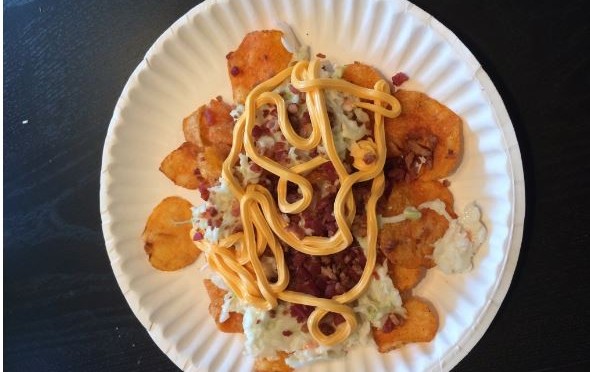
Hillbilly Nachos

Hillbilly Nachos:

  • Cheap ass BBQ flavored potato chips
  • Left over coleslaw from a fried chicken dinner
  • Bacon or bacon bits (depending on your budget)
  • Easy cheese (spray-can, whipped-cream style cheese)

You’re fucking welcome.

Oh you wanted pictures? Are you kidding me? Look at the ingredients. Ask yourself: What would it look like? Probably very similar to what it’d look like in the toilet bowl. No pics this time, folks.

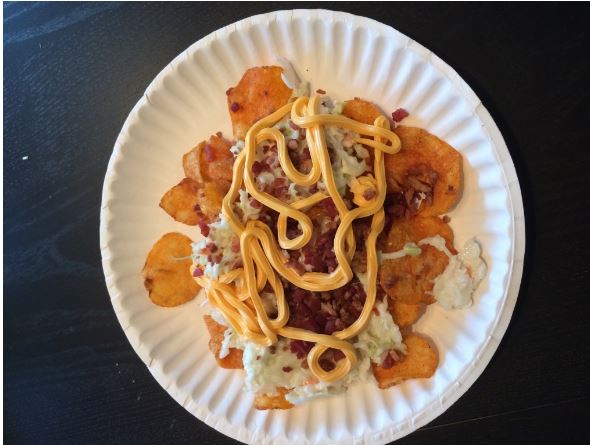
Actually… with the benefit of post-publish-editing, I can present to you an actual photo of this shit. Rod Budget, over at Hungry Dads, tried this recipe out. The Easy Cheese didn’t sit well with him, and he was not a fan of how the flavor of that product worked with the other items (despite his love and affection for Easy Cheese, mind you), but the combination of chips, coleslaw and bacon were a success, in his view.

hillbilly nachos

Sweet & Spicy Pork Sandwich

I whipped this bitch up after a surprise trip to the Mosner family meat processing plant for a tour and butchery class. Check out my write-up of that shit HERE.

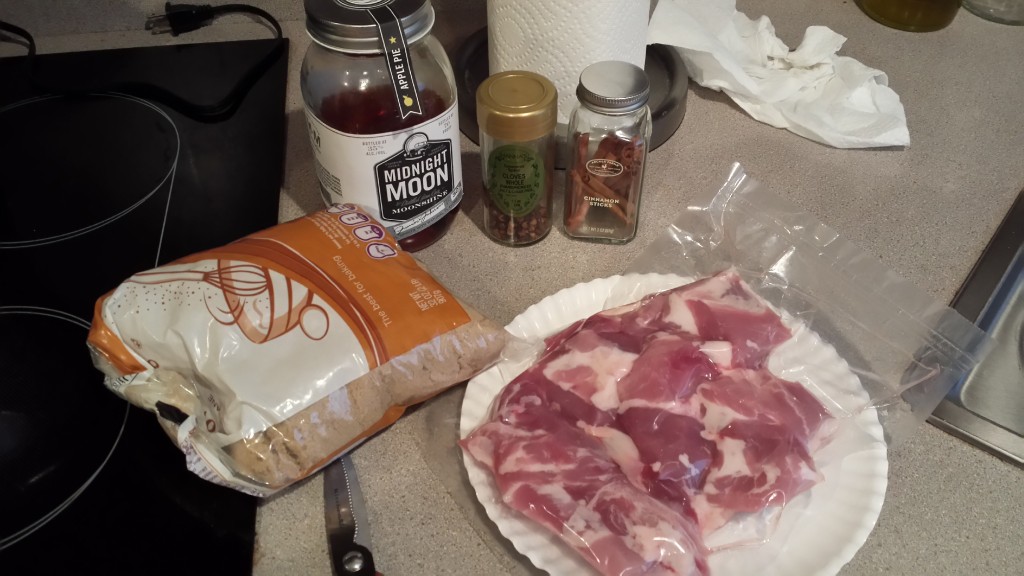
Once we got home, I was itching to try some of what we just worked on, so I took the stew meat scraps and threw them into the slow cooker with some apple shit and some spice shit.

20140405_181252_LLS

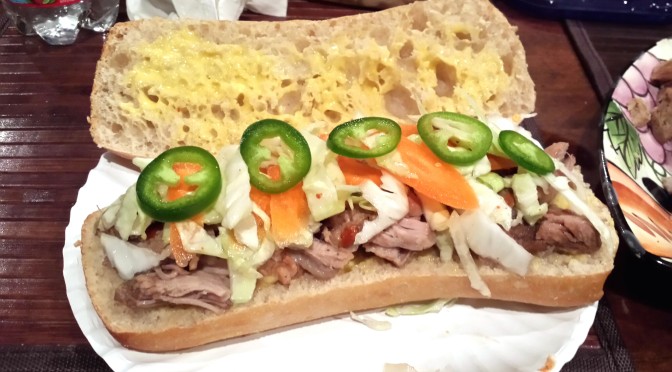
I set it on low and slow. Four hours later the result was amazing. My wife and I threw it onto a sandwich with some pickled cabbage and a spicy mayo. Check out the recipe below assholes:

What you need:

  • about a pound, or pound and a half, of pork stew meat
  • apple moonshine or brandy (3/4 cup)
  • can of apple sparkling water (12oz) or apple juice
  • one serving of apple sauce (unsweetened – 4oz)
  • 2 tbsp brown sugar
  • 3 cloves of garlic (cut each into thirds or quarters)
  • 1 small to medium sized onion (halved)
  • kosher salt to taste
  • crushed red pepper to taste
  • cloves (about 10)
  • 1 small cinnamon stick
  • fresh cracked black pepper to taste
  • handful of baby carrots, sliced thin
  • shredded cabbage
  • white vinegar
  • mayo
  • habanero hot sauce or sri racha sauce
  • sliced jalapeno
  • sub/hero bread

THE MEAT

1) Mix the apple sauce, apple brandy, and apple sparkling water to use as a braising liquid base. Add to the slow cooker.

2) Drop your stew meat into the slow cooker.

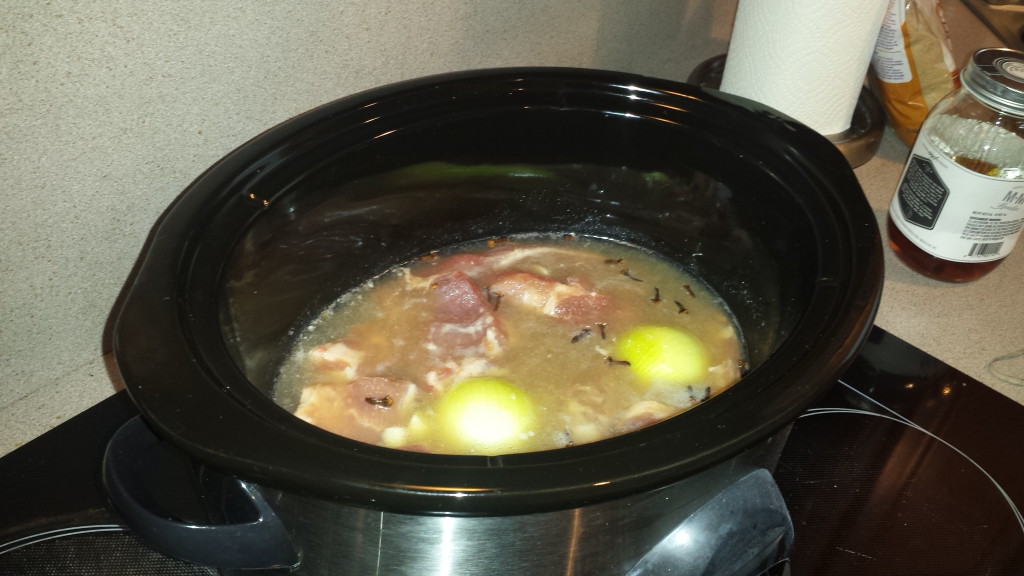
20140405_182207
stew meat swimming in the slow cooker

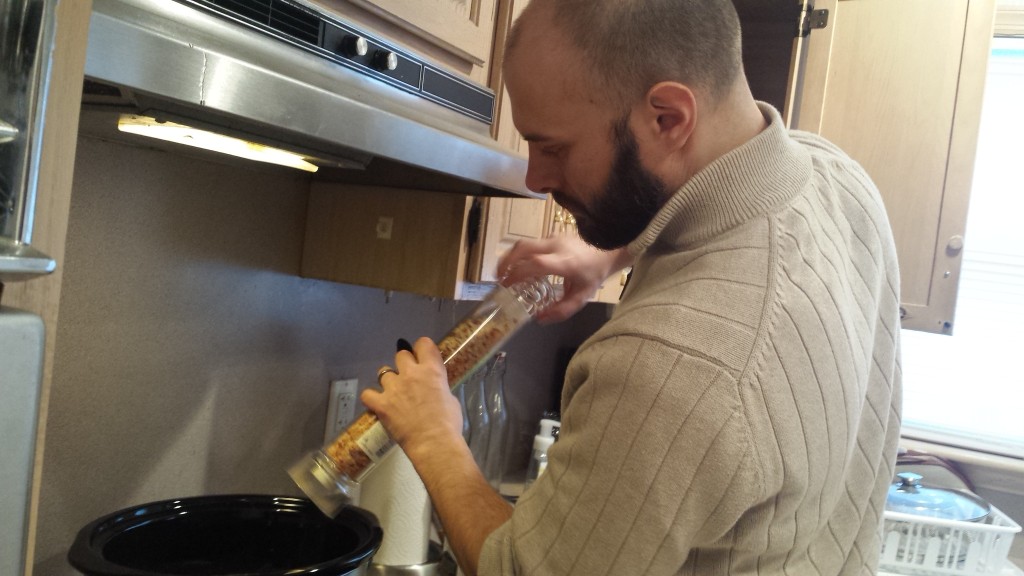
3) Add salt, pepper, crushed red pepper, cloves, cinnamon, garlic, and onion into the slow cooker.

Me, magic-wanding in a mix of kosher salt and crushed red pepper

4) Set slow cooker to 4 hours on LOW. Mix that shit around every so often while it’s going.

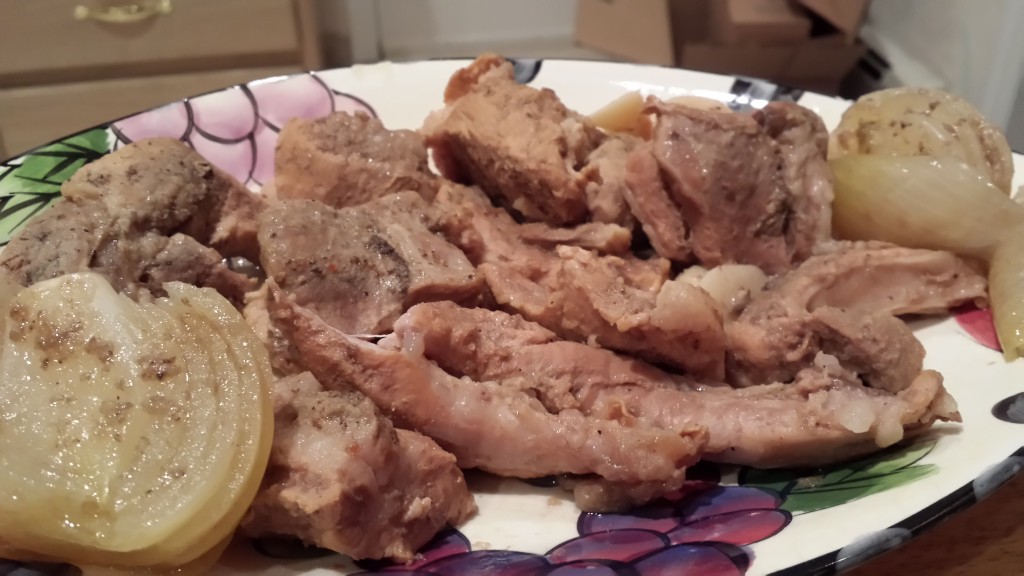
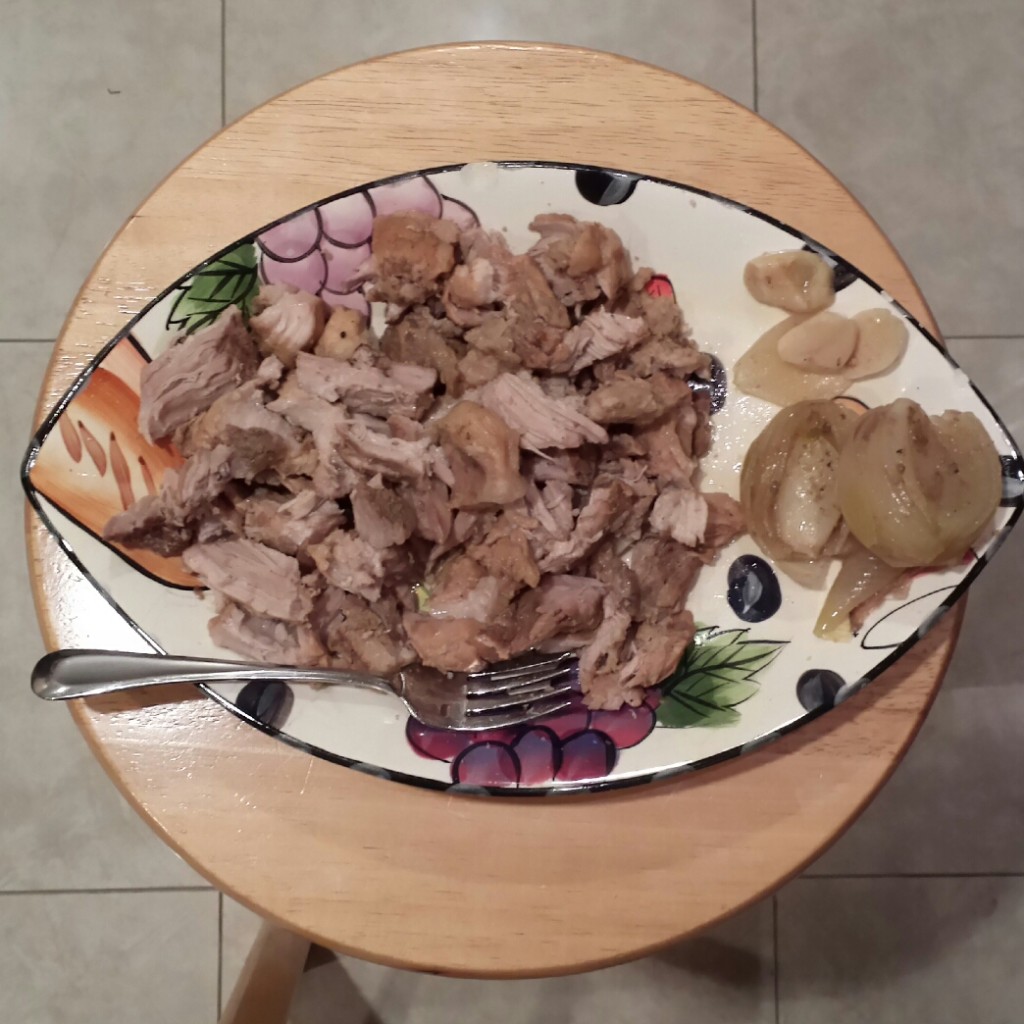
5) When finished, pull out of the liquid and cut the meat into manageable chunks for a sandwich.

20140405_223936_LLS 20140405_224404_LLS

NOTE: This meat is going to come out sweet if you go light on the spice, so what I did below was create some extras to balance the sweet with a little kick of spice. Be a man – do it.

THE TOPPING

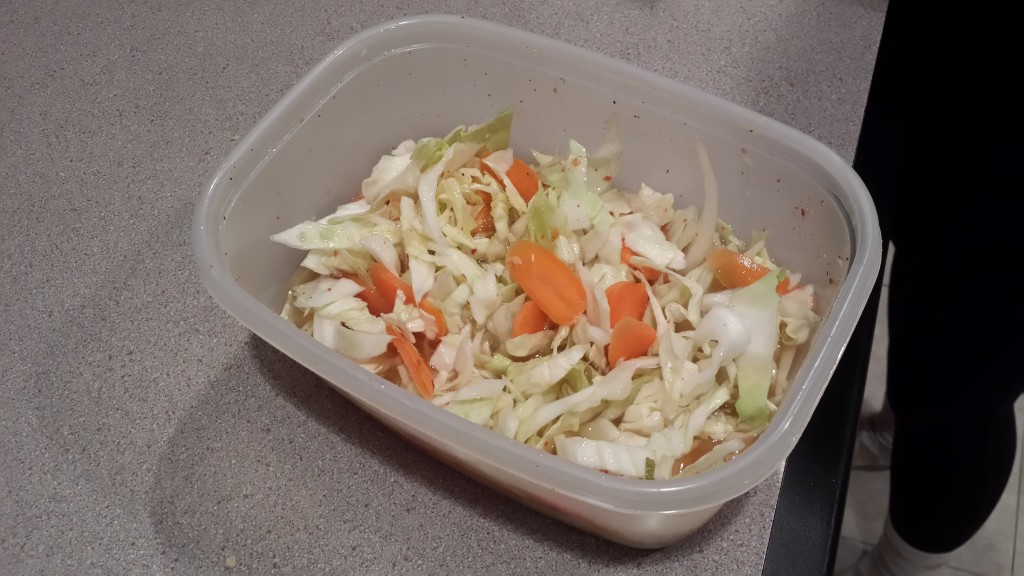
1) Get some tupperware and put the carrots, cabbage and white vinegar into it.

2) Add some spices as you see fit.

3) Let that shit sit and soak until it’s party time.

20140405_224910_LLS

THE DRESSING

1) Add habanero sauce or sri racha sauce to mayo as you see fit.

2) Mix.

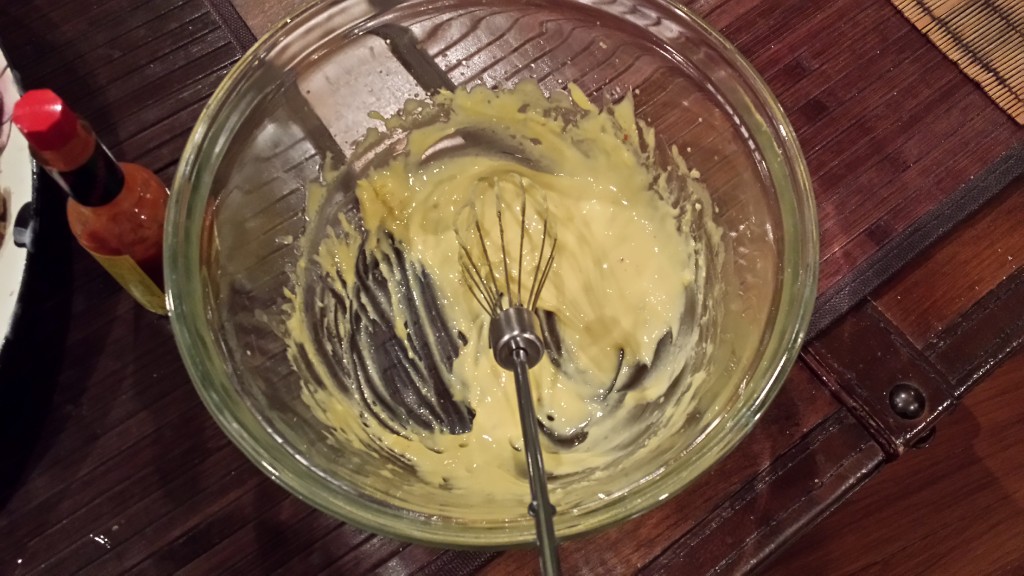
NOTE: if you have the ability, like my wife did, then you should make your own mayo from fucking scratch. How? Whisk together 1 egg yolk, a little blob of dijon mustard, a little white vinegar, a pinch of salt, a little olive oil, and a squirt of lemon juice until it becomes like a nice aioli. That shit will have a little zing of acid to cut the sweetness and spice of the other sandwich elements.

homemade mayo/aioli
homemade mayo/aioli

PUT ALL THAT FUCKING SHIT TOGETHER

1) Toast your bread to your liking.

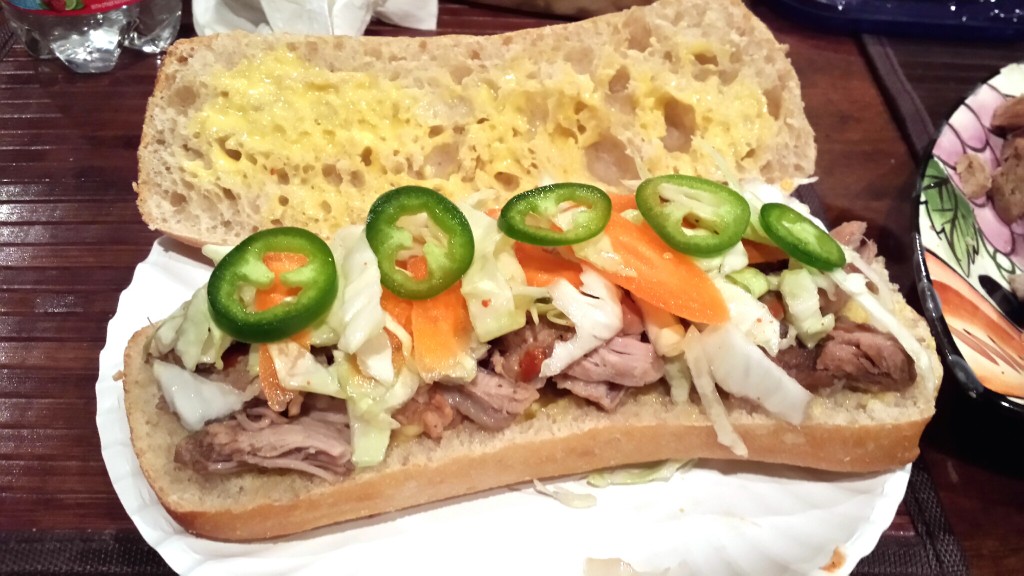
2) Assemble the sandwich by first dressing each side of the bread with the mayo/aioli.

3) Add your meat and some of the pickled veggie topping. Here’s where you throw on some of those sliced jalapenos.

20140405_225932_LLS (1)

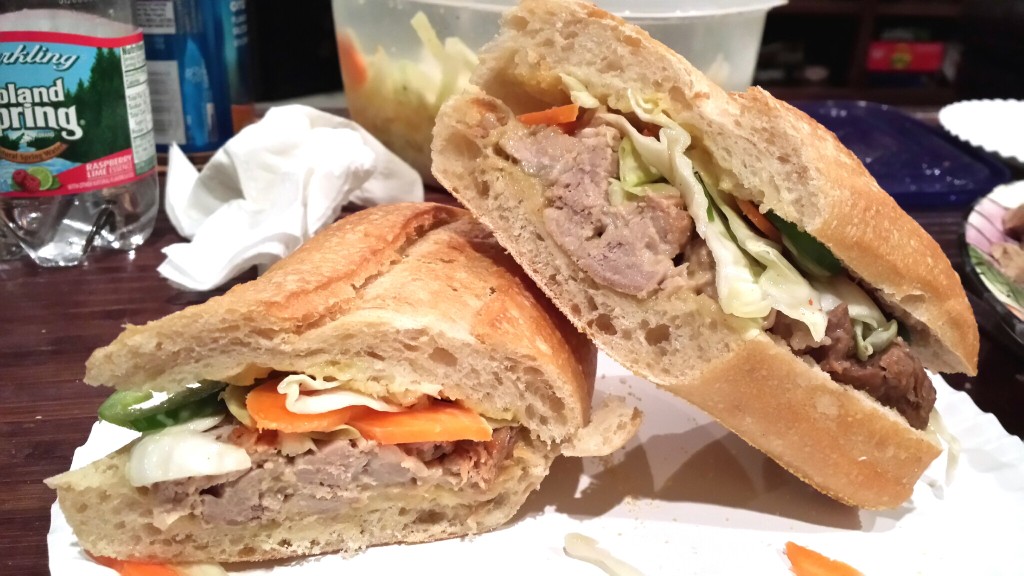
4) Eat that shit.

20140405_230109_LLS (1)

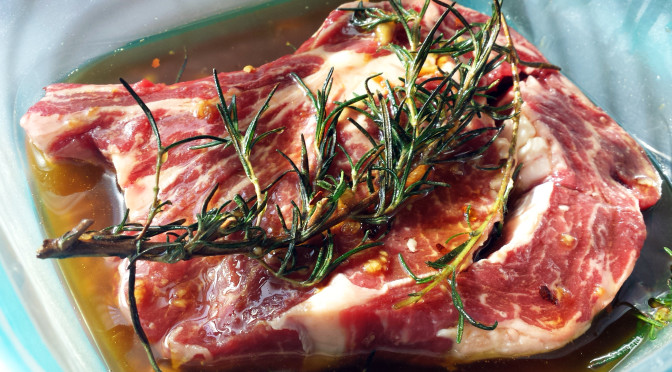
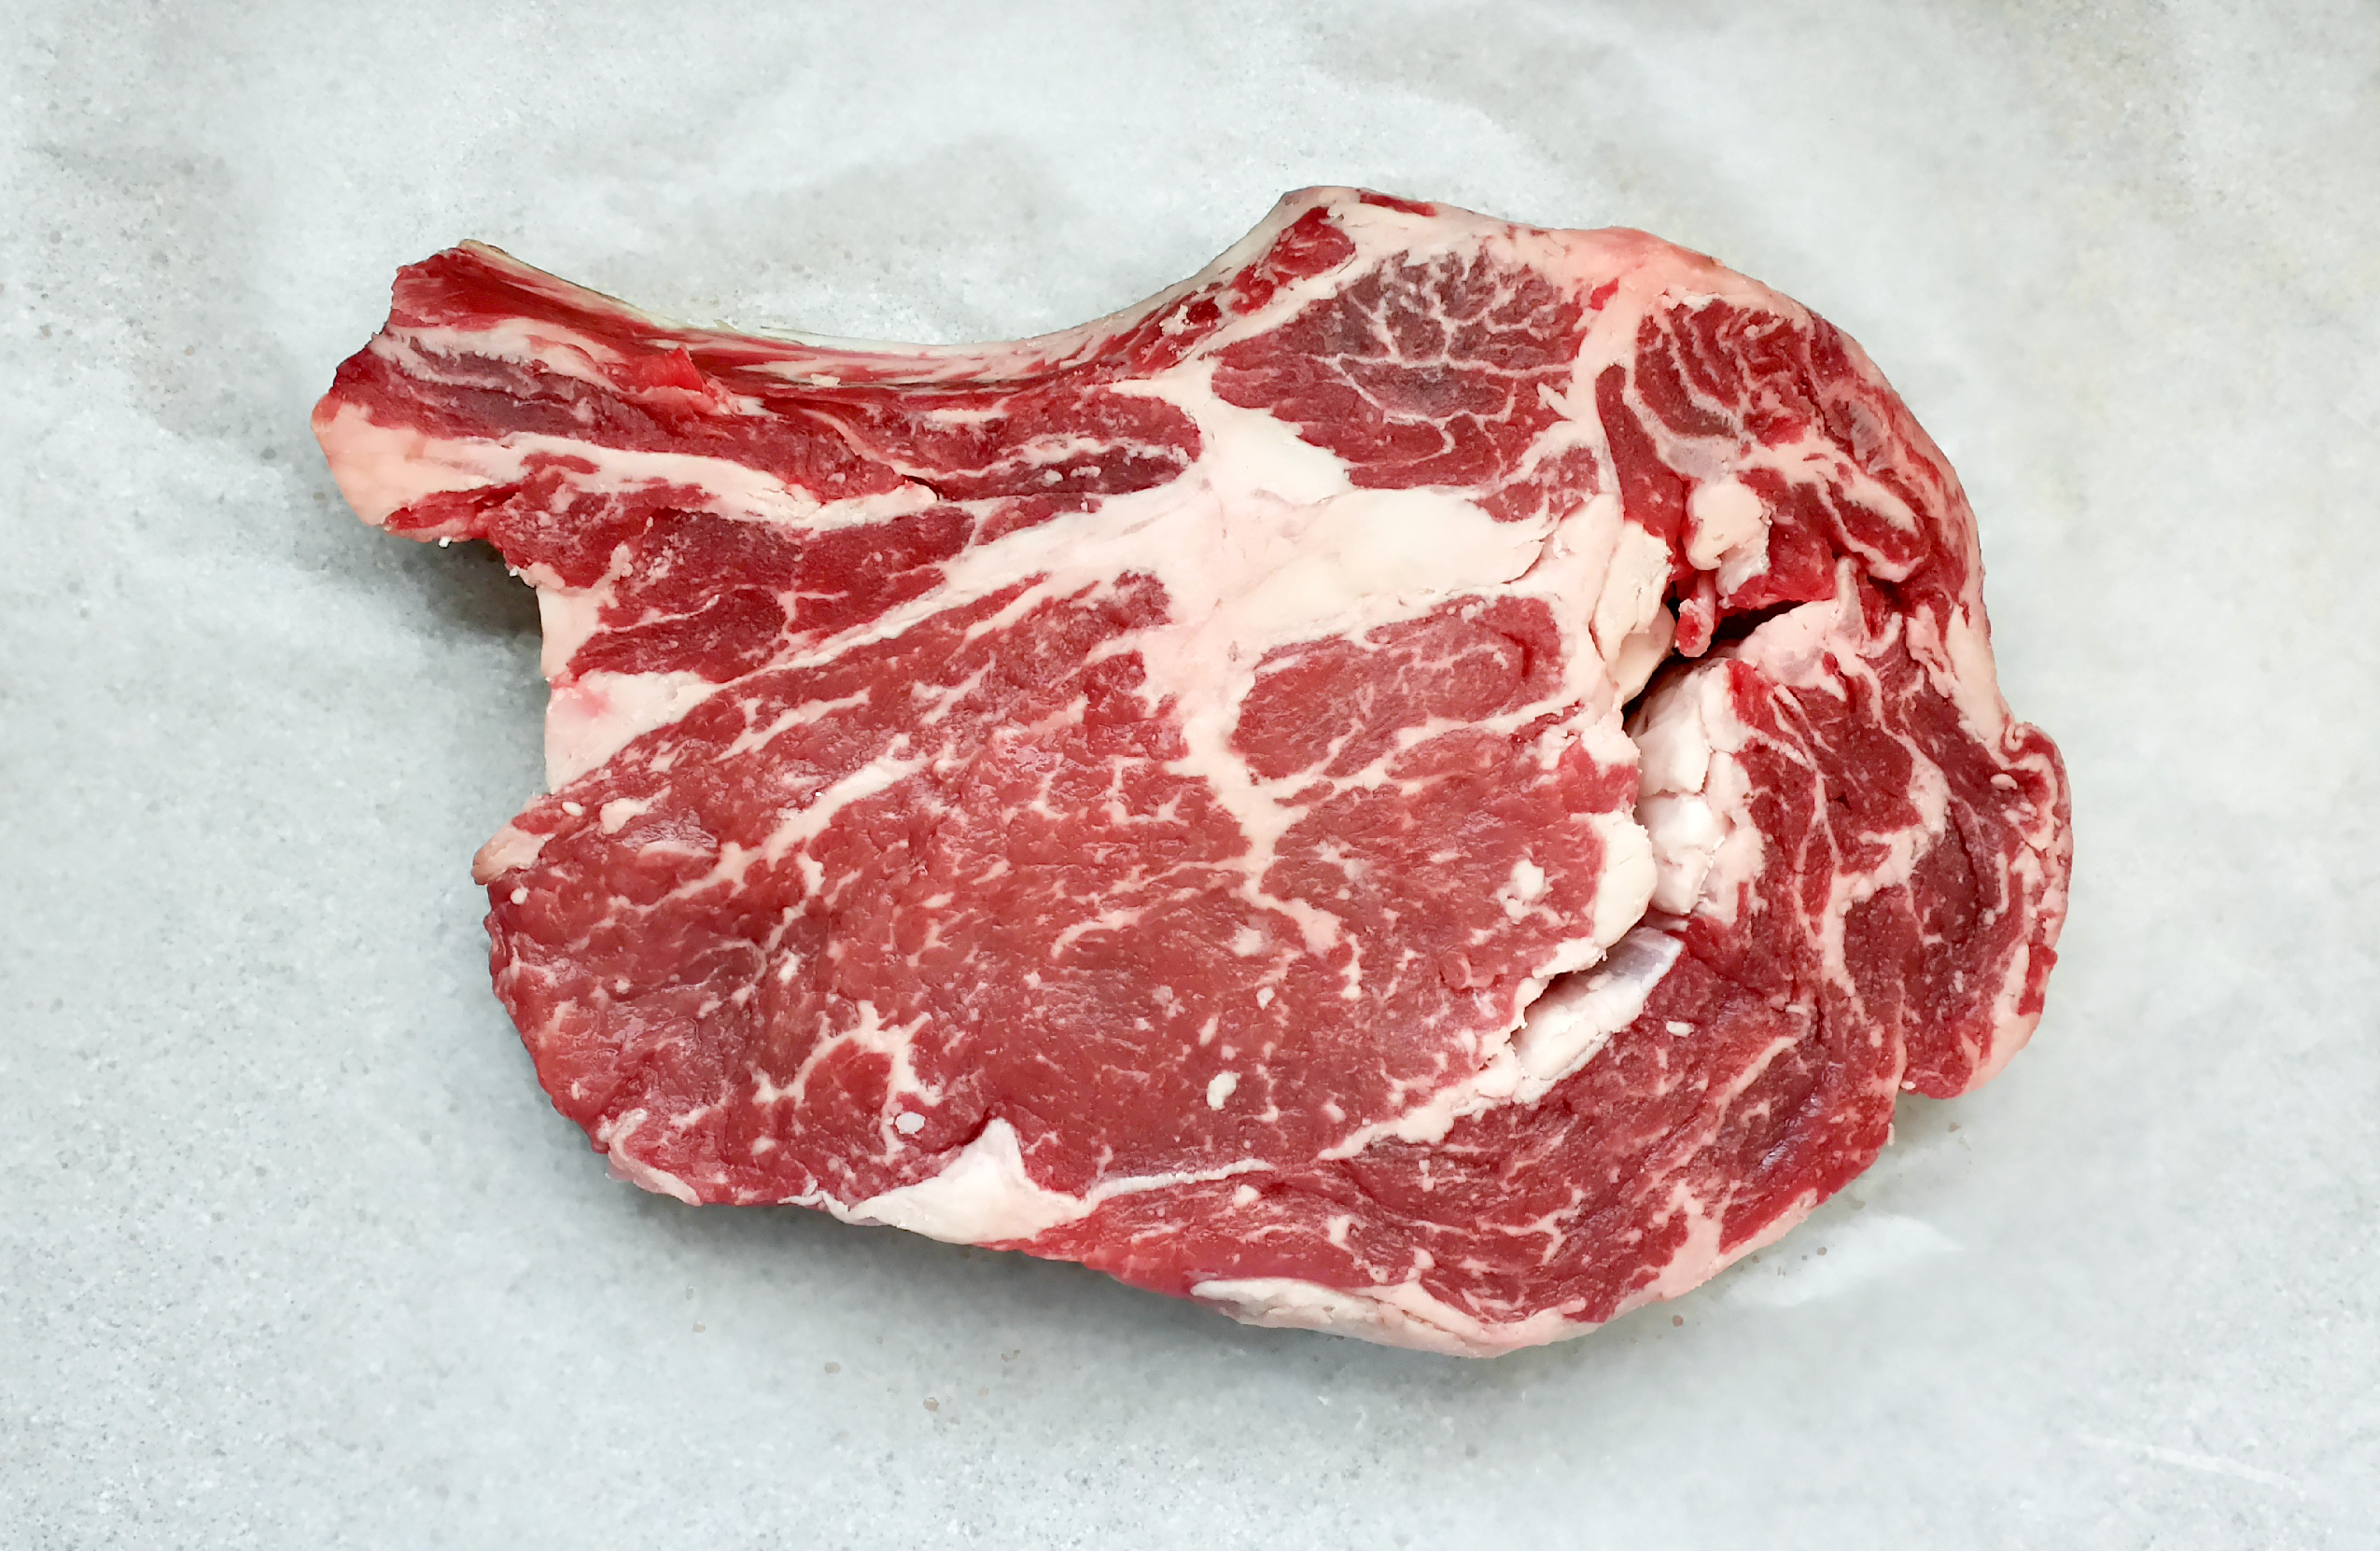
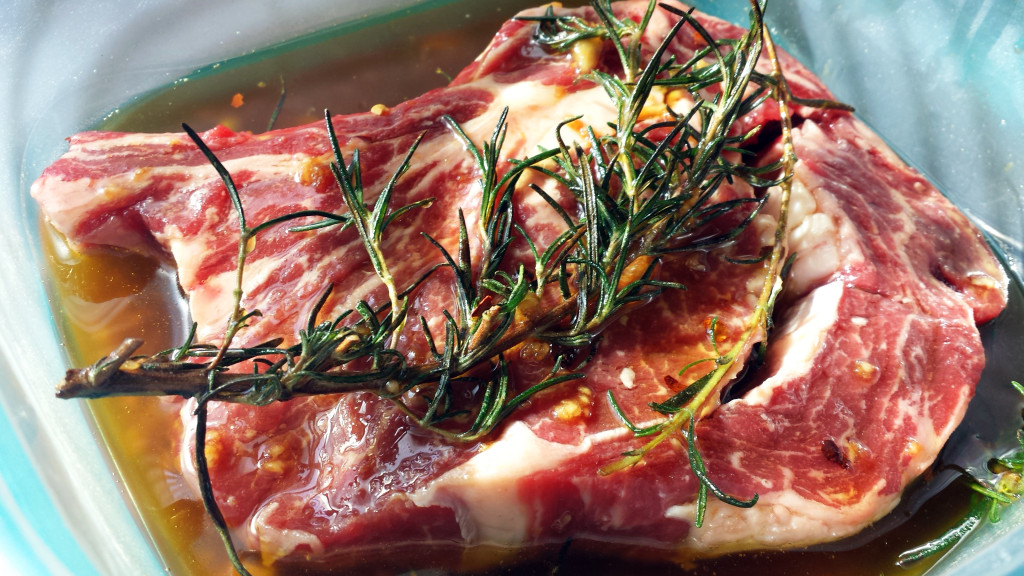
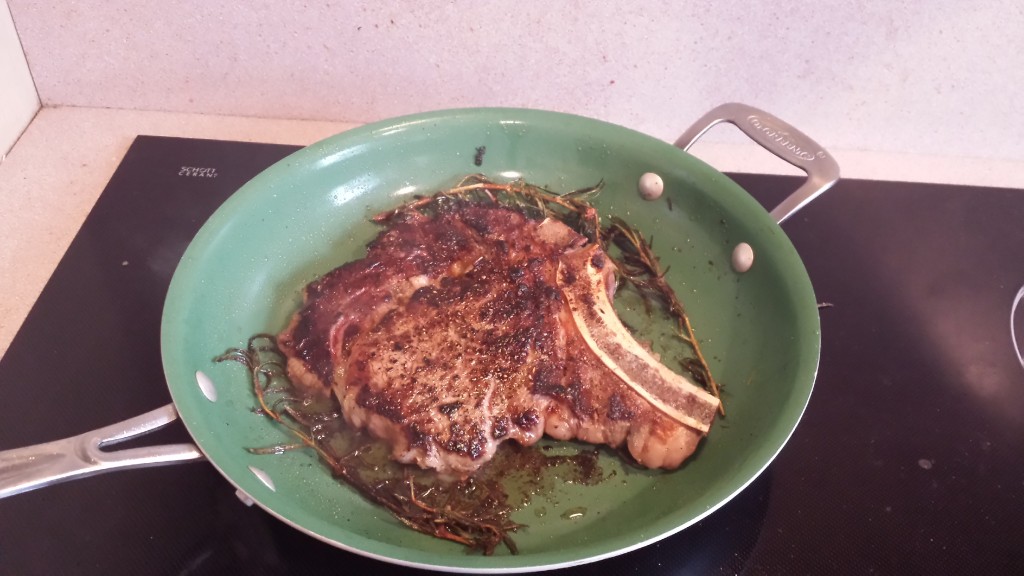
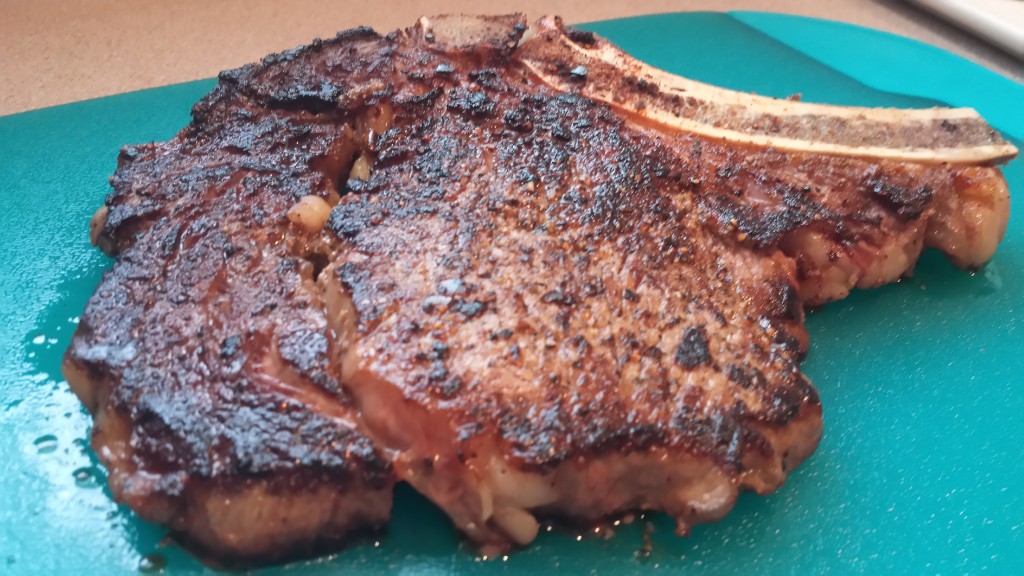
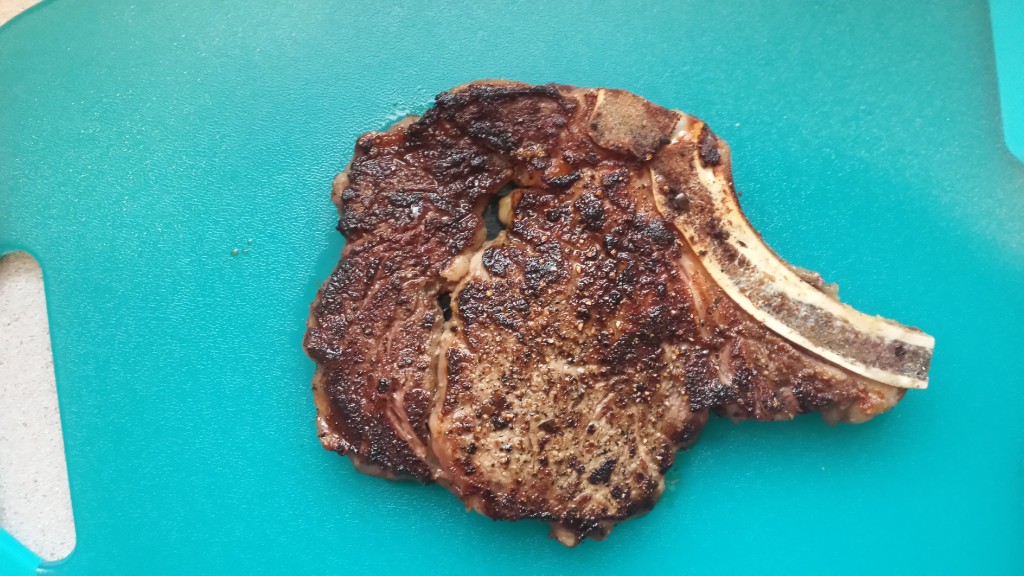
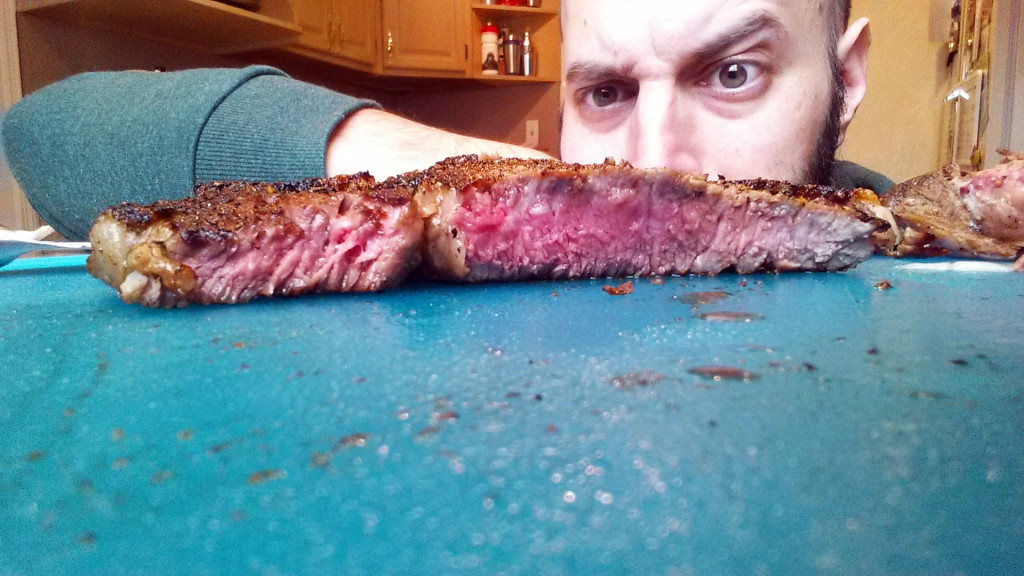
Garlic & Rosemary Rib Eye

Since we had to pay Uncle Sam a fat wad of dough for tax season, I figured I’d save a little money and do a steak from home. Since I was in the spirit of giving, I also figured I may as well share the process with you meat-heads.

Here’s what you’ll need:

  • A Rib Eye Steak
  • A Few Sprigs Of Rosemary
  • A Few Tablespoons Of Soy Sauce
  • A Cup Of Olive Oil
  • Three Cloves Of Garlic
  • Course Salt
  • Black Pepper
  • Crushed Red Pepper
  • Onion Powder
  • A Frying Pan
  • Tongs
  • A Source Of Heat
  • A Plate
  • A Cutting Board
  • Something Sharp
  • Balls

You’ll also need at least one eye and one ear, to watch and hear the demonstration I put together below:

And no post is complete without a smattering of food porn photos. Here are some before, during and after shots:

20140322_091905_LLS edits

20140322_095108 edits

20140322_125651_LLS

20140322_130712_LLS

20140322_130802_LLS

20140322_131802 edits

Shove This Wiener In Your Mouth

So here is another recipe for your meat eating needs. This time we are exploring the wonderful world of tubed meat; the hot dog. This recipe and technique has NEVER let me down when entertaining guests. It’s cheap, easy, and fucking scrum-diddly-umptious. In short this is the best fucking hot dog meal you will ever eat in your entire meaningless life. I call it the Chesapeake Dog.

INGREDIENTS

• the cheapest canned beer you can find
• half sour pickles
• hot dogs (preferably ones that plump while boiling)
• buns
• iceberg lettuce
• jalapenos
• onions
• ketchup
• dijon mustard
• sri racha sauce
• old bay seasoning
• bay leaves
• garlic powder
• pepper
• onion powder
• chili powder
• corn on the cob
• large boiling pot
• serving plate
• tongs
• a healthy sense of dick joke humor

STEP 1

Get a big boiling pot out onto your stove and dump an equal ratio of beer and water into it to serve as the base of your boiling liquid (for you complete idiots out there, that means three cans of beer and three cans of water, or six and six depending on how much you are making). I like to use Schaefer since it is usually under $7 for a 12-pack at my grocery store. Occasionally I will use Guinness as well, but that is kind of a waste of good beer, in my opinion.

Add your spices to the liquid – a few heaps of old bay, a few bay leaves, a healthy amount of pepper, onion powder and garlic powder too. You can drop an onion in there too if you have an extra laying around. Cut it up a bit so you can use it later rather than having a full soggy onion lapping around in there. Add your hot dogs and corn on the cob into the liquid and bring to a boil.

The corn is key here, because it adds a sweetness to the cooking liquid that will balance out the heat from the sauce you will make down below. Plus, nothing beats a good boiled corn on the cob as a side for your meat dish… except maybe more meat. Bust the corn in half if the pot is smaller.

STEP 2

While waiting for the dogs to blow up, you can prep your garnishes, fixings and sauces.

Slice the lettuce thinly, like the shredded lettuce you see at the sandwich shop. Slice your pickles and jalapenos long ways so that you can stretch them along the length of the hot dog buns when you assemble the dogs later on. Gather all ye sliced items neatly on a fixings plate and keep it all in the fridge until the dogs are done.

STEP 3

Now for the spicy onion hot dog sauce. First, thinly slice up an onion or two so that rings or long strips are formed (don’t chop, in other words). Leave some aside for raw garnish or toppings – add them to the fixings plate. With the remainder, you can chop into smaller bits if you like, but either way you must throw them in a small sauce pan on medium heat with a little olive oil at the bottom. Sweat them down so they get a little soft, and then lower the heat to simmer. At this point you can also add in the onion that is boiling away with the hot dogs too, or you can leave that for additional toppings later. Next add lots of ketchup so that the onions are covered. Stir often while trying to maintain light bubbling pops on the top. You dont’ want it boiling like crazy – just an occasional bubble. You’ll also want to add sri racha chili paste to your desired spice level during this phase as well.

STEP 4

Slam a Schaefer. Shotgun it if you still consider yourself a man. Get a good buzz going for yourself; after all, you deserve it. You have a huge pair of balls and a hot dog of your own swinging between your legs. When you are born blessed with equipment like that, there is a lot of responsibility that comes along with it. Slamming beers is one of those few male responsibilities than we can also take joy in at the same time. So drink up. The only place you need to go today is your backyard. Shit man, get tanked if you want.

STEP 5

Once the dogs are nice and fat, you can shut the heat before they start to split and burst. Don’t pluck them out of the water, however, until you are ready to assemble them on the buns. If desired, you can throw the dogs on the grill for some char flavor, but it is totally not necessary since these dogs will pack a nice flavor punch as is.

Remove the corn and onions with the tongs, letting them drip dry before transferring to a serving plate. Keep the onions along the side like a garnish, but coat both the onions and corn with a little chili powder.

STEP 6

Now you will get the hot dog factory ready; you will become a one man conveyer belt of meat. Here’s how you set them up for best eating practice:

Open bun, place pickle and jalapeno down first. Then create a nice cushion of shredded lettuce for the hot dog to sit on. Add the dog, and then top with the onion sauce and one or two thin slices of raw onion. Throw on a little dijon mustard and you are ready to rock.

Why all this work for a simple hot dog meal, you ask? Because they’re fucking better this way. The standard hot dog has no texture aside from the initial skin snap when you bite the dog, and that is almost disgusting. This method gives you hot and cold, it gives you crunch and softness, and it gives you sweet and heat, along with a really amazing grouping of flavors in general. So fuck this boring ass hot dog:

STEP 7

As always, eat… and then shit. As a side note, make sure you crack an inappropriate amount of dick jokes throughout the entire cooking, eating and shitting processes.

Hike Up Your Skirt A Little More

With Memorial Day celebrations upon us, I figured I would share a sure fire way to impress guests at a BBQ. I chose skirt steak because it is likely going to be one of the cheapest cuts you can find in the grocery store and still prepare it deliciously with very little effort. So hike up your skirts a little more, and show your BBQ friends the stankin’ ass pair of balls you have dangling underneath.

INGREDIENTS

• skirt steak
• olive oil
• lime juice
• lime – optional
• garlic cloves
• garlic powder
• kosher salt
• fresh cracked pepper
• fresh habanero pepper (or jalapeno, or dry crushed red pepper) – optional
• fresh oregano – optional
• tupperware
• a grill
• a pair of tongs
• a plate
• a knife
• a pair of balls the size of eggs

STEP 1

In the grocery store, look for a cut with the least connective tissue still clinging to it. This would be thick, white flappy stuff. You’ll have to trim some of that off when you get home, so if you can avoid it ahead of time, then that’s helpful.

It’s always best to cook it right away; the fresher the better. It may be a few days since it was butchered, maybe longer. I like to go to the grocery store and come home to immediately start cooking. No fridge needed.

STEP 2

Place the steak in a tupperware container with an inch or two of olive oil in it. The steak can fold over; it doesn’t need to be a huge tupperware container. Next chop up your garlic and peppers, because you are going to soak the steak in there with some crushed garlic cloves and chopped habanero peppers. This olive oil soak isn’t as critical with a fatty steak like skirt, but this technique also works really great on more dense meats, or cuts without much marbling or fat content. Also if you are too vaginal for habanero, or if your shitty grocery store doesn’t have them, you can use jalapeno, crushed red pepper flakes, or nothing at all. But if you don’t like spicy foods, then go fuck yourself because that means you’re an asshole anyway.

Leave it in the tupperware at room temperature if you plan to cook it the same day, which I highly recommend. Know that the longer you leave the peppers in, the spicier it will get, and the longer you let it soak in the oil and garlic, the more tender and flavorful it will get, as that shit soaks into the meat.

Whatever you do, DO NOT PUT THE LIME JUICE IN THE SOAKING LIQUID. Lime juice has acids and enzymes in the citrus that will break down meat and essentially cook it. In fact that’s how ceviche is made with raw seafood.

STEP 3

Wait. Even an hour will make a difference with this soak. And yes; you want the meat to be room temperature before it hits the grill. Occasionally you should turn the meat to ensure that all sides and surfaces are coated and get soaked in the goodness.

In the meantime you can start prepping your sides. I like grilled asparagus with steak, as I tend to shy away from starches when I am eating a steak dinner. Avoiding starch will leave more room in your gut for meat.

If you have a charcoal fired grill, you can start that up while you wait too. I use a gas grill because it’s fast. I’m impatient, so I like my grill ready when I am.

Let the grill get psychotically hot. Close the lid and crank it all the way. Some of the best steakhouses cook their meat at around 700 degrees for the initial outer cooking. They often use lower heat for thick cuts during a second cooking phase, to get the middle perfectly cooked without overcooking the outside. We won’t need to do that with skirt steak, since it is thin. So the hotter, the better.

STEP 4

Now that your meat has been soaking for a while, take it out and pat it dry with paper towels. Get all the oil off. You want the meat to hit the grill bone dry. It may seem like a waste of olive oil, but I promise you it will be worth it once you take that first bite.

STEP 5

Season the mother fucker generously with kosher salt, cracked black pepper, garlic powder, and whatever else your heart desires. But don’t overdo it otherwise you will drown out all the great flavor you just imparted into the meat during the soaking process.

This isn’t baking, so you don’t need exact measurements here or anything with the seasoning. My wife is a baker and the great thing about grilling as opposed to baking is that grilling is more free form, more relaxed. With baking my wife needs precision, and she needs her measurements to be as close as possible to her recipes. If she goes off a few grams everything can get screwed up. With grilling you pretty much have to be an invalid to fuck it up.

STEP 6

So your grill is hot as shit now, and you are ready to start cooking. Grab your tongs, a serving plate, the lime juice, and your meat. You’re ready to rock!

Lay the meat horizontally across the grill bars. When the meat hits the grill it should scream and sizzle. Nice and hot. That means you are going to get some great char lines.

So you’re wondering what the fuck the lime juice is for, right? Well here is where it comes into play. I like to use a spray bottle for the lime juice, because you don’t want to add too much liquid to the meat during the cooking process, otherwise you will steam cook your meat and it will turn gray and soft on the edges instead of that nice crispy charred outside that you expect when grilling. So just give the meat a good mist every so often to get that flavor on there. Another option is you can use fresh limes. Slice them up and lay them on the upper surface of the meat as it cooks. Then, when you flip the meat, put the slices back on top of the meat again, or surround the meat by placing the slices directly on the grill beside the meat. Trust me you’ll taste the lime. Last, you can also zest the rind onto the meat when you season it.

I also like to throw some fresh oregano from my garden on the grill during this time too. Throw it everywhere; on the grill, on the meat, on your prick, etc. It gives it a nice herb-kick!

STEP 7

Watch your watch. Two to three minutes a side on a steak this thin, and on a grill this hot, should be plenty. What I like to do is probably overboard; I like to do one minute with the top open, one minute shut. Then I flip the steak and do another one minute open, one minute shut. If it still needs more, I flip the steak again to get crossed grill marks (turn vertically) and do one minute open. Then flip the steak again and do the final minute with the grill top shut.

Think of it this way: closing the lid causes the center of the meat to cook more. However with a thin steak like this you may not even need to do the lid closing; it’s just a technique I thought I’d share with you assholes anyway. Also keep in mind that the more you flip and move the meat, the less defined grill marks you will have on the finished product (apprearance IS important).

STEP 8

Remove the meat from the grill with the tongs and let it rest for a few minutes. The meat is still cooking even though it’s off the heat, and the juices are still going to come out if your seasoning and crust doesn’t lock in all the juices. Whatever you do, DO NOT CUT IT WHILE IT’S HOT! If you cut it now it will bleed out and become a runny mess. When you let it rest, you give the steak the opportunity to reabsorb all the delicious, savory meat juices that would otherwise fall out if you cut it while it was still sizzling. That’s why I hate when steakhouses do this with the porterhouses for two or three people. They ruin it. As a result they have to add tons of butter to keep it succulent. Then you’re increasing your fat intake, you’ll get the meat sweats afterwards, etc. It’s not a good scene. With a hot cut you’d have to eat it fast, when it’s too hot. Then you burn your mouth. Then you can’t taste it because you blew out your taste buds. Then for the next three days you’re eating flaps of dead skin that slough off the roof of your mouth throughout the day. That sucks.

So let it rest. If you have any juices in your resting plate afterwards, you can reduce them down in a pan to create a sauce.

STEP 9

Slice into square shaped portion sizes by running your knife WITH the grain of the meat. However, while eating or when slicing prior to service, you want to use a really sharp knife and cut AGAINST the grain. This technique is referred to as cutting “on the bias.” This increases tenderness, makes for a nicer appearance, and the meat holds together better when the striations are cut in this way.

Garnish with a wedge of lime, and use that to dress the meat a bit with a quick squeeze before eating.

STEP 10

Eat. Then, later, you can shit it all out.