Tag Archives: roast

The Ultimate Guide to Cooking Steak

Every food-oriented website out there, whether it’s Eater, Grub Street, Thrillist or what have you, has their own version of “The Ultimate Guide for Cooking a Steak,” or whatever it may be. Many of them do offer good information, but they’re almost all incomplete. They set you up with one method for one cut of meat. This piece will serve as a place where you can get instructions for cooking several different cuts of steak via several methods. Let’s get right to it.

GRILLING

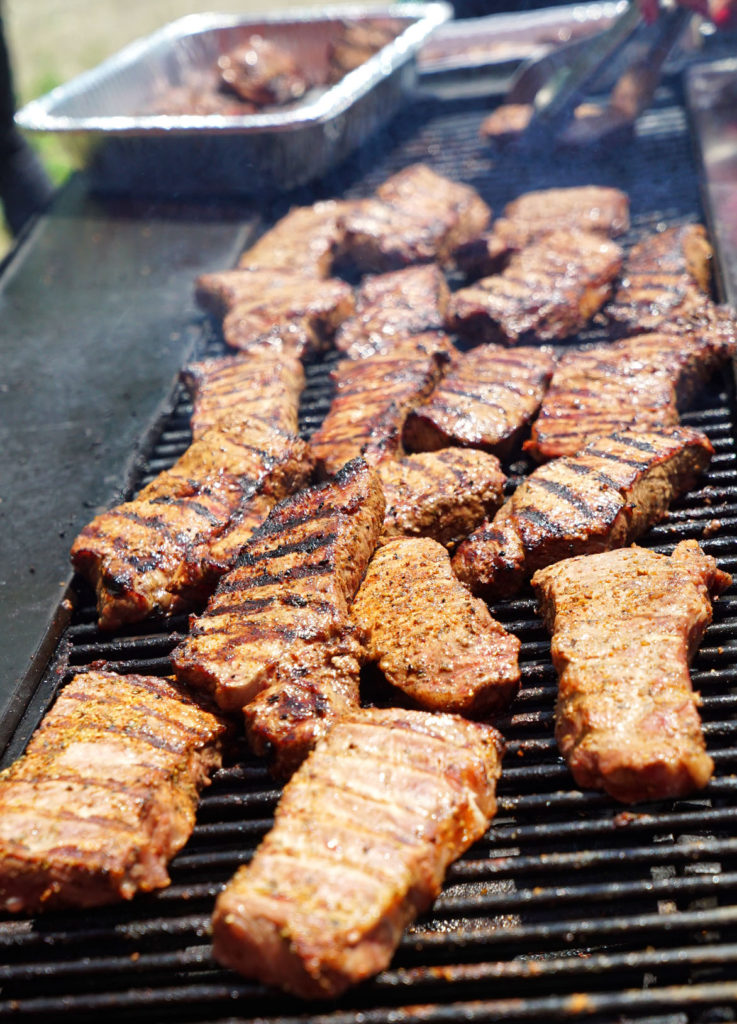
This is probably the method that most people are familiar and comfortable with. Since it is actually my least favorite way to cook one of the four major cuts, I will discuss it first, up front, with the caveat that I do actually prefer grilled skirt steak to any other cut that’s done on the grill. That said, there are some significant pros and cons for grilling. Depending on what you want out of your steak eating experience, you should take these into consideration before deciding if this is the right method for you. What time of year is it? Summer, winter? Are you grilling over charcoal or propane?
DSC04730

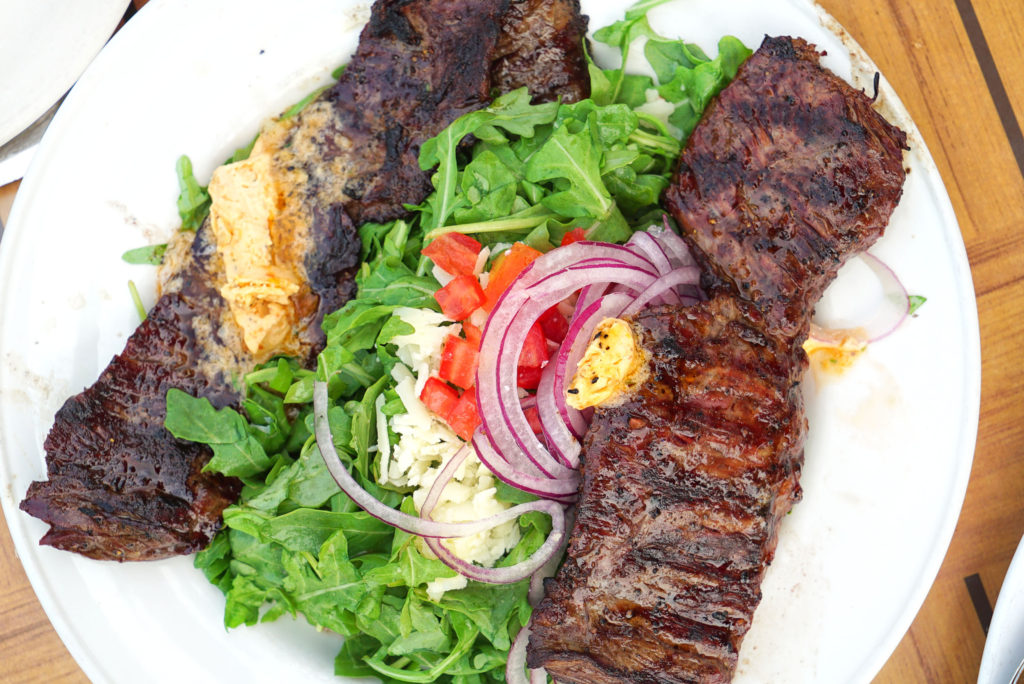
Johnny’s Preferred Cuts for Grilling: Skirt, Flank, Hanger

Pros

  • Easily accessible
  • Familiar and comfortable to most home cooks
  • No smells or smoke indoors
  • Can easily cook many steaks at once

Cons

  • Fat, flavor and juices fall through the grill bars
  • Can be difficult to control heat levels
  • Lowered ability to sear evenly

Grilling is perfect for outdoor cooking in the warm months, and especially for large groups of people. You don’t get any lingering smells in your home, and you can enjoy the day like a good American, beer in hand as you cook. Since I like a good even sear across the entire cut of meat, I generally don’t like cooking the four major cuts of beef in this manner. Generally I go for skirt or flank, something that benefits from a good, fast blast of heat; something where I don’t mind if I lose a little fat or juice through the grill bars; and something cheap that can be sliced up and served family style. Charcoal is a tough medium to master. Some people are experts at creating and maintaining even heat levels for a cooking session. Others use propane. This is easier, cleaner, and more convenient, but you lose some of that desired charcoal and smoke flavor unless you’re adding soaked wood chips to the grill as you cook. If grilling is right for you, then read on below.
DSC06461

Instructions

  1. Get your steak up to room temperature and pat it dry.
  2. Crank up your grill to as high as it will possibly get.
  3. Season the skirt/flank generously with salt and pepper.
  4. Grill the meat with the grill top open. Do not poke, prod, press or move the meat once it is set down on the grill bars. Allow the bars to create nice markings on your meat.
  5. After a few minutes, flip once and repeat the previous step.
  6. Use a meat thermometer or the “hand test” to ensure that your steak is properly cooked to medium rare. Remove it from the grill at 125F.
  7. Let the steak rest for a few minutes on an elevated and porous surface, like a metal baking rack. During this time the meat will continue to cook a bit more while off the flames, and it will retain more juices during the next step.
  8. Slice against the grain of the meat, or “against the bias,” and serve.

PAN SEARING

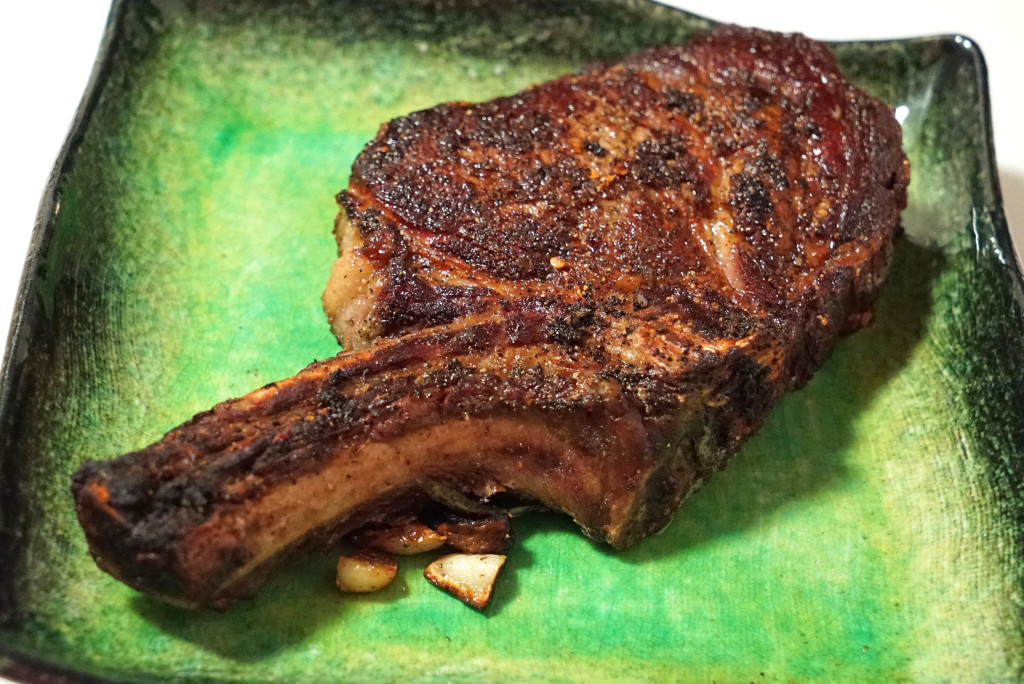
This is probably my favorite method for cooking steak. I always try to use a cast iron skillet, as they just work better for creating that crusty sear that we have all come to know as steak lovers. If you can’t get your hands on one, then a standard pan will do.
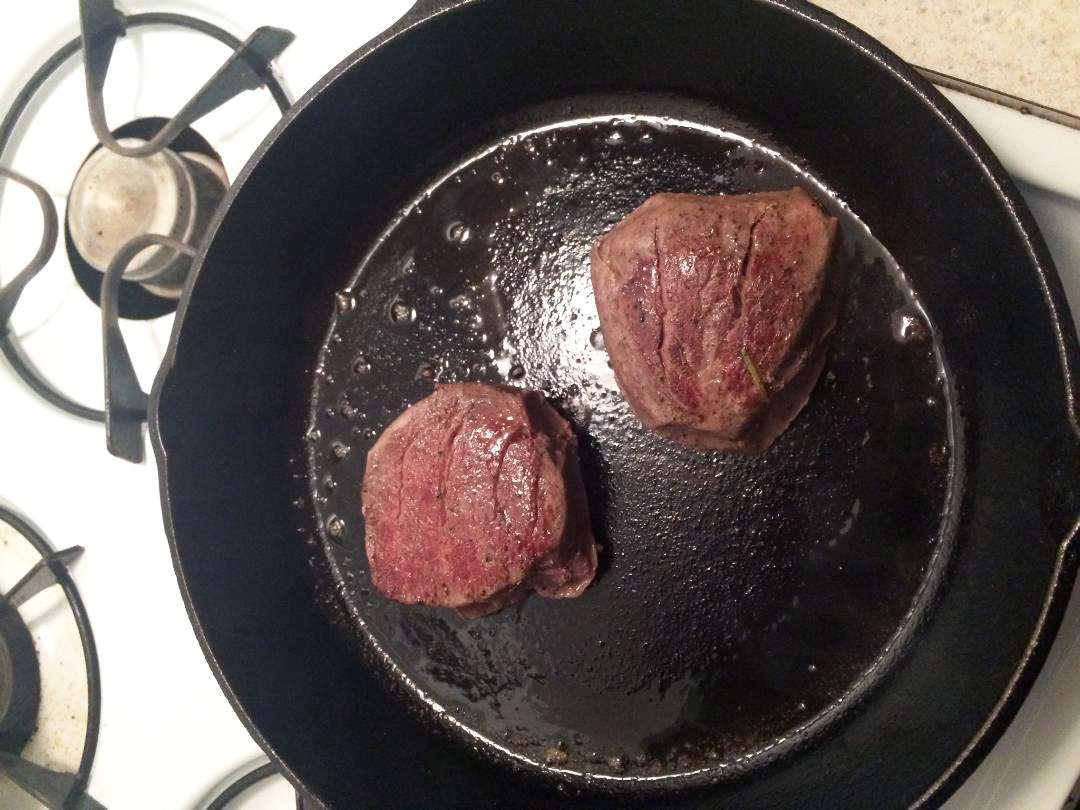
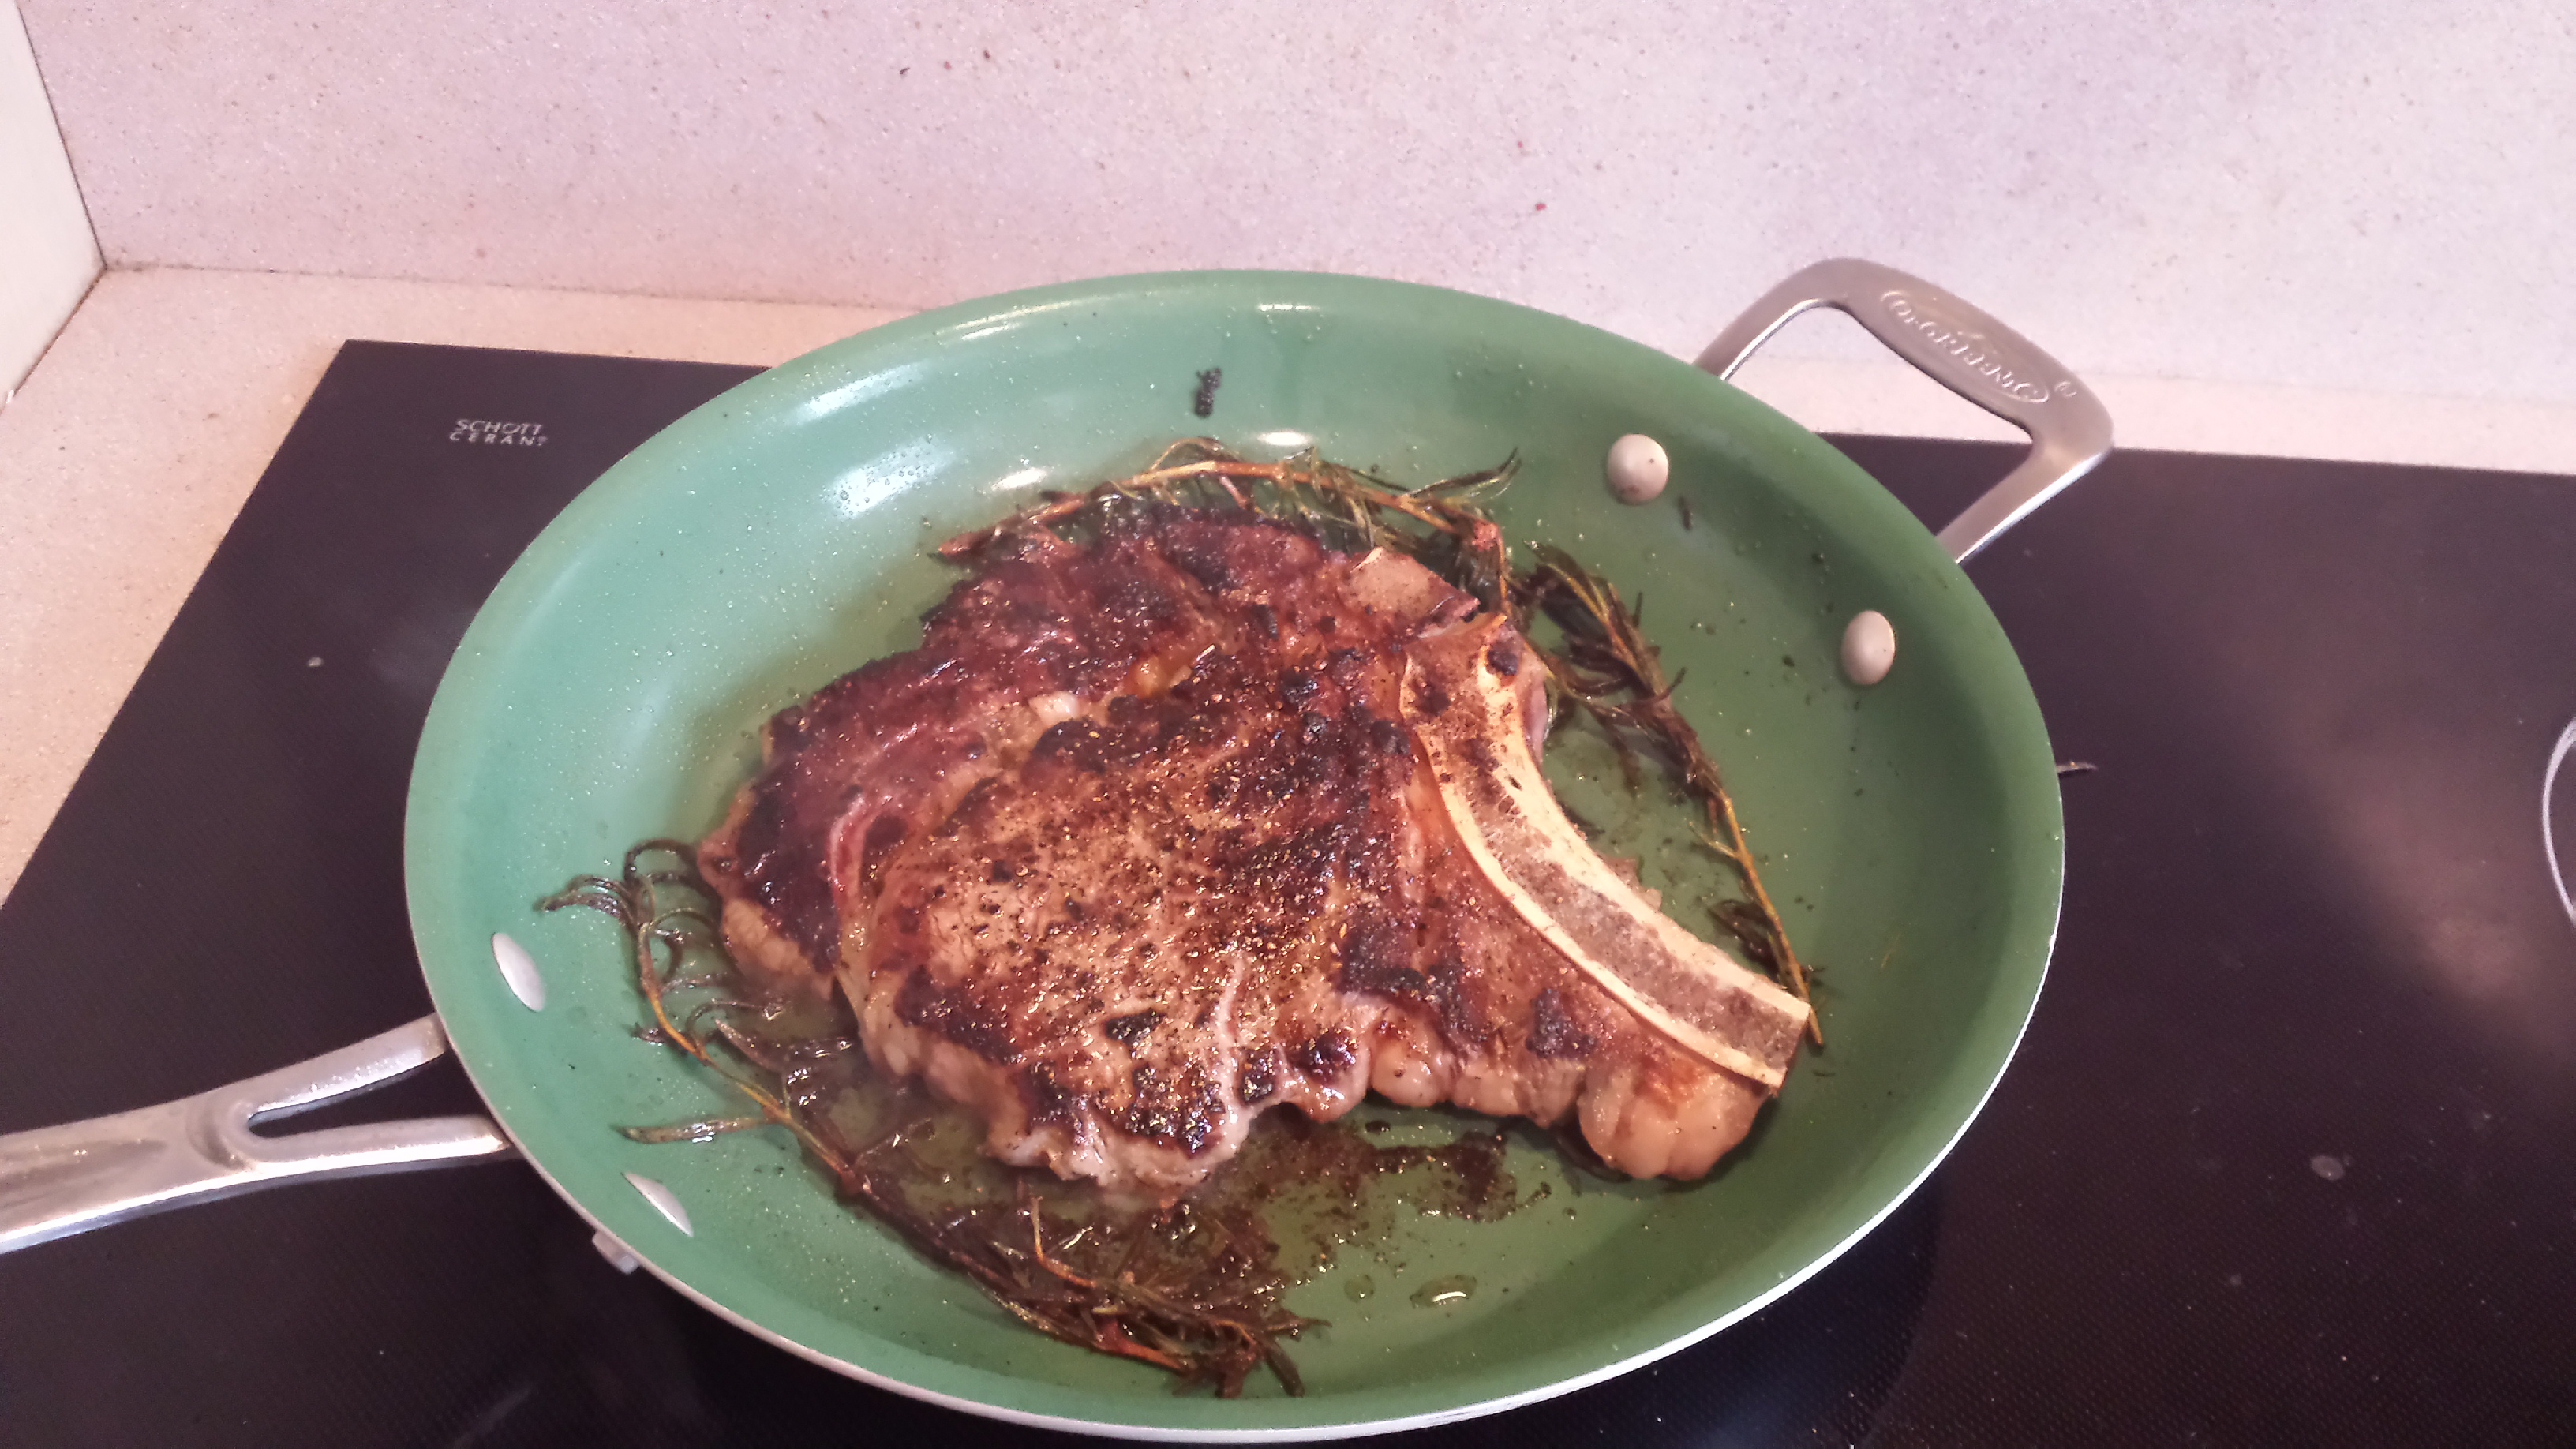
Johnny’s Preferred Cuts for Searing: Filet Mignon, Strip, Rib Eye, Porterhouse

Pros

  • Even sear across entire steak
  • Juices stay put
  • Easy to execute

Cons

  • Smoke smell can permeate the home, set off smoke detectors
  • Pan cleanup can be annoying
  • Large pan needed for big or multiple cuts
  • Cast iron not ideal for glass electric cook tops

Instructions

  1. Get your steak up to room temperature and pat it dry.
  2. Crank up your burner to as high as it will possibly get, and heat up the pan with a small amount of butter.
  3. Season the steak generously with salt and pepper.
  4. Sear the shit out of your steak, and add a wad of butter to melt in the pan. Throw in some rosemary and garlic too, if you like. Do not poke, prod, press or move the meat once it is set down. Allow the meat to stick to the pan a bit, with as much of the bottom surface touching the pan as possible.
  5. Spoon the melted butter over the top as the meat cooks, basting it in flavor.
  6. After a few minutes, flip the cut with tongs and do the same thing of the other side of the steak.
  7. Once both sides are seared, then you should also sear the edges if you are working with a thick-cut steak. Anything over an inch and a half should get a little side sear if possible.
  8. Use a meat thermometer or the “hand test” to ensure that your steak is properly cooked to medium rare. Remove it from the pan at 125F.
  9. Let the steak rest for a few minutes on an elevated and porous surface, like a metal baking rack. During this time the meat will continue to cook a bit more while out of the pan, and it will retain more juices.

Alternative Instructions From Step 8 Onward

This secondary step is helpful if you have a very thick cut of steak, and a good, hard sear is all you can really get from the pan without overcooking. You want your meat to be pink from top to bottom, with no “grey band” in sight. To achieve this on thick cuts, lots of people will put the steak into the oven at a low temperature, like 250-300F, to allow the internal temperature to come up to medium rare once the pan-searing steps (1-7) are complete. Here, a meat thermometer is key to ensure that your meat is cooked to the proper temperature inside.

REVERSE SEARING

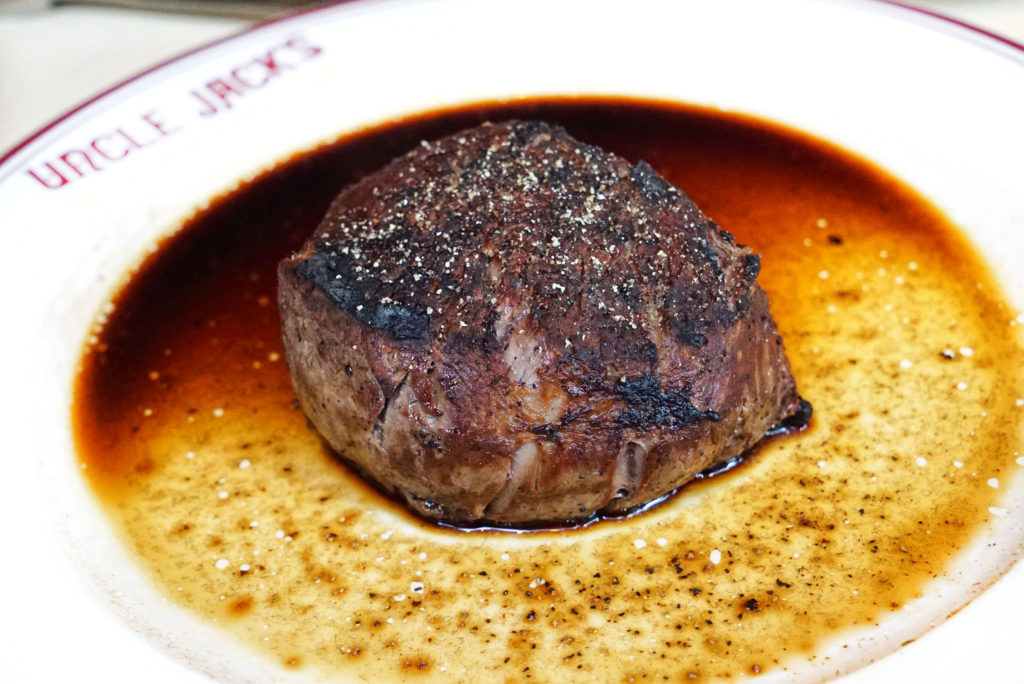
This is very similar to searing with an oven finish, like above, only done in the reverse order.
DSC06893

Johnny’s Preferred Cuts for Reverse Searing: Thick Cuts of Filet Mignon, Strip, Porterhouse, Rib Eye

Pros

  • Even sear across entire steak
  • Juices stay put

Cons

  • Slightly more difficult to execute than a simple sear
  • Multiple cooking steps and waiting

Instructions

Here, the first step is to cook your steak in the oven at a low temperature, like 250-300F, to allow the internal temperature to come up to rare or medium rare. Again, use a meat thermometer to ensure accuracy. Once that step is done, the steak gets finished in the hot searing pan with butter. This will form the desired crust on your steak. You just have to be careful not to overcook your steak in the pan as you are trying to get that crust to form. I recommend allowing your steak to cool down to room temperature before searing it off, and/or getting that pan screaming hot before you put the steak in.

BROILING

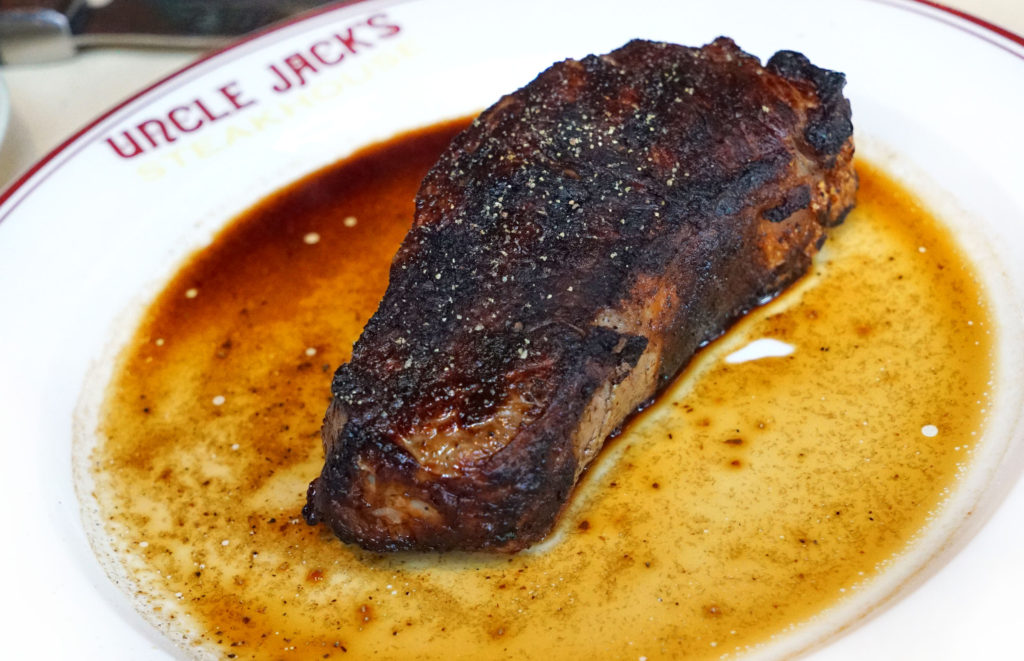
Generally speaking, broiling means that the heat source is coming from above the meat and close to the meat. Contrast with baking, which means that the heat source is below and more diffused or distant from the meat. Broiling a steak gives you more direct exposure to the heat source than baking, whether it’s an open flame (gas oven) or the heating element (electric). While not as direct as, say, touching a hot pan, broiling is better for cooking traditional cuts of steaks than baking, because you can get a charred outer crust easier and still get the inside of the meat to the desired temperature. Baking is better suited for roasting meats, since the heat source is often diffused a bit by the oven bottom when baking.
DSC06903

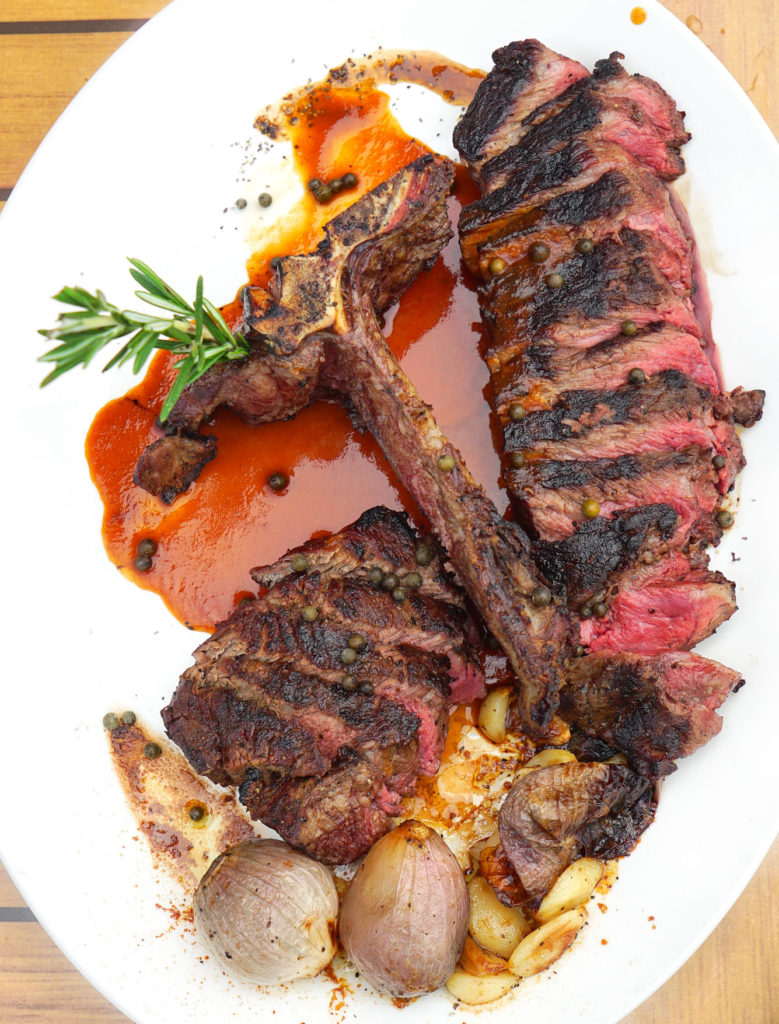
Johnny’s Preferred Cuts for Broiling: Thick Cut Bone-In Porterhouse, Thick Cut Bone-In Rib Eye, Bone-In Tenderloin, Bone-In Strip, Large T-Bone

Why the bones, you ask? When cooking with “surrounding” heat, like roasting or broiling in an enclosed oven, bones are very effective at radiating heat into the center of the meat tissue. This method, therefore, also makes large/thick cuts easier to work with.

Pros

  • Cleaner, less smoke and permeating odors
  • Relatively easy to execute
  • Easier to get an evenly cooked center of your meat

Cons

  • Easy to overcook if not careful
  • Requires meat thermometer (puncturing meat is never good)
  • Harder to get the desired crust than other methods

Instructions

  1. Get your steak up to room temperature and pat it dry.
  2. Set your oven to broil.
  3. Season the steak generously with salt and pepper.
  4. Bring your oven rack close to the heat source (near the top) and place steak in the oven in a shallow roasting pan that can catch any drippings.
  5. Once the top crisps up a bit, flip the meat in the roasting pan to get the crust on the other side as well.
  6. Use a meat thermometer to ensure that your steak is properly cooked to medium rare. Remove it from the oven at 125F.
  7. Let the steak rest for a few minutes in the roasting pan. During this time the meat will continue to cook a bit more, and it will retain more juices.
  8. Slice the major muscles off the bone, slice the muscle against the bias, and arrange the meat on a platter for serving.
DSC06489

ROASTING

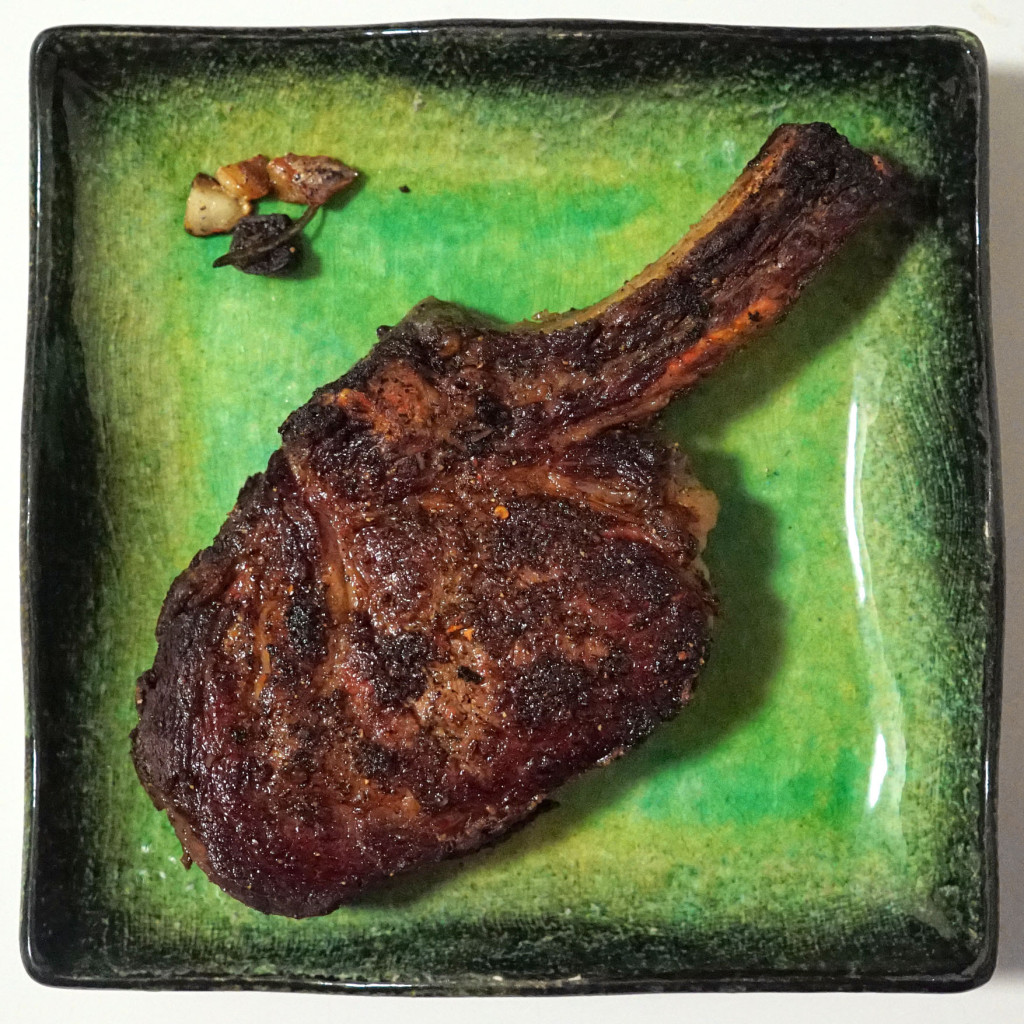
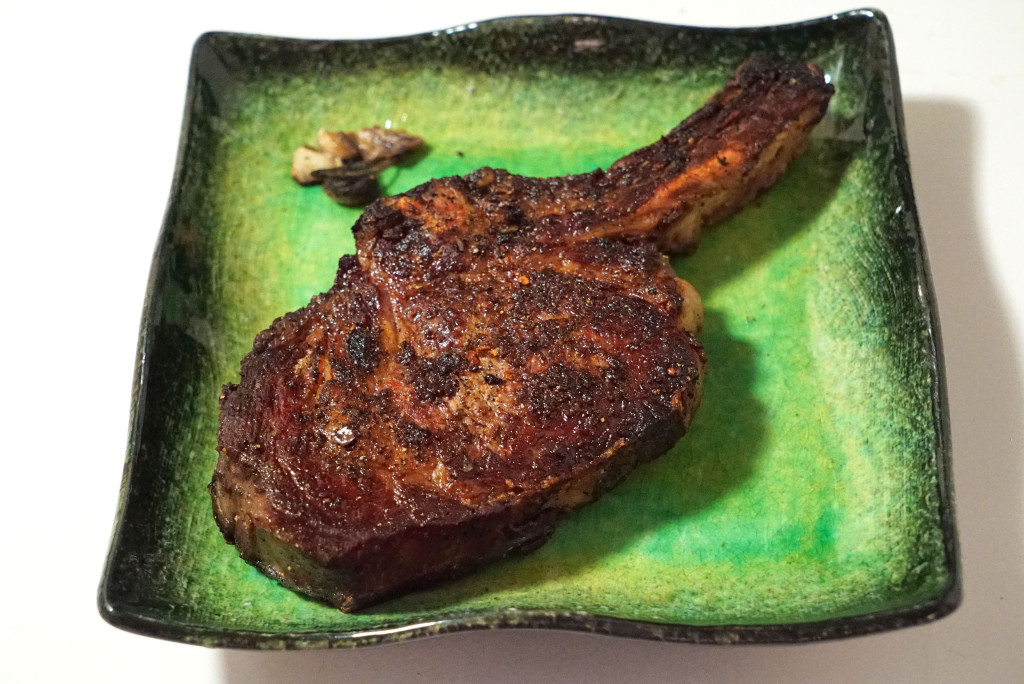
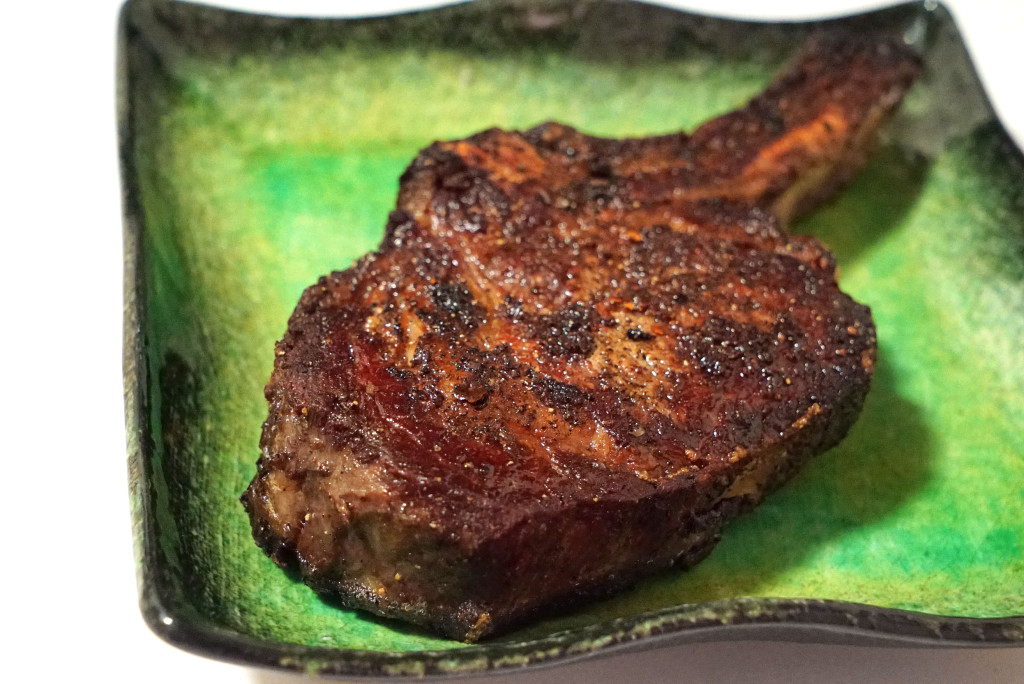
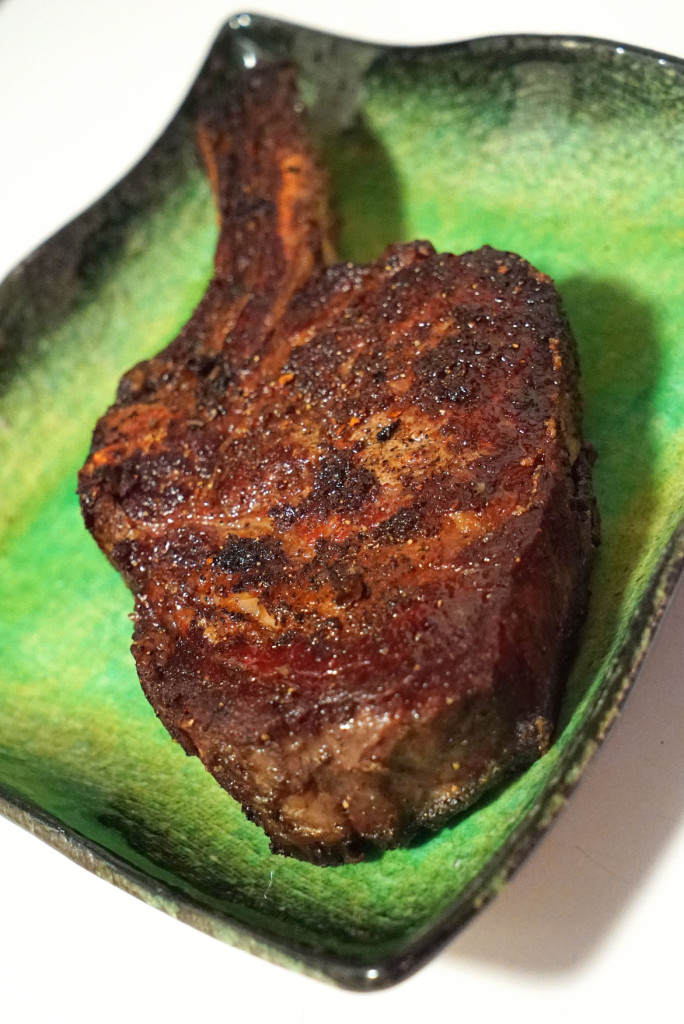
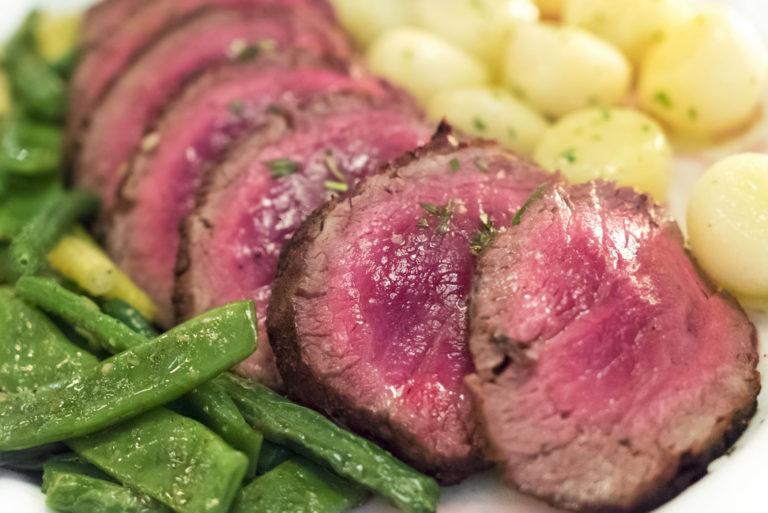
Roasting is synonymous with low and slow diffused heat from a bottom source, or all around the meat, from all sides. This method is best suited for large hunks of meat that take a long time to cook down to the center, generally for serving many people.
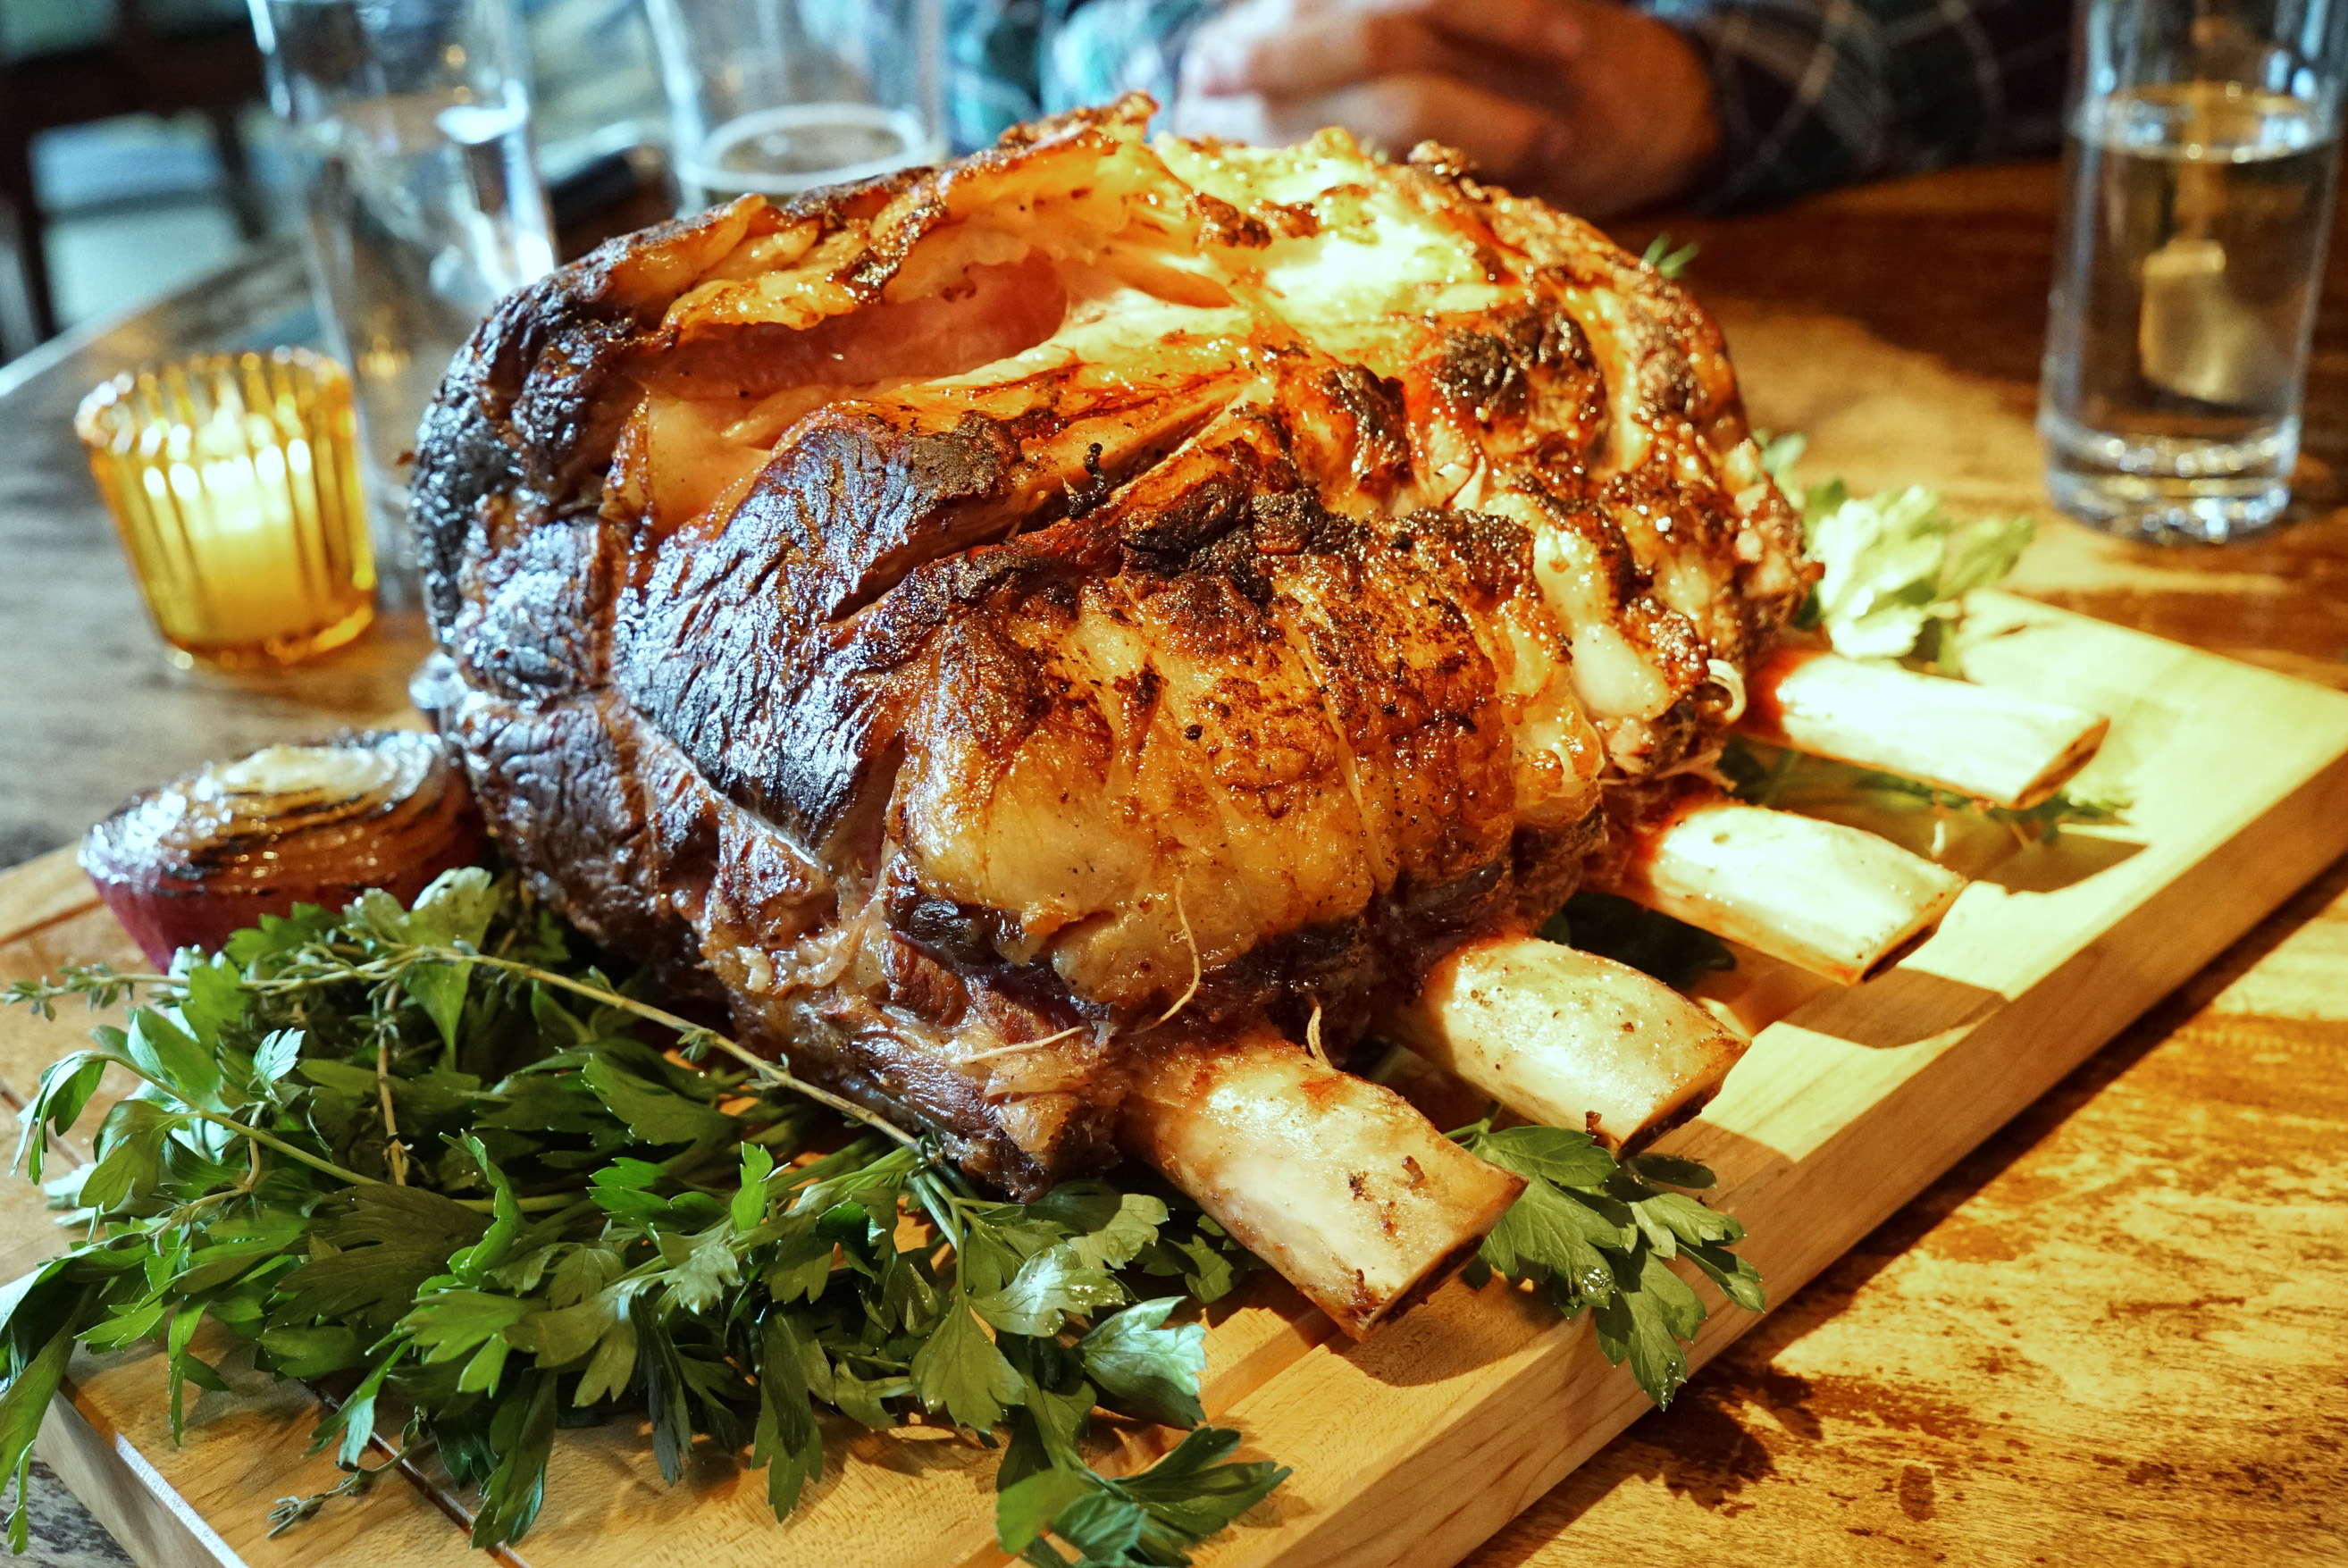
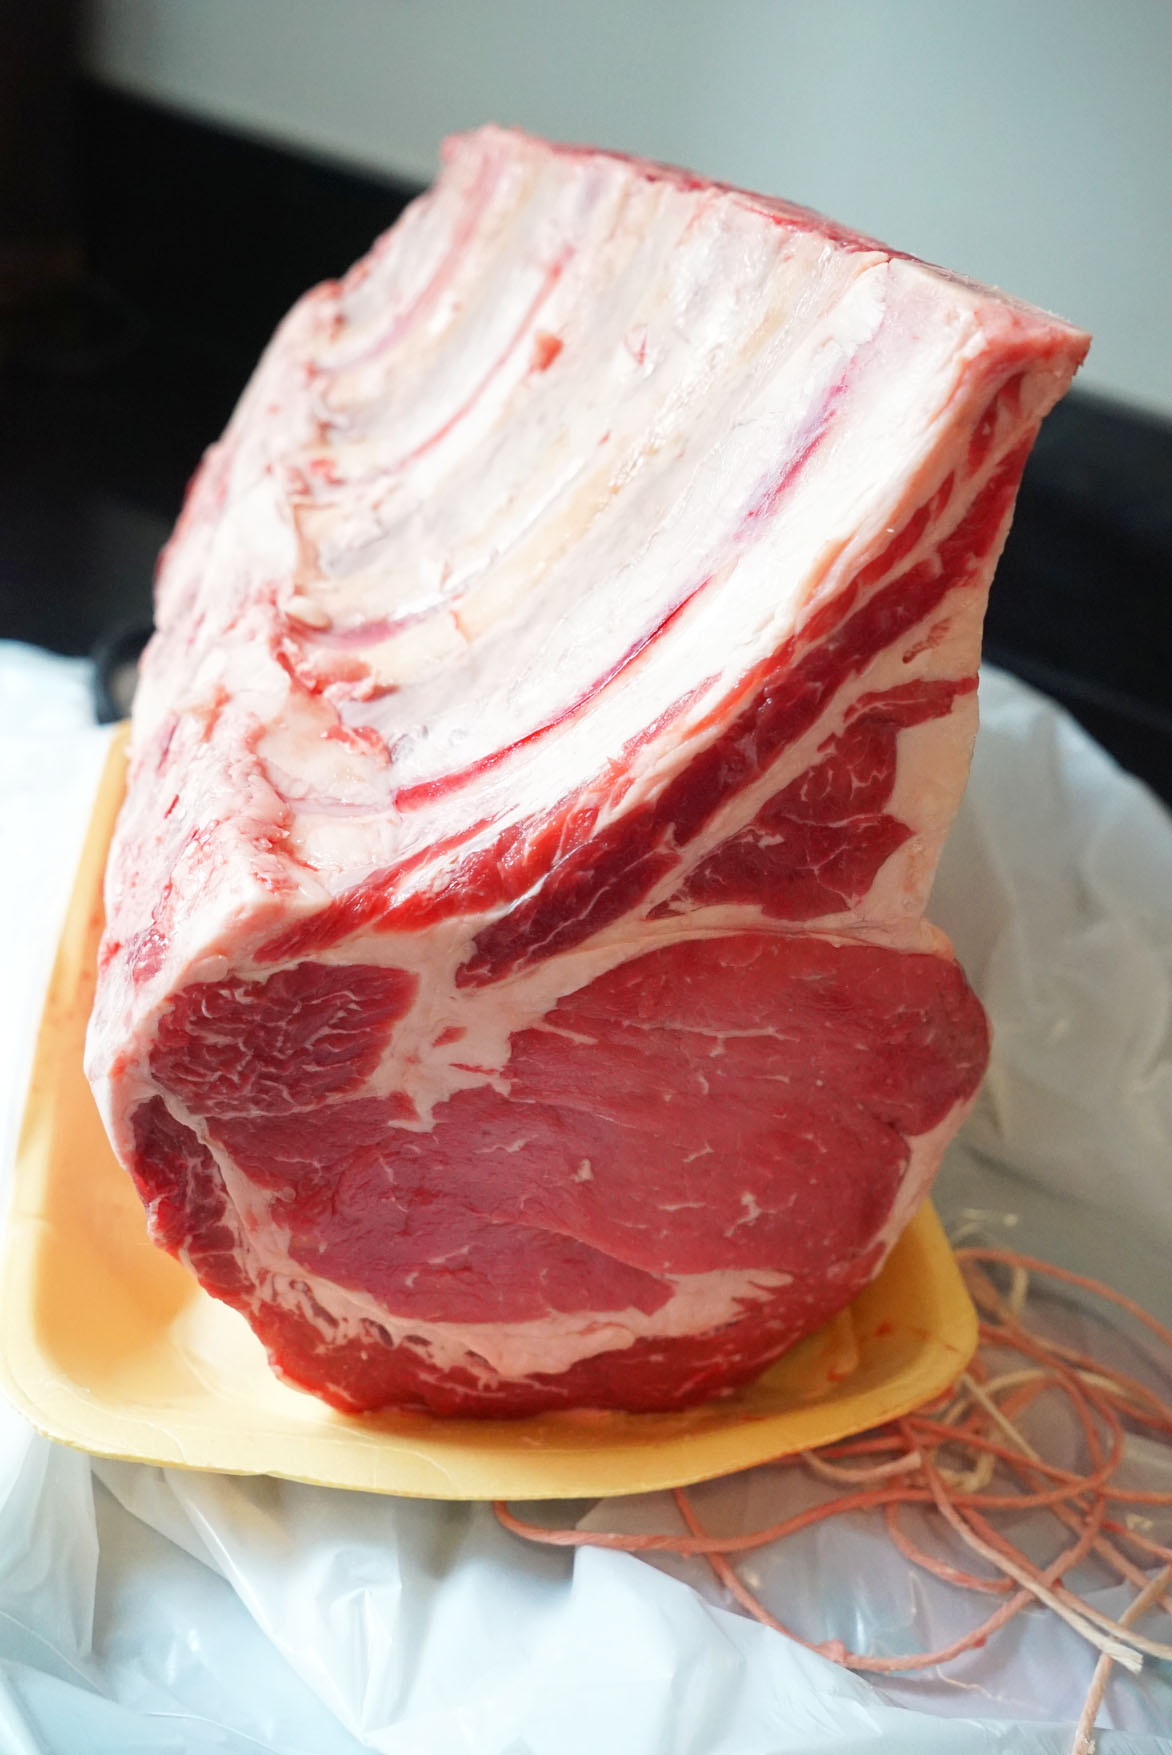
Johnny’s Preferred Cuts for Roasting: Standing Rib Rack Roast, Chateaubriand, Large Brisket
Pros

  • Great for large format dining
  • Easy to execute
  • Result is very juicy, tender and delicious

Cons

  • Takes a long time to finish
  • May require extensive carving
  • Generally lacks outer crust like a standard cut of steak
Instructions

  1. Many people like to brine their meats before roasting. While this is generally more common with pork roasts or fowl, some steps can be taken with beef to increase flavors. You can crush up some garlic and stuff it into your roast (flavor injectors), or rub it on the outside of the meat; you can rub it with rosemary or roast it on a bed of herbs; and you should season it generously with a multitude of spices. You want all those flavors to permeate deep into the meat, so massaging, rubbing and pushing into the meat is all recommended. If you use a flavor injector, I suggest getting a lot into one or a few injections, that way you don’t pierce the meat too many times.
  2. Set your oven to a low bake temperature, like 350F.
  3. Place your meat on a roasting pan to catch any drippings, and set it in the center/middle rack of your oven.
  4. Place your meat thermometer into the center of the roast.
  5. As the meat cooks, use a turkey baster to suck up liquids from the bottom of the roasting pan, and squirt it over the top of the roast occasionally. This will add some flavor to the outside and help to create a flavorful edge to the roast.
  6. Remove it from the oven at 125F. Let the meat rest for a few minutes in the roasting pan. During this time the meat will continue to cook a bit more, but the resting phase will help the meat retain more juices for the next step.
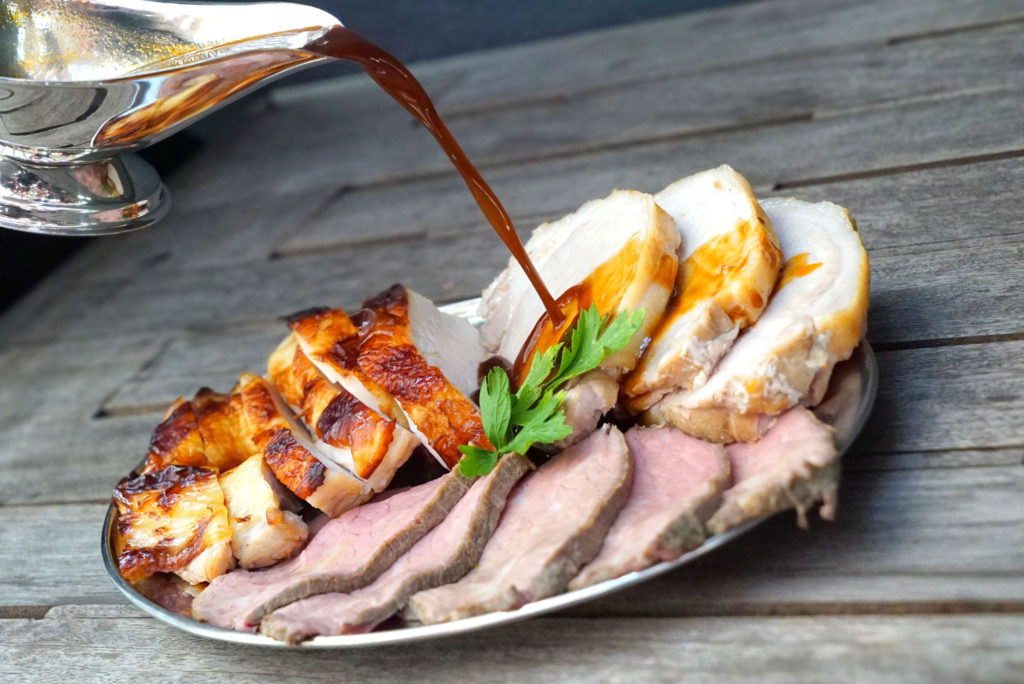
  7. Slice and carve for serving. Sliced roast beef pairs perfectly with both hot gravy and cold horseradish sauces (either cream-based or tomato-based).
DSC07210

SOUS VIDE

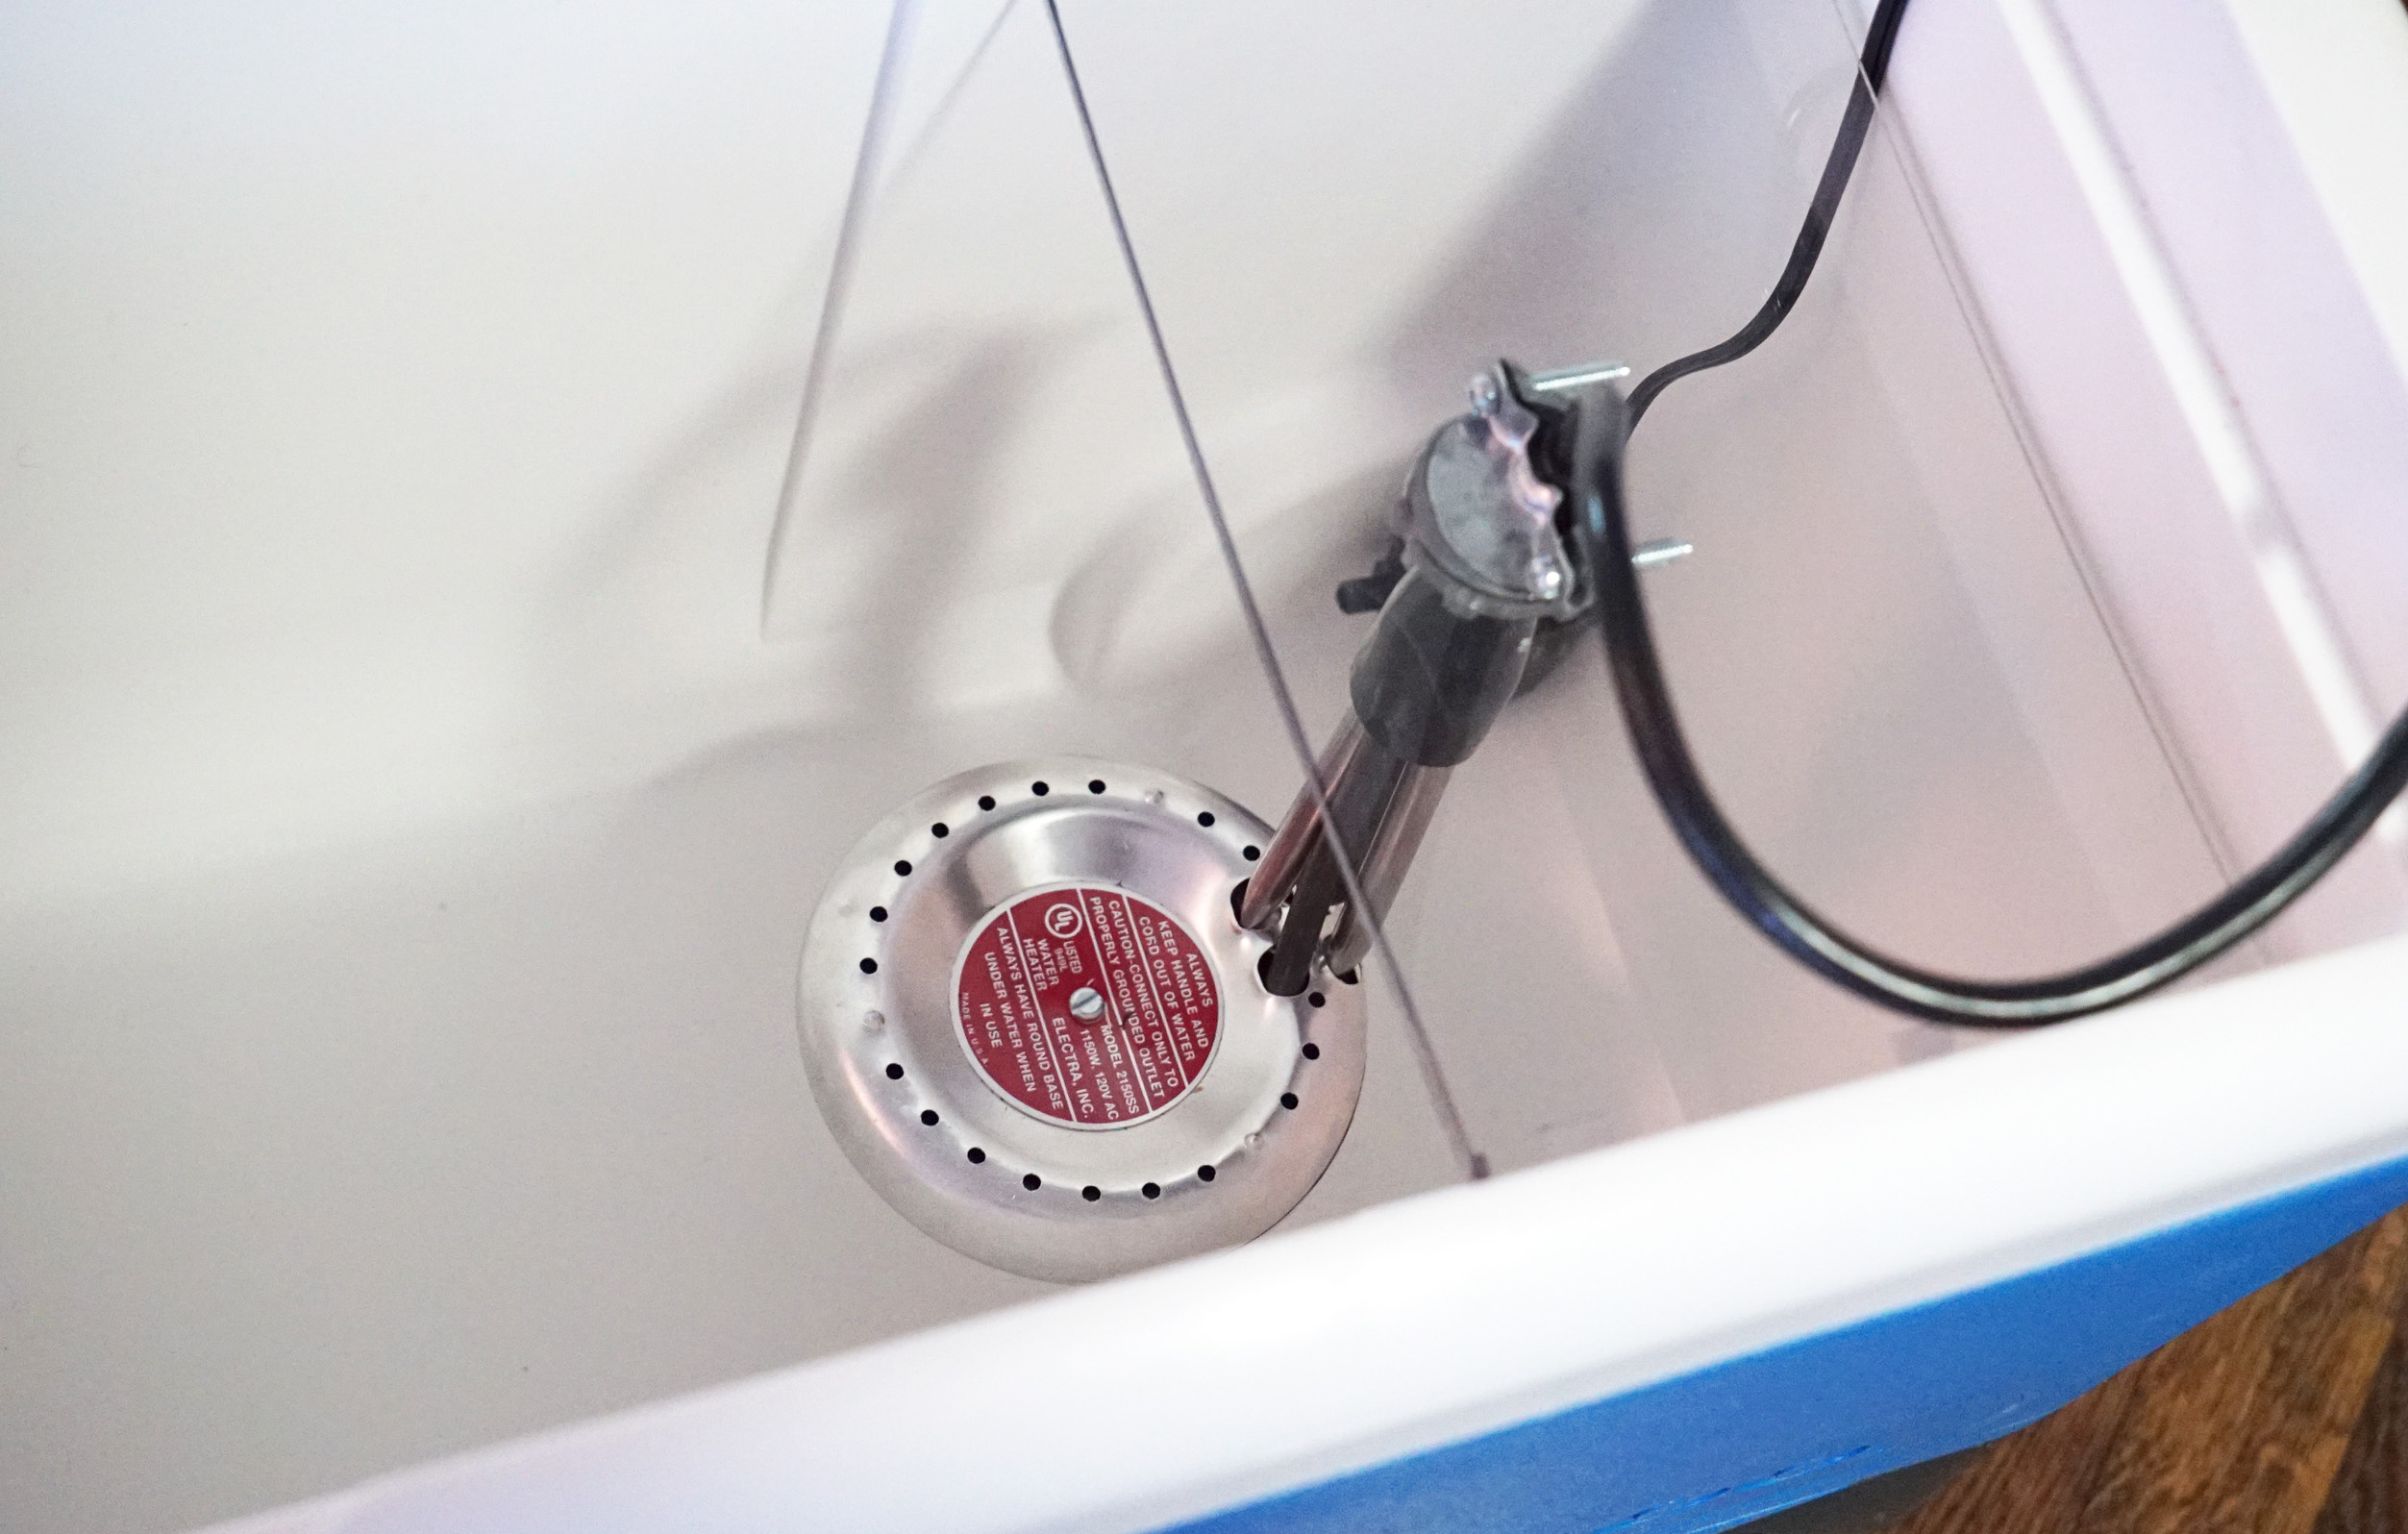
Sous Vide means “under vacuum” in French. In this method of cooking, you are cooking your steaks in vacuum sealed bags by submerging them in a hot water bath to precisely the desired temperature, and then finishing them in a pan as a secondary step. This may sound like high tech restaurant science only kind of stuff, but there are items available in the consumer market to do this with great results at home.
Johnny’s Preferred Cuts for Sous Vide: Thick Cuts of Filet Mignon, Boneless Strip, Boneless Rib Eye, Bavette, Denver Cut/Blade Steak

Pros

  • Perfect internal temperature every time
  • No monitoring necessary
  • Easy to achieve success

Cons

  • Requires a special unit or item, a vacuum sealer and bags
  • Wait time can be lengthy
  • Still need to use a pan (or torch) to sear the outside

Instructions

Lucky for you all, I’ve got a nice discussion of the sous vide cooking method here, with pretty pics and everything. In any case, here is the gist of it:

  1. Season the steak however the you want. I use salt, pepper, garlic powder, garlic oil and crushed red pepper.
  2. Place steak into vacuum seal bag and seal it up with some butter and herbs inside (rosemary is always nice).
  3. If you’re a poor bastard and can’t afford a vacuum sealer, you can use ziplock bags. Place your meat into the bag and begin to submerge the bag into the water bath. Once you are all the way close to the zipper, zip it shut. The water surrounding the outside of the bag will push out all the air from inside. This is the poor man’s vacuum sealer. If you do this, you may want to put a smooth, clean rock in there too, just for good measure, to keep the meat from floating.
  4. Set your temperature to however you like your steak cooked. I put mine at 125F for a nice medium rare. I’m dealing with grocery store meat here, people. Don’t give me any shit about that being too well done.
  5. Wait about an hour or two. Don’t panic! You can’t overcook your steak in a sous vide bath. That’s the whole point of it!
  6. Remove your steak from the water bath and let it cool back down to room temperature.
  7. Re-season it a bit, if so desired.
  8. Sear it. I use a Searzall, because why not? But you can easily just toss this baby into a real hot cast iron pan with some more butter and herbs to get that brown and crispy coating.
DIRECT FROM FROZEN

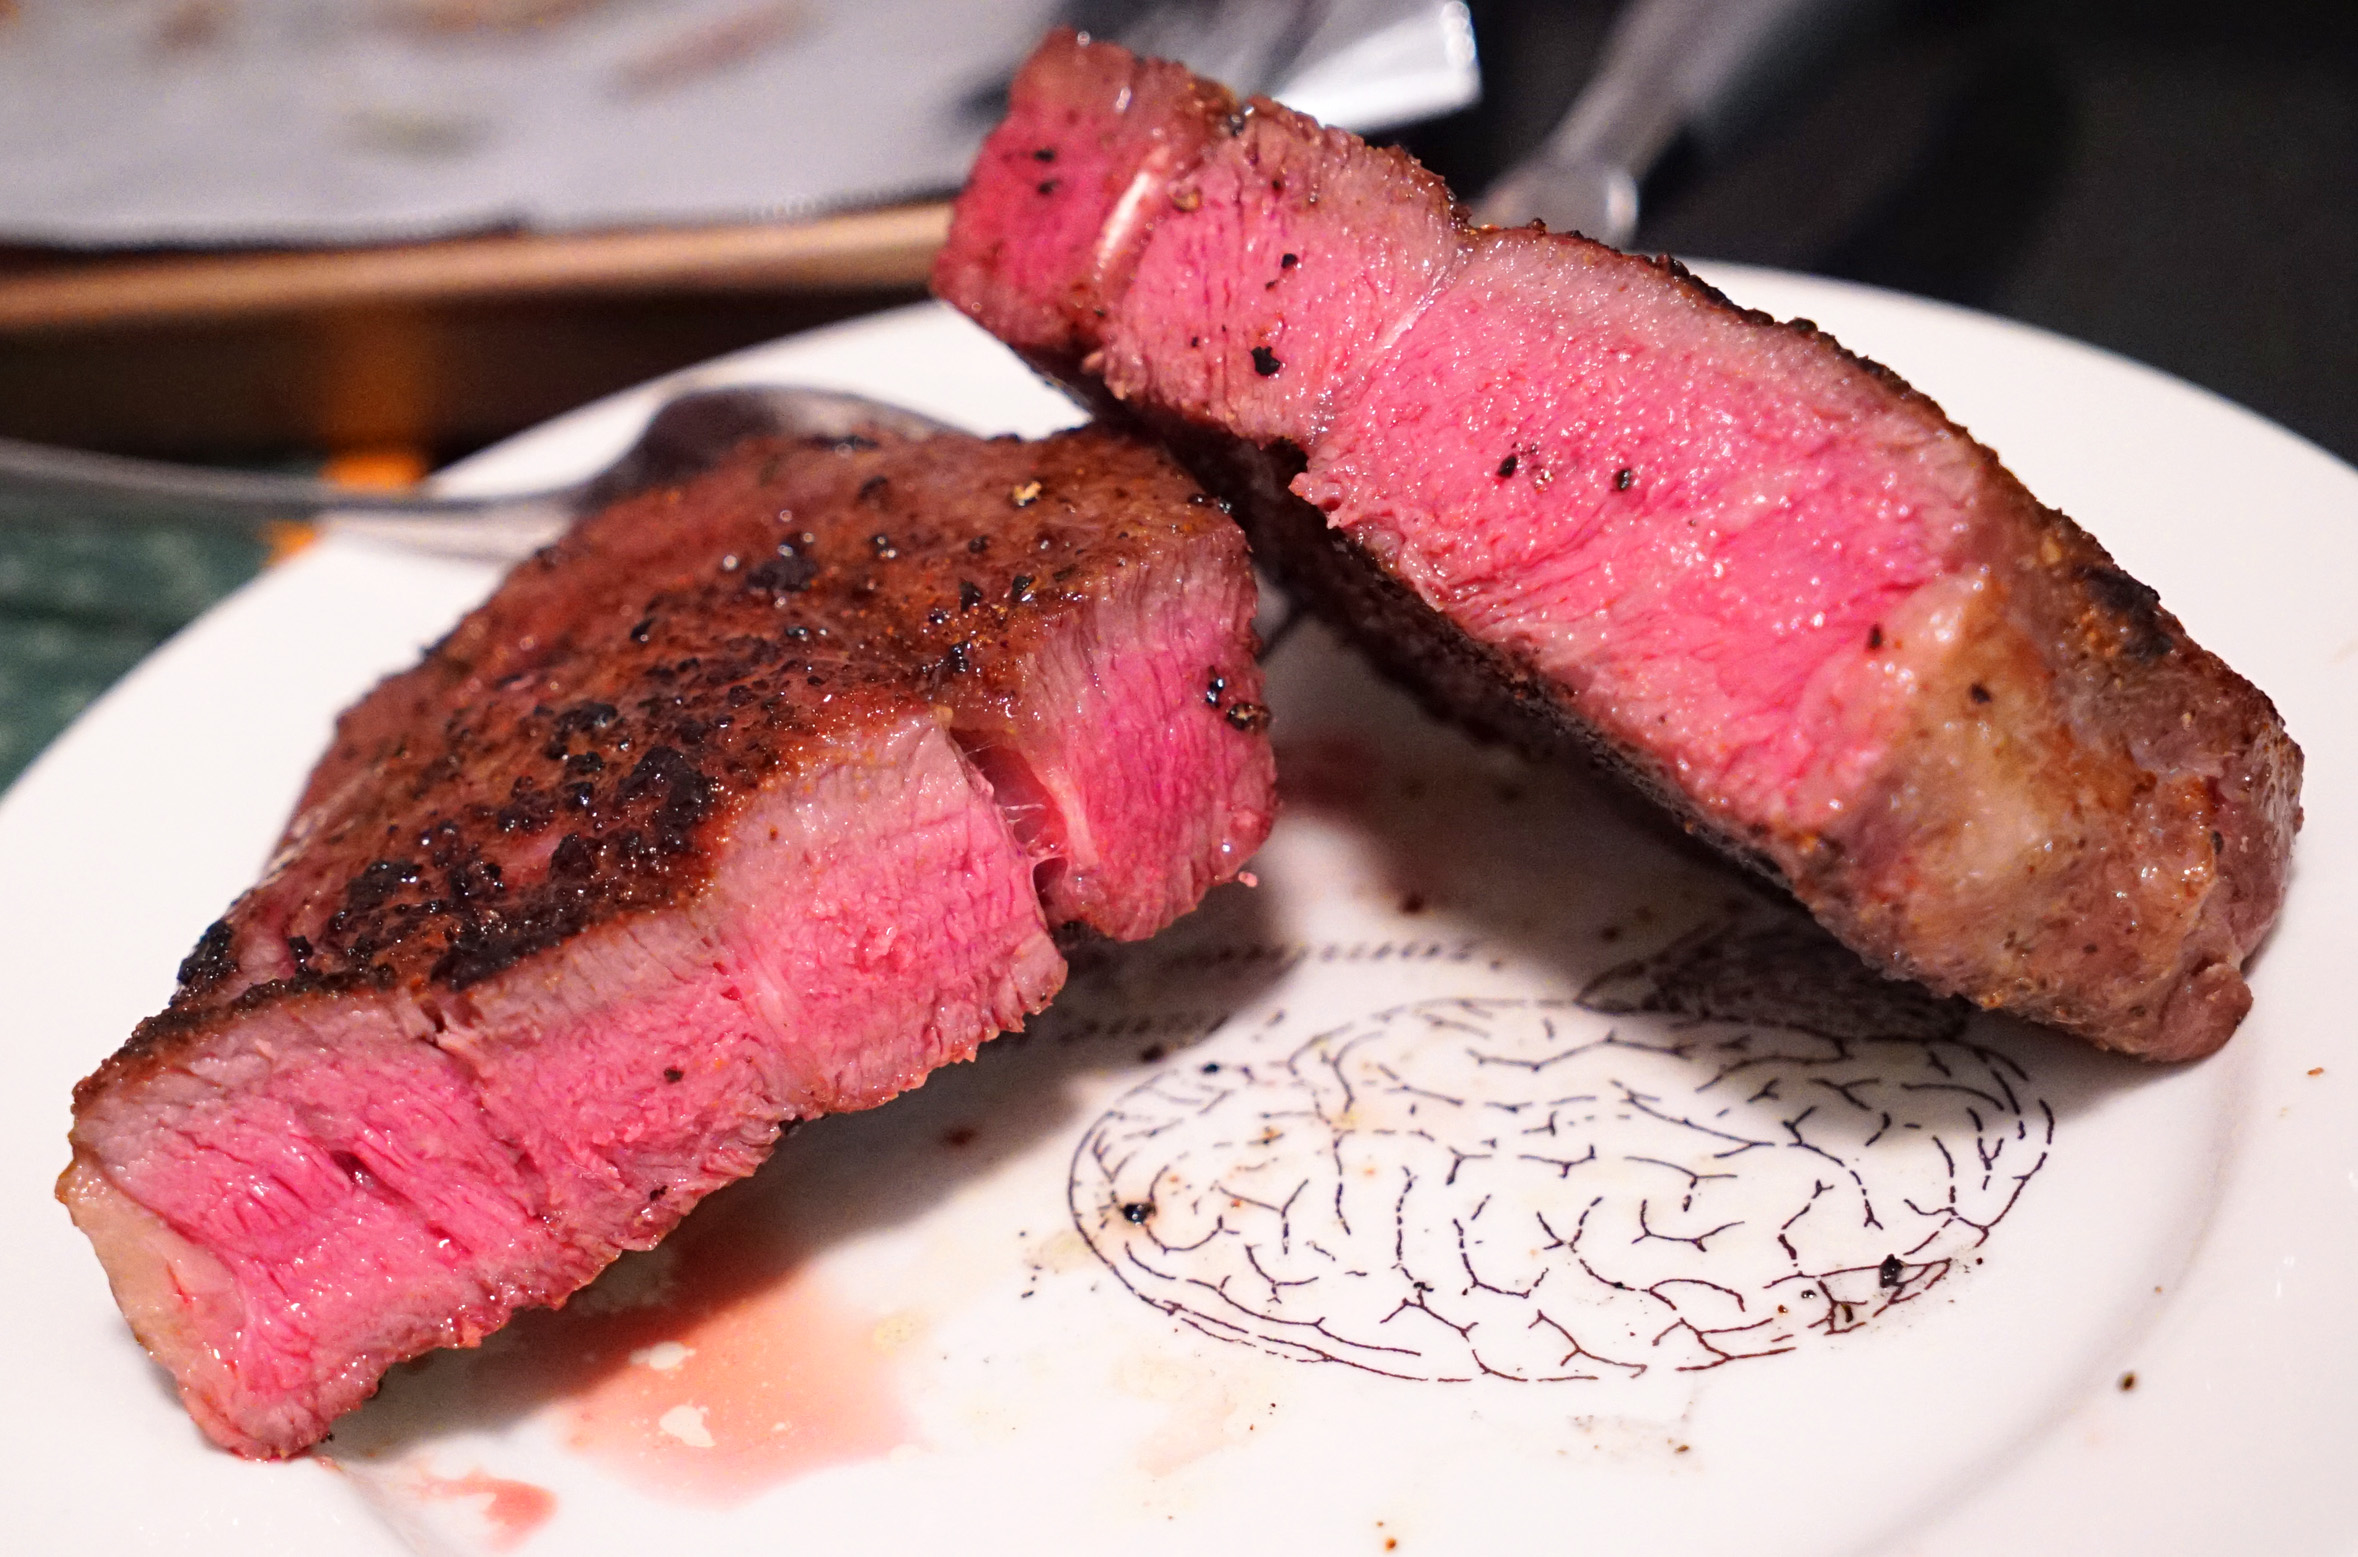
Some food scientist people were messing around and cooking strip steaks in a test kitchen; some cuts were thawed in a fridge overnight, and others were still frozen. The results stunned them. The steaks were cooked more evenly, with less “grey band” when cooked direct from frozen, and those steaks retained more juices (they lost less moisture during the cooking process). While they took longer to cook, they still browned at nearly the same rate as a thawed steak.

I think a major issue that home cooks with have here is that it may be difficult to prevent ice crystals to form on the outside of the meat during the freezing process. When cooking, these ice crystals will melt into water or sublimate into water vapor. At that point you are either boiling or steaming the bottom of your steak in the pan, which is bad. When doing that, you won’t ever achieve the crust that we carnivores all desire.

The scientists attempt to solve this problem by freezing the steaks in a special way at first, uncovered and flat. Once they’re frozen, they are then wrapped and bagged for storage. If you’re going to attempt this you will want to be very careful to replicate the freezing technique that the scientists utilized, to avoid excessive ice crystals from forming on the outside of the meat.

This method involves cooking in a pan that contains a good amount of oil. This is done to ensure that the nooks and crannies of the steak surfaces all get cooked the same amount, and it helps to displace any water that may melt out of ice crystals. Second, it also retains more heat, so you can bring the steak surface up to browning point faster, without overcooking any of the interview (which should still remain pretty cold since it is frozen). The result is less grey banding, and a more end-to-end pink steak interior.

You will still need to finish the steak in the oven, however, since the interior will likely be too rare or still frozen if you only use the pan.

In any event, here is my analysis:

Scientists’ Preferred Cuts for Frozen Steak Cooking: Strip

Pros

  • No waiting for steak to thaw or come to room temperature
  • Less meal planning needed ahead of time
  • Nice, even cook temp throughout

Cons

  • Difficult to avoid ice crystals
  • Complicated freezing technique
  • Still requires second step in the oven

Instructions

Refer to this link and the embedded video below for proper steak preparation and cooking instructions.

DIRECT ON COALS

I haven’t tested this method out myself yet, so you’ll have to take this with a grain of salt, as above, with the “Direct from Frozen” method. My first exposure to this method was when I saw Alton Brown discuss it on his blog. I was intrigued enough to include it here, but since I no longer have the ability to cook often with real wood, I have never tested this out.

Alton’s Preferred Cut for Coal Cooking: Skirt

Pros

  • Fast
  • Natural flavors

Cons

  • Covering in foil step essentially steams the meat
  • Potential for soot contamination

Instructions

I think the best bet here is to just follow the directions from Master Alton, since he’s a culinary wizard, and I’m a mere apprentice. One thing I’m apprehensive about, which I noted in the “cons” section, is the part where Alton wraps the hot steak in foil. This means the meat will cook in steam. He then tosses it back into the juices. All of this makes me think “wet steak,” and that turns me off.

___

For more specific recipes, as opposed to these more general methods of cooking, check out my recipe page.

UMAi Dry

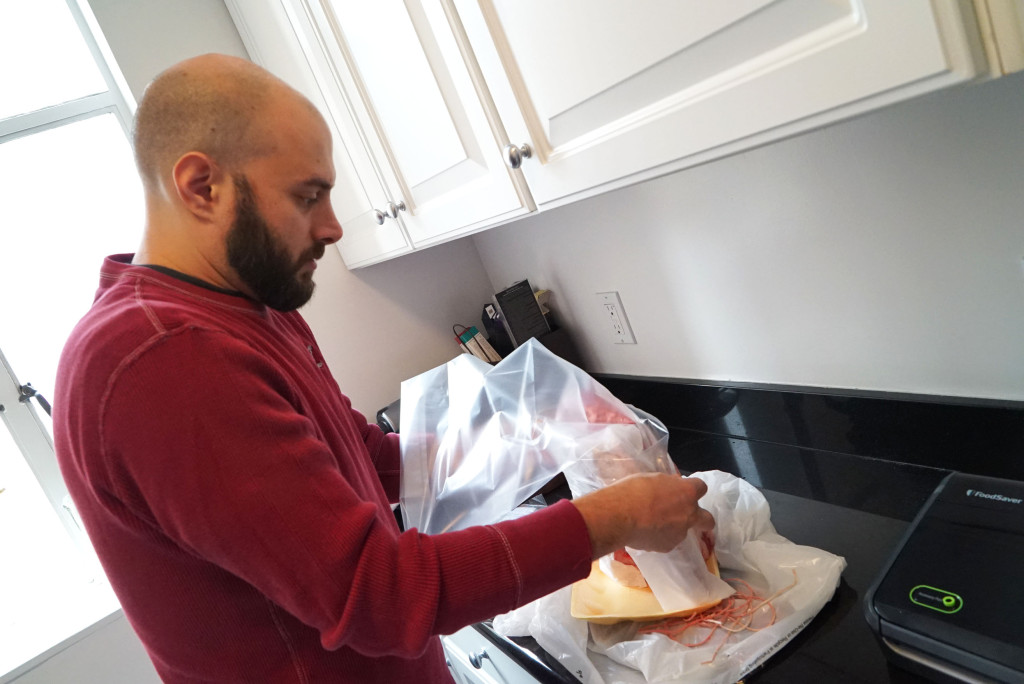
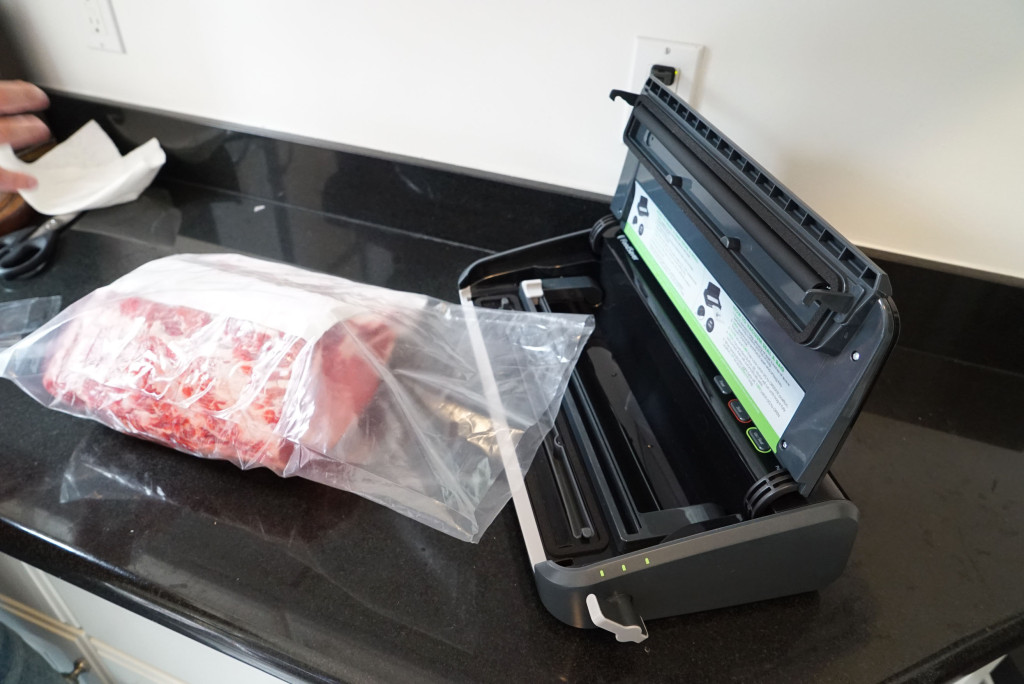
UMAi Dry contacted me a few weeks back about their dry aging bags. I was intrigued by some of their promotional materials and video demos, so I told them to send me some samples to try out at home. I already had the sealer for use with my DIY sous vide machine, with which I made some kickass steaks.
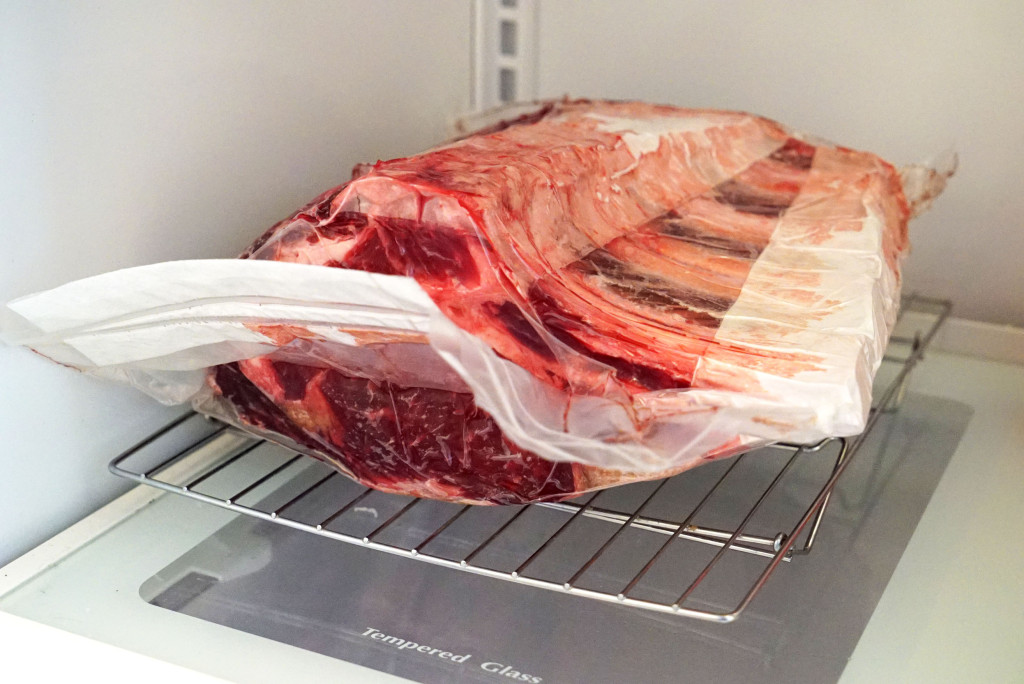
Usually when I think about the aging process for steaks, I get overwhelmed and think I could never do it. This is something I should leave to the professionals. I worry about mold, bacteria, rancid meat, wasting money on failed attempts, etc. But with UMAi Dry this otherwise daunting task is boiled down to a super simple procedure. Essentially you just pop a hunk of beef in their special vacuum seal bags, put it in your fridge, and wait 35 days.
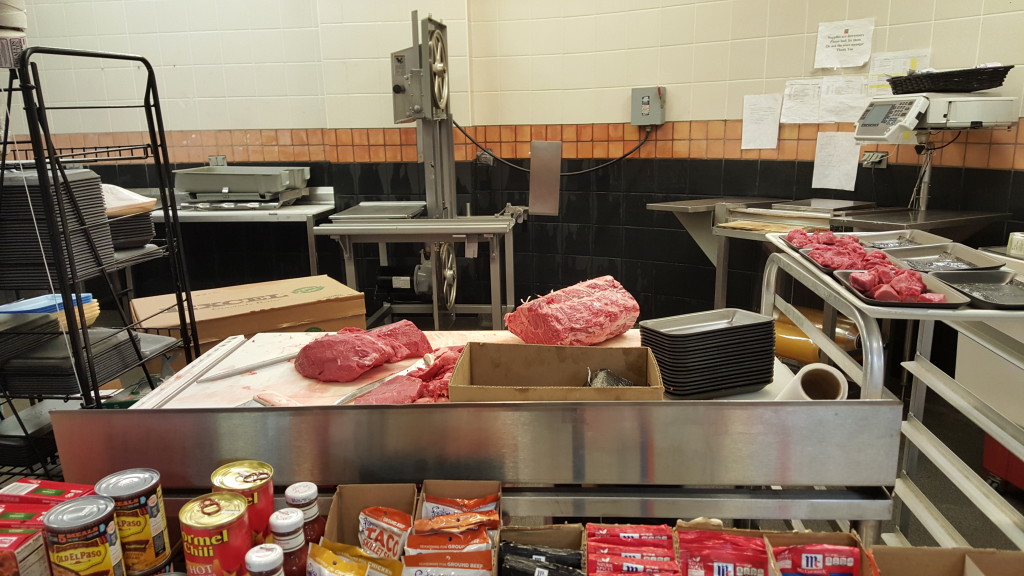
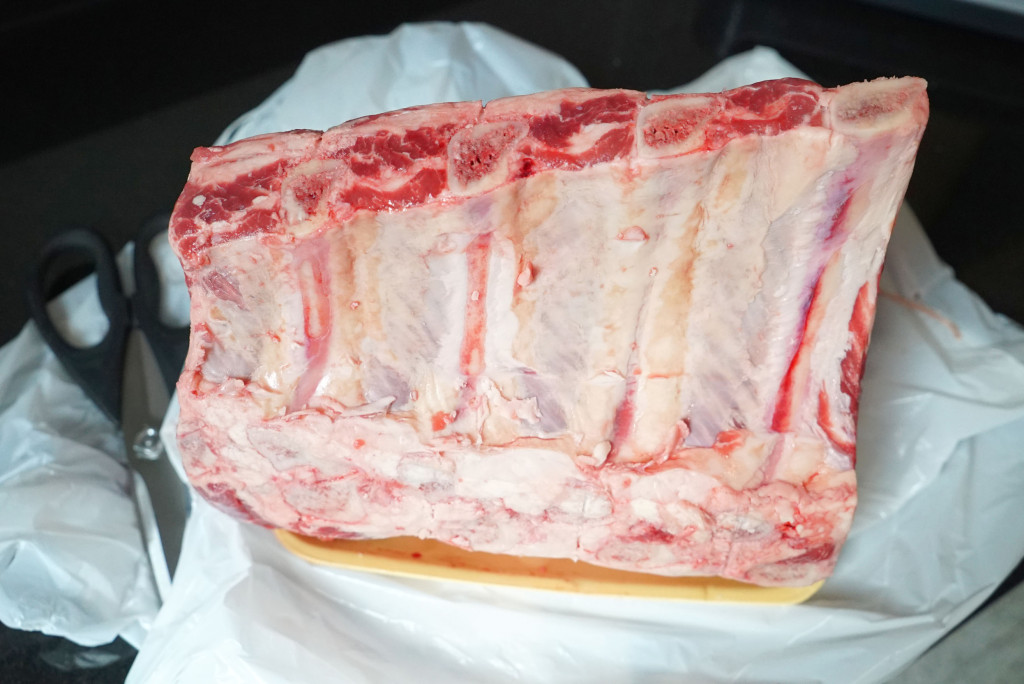
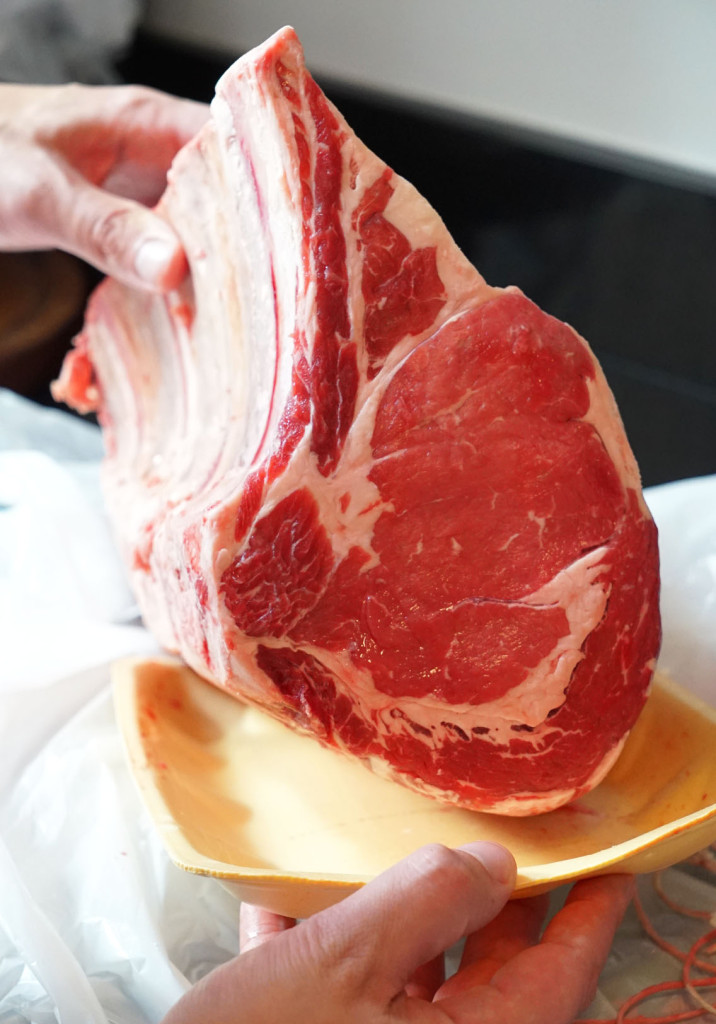
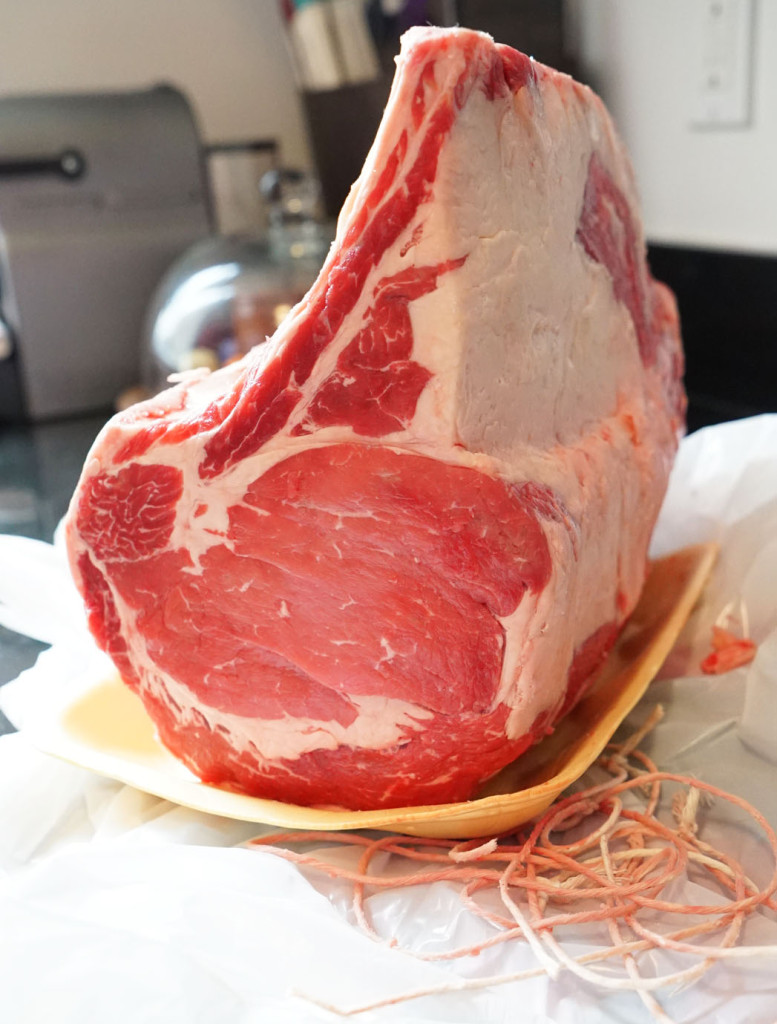
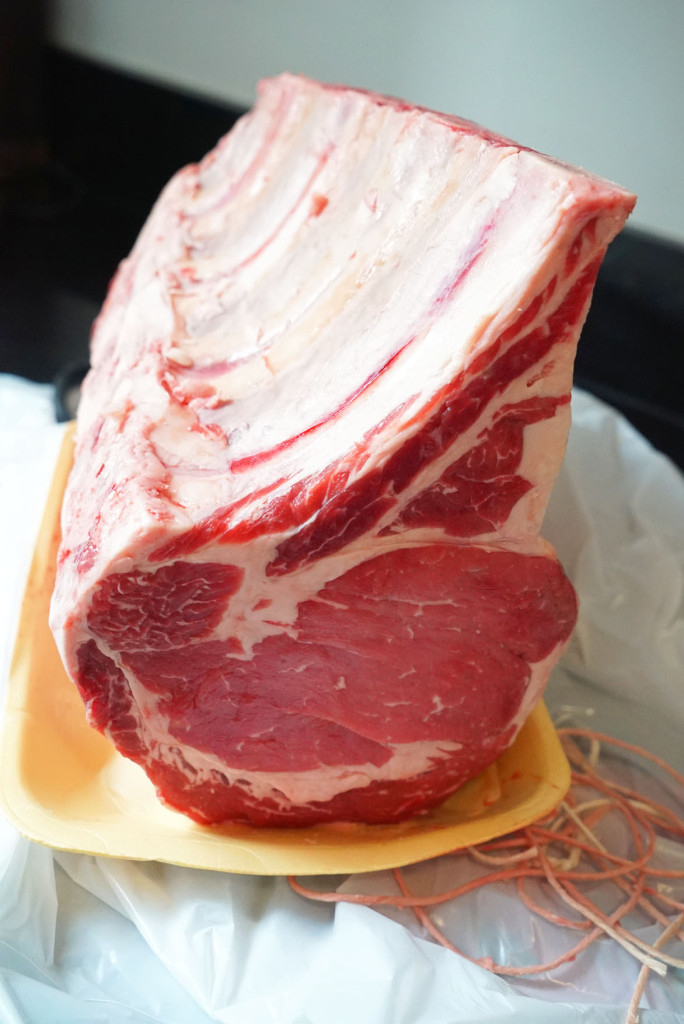
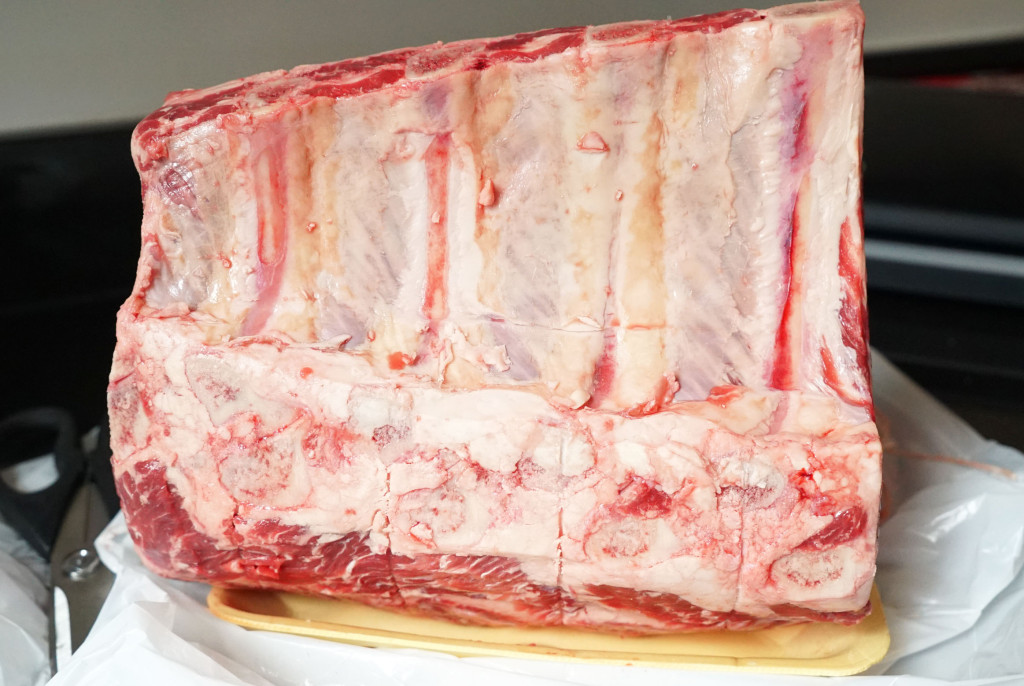
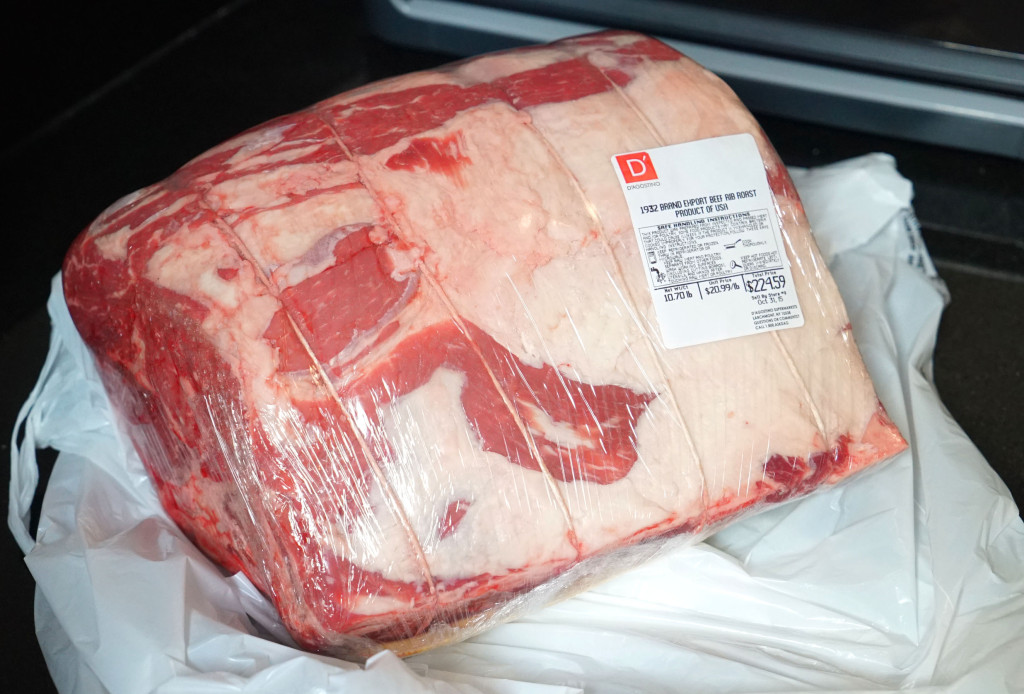
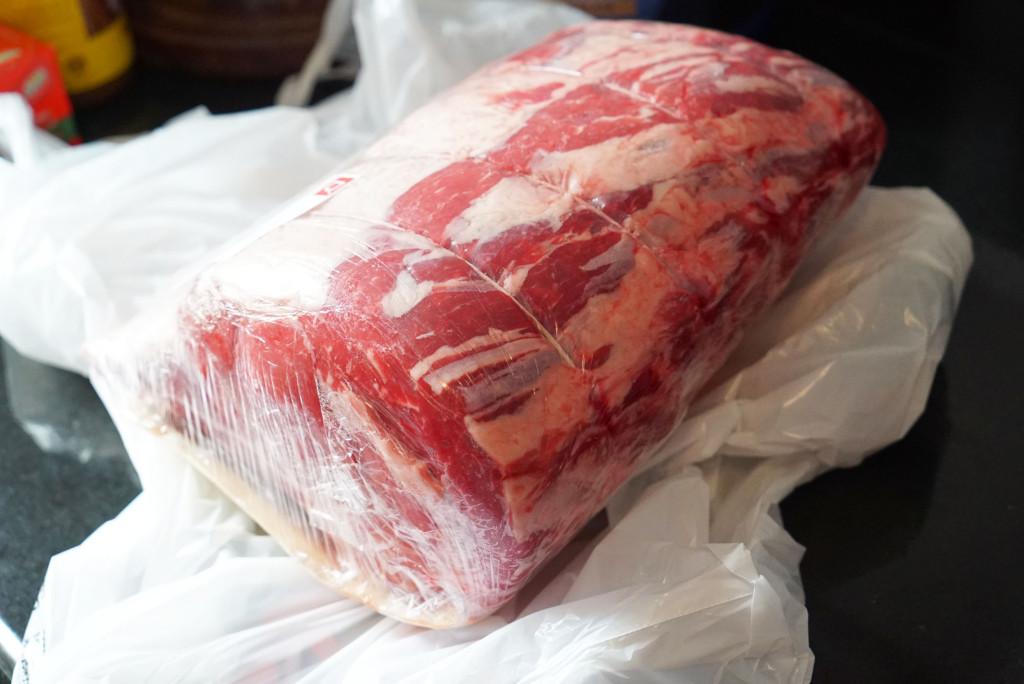
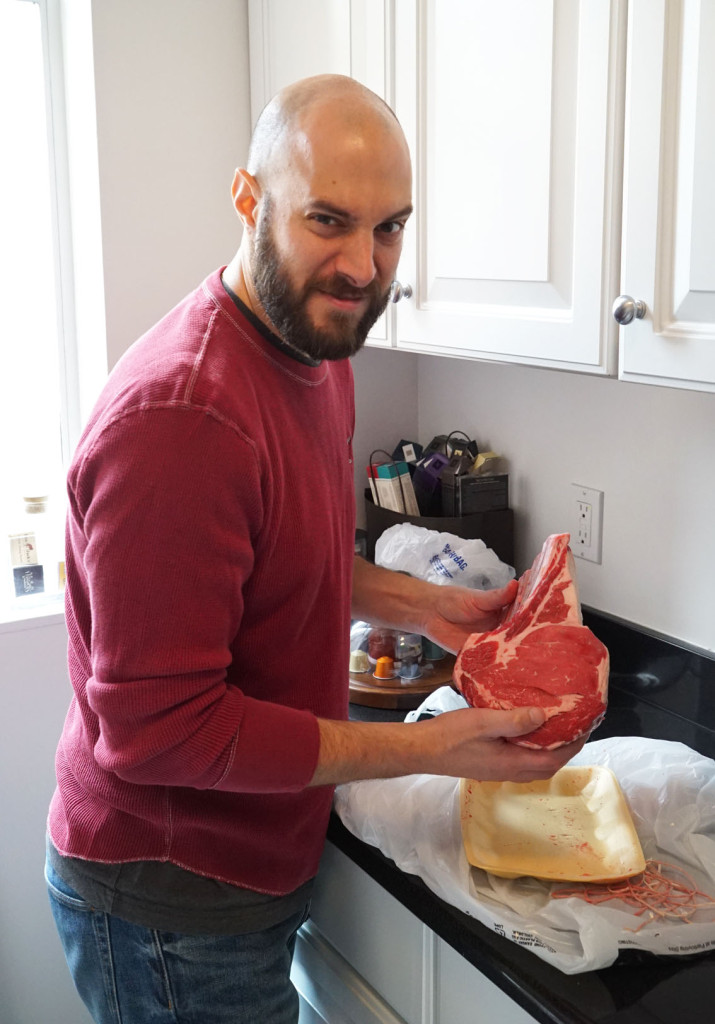
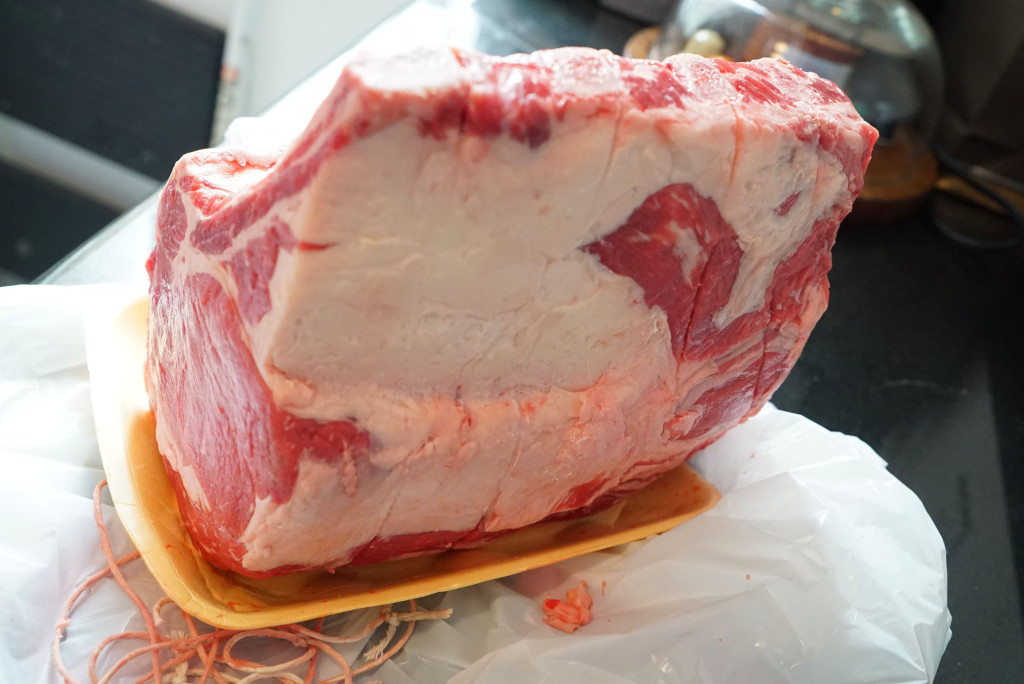
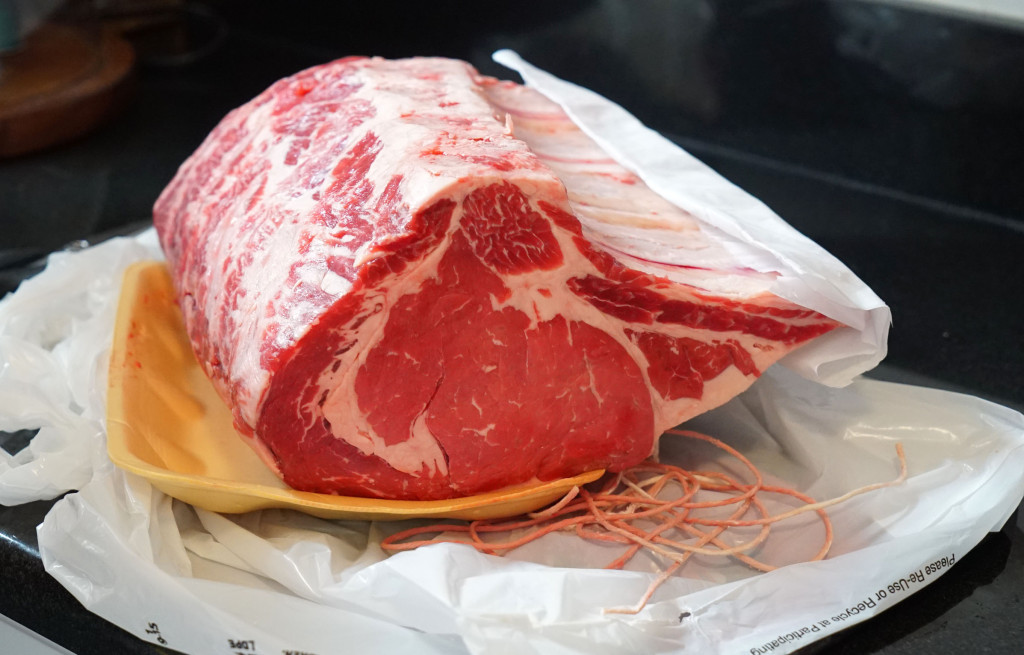
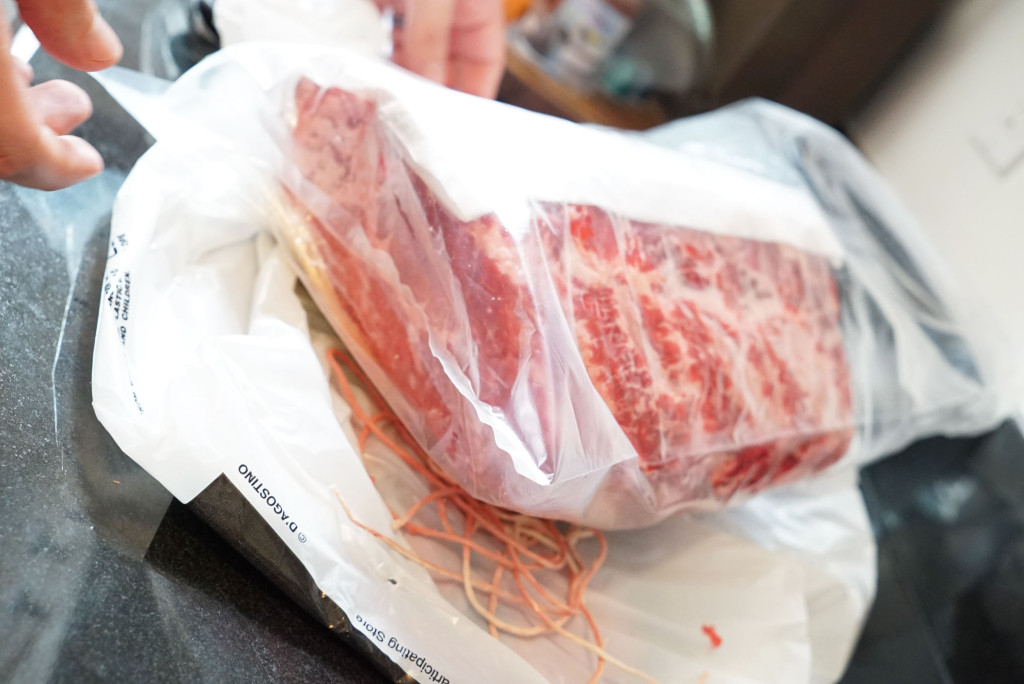
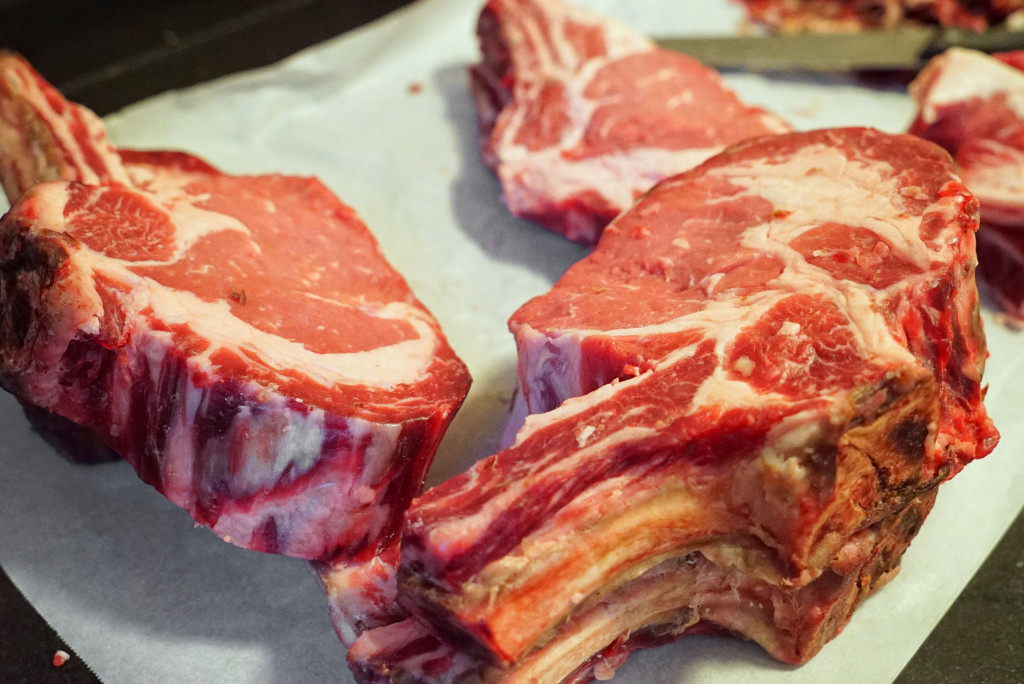
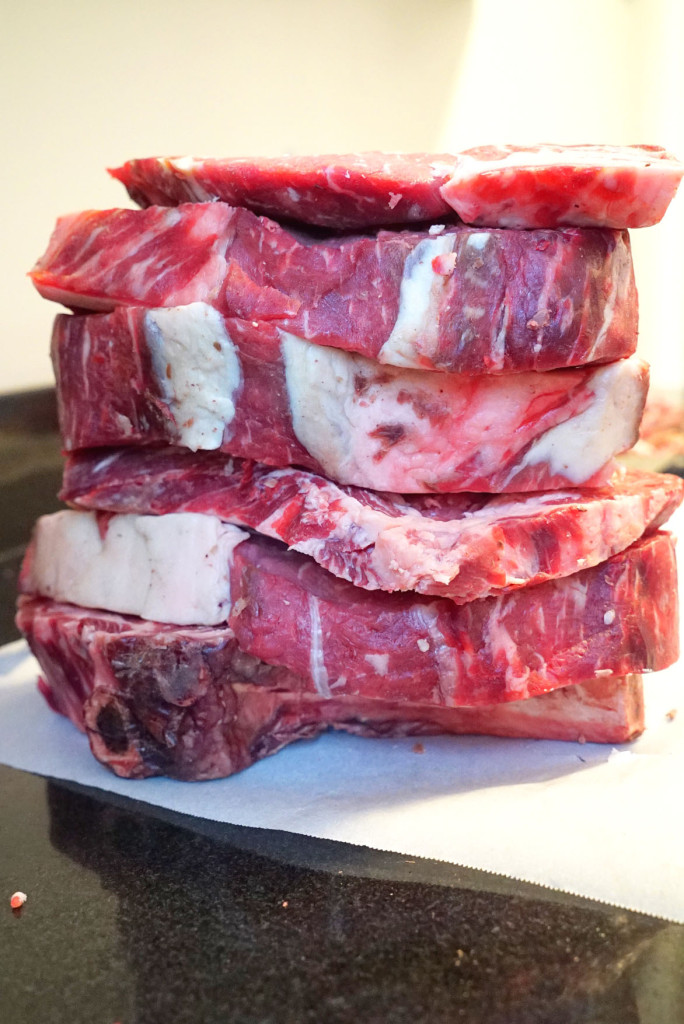
So I received my sample bags and ran out to the store to buy a nice rib roast, which I would later parse out into rib eye steaks after the aging is completed. NYC grocery stores don’t really have massive slabs of rib roasts sitting in the fridge section, so I had to ask the butcher what he had. He went to work for me, giving me a section of rib eyes with about four or five bones intact.

wpid-wp-1445965259561.jpg

DSC08472

DSC08468

DSC08469_2

DSC08475

DSC08474

DSC08473

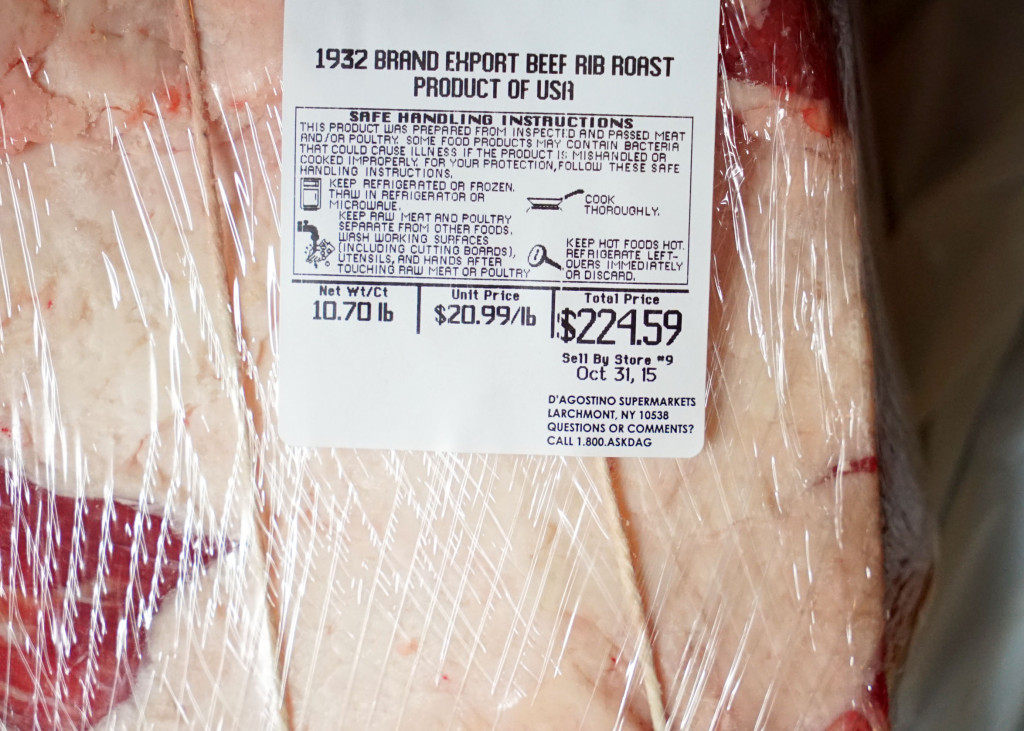
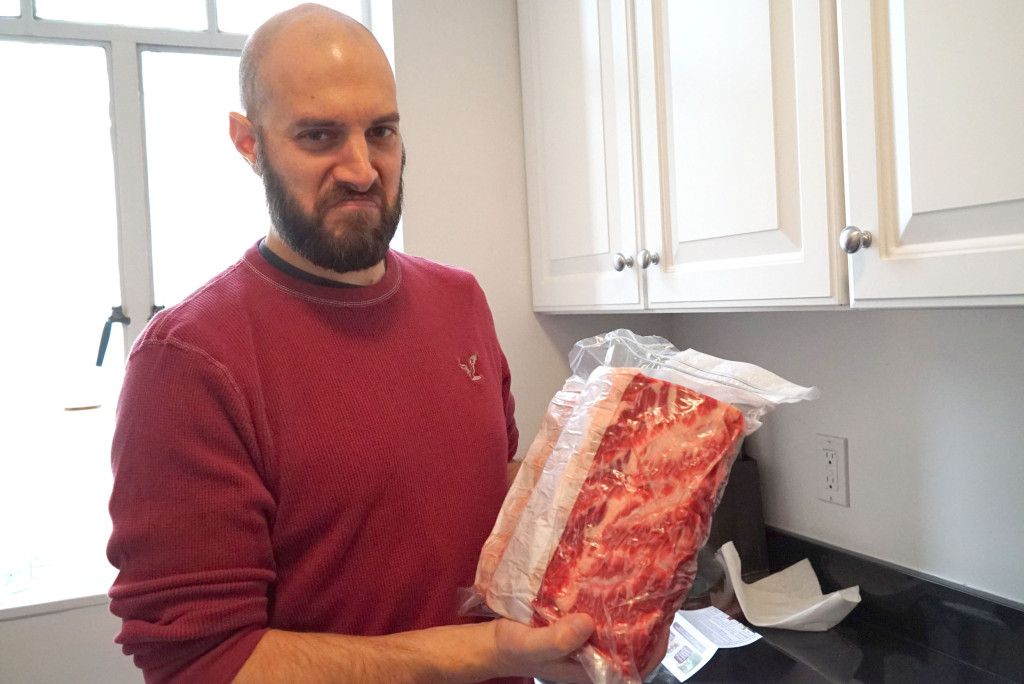
I was a bit freaked when I saw the price tag on this fucker. The butcher told me that the beef was prime, but that he only charged me for choice.

wpid-wp-1445965692615.jpg

DSC08465

DSC08467

I guess that’s a good deal (several dollars per pound cheaper). But still… at $225 it could turn out to be a really fucking expensive mistake if I fuck anything up.

DSC08466

On the other hand, if this nearly 11lb hunk of prime rib eye ages nicely for 35 days, I could end up with several high quality rib eyes that would save me money on steakhouse dinners in the long run.

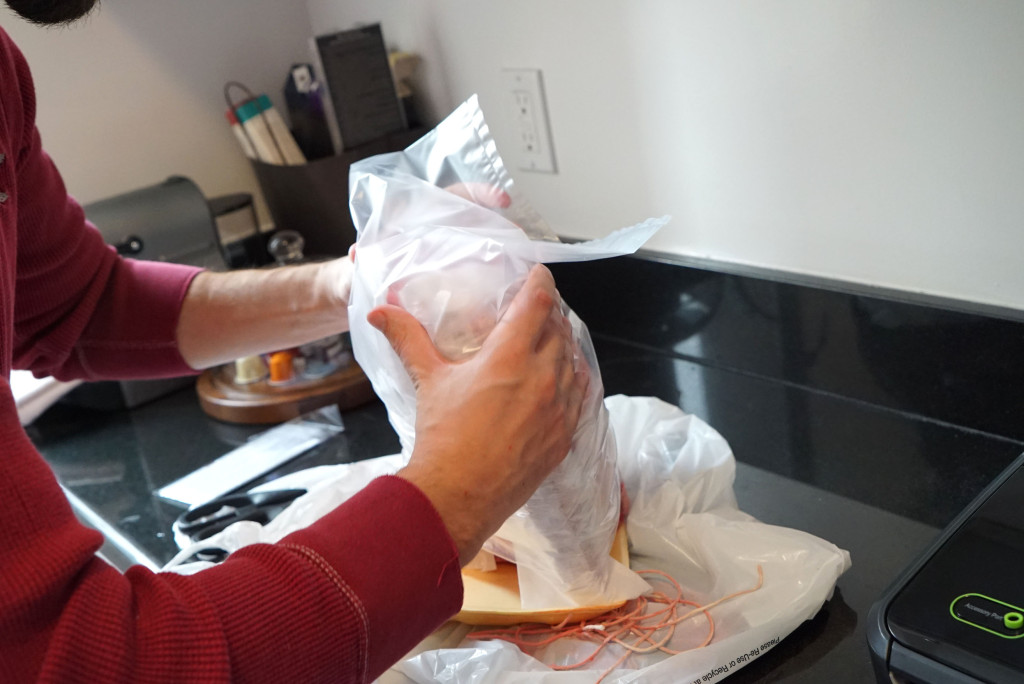
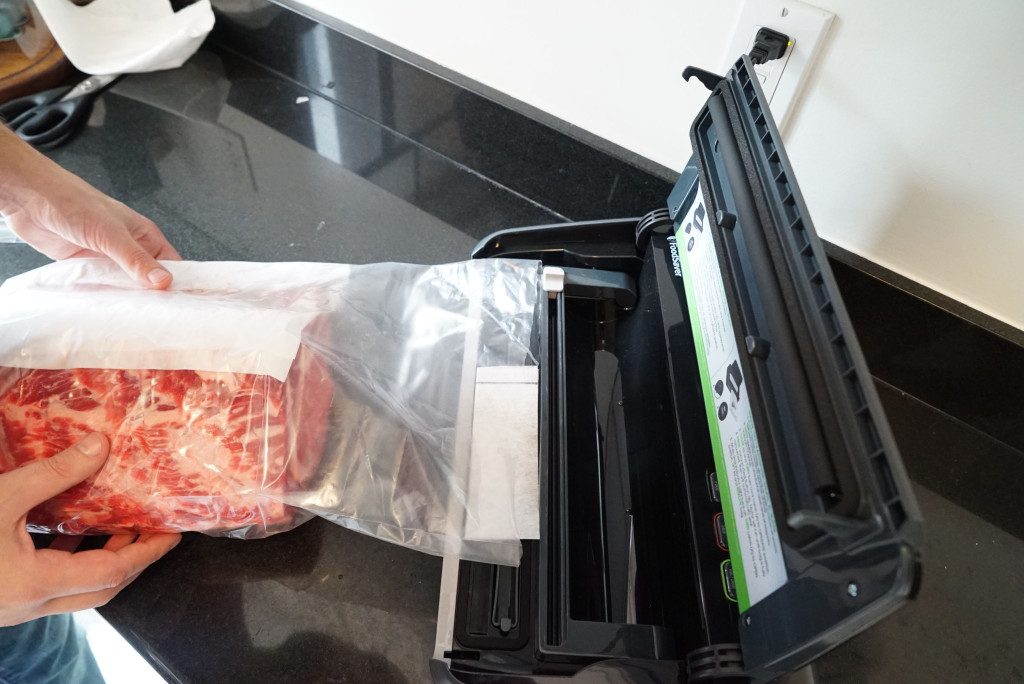
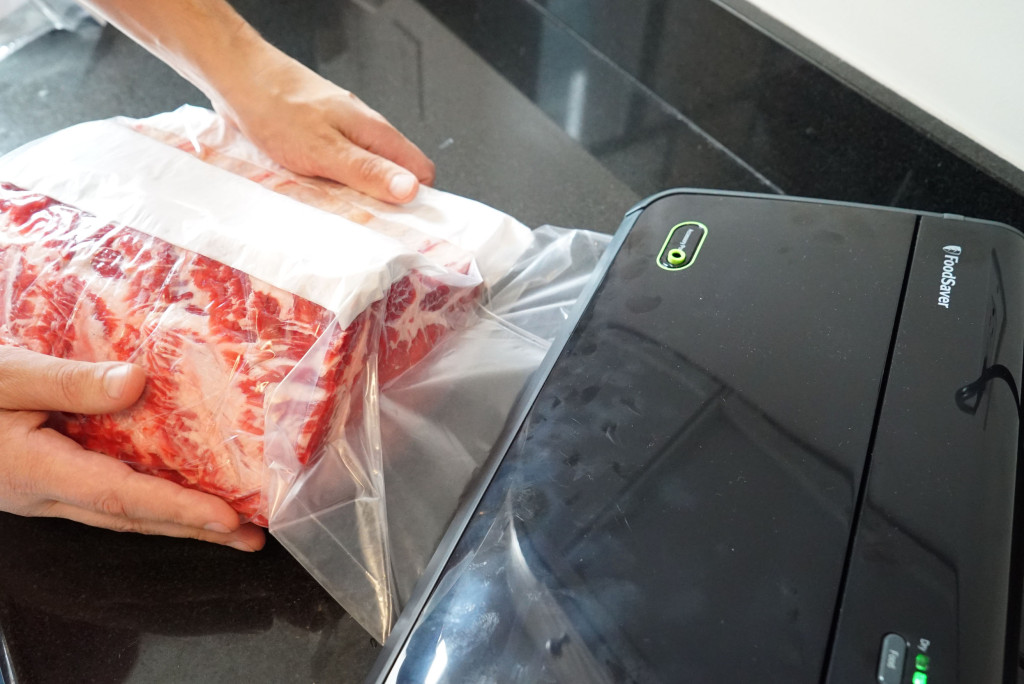
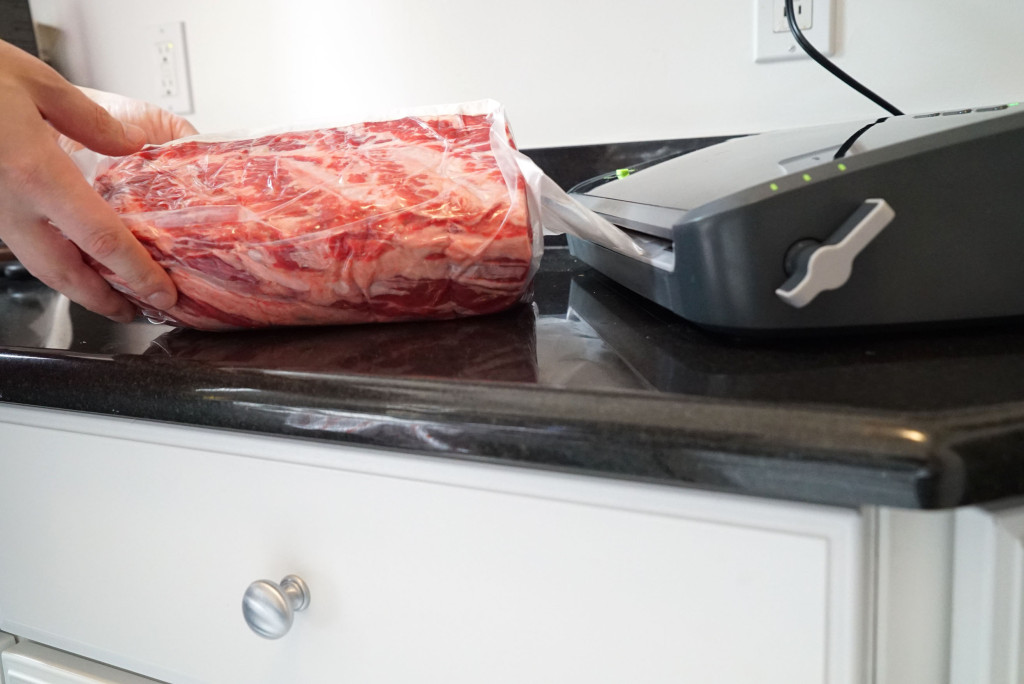
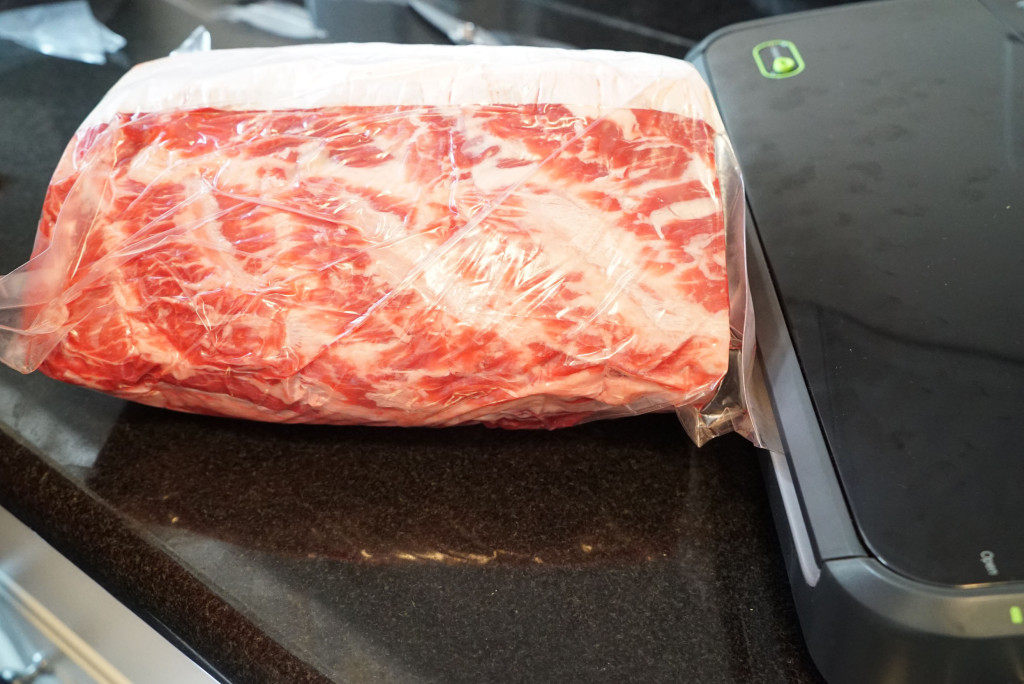
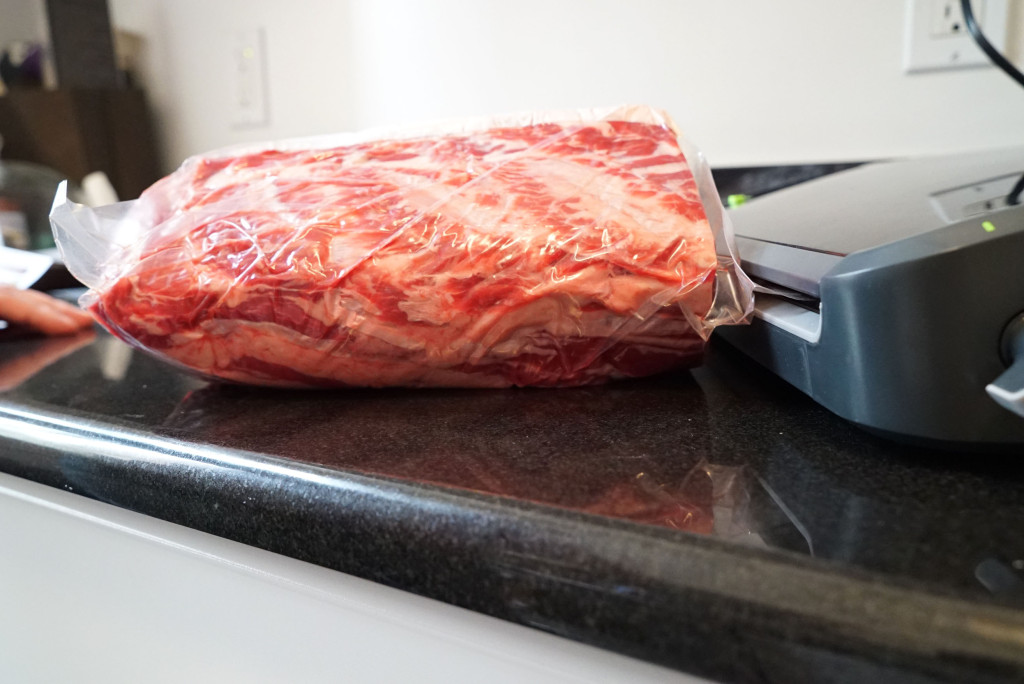
I took the gamble. I probably should have waited for a sale or something, but I was too excited to get started. About 30 minutes later I was starting the process of bagging and sealing.

DSC08470

DSC08476

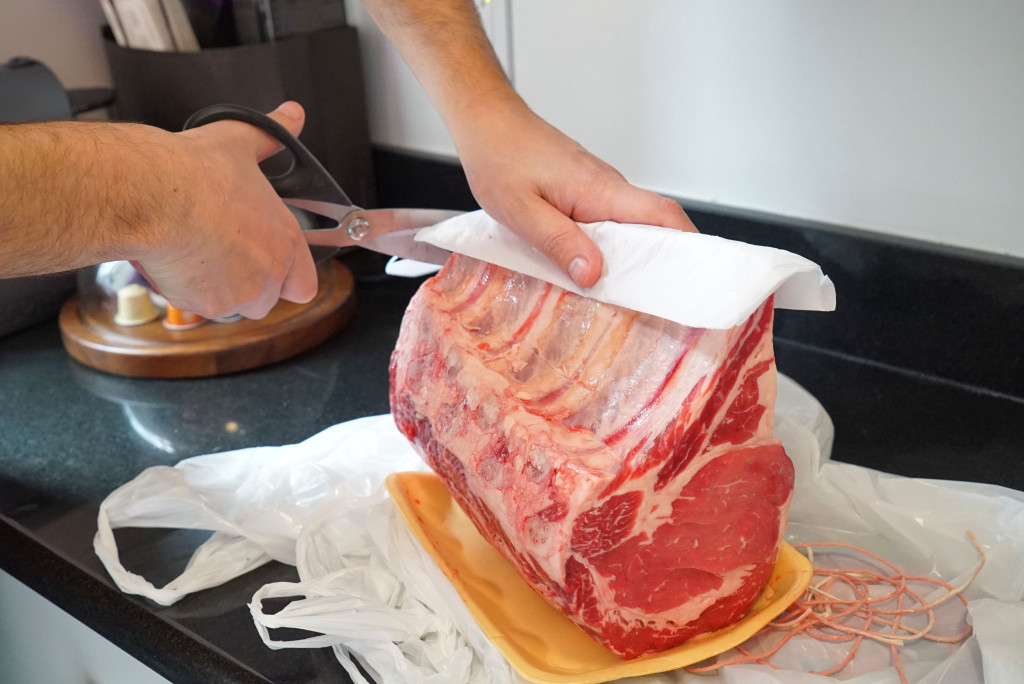
I put some wax paper across the bones so that any sharp bits wouldn’t puncture or slice open the bag.

DSC08478

DSC08479

DSC08481

Meat condom:

DSC08482

DSC08484

DSC08487

DSC08491

DSC08497

DSC08498

DSC08500

DSC08501

DSC08502

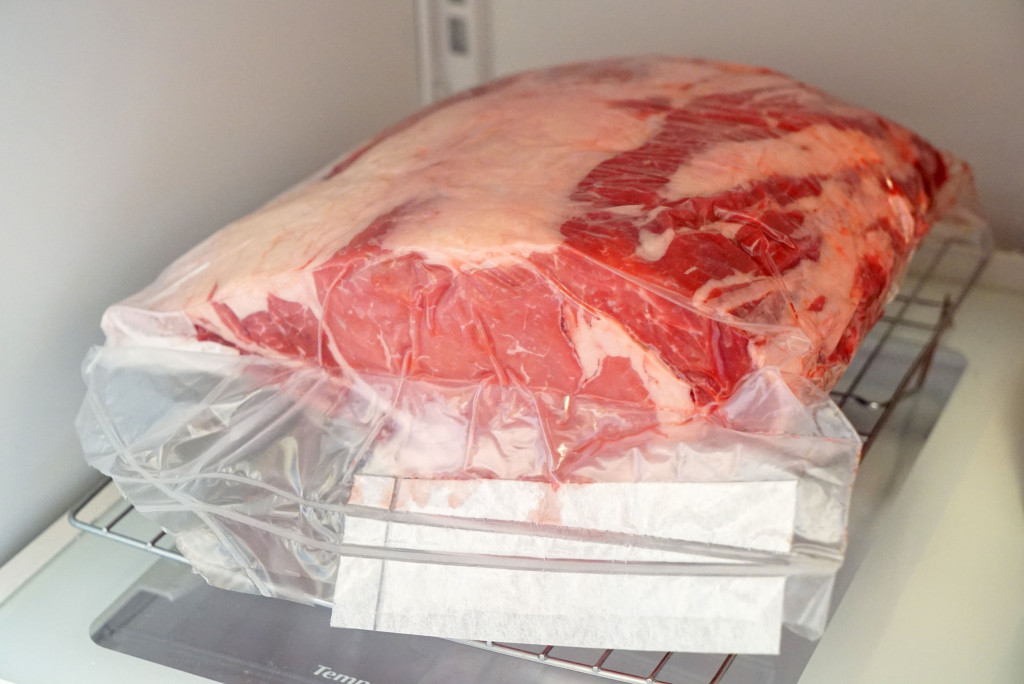
Once sealed properly, it just goes into the fridge on a cookie rack or drying rack, so that air flow goes all around the bag.

DSC08504

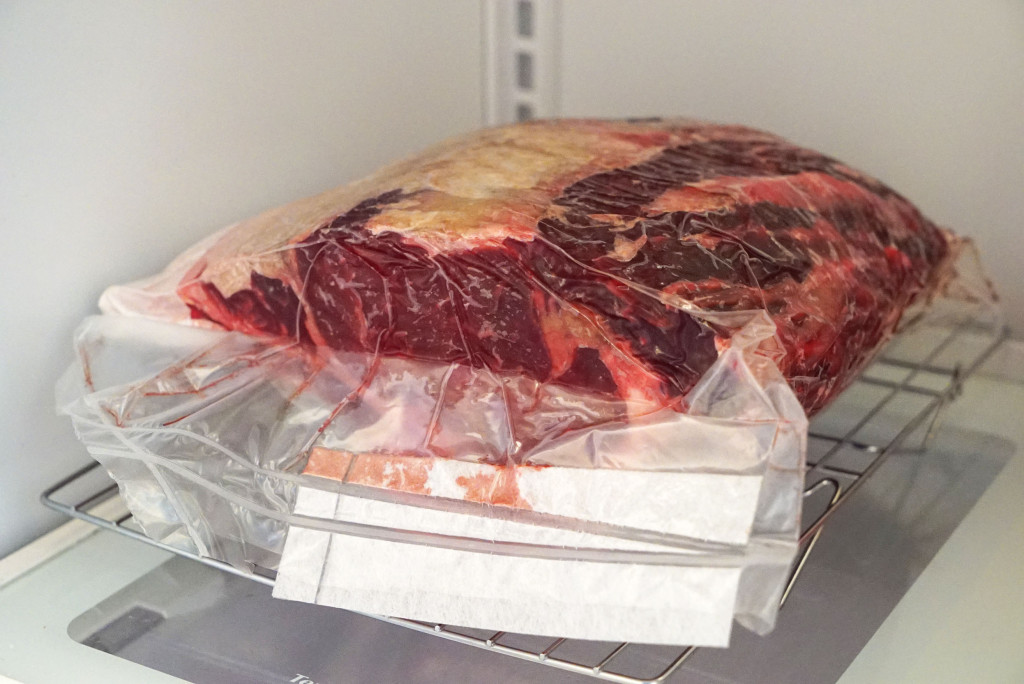
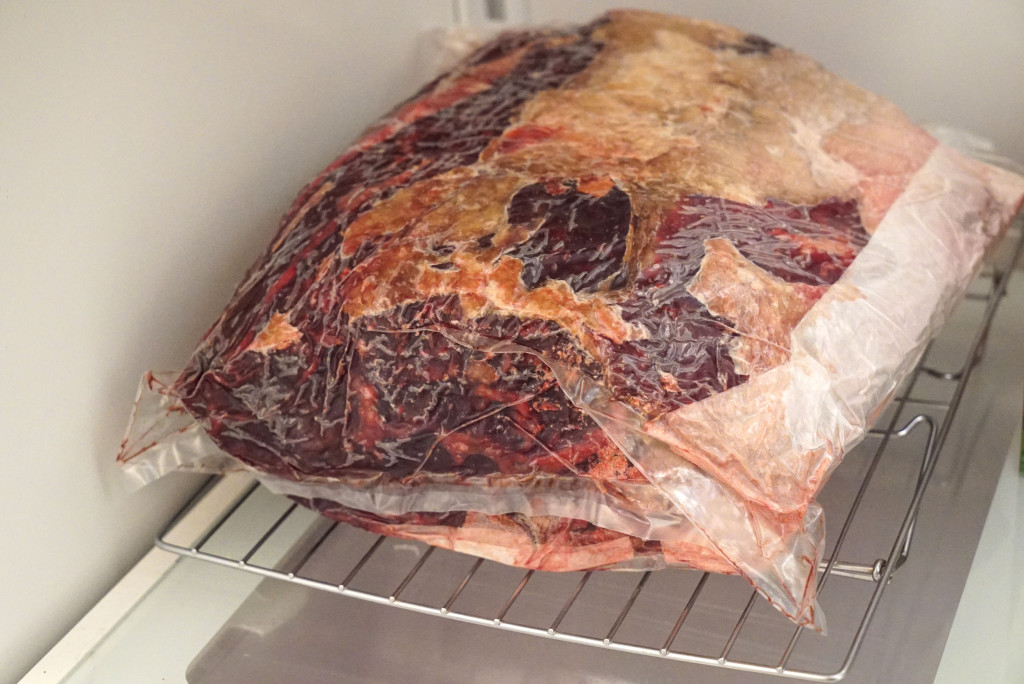
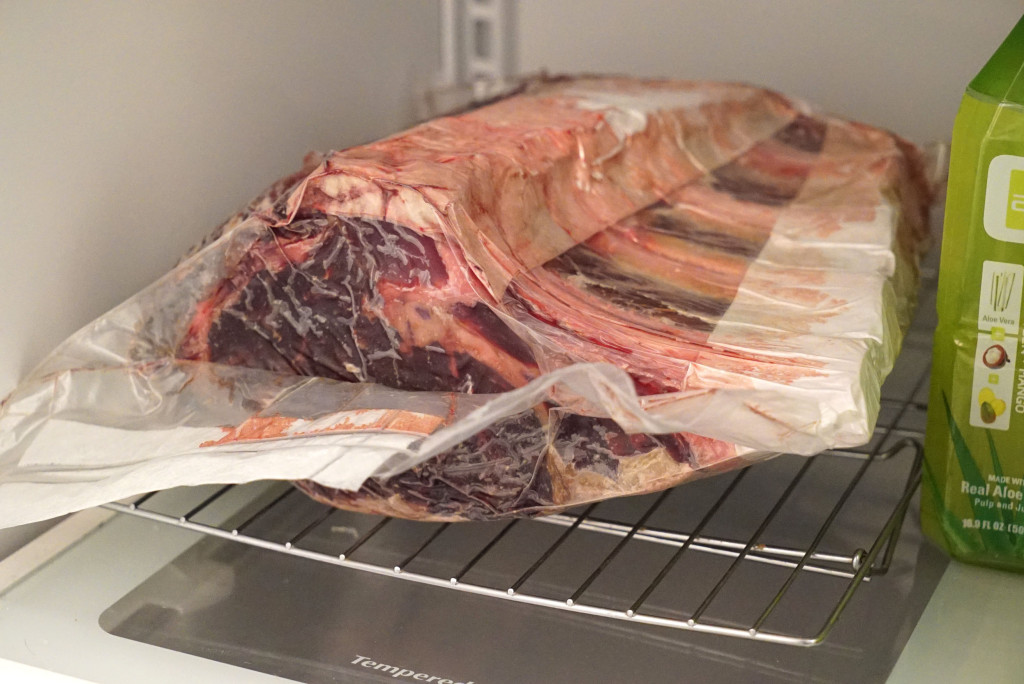
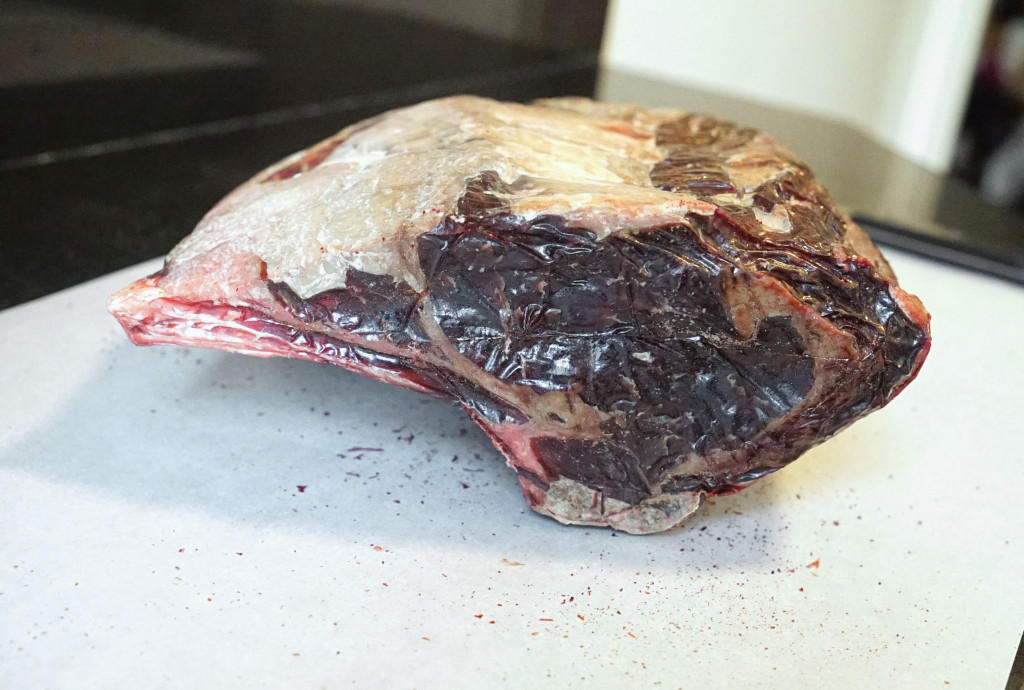
Then we just wait 35 days, with an occasional flip here and there. Here’s a pair of shots after 5 days with a flip. As you can see, the meat is already starting to darken and dry where the bag is in contact with the flesh.

DSC08616

DSC08617

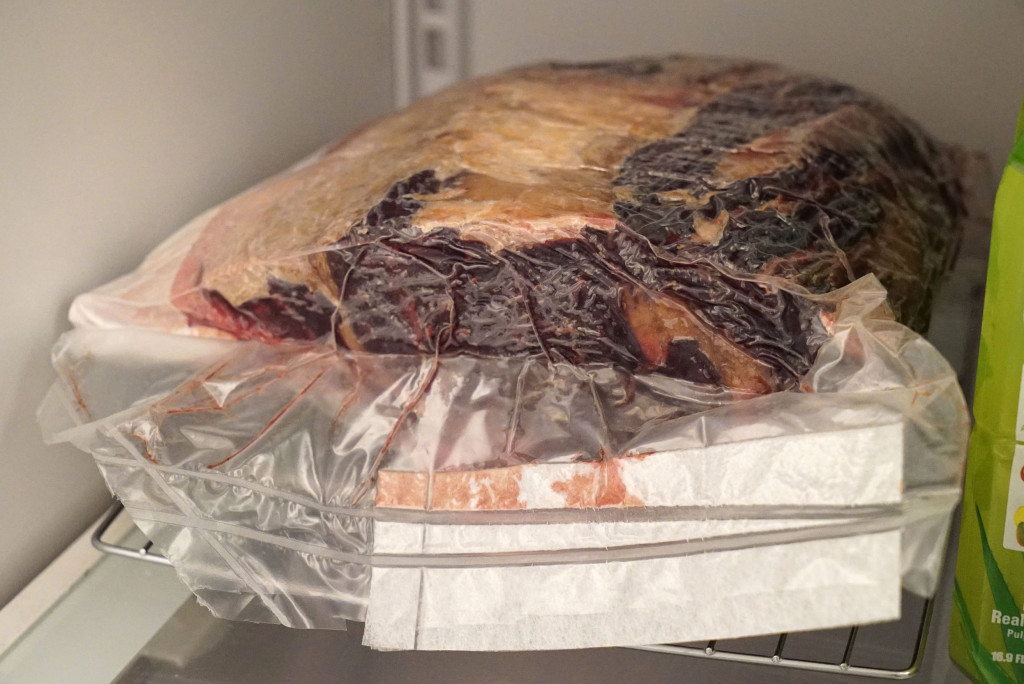
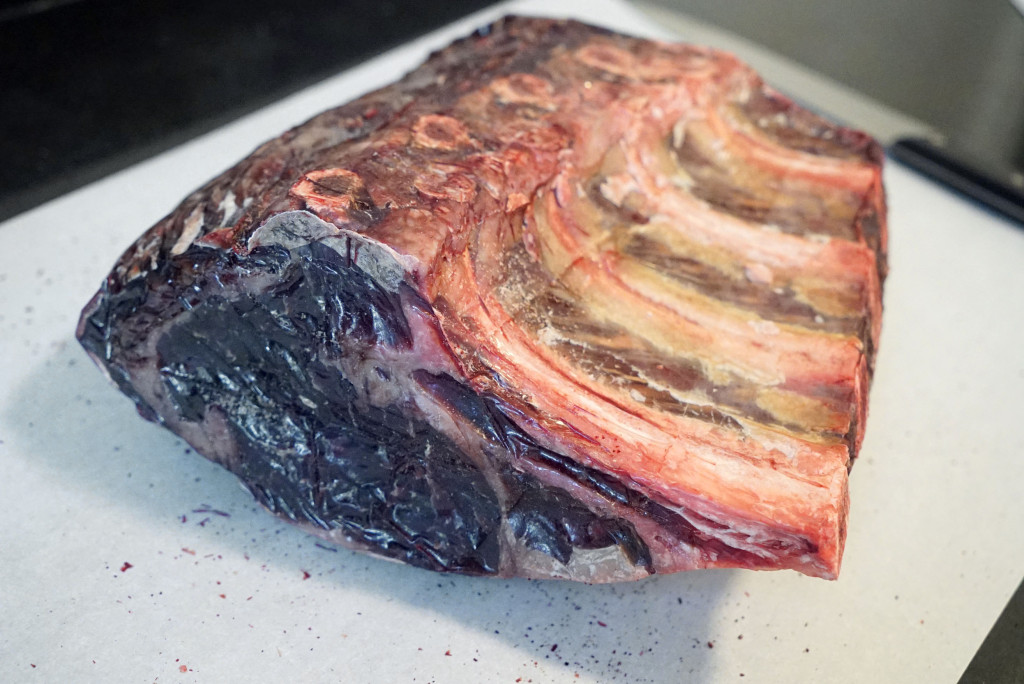
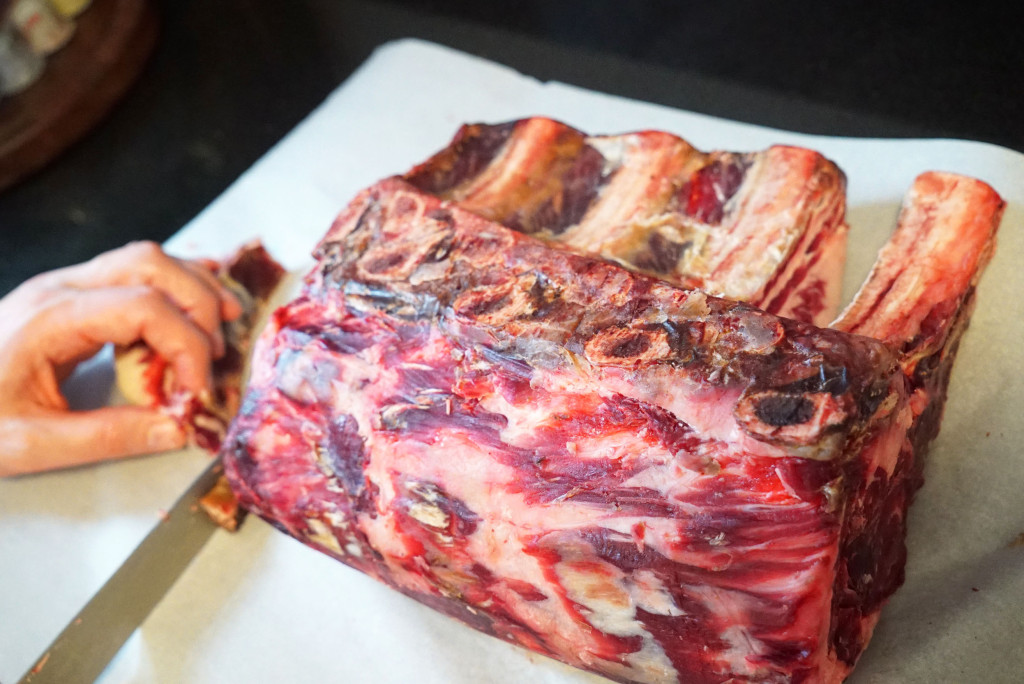
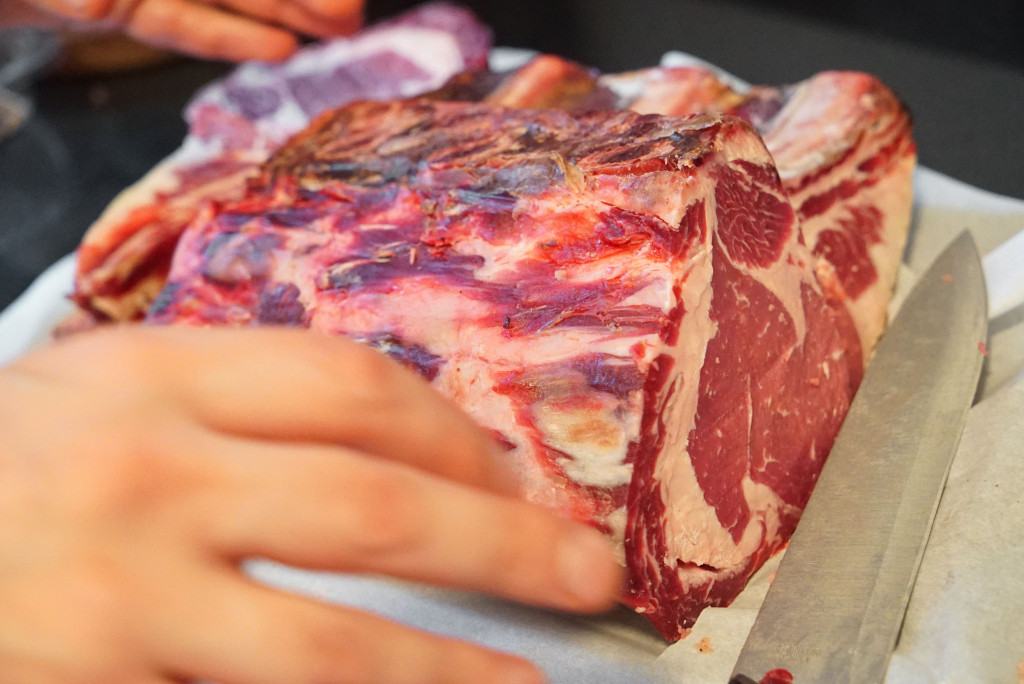
Even darker after another week. It’s forming a “bark”-like layer of beneficial mold that helps to tenderize the meat as it develops.

DSC08766

And another week or so. I notice it’s also shrinking. Dry-aging processes tend to cause the meat to desiccate to the point where you can lose almost a third of the original weight.

DSC08768

DSC08767

After 35 days, here is the unwrapping!

DSC09195

DSC09197

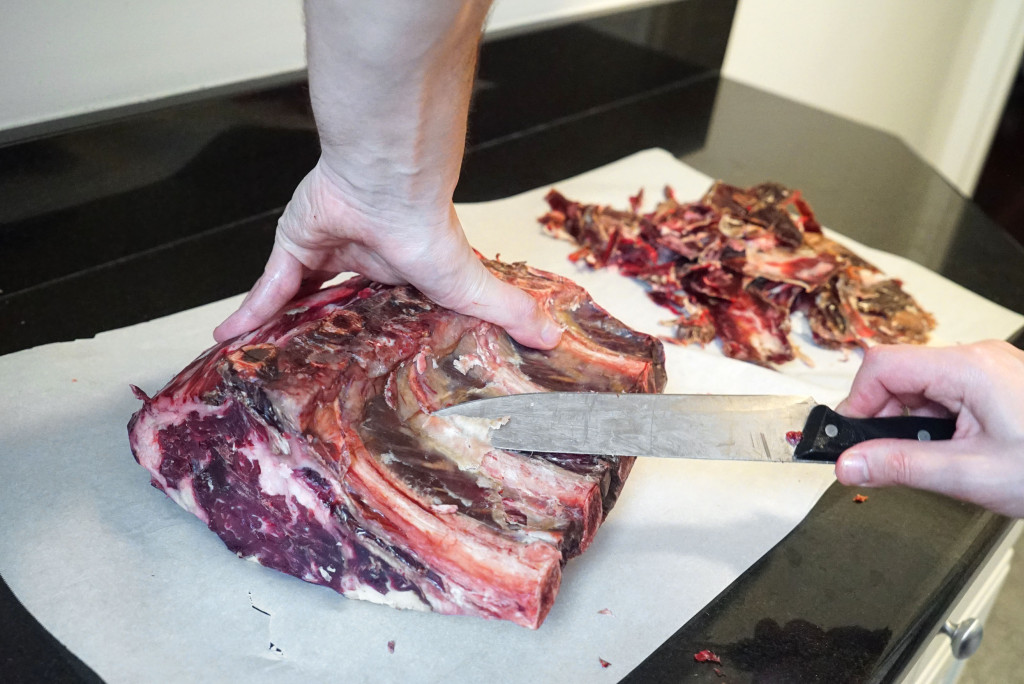
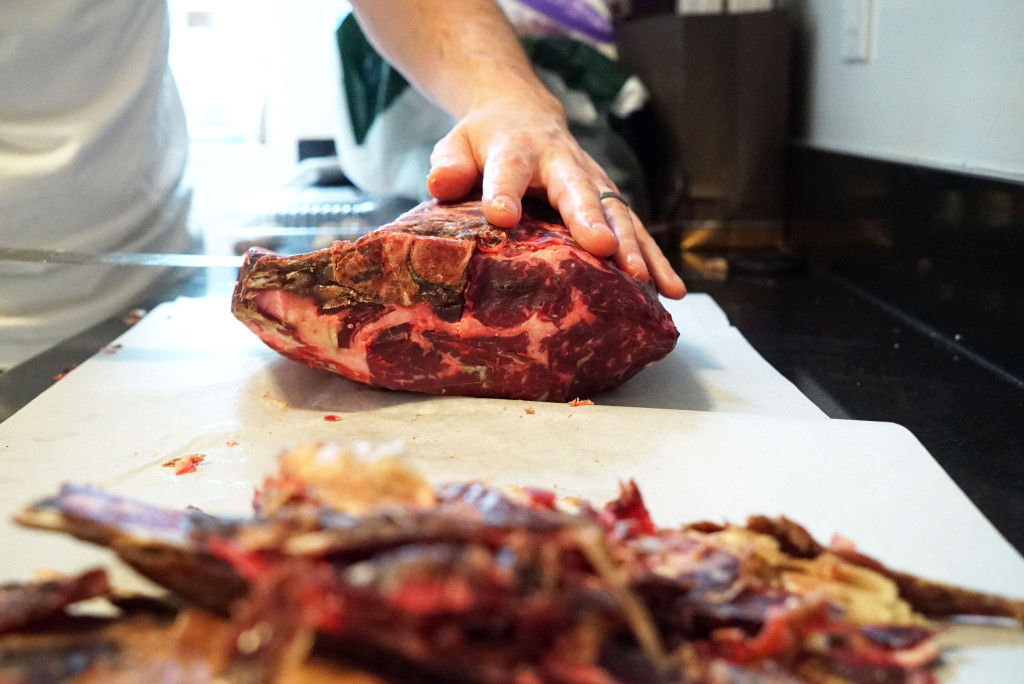
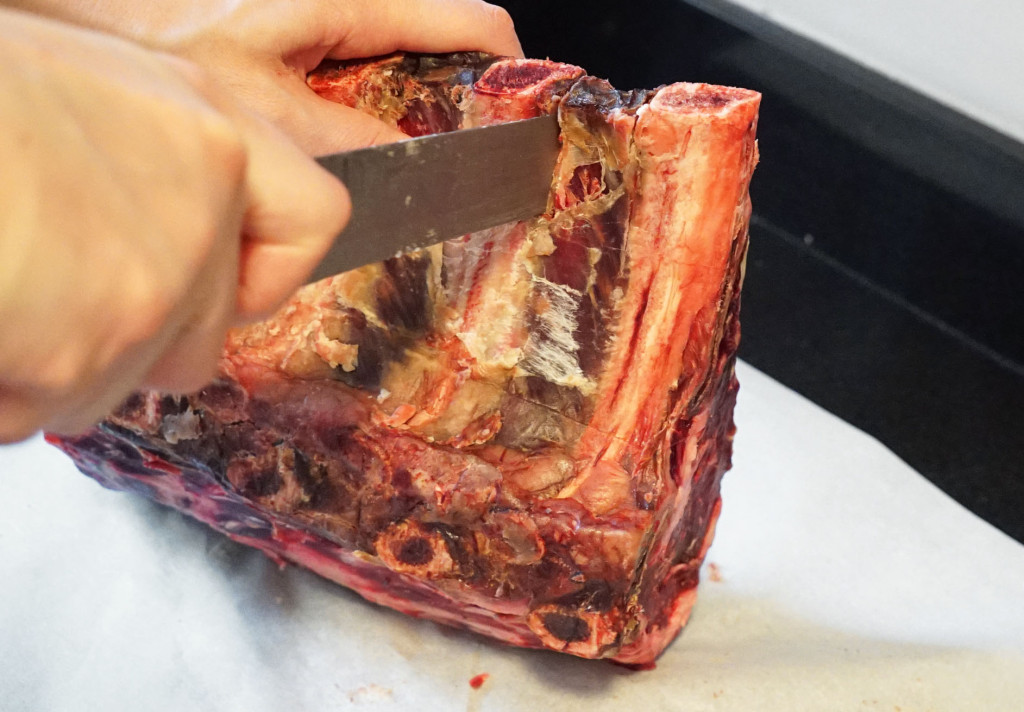
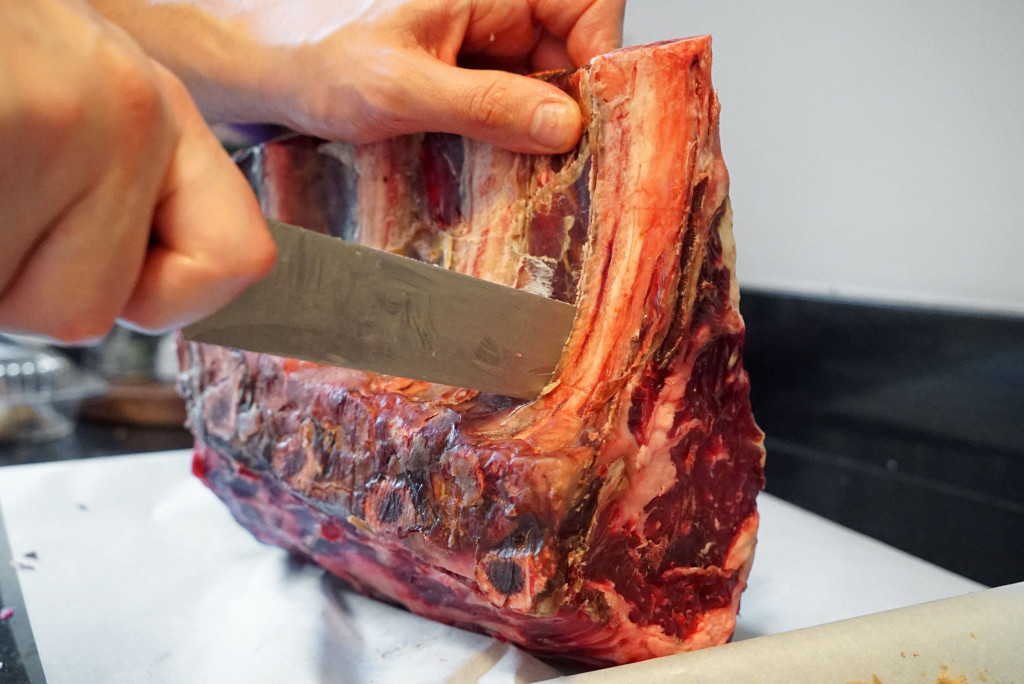
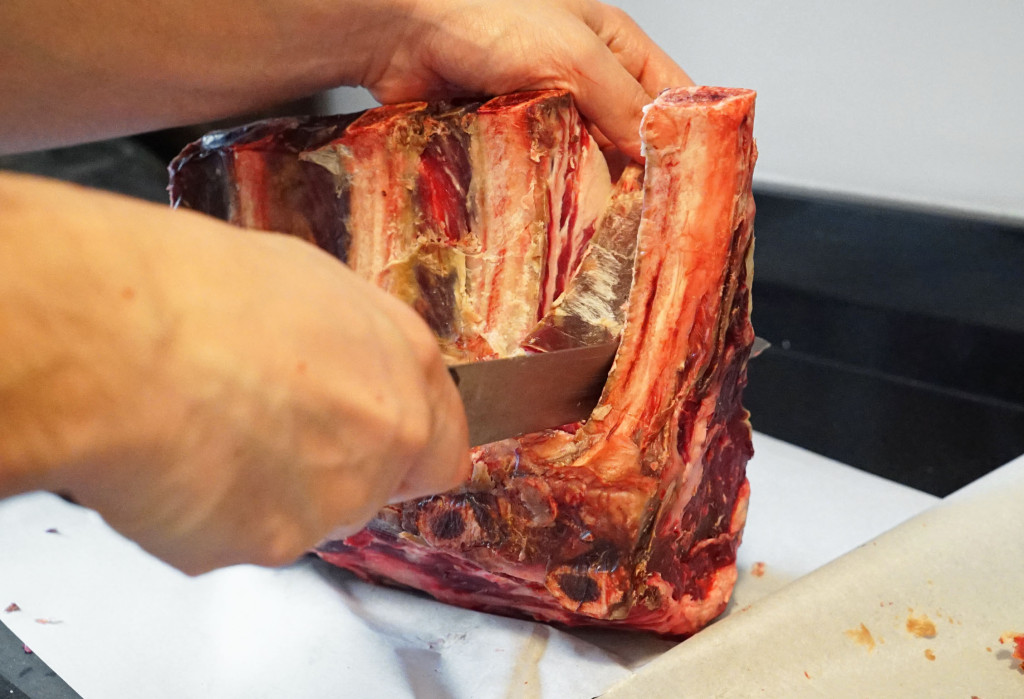
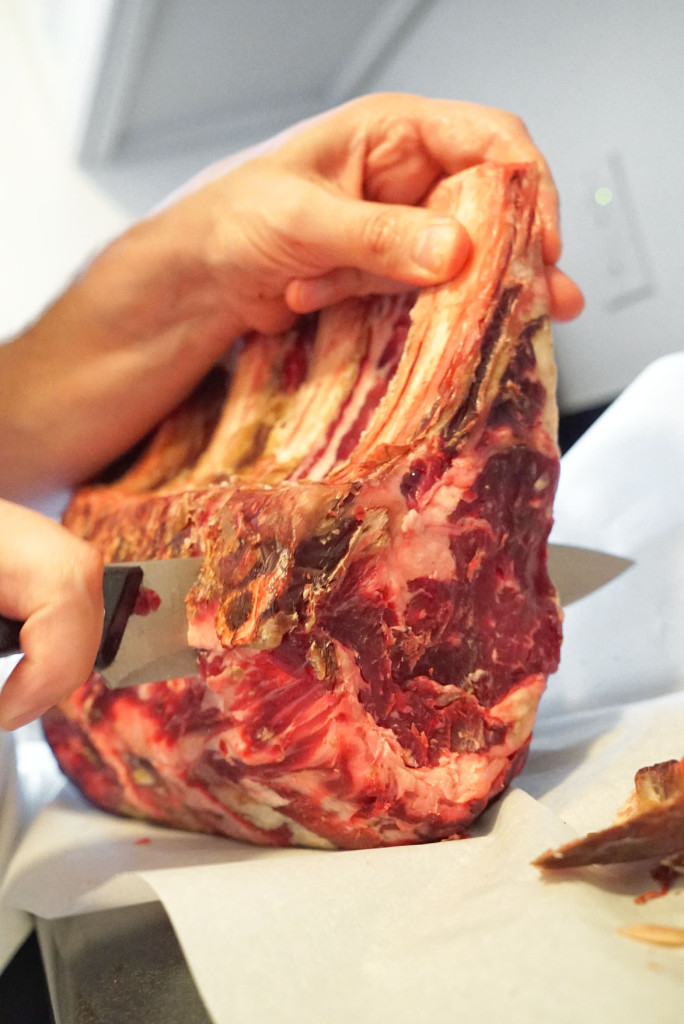
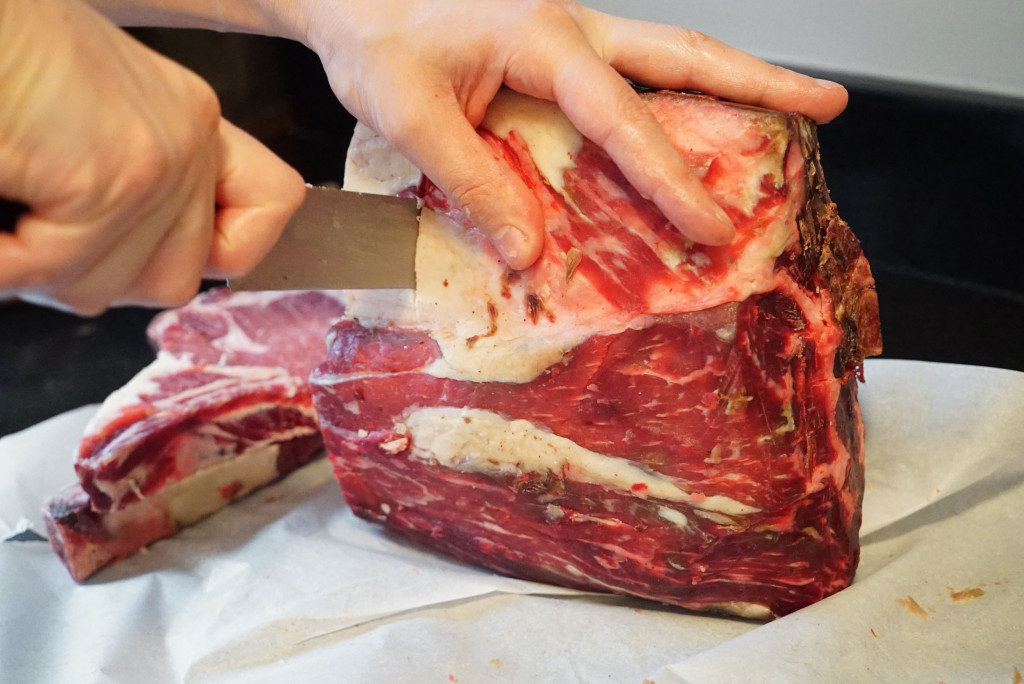
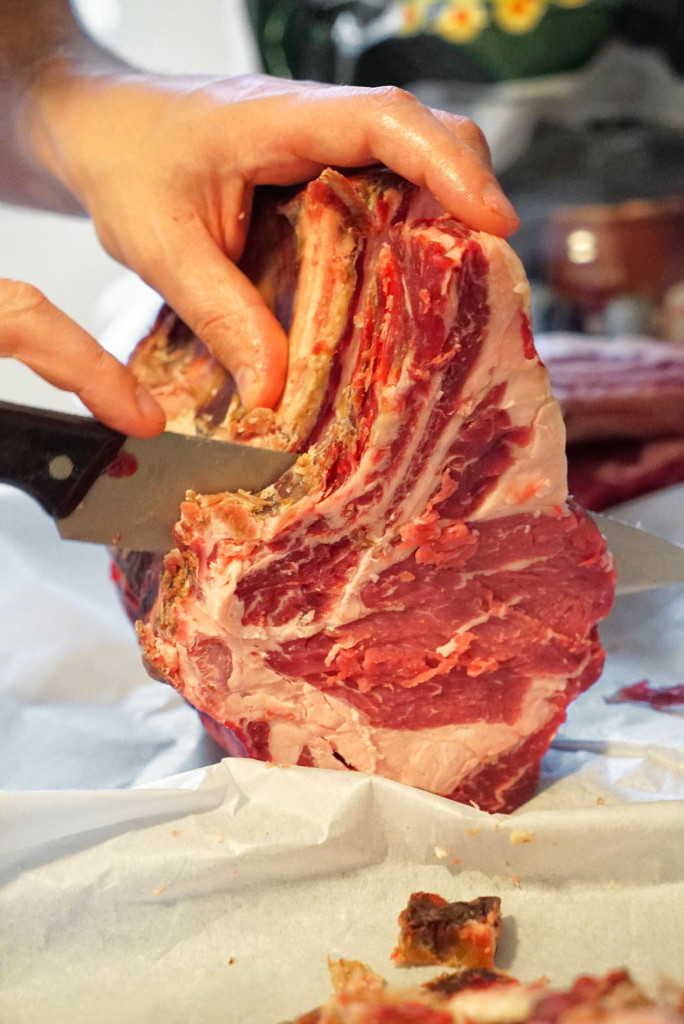
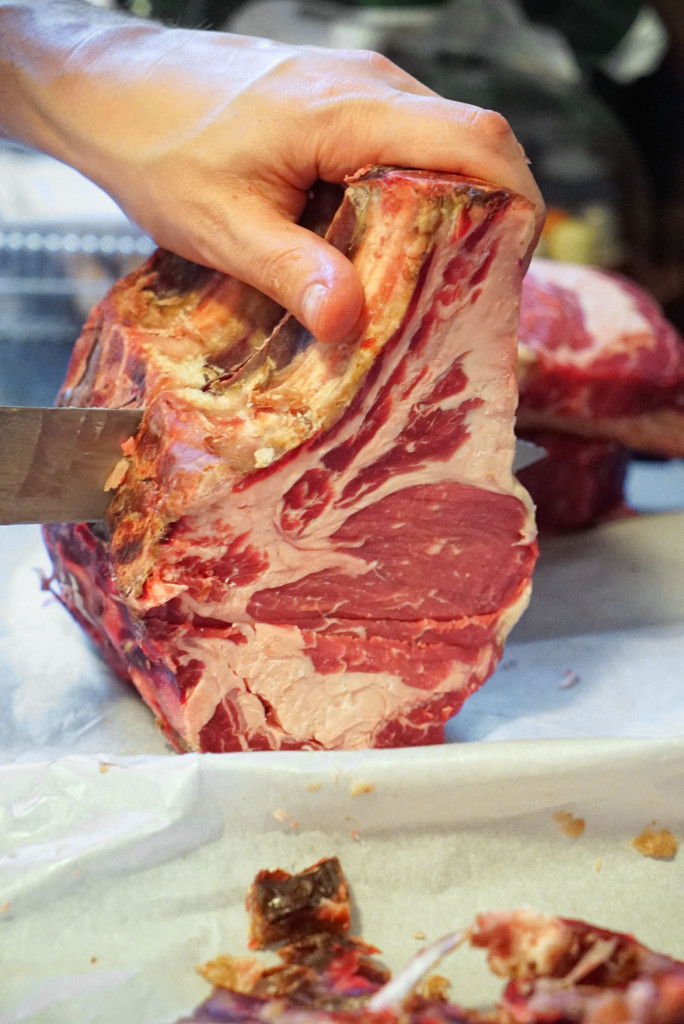
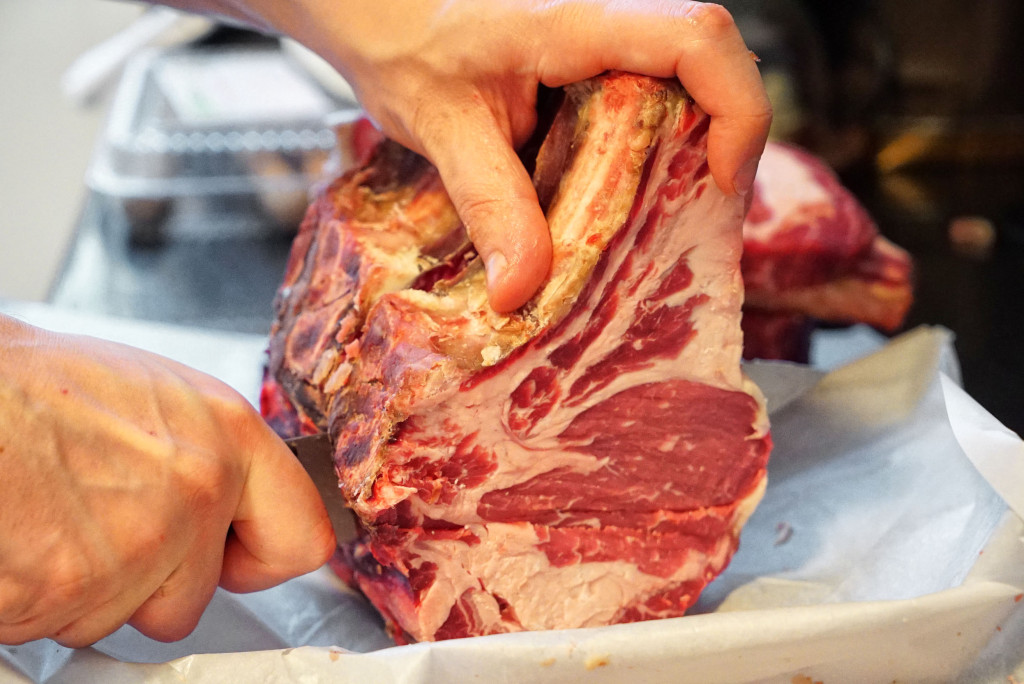
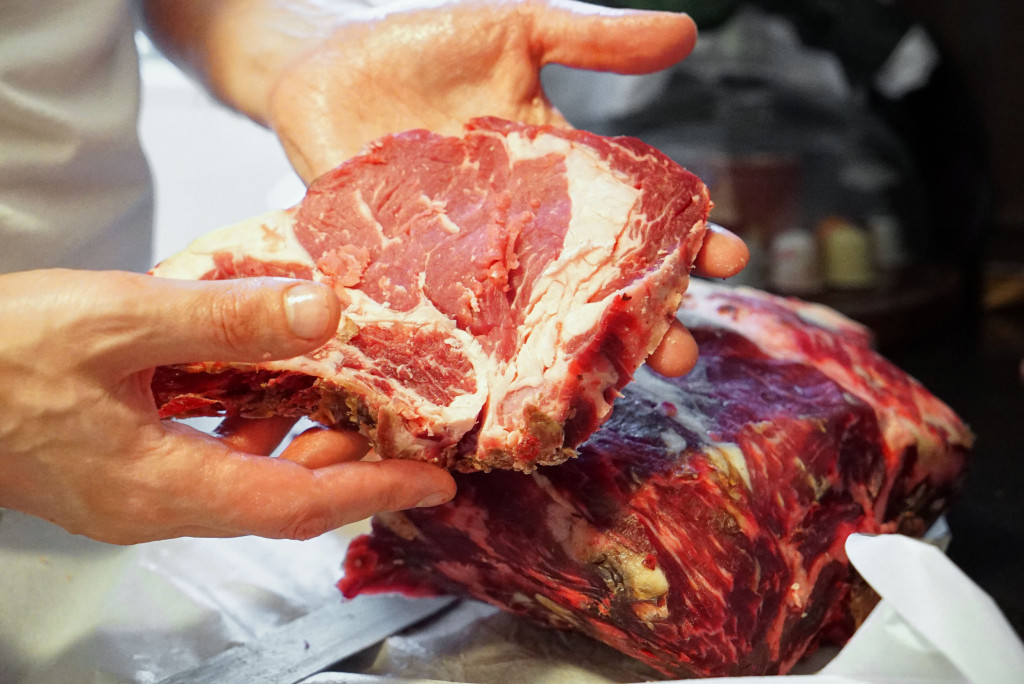
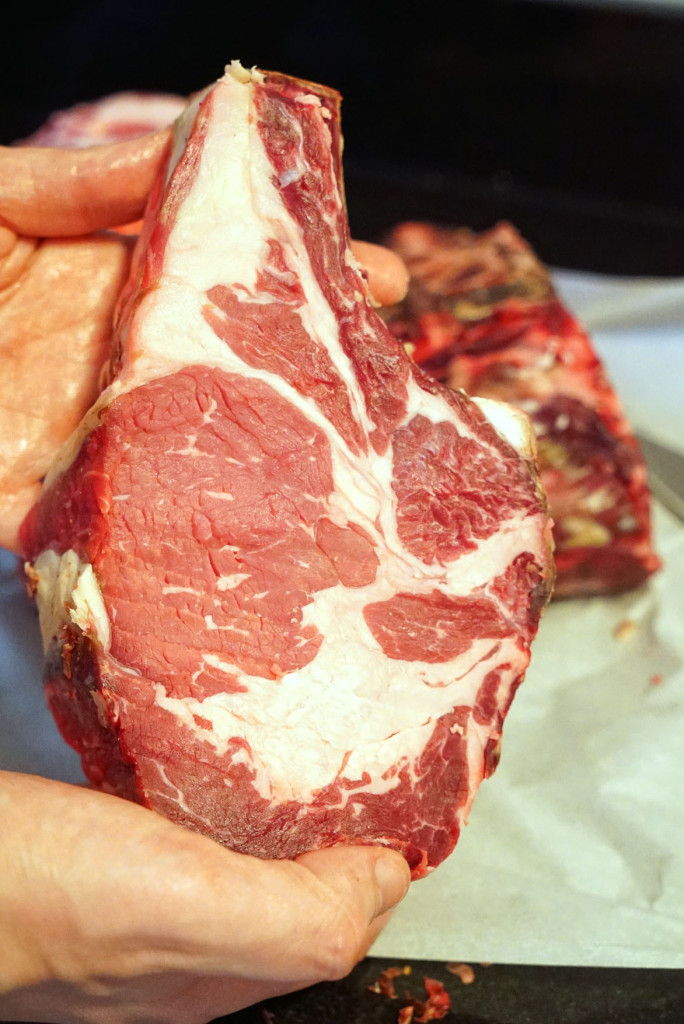
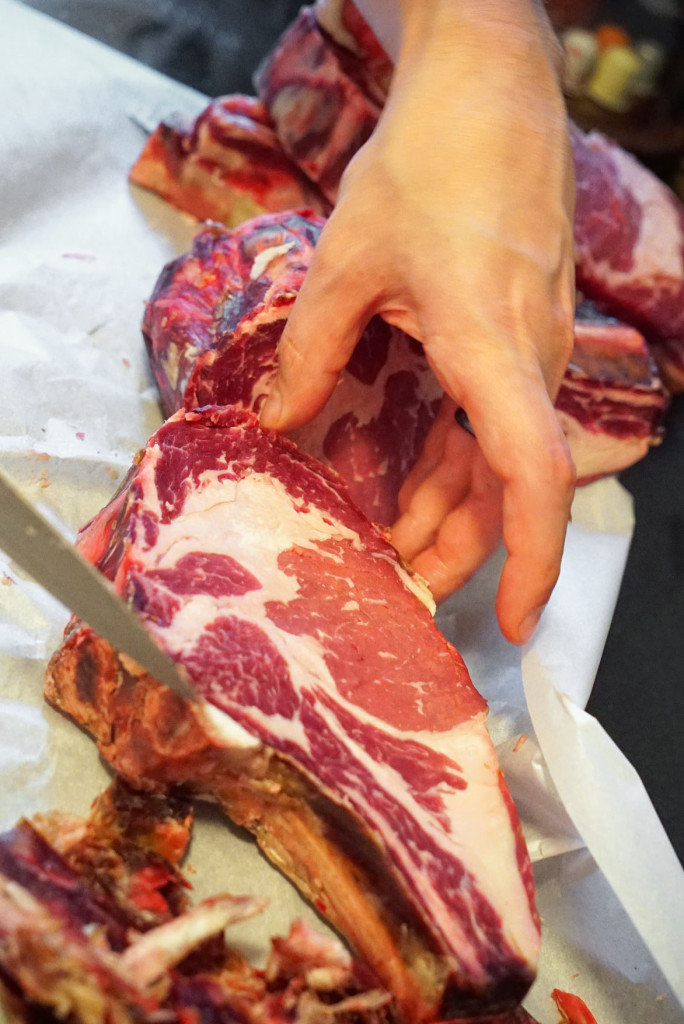
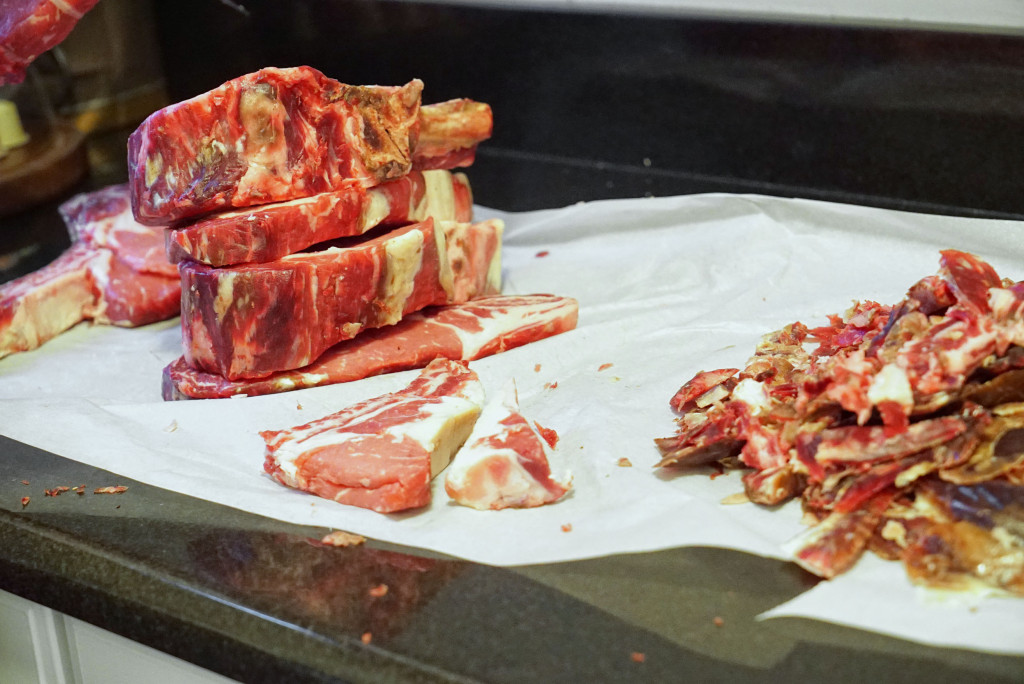
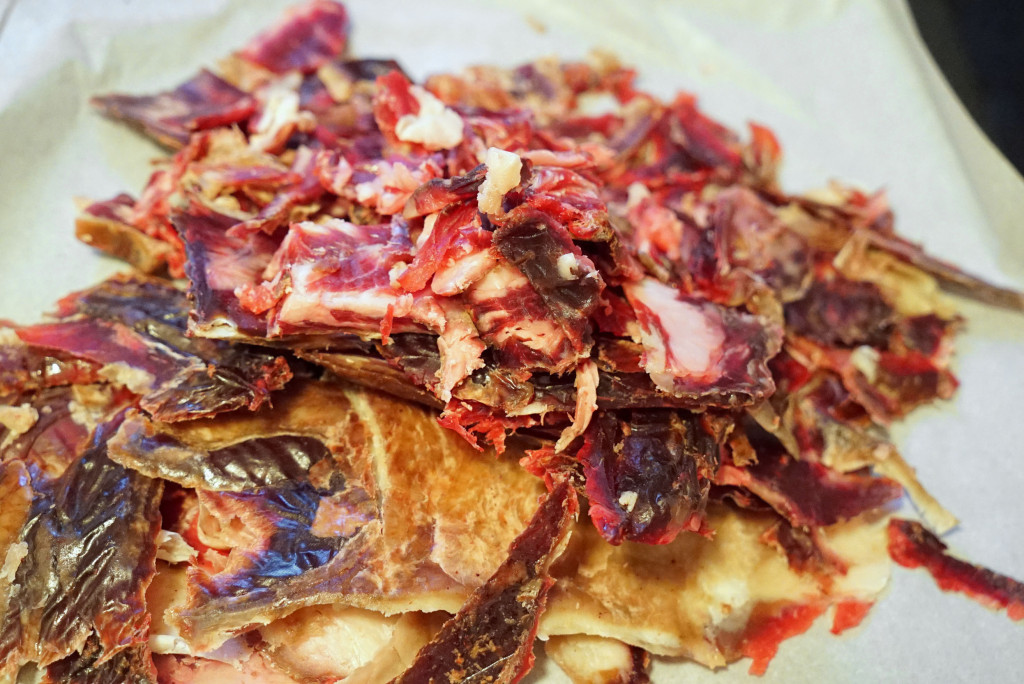
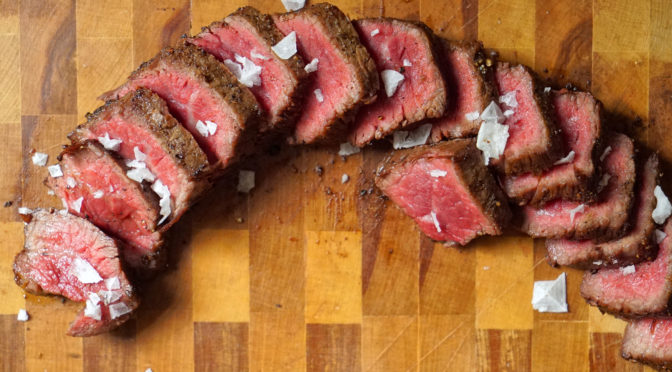
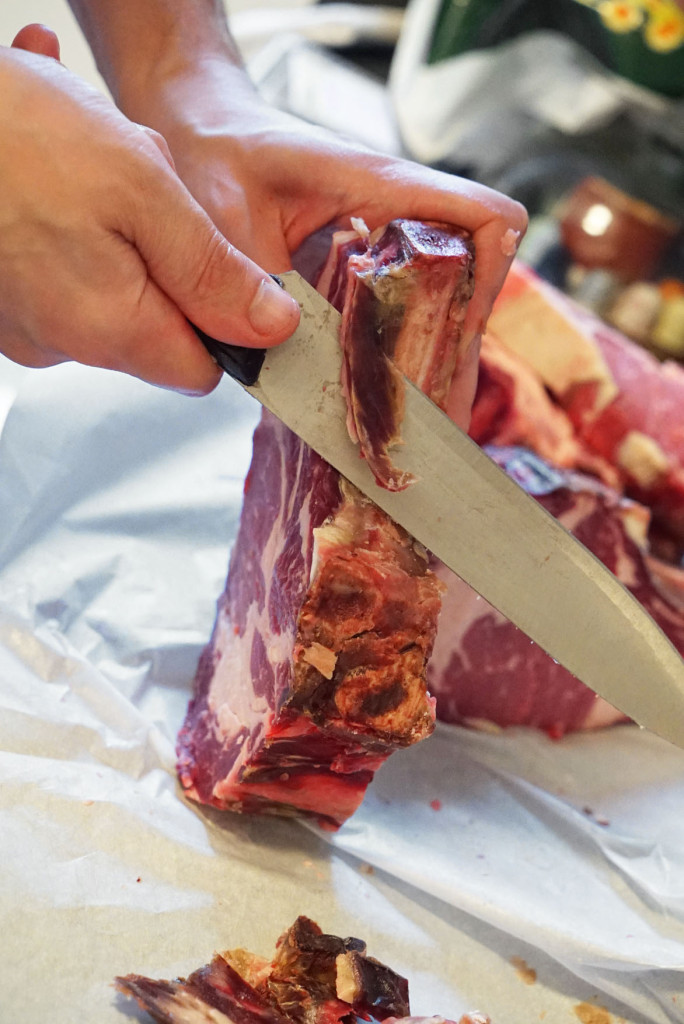
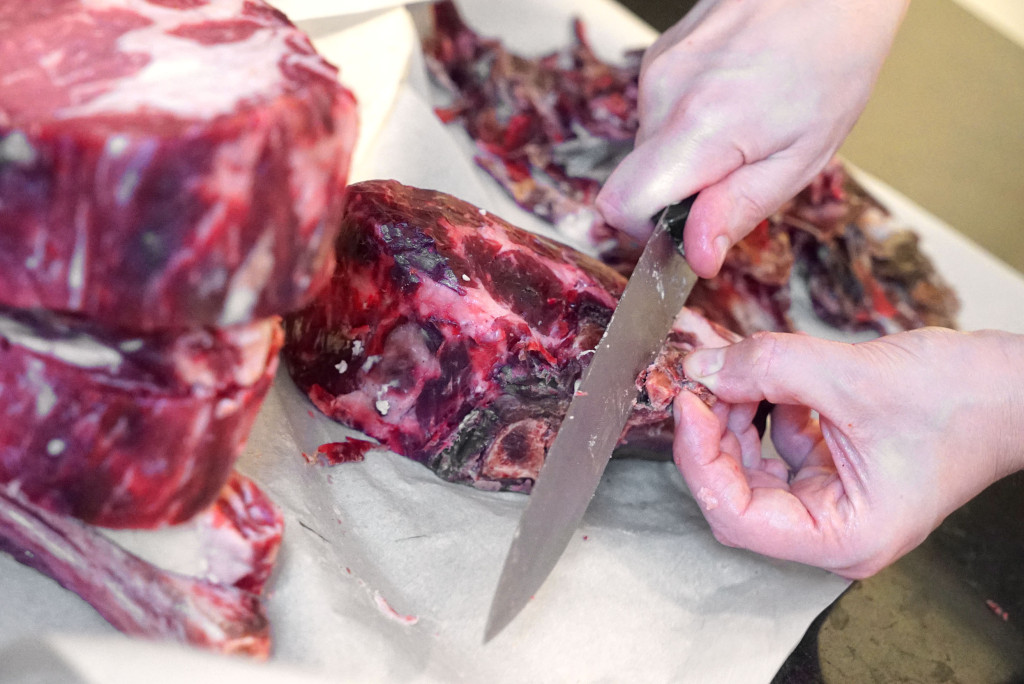
The outside bark, which has the texture of really hard beef jerky, needs to be sliced off of the underlying softened meat, and the tough skin membrane over the ribs needs to be peeled and picked off.

It’s an arduous task, but the end product is totally worth the effort. Here are some shots that my wife snapped of the slicing, trimming and portioning process.

DSC09198

DSC09231

DSC09239

DSC09201

DSC09203

DSC09206

DSC09207

DSC09209_2

DSC09215

DSC09222

DSC09227

DSC09228

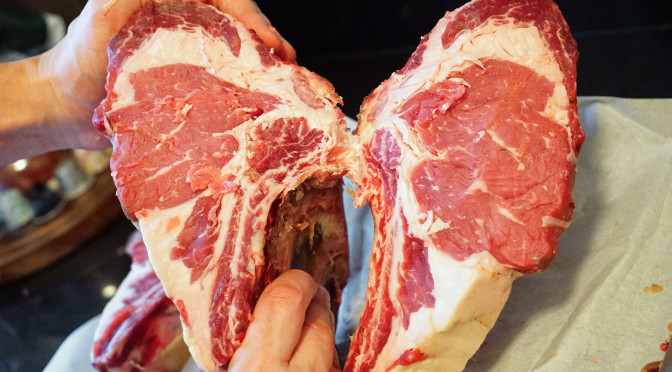
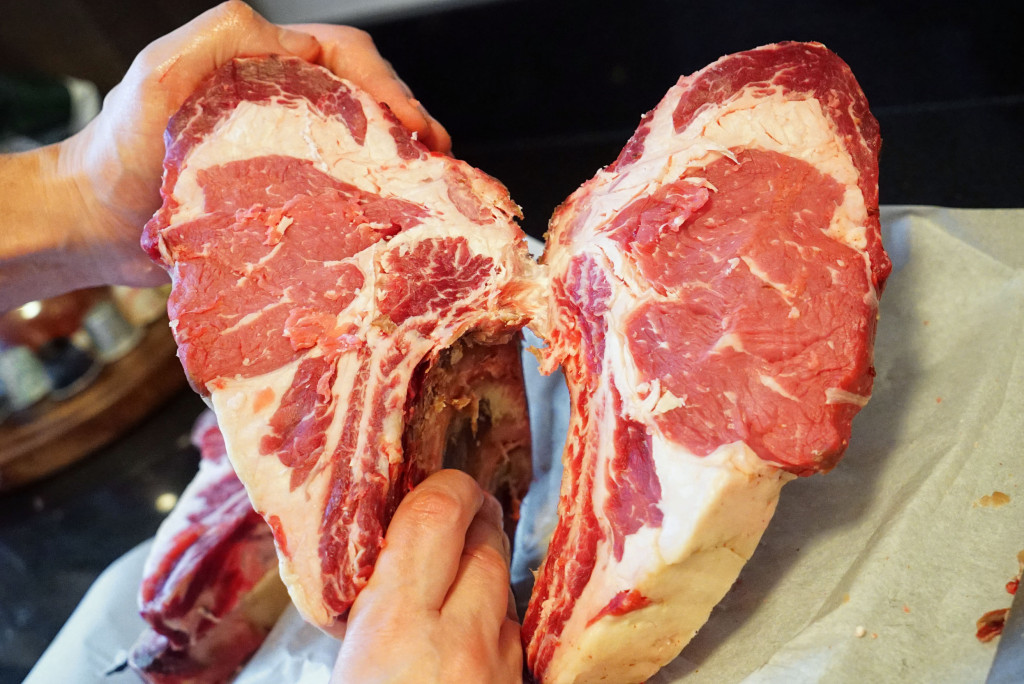
The inside is so gorgeous. This shot looks like angel wings:

DSC09220

DSC09224

DSC09255

DSC09271

DSC09234

DSC09208

DSC09211

A great looking fat cap was still intact. I was worried that I would have to carve off too much of that, but we did pretty good.

DSC09229

DSC09276

DSC09257

DSC09259

DSC09266

I’ve saved all the bark slices to use in making another beef stock or broth at a later date.

DSC09260

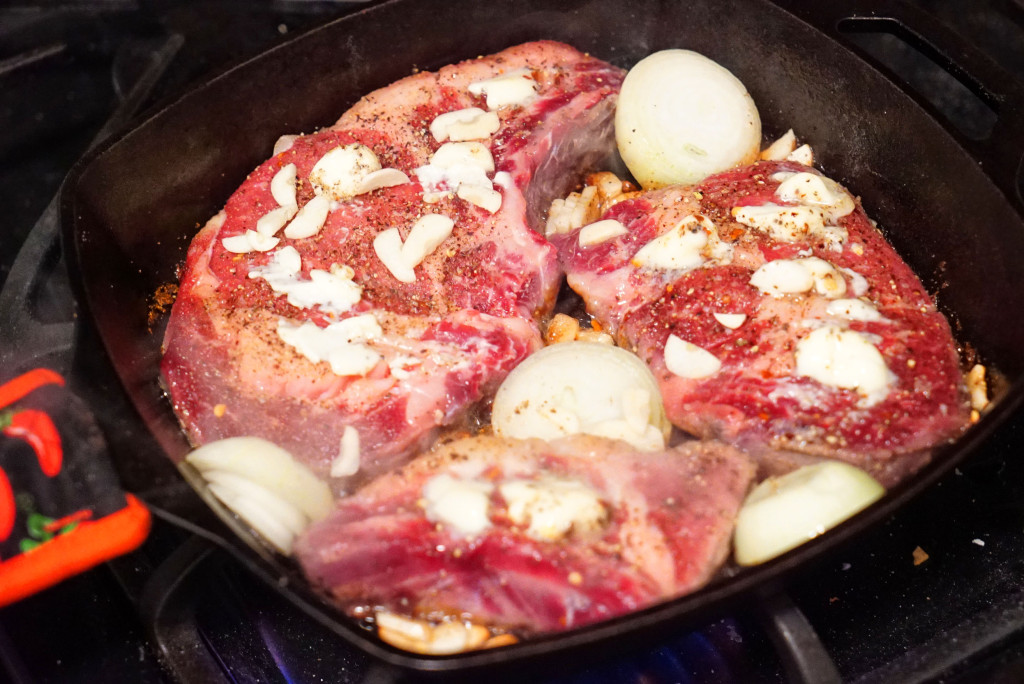
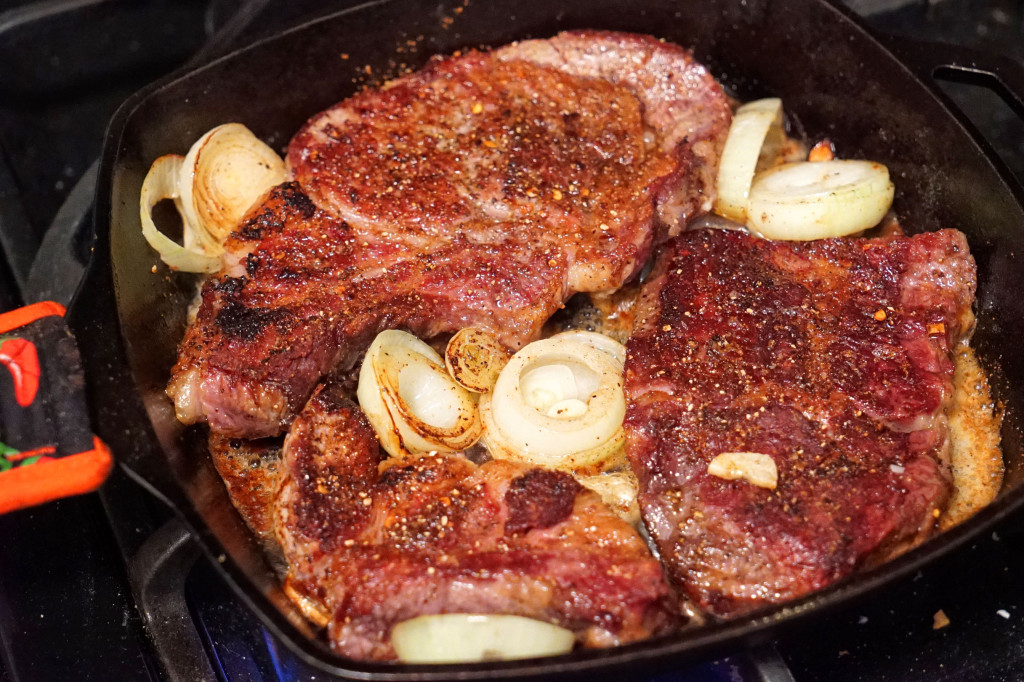
I ended up with two thinner boneless cuts, so I seasoned them up right away and seared them off in a cast iron skillet with some butter, garlic and onions (I cut one to fit them in the pan better).

DSC09292

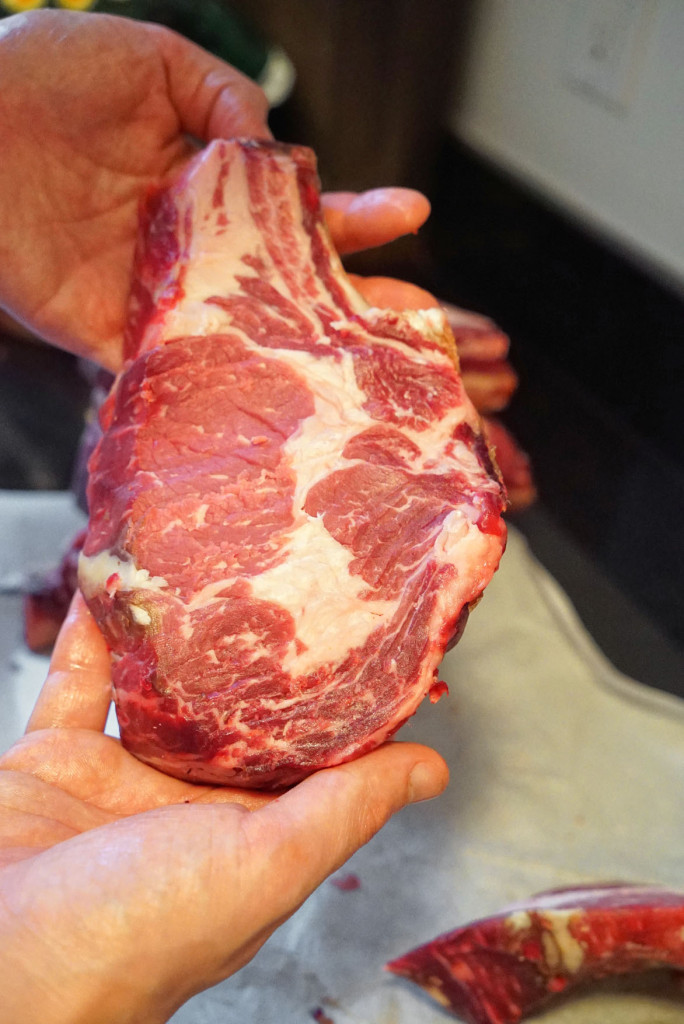
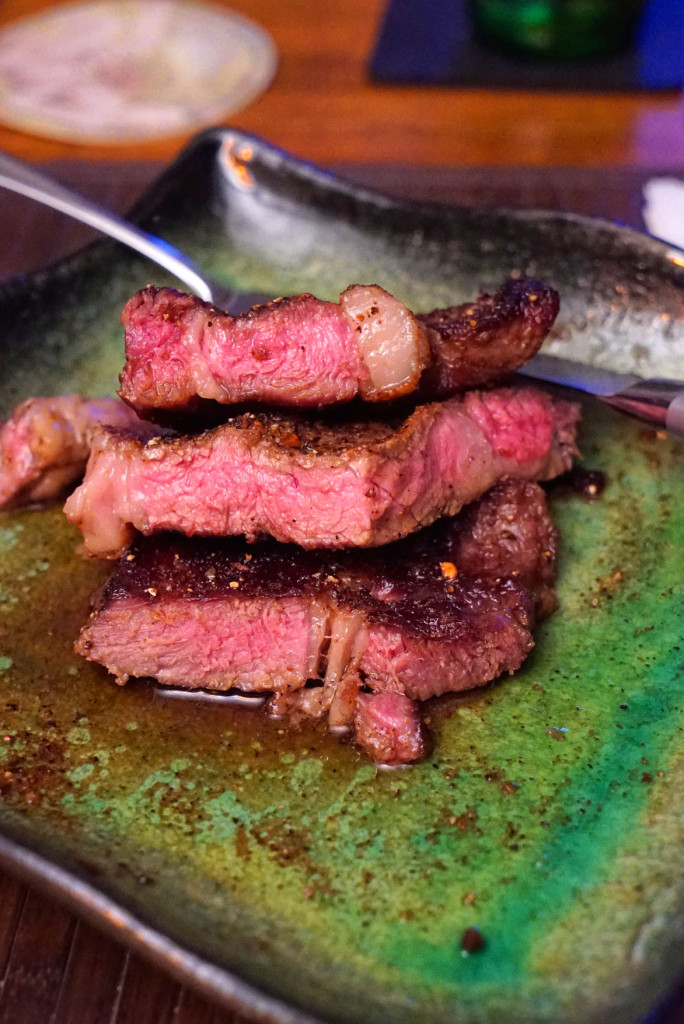
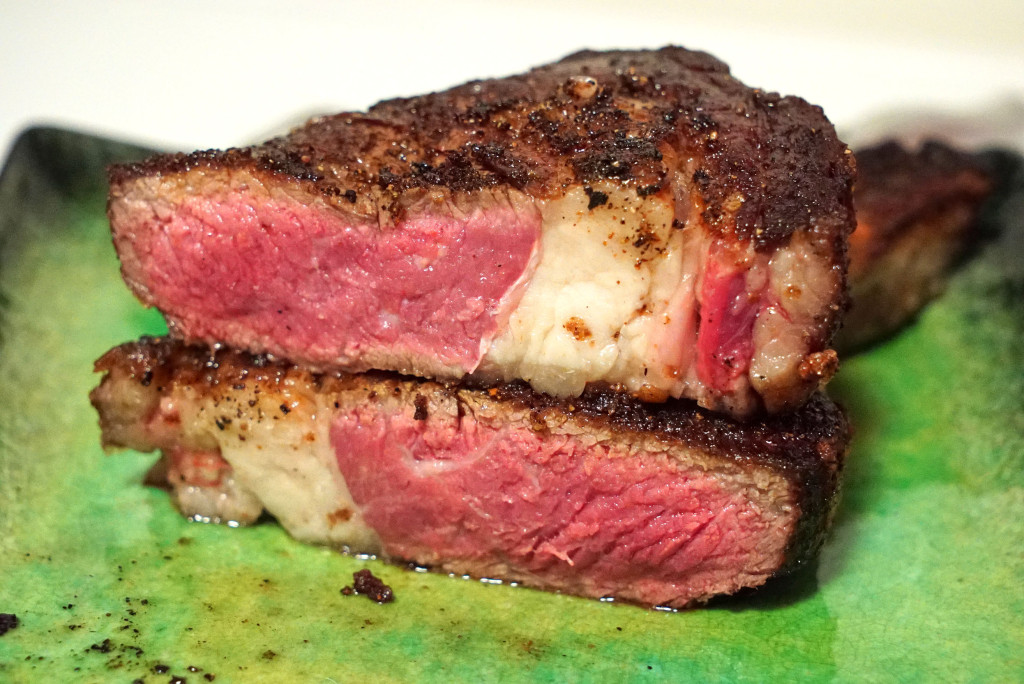
The result was awesome. Perfectly cooked, super flavorful and really well worth the wait! The fat was entirely edible. Very soft and buttery, like beef jelly.

DSC09294

DSC09297

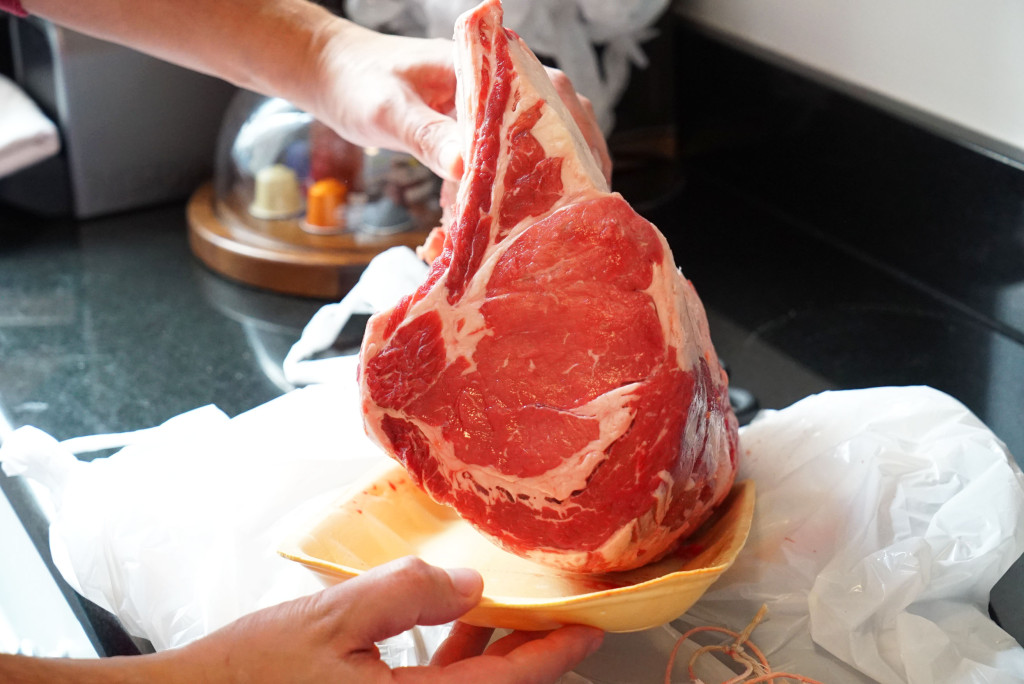
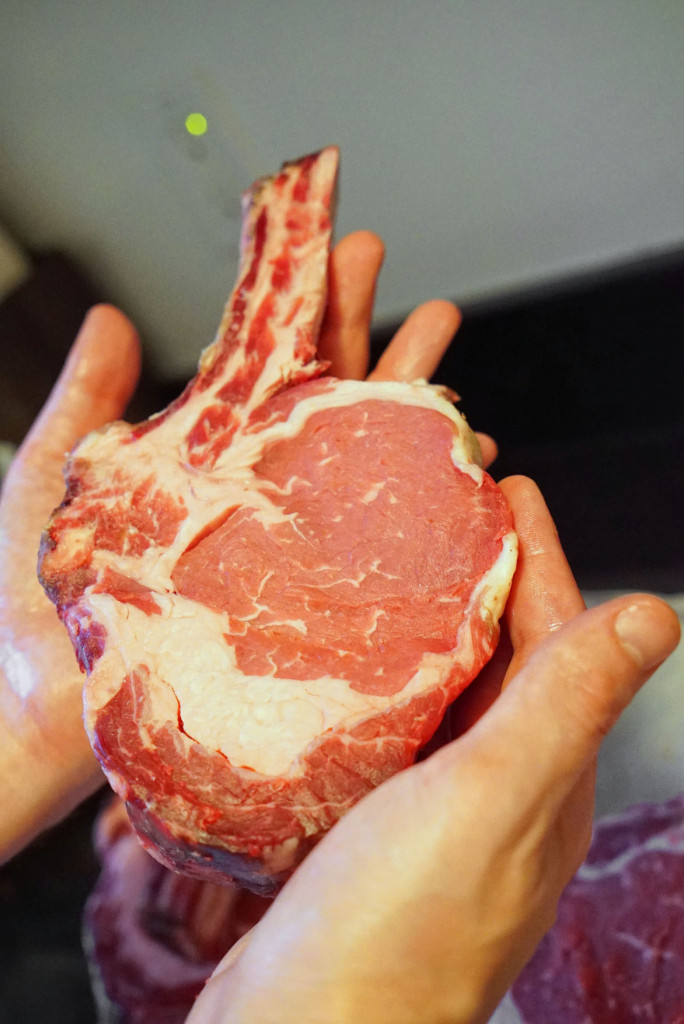
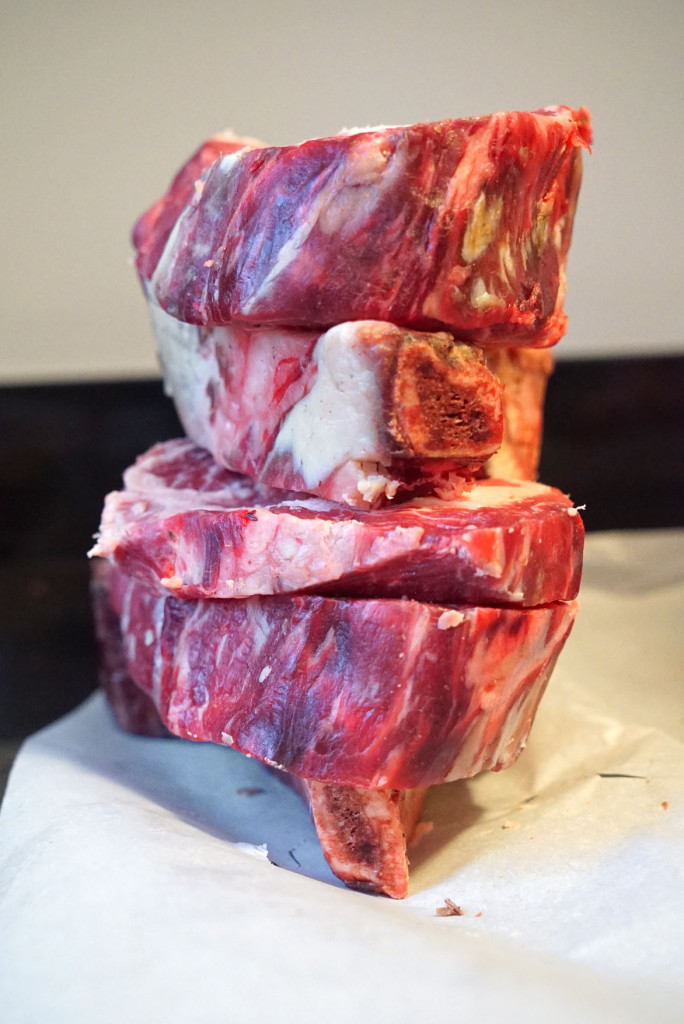
Those were just a couple of small boneless cuts. This cowboy chop was pretty incredible:

DSC09451

DSC09453

DSC09455

DSC09457

DSC09460

DSC09465

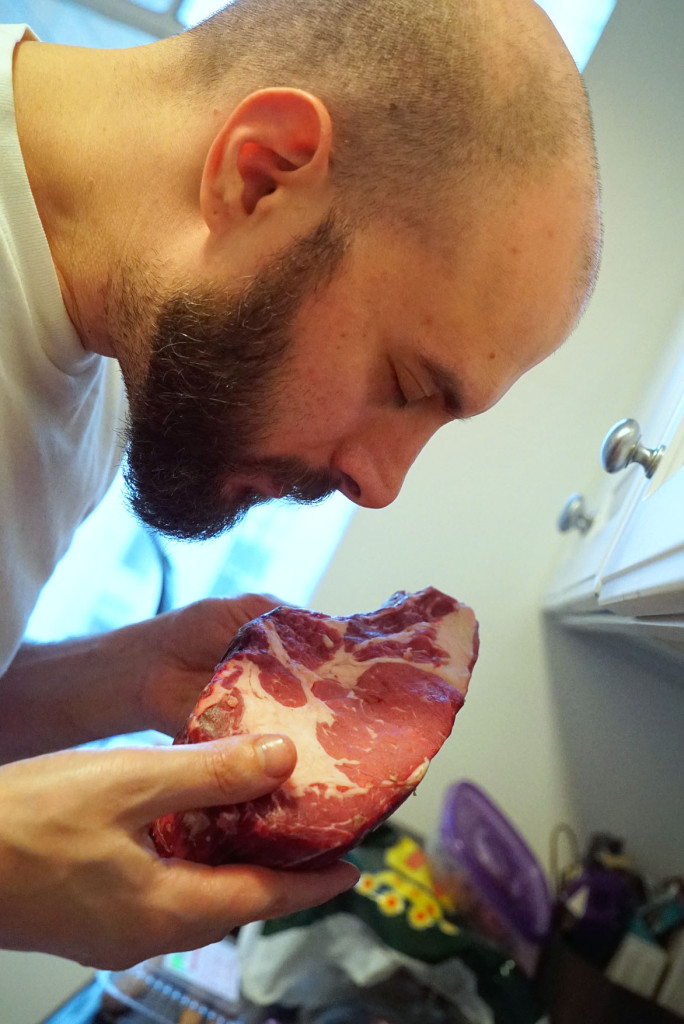
Now I’m wondering if I should try this again and just leave the shit in the fridge for several months. The flavor was great on this stuff. It had a nice earthy smell; a well-endowed scent of mushroom or truffle, with a slight hint of blue cheese. Like heaven.

DSC09248

If you’re adventurous with home meal prep, I highly recommend this easy-to-use product. I think I still have a few extra bags, so the next time I have a little extra fat in my bank, I might go in for another dry-aging experiment: maybe strip loin next time.

Final note: if your fridge is generally full, but you still want to age beef at home, I suggest getting a mini fridge, or a smaller dedicated separate fridge, just for beef. Put your temperature setting to about 35 degrees, and get a fan in there somehow to circulate the air. Always keep the beef elevated off the surface on a baking rack or something, too.  No special aging bags necessary.

Drums of the Pacific Luau

Drums of the Pacific Luau

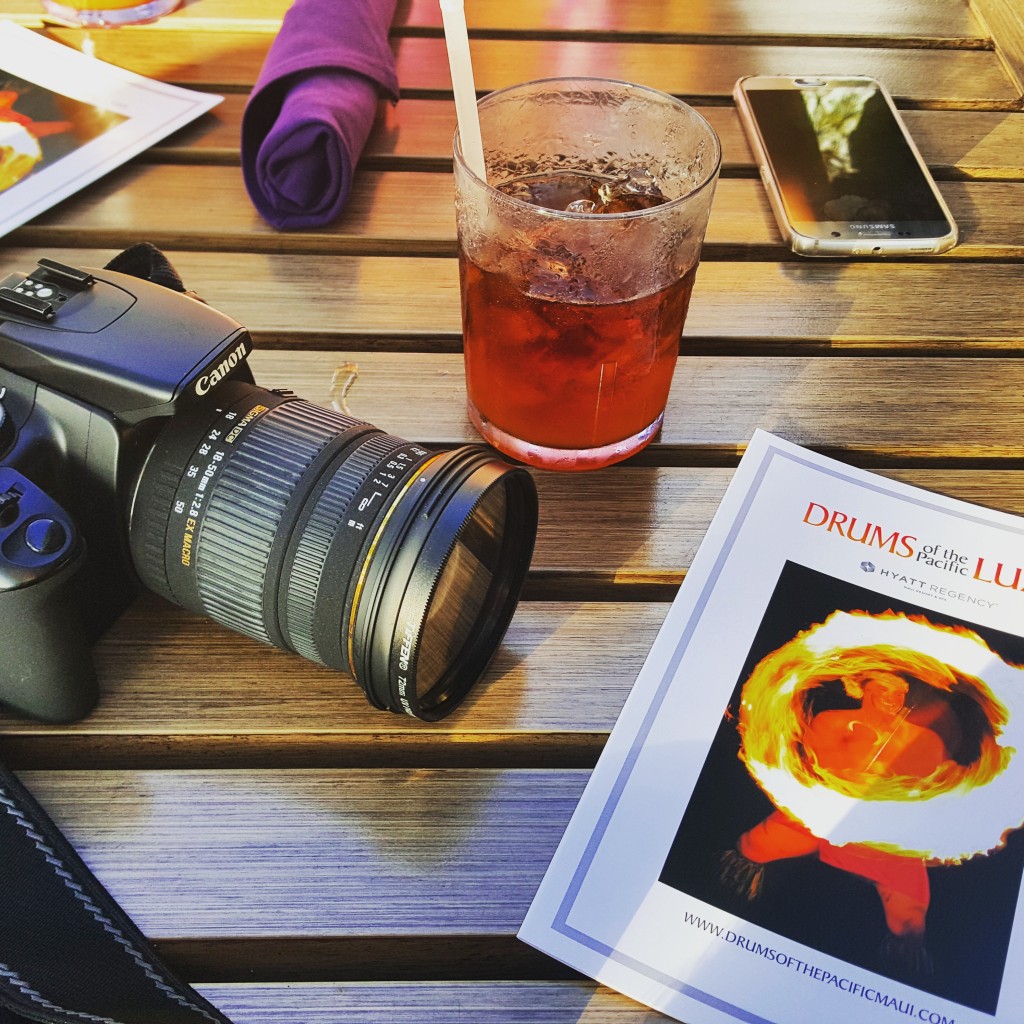
The Hyatt in Kaanapali puts on a great show via Tihati Productions. This was a double whammy for my two big hobbies, other than writing: photography and eating.

IMG_20150905_205800

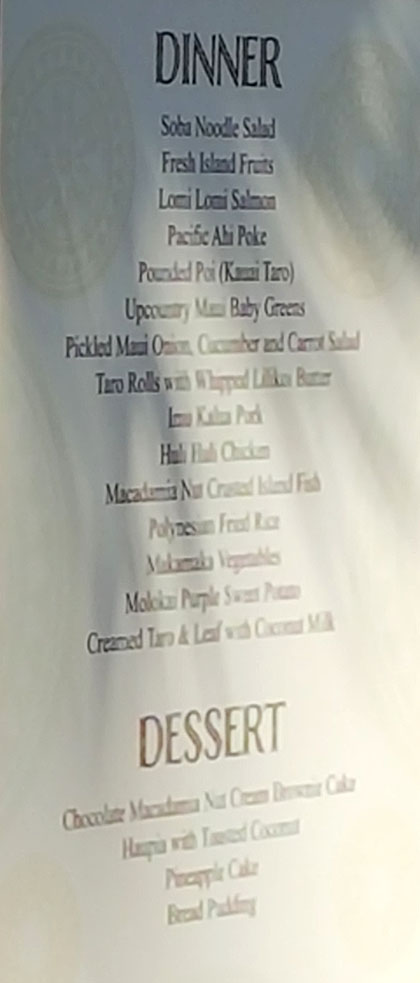
Dinner at the luau consisted of the following menu:

20150905_164759

As you can see, if you look closely, it says “Huli Huli Chicken!” I was really fucking excited for this, almost as much as the imu pit pork… but my boo-hooing started again when the sign at the buffet actually said teriyaki chicken. They must have went with teriyaki instead of Huli Huli that night. Oh well. I guess I’ll just have to make it myself.

We started with a shitload of all-you-can-drink items. Blue Hawaiians, Mai Tais, Beer, Pina Coladas, etc.

20150905_175305

IMG_6508_pp

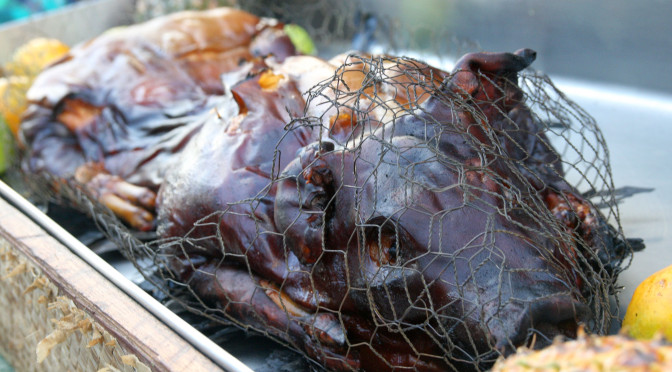
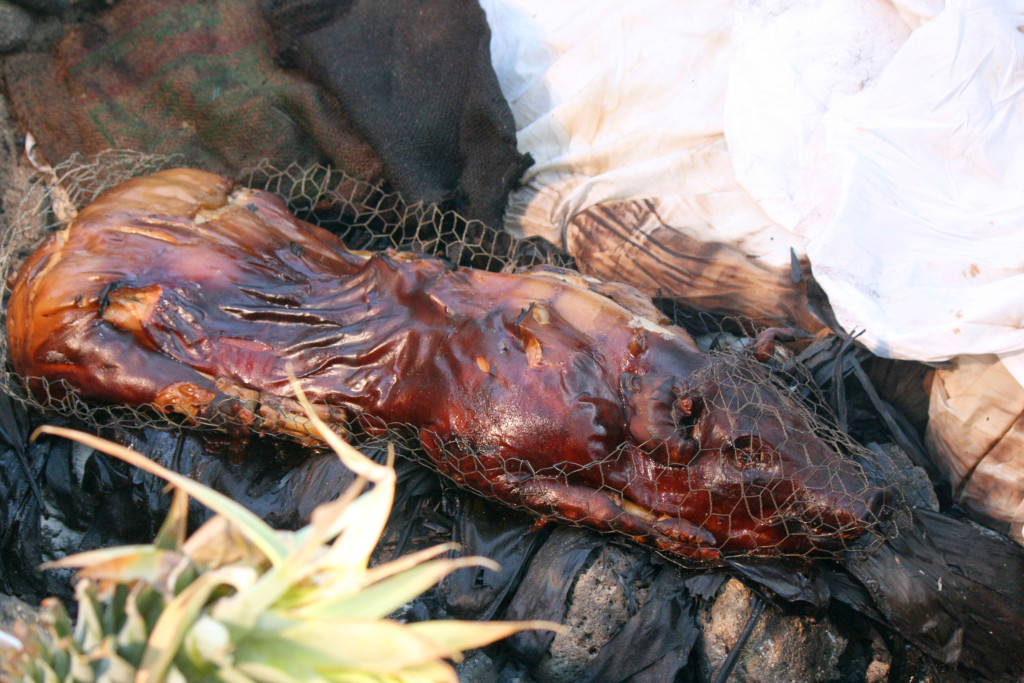
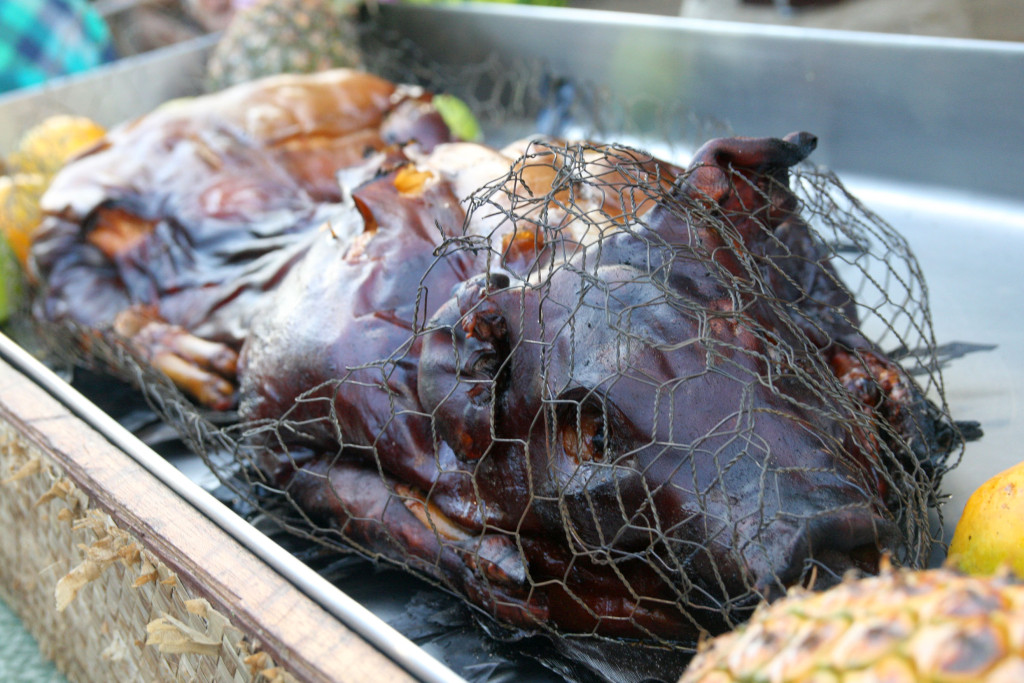
Anyway, the performers had a nice little ceremony where they unearthed the pig from the imu pit. This is called kalua pork. The pig is roasted whole in a shallow pit in the ground. The pig is wrapped in banana leaves to keep in the moisture (steamed), and flavored with Hawaiian salts and spices. Since it is cooked directly on hot lava rock and charcoal, there is a really nice smoke flavor to the pig when it’s all done.

20150905_175908

IMG_6527

IMG_6530

IMG_6529

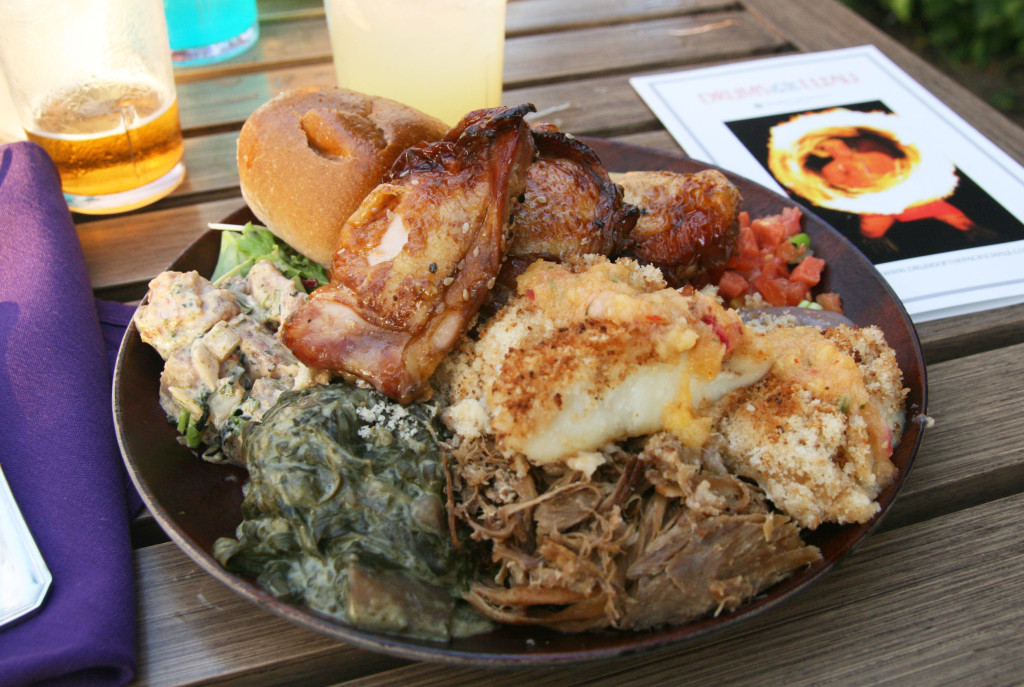
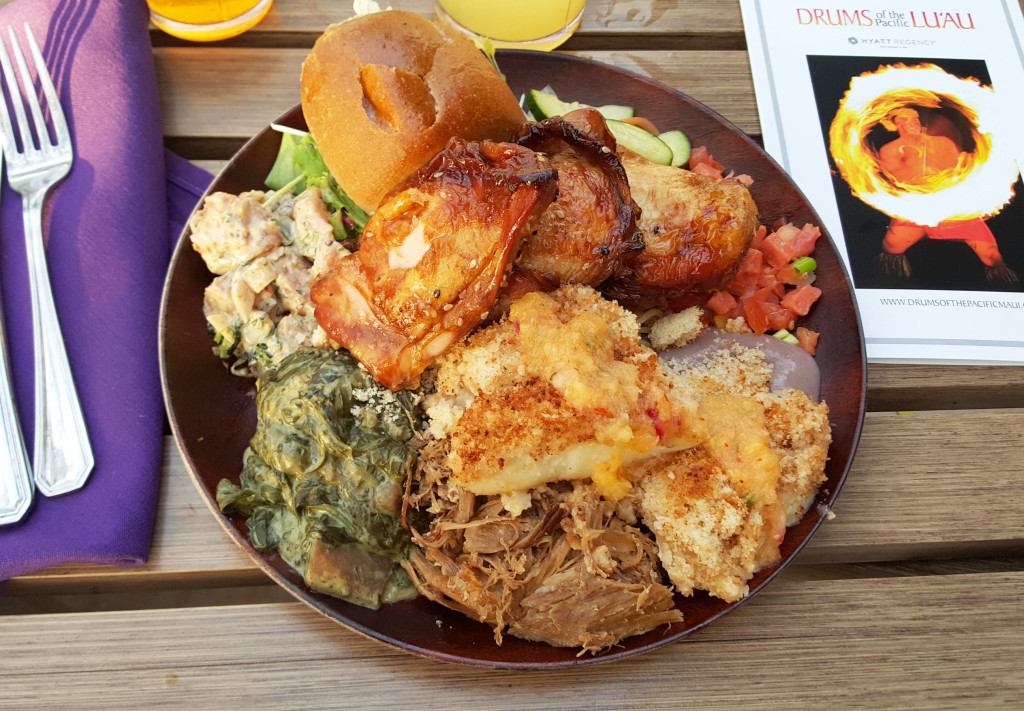
I don’t think, however, that the pulled pork we had from the buffet line was from the same pig that was unearthed in the ceremony. First, it was ready too quickly (most of the buffet was already set up and covered prior to our arrival as well). Second, there was no skin or hot drippy fat to be seen. Most of the meat was on the dry side, though it did have a lot of flavor.

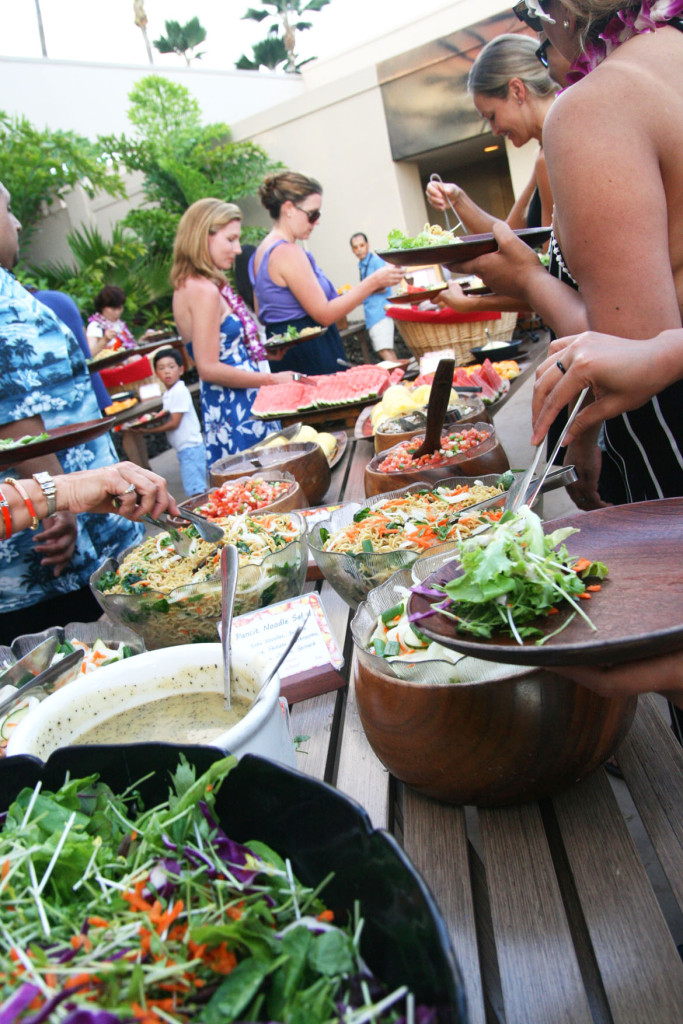
Here’s the buffet line:

IMG_6531_2

Here’s my plate, locked and loaded:

IMG_6532

20150905_181451

The ahi poke was much better here than in Hana, by the way.

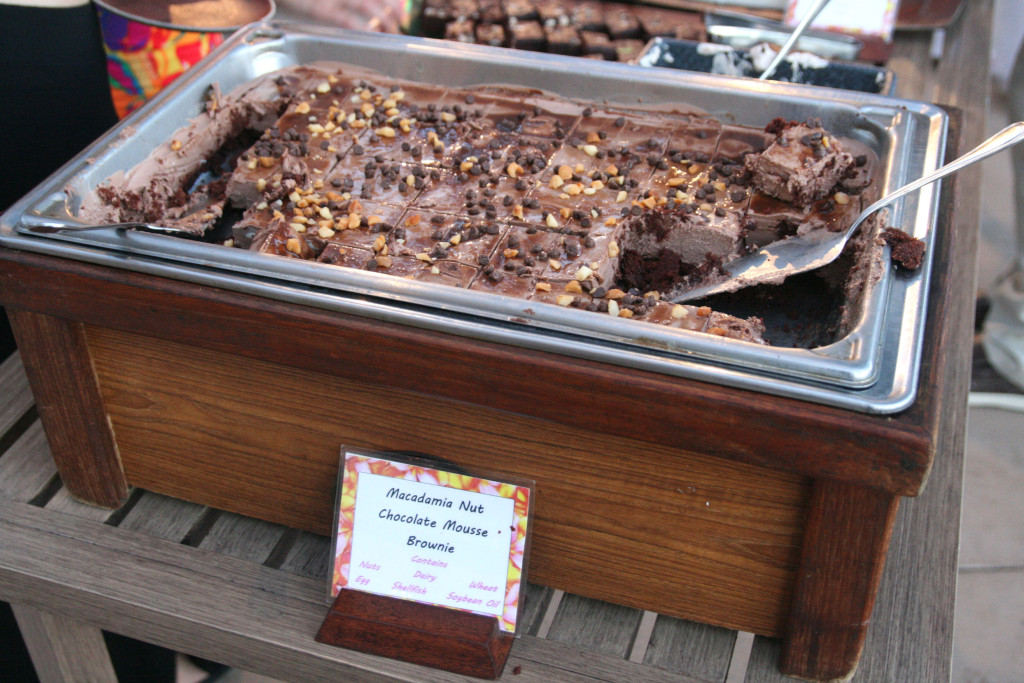
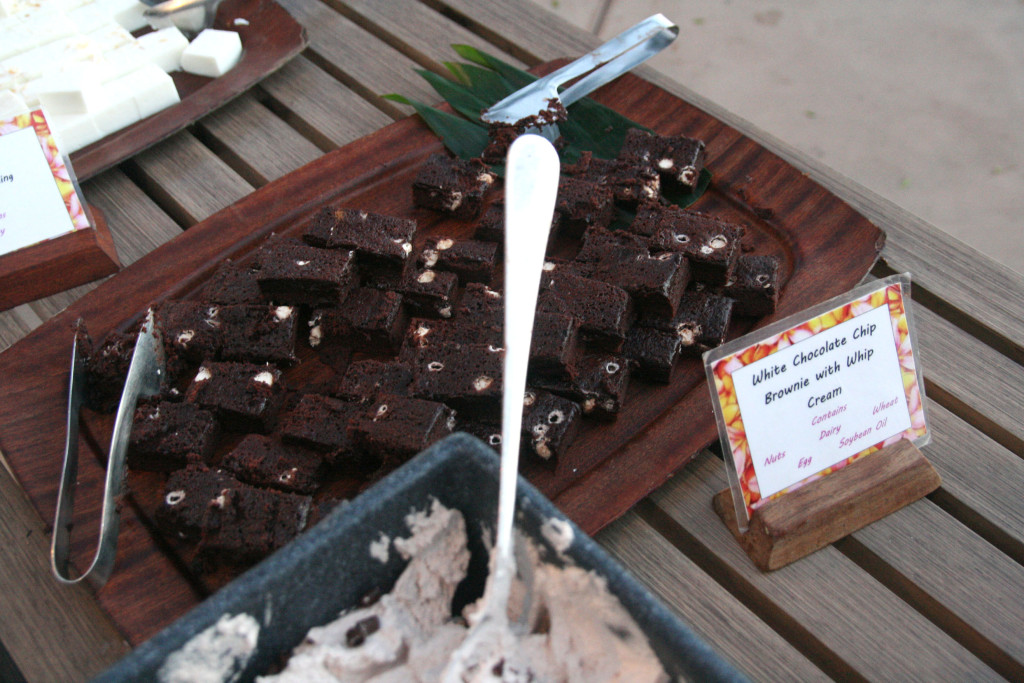
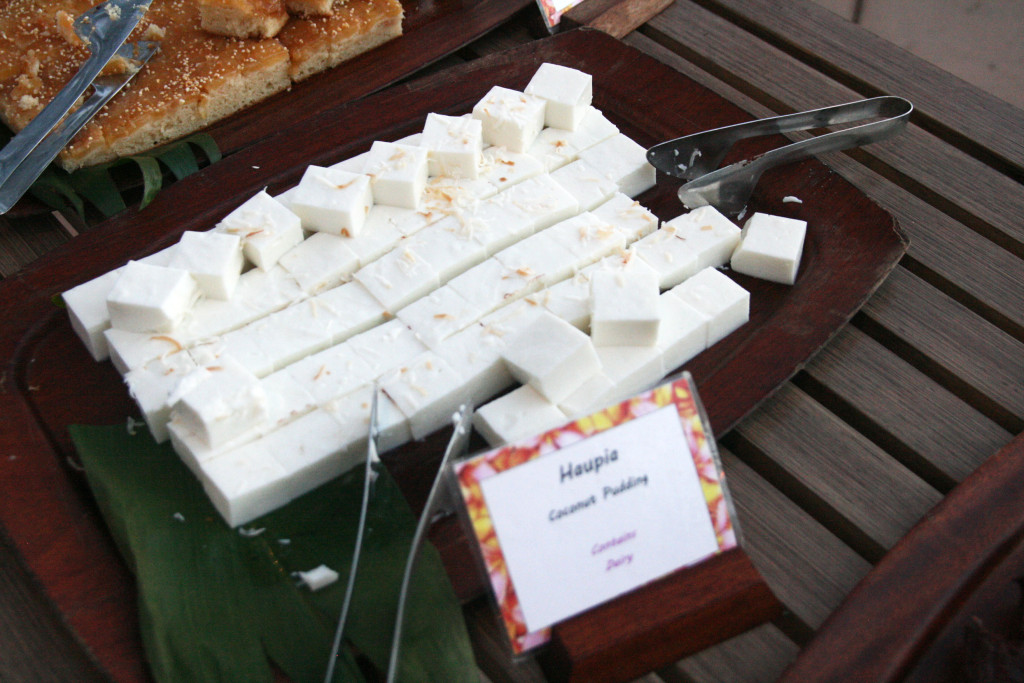
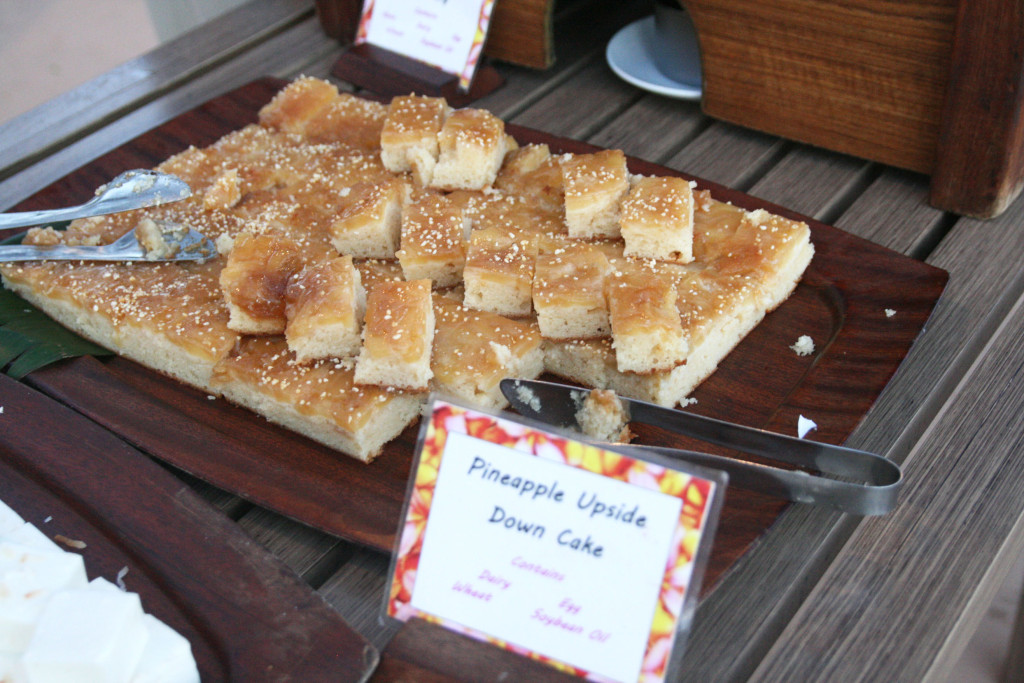
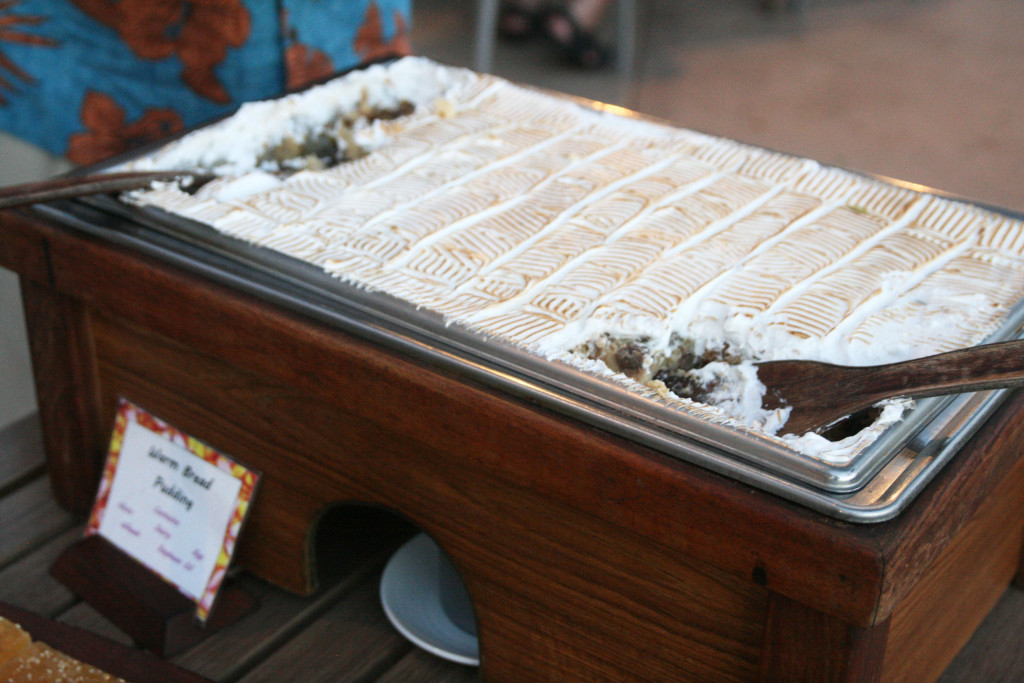
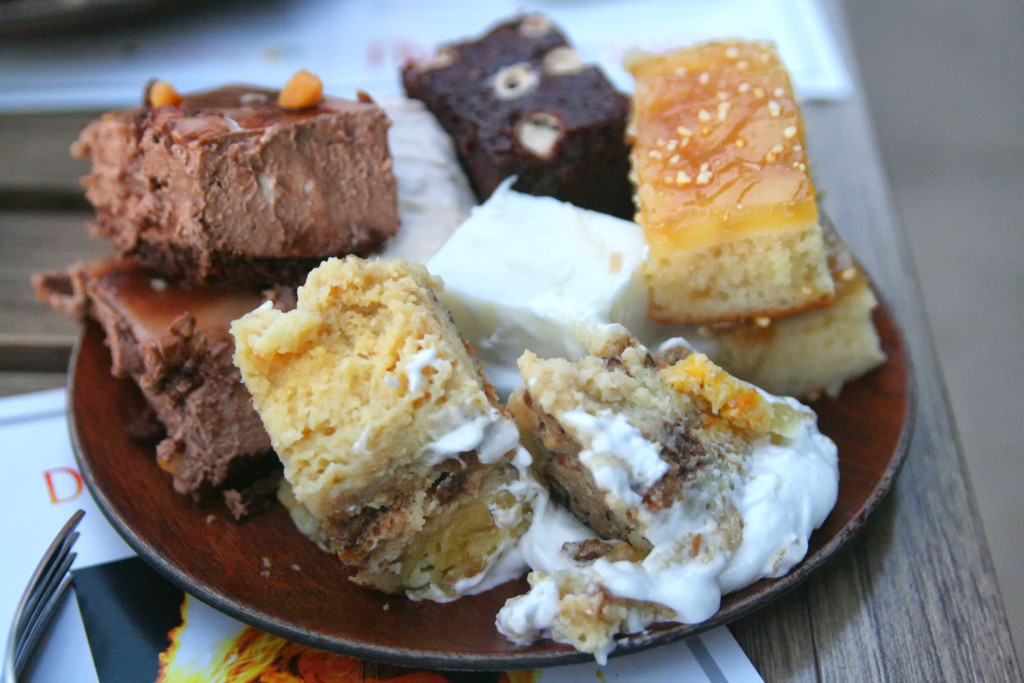
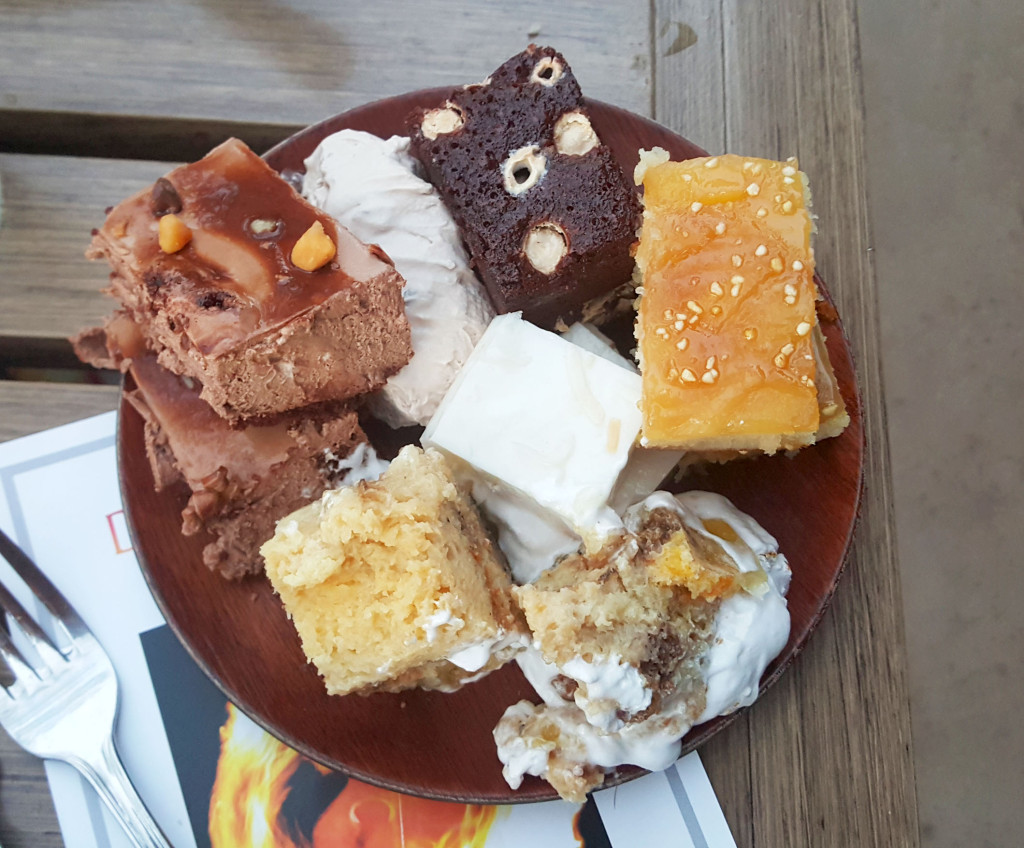
Dessert was pretty nice here too. There was macadamia nut fudge brownies, macadamia nut chocolate mousse, coconut custard, bread pudding, and pineapple upside down cake. All of it was really nicely done.

IMG_6538

IMG_6539

IMG_6540

IMG_6541

IMG_6542

IMG_6537

20150905_184030

The luau show itself was really fun and entertaining. Check out some of the pics below. There was even some crazy fire knife dancing!

IMG_6511

IMG_6568

IMG_6579

IMG_6583

IMG_6588

IMG_6592

IMG_6595

IMG_6597

Golden Unicorn

My wife picked up a Living Social deal for an eight course Peking duck dinner at Golden Unicorn, which is otherwise famous for its dim sum service. I was pretty impressed overall. But let me babble about a few other things first…

First off, I absolutely love this part of town. East Broadway and the surrounding side streets encircling the Manhattan Bridge still feel like old NYC. Not much has changed, save for a few new buildings poking up here and there. Walking around, you’ll feel like you’ve stepped back in time, possibly even into another country.

This area is the real deal Chinatown, unlike the tourist-laden, knock-off selling, shitty DVD purveying hustle on Canal street. Take a closer look in these parts, or allow a lingering eye to glance into some storefronts, and you’ll spy people working at a ground floor dumpling factory. You’ll see produce, dry goods and health products that most white people have no idea about, and you can’t even read the signs to get more info, because they’re all in Chinese. It has a busy, bustling vibe and I love it.

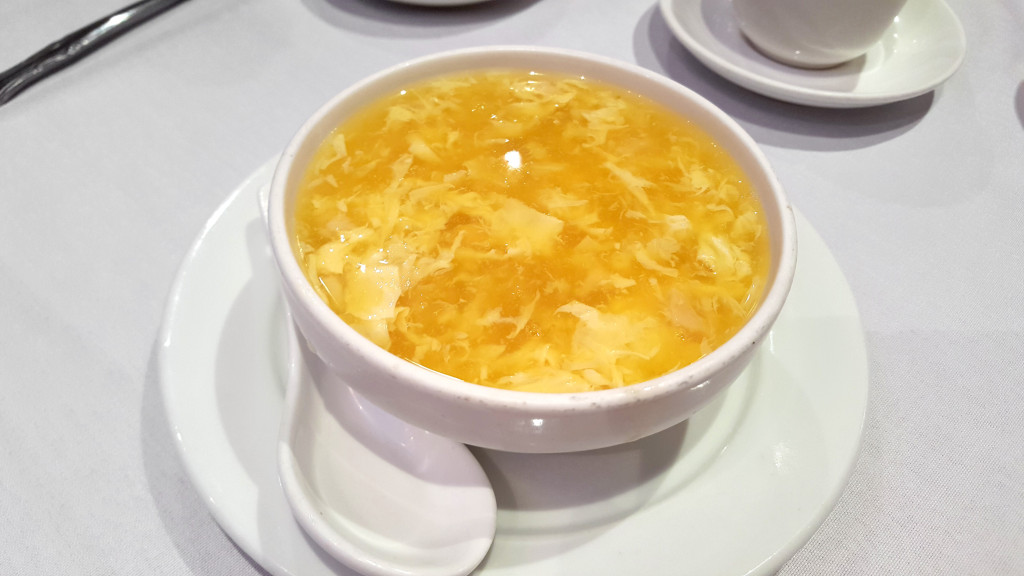
Okay on to the fucking food. First up was egg drop soup with chicken. This was pretty good, though I did have to add a little bit of hot sauce to punch it up slightly.

20150806_185102

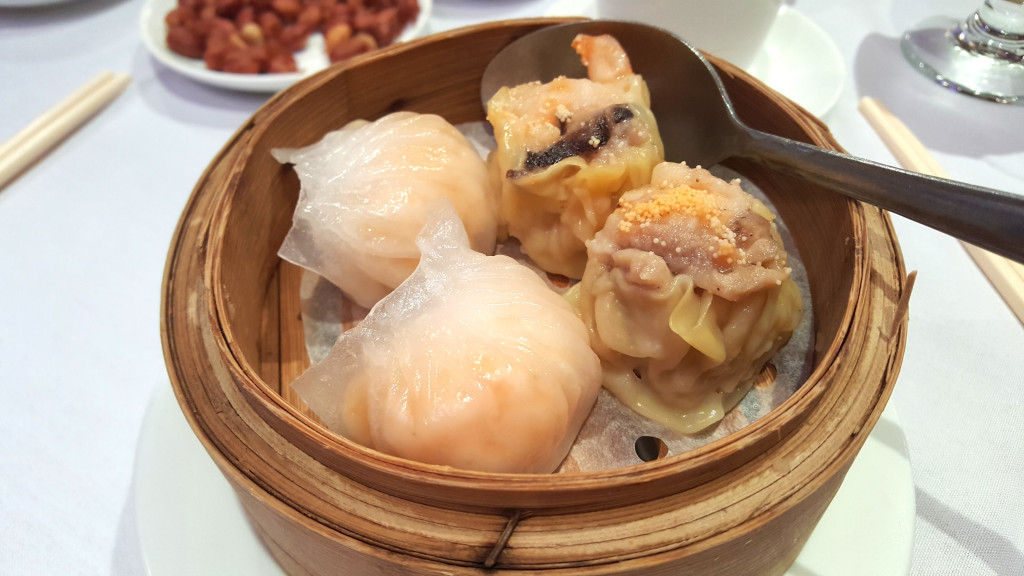
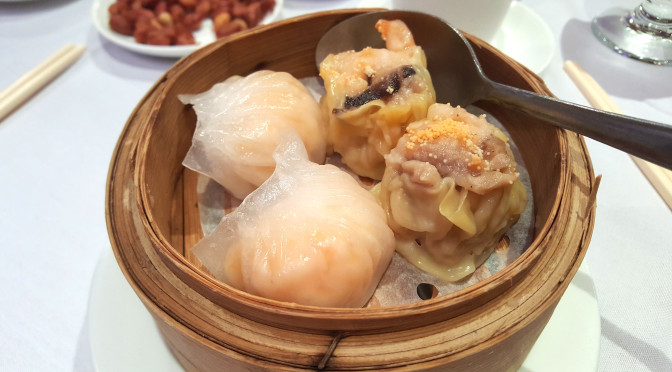
Next were two types of dumplings: crystal shrimp and siu mai. Both were excellent. If you swing by this joint for dim sum, these are some of the delights you can enjoy from the carts. Both were packed with ingredients and nicely steamed.

20150806_185839

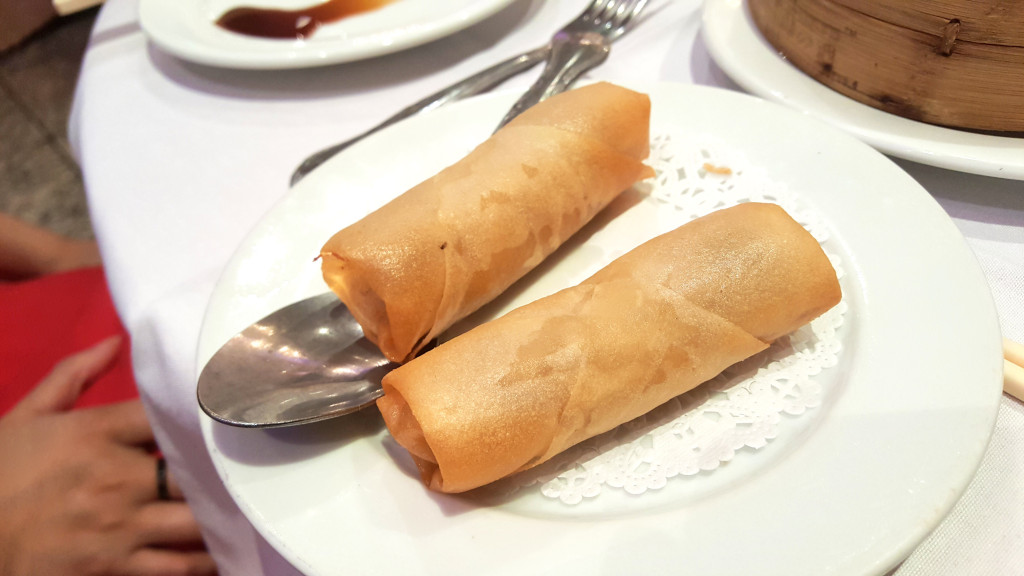
Then the spring rolls came out. They didn’t look like much, but they had great flavor. I was actually surprised, although they were a little bit too greasy on the shell.

20150806_185937

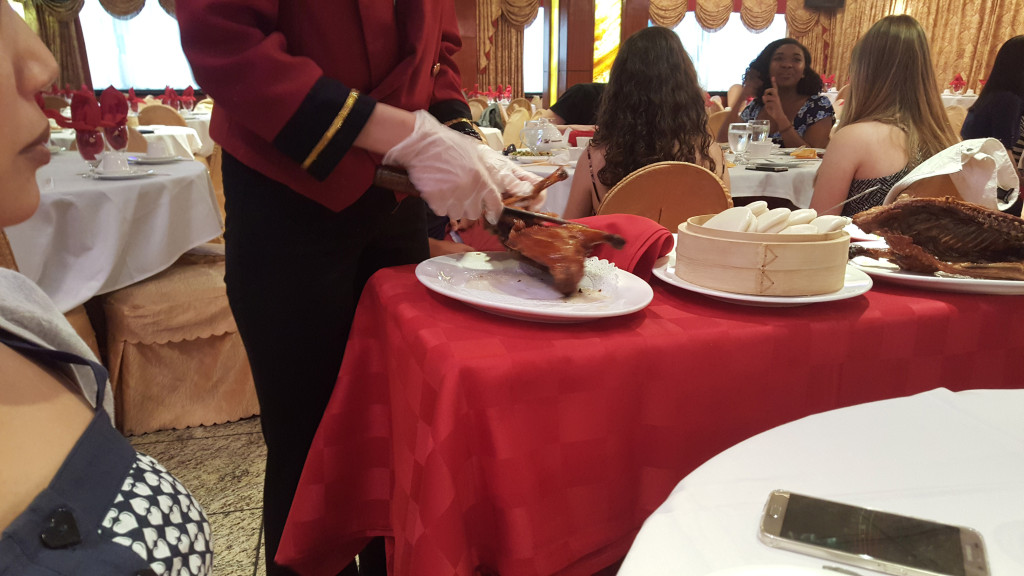
Our waitress then brought out the Peking duck. YES!

20150806_190350

20150806_190444

20150806_190513

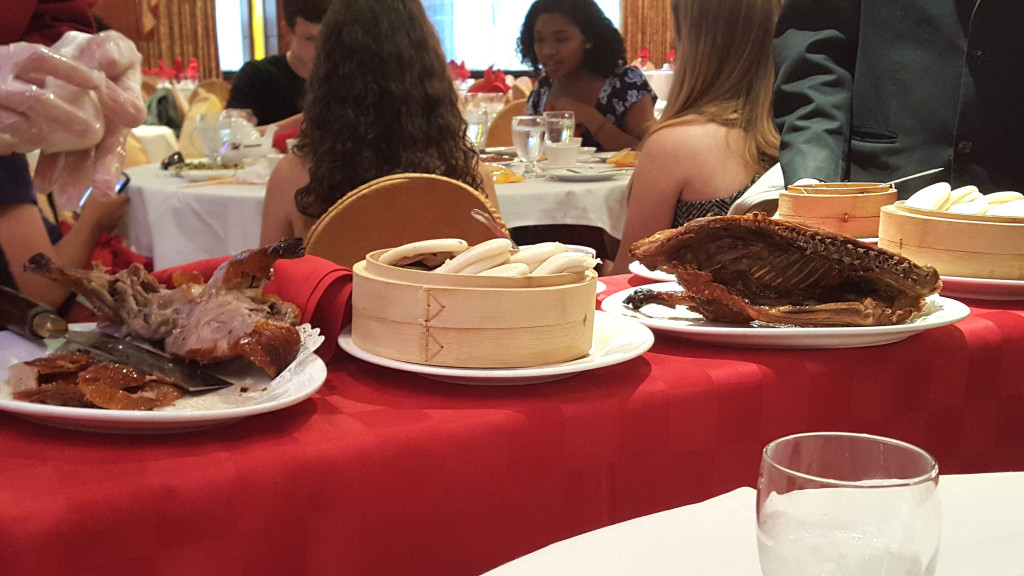
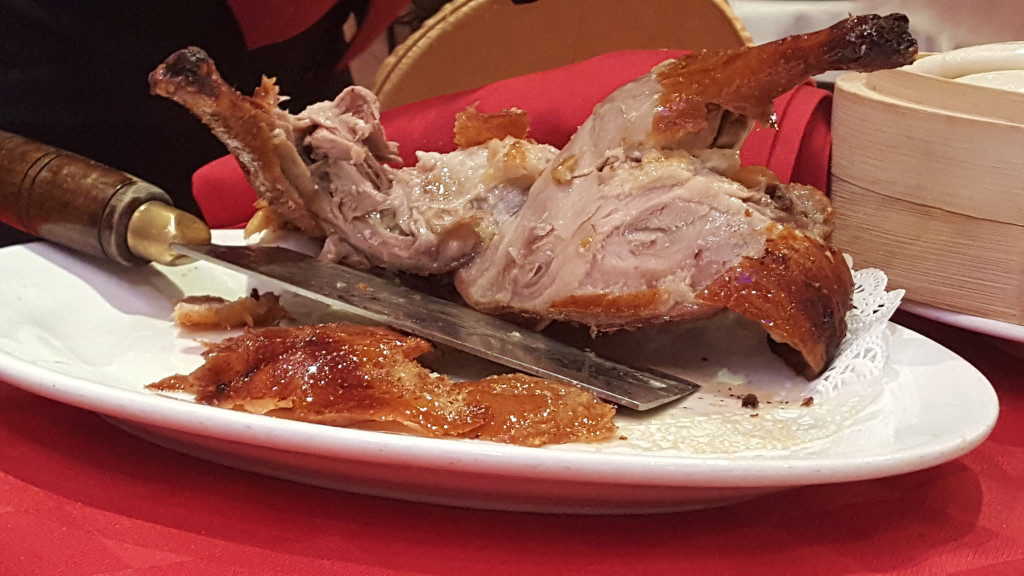
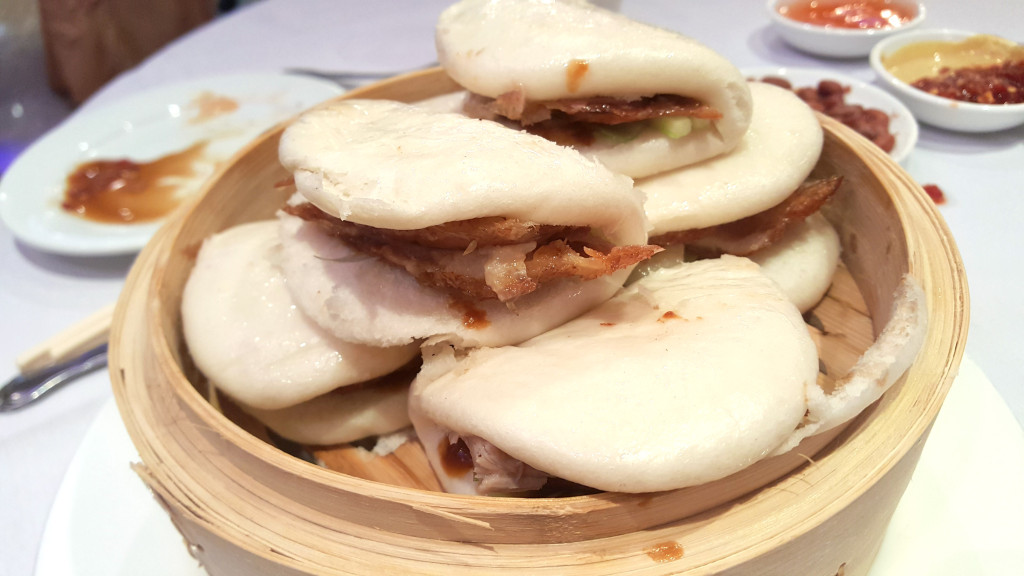
She cut off a good deal of the crispy skin and more generous portions of meat, and, with that, assembled six steamed buns for us, accompanied by hoisin sauce, scallion and cucumber. They were awesome. Crispy, fatty, juicy… all around excellent.

20150806_190613

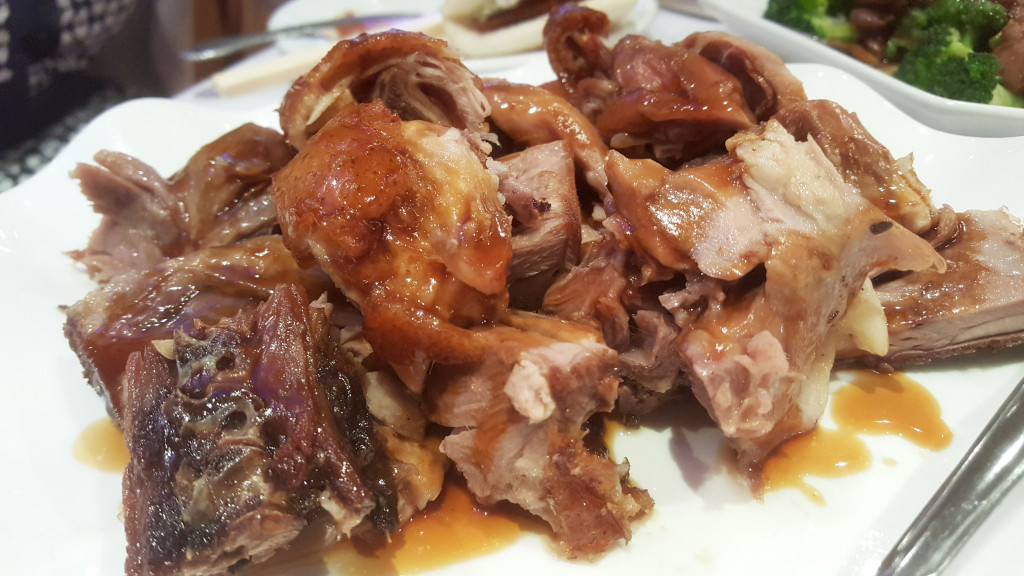
The rest of the duck was chopped up for us and served on a plate:

20150806_191443

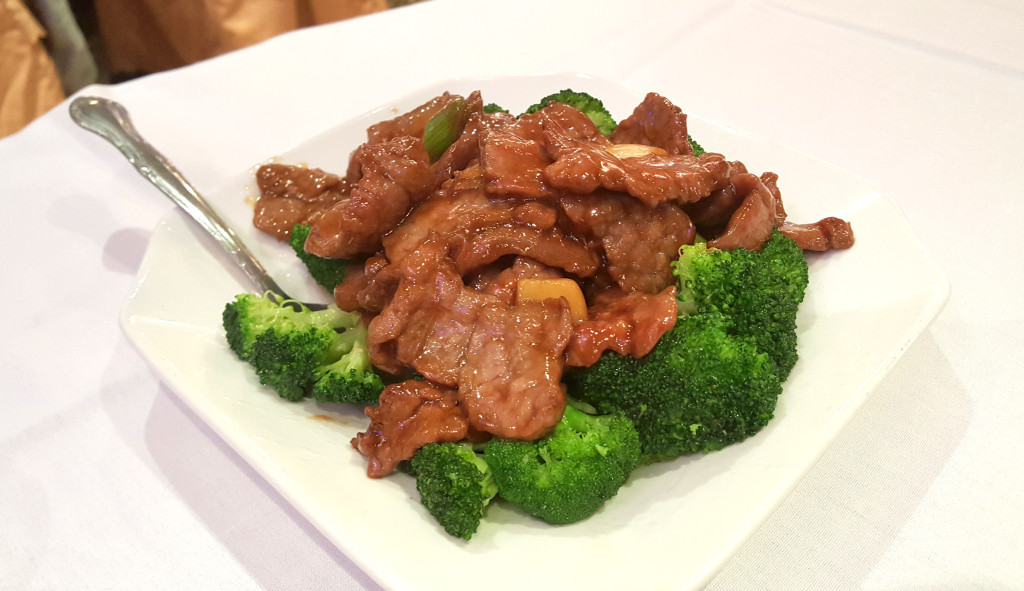
The meal kept on trucking along with this ginger beef and broccoli dish. The ginger was fresh and sliced thin. The beef was tender and flavorful. I think it was a mix of flank and rib eye. And the broccoli was steamed in the sauce, so it tasted awesome.

20150806_190704

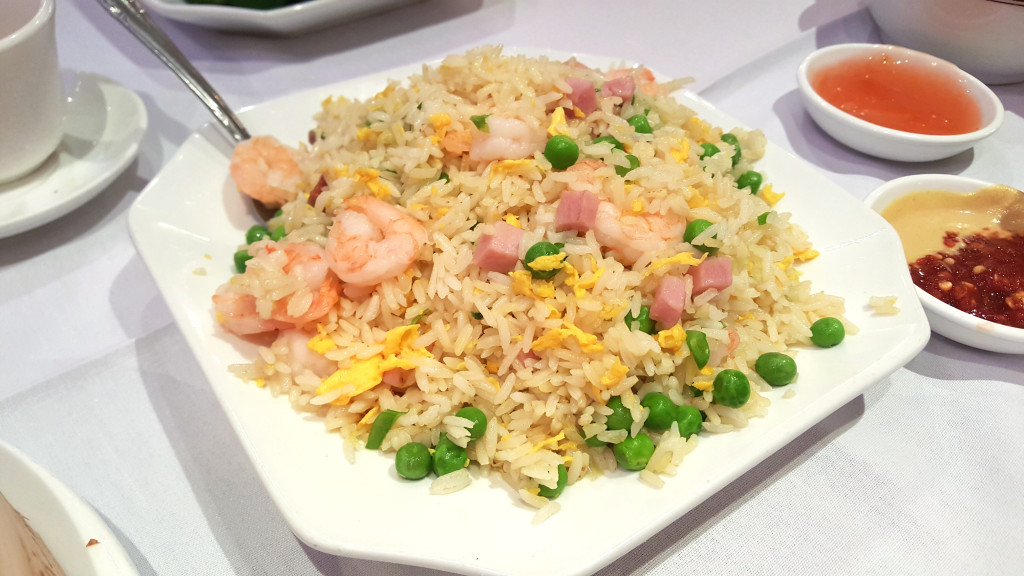
There was also some fried rice with shrimp, roast pork, ham, peas, onion and egg. We were really too full to dig into this too far.

20150806_190656

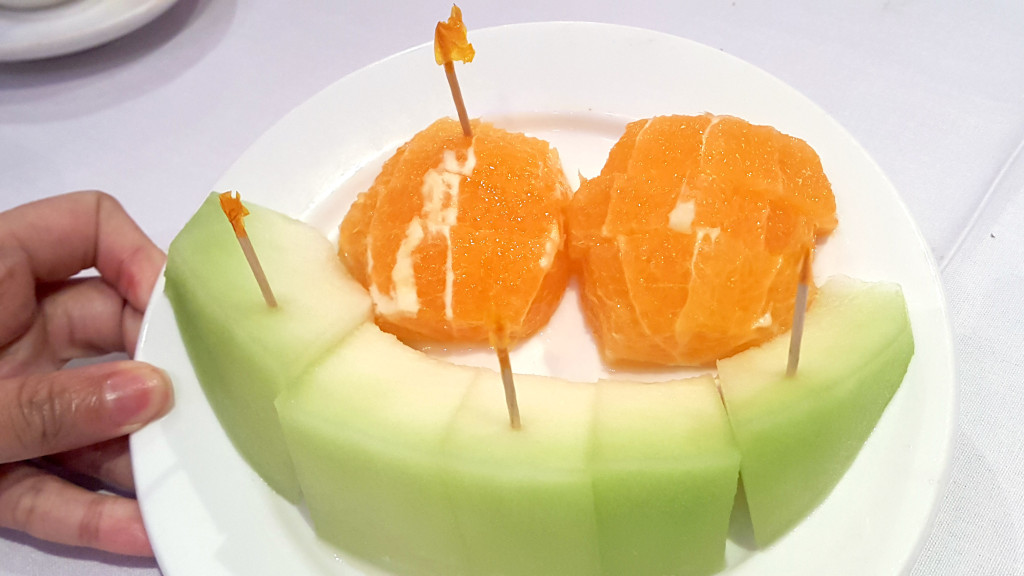
At the end of the meal, some honeydew and orange arrived at the table. A nice, refreshing, smiley-face looking end to the meal.

20150806_193625

Excellent deal. Jump on it if you see another Living Social or Groupon offering for this place. And definitely check out their dim sum on the weekend for lunch.

GOLDEN UNICORN
18 E. Broadway
New York, NY 10002

Poulette

My wife and I ordered some stuff here for delivery. I was excited at the prospect of eating roasted chicken from a place that specifically deals in such an item and nearly nothing else. I was expecting one of the best roasted chickens in my life. If that’s all you really do, as a restaurant, you need to excel at it. Unfortunately Poulette failed to deliver good roasted chicken. We ordered a half chicken. It was pretty dry and the flavoring on the skin had a bitter component that I wasn’t too fond of.

The brussels side was cooked with a vinegar and mustard base that really ruined the flavor of the sprouts. All you really need to do is roast them with some seasoning and chicken drippings from the roasting process for a really successful item. What a failure.

On the bright side, the french fries were good, as were the salt and pepper chicken wings. Both remained very crispy despite closed-container transport. The wings were expertly seasoned and cooked to a beautiful golden brown. They consisted of drumettes and wings with the little wing bone still attached, for extra nibbling. Sadly, the sesame glazed wings were a let-down. They were overly sauced to the point of undesirable sogginess. Good flavor in the sauce, but executed poorly. Perhaps that sauce needs to be in a container on the side rather than drenched all over the wings.

Apologies for the lack of photos. I was too hungry to whip out the cell phone this time. Take my advice though: if you come here, stick to the salt and pepper wings and the french fries. If roasted chicken is what you are craving, I say go to Inti.

POULETTE
790 9th Ave.
New York, NY 10019

Chicken Legs and Broccolini

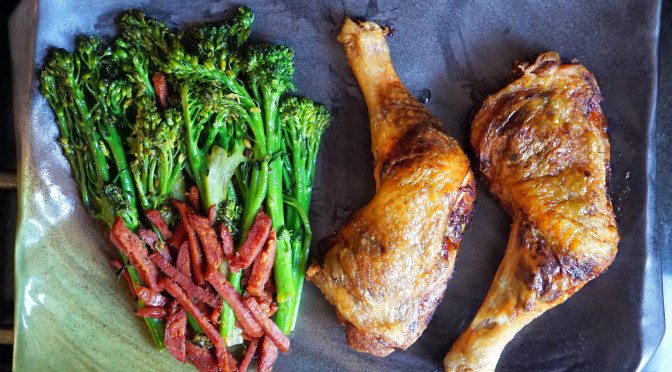
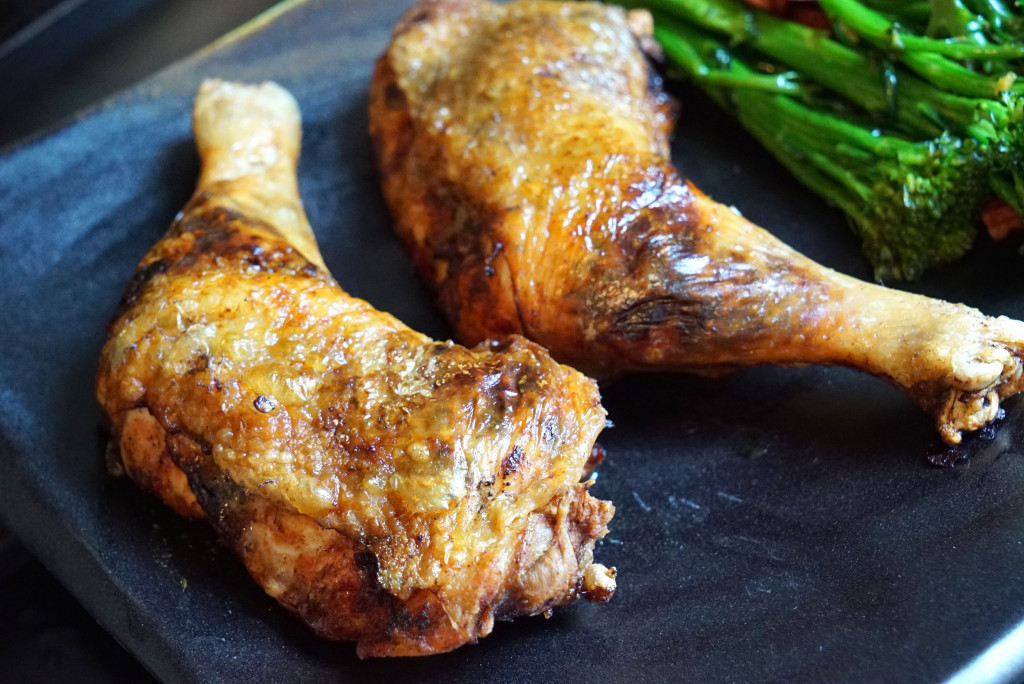
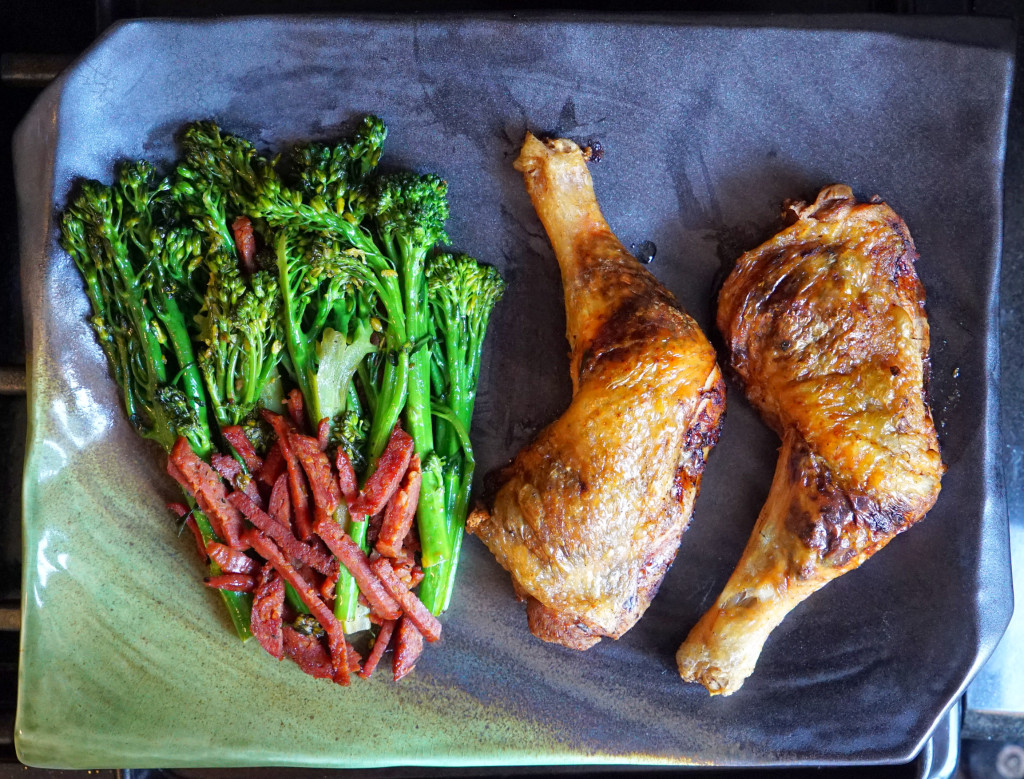
This recipe is pretty easy to execute, and every time I make it, it delivers with amazing flavor and texture. Crispy skin lemon and herb chicken legs with sautéed chorizo broccolini.

What The Fuck Do You Need?

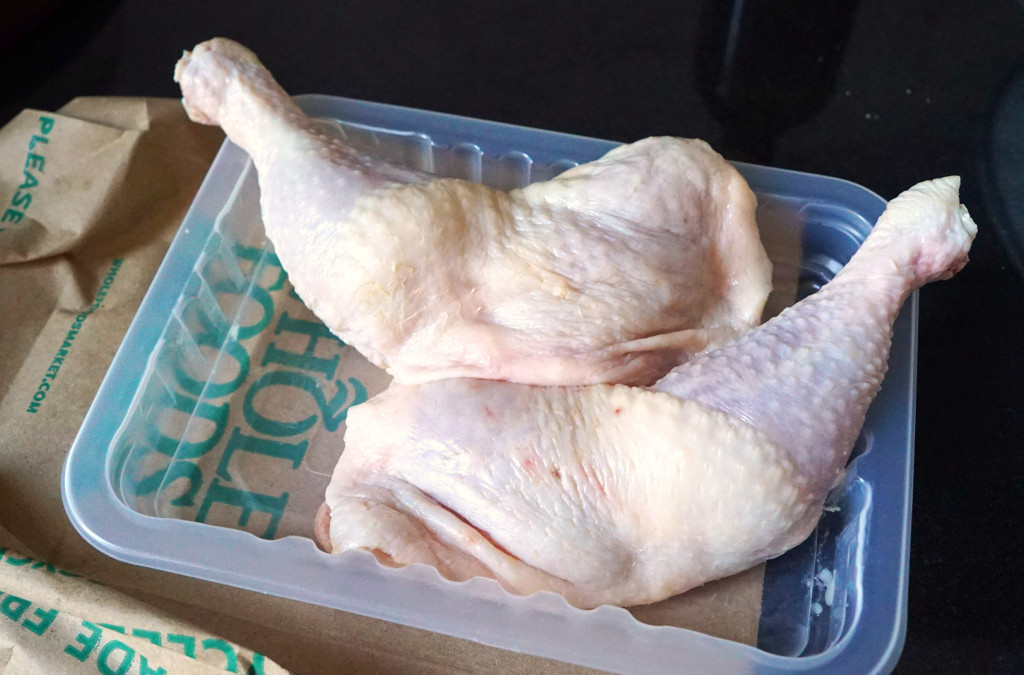
  • Two chicken legs (thigh and drum X 2)
  • One bundle of broccolini (aka baby broccoli)
  • Lemon juice
  • Oregano
  • Salt
  • Cracked black pepper
  • Onion powder
  • Garlic powder
  • Crushed red pepper
  • Vegetable oil
  • Butter
  • Dry, cured sausage (the hard kind, like a pepperoni or chorizo)

How The Fuck Do You Make It?

STEP 1
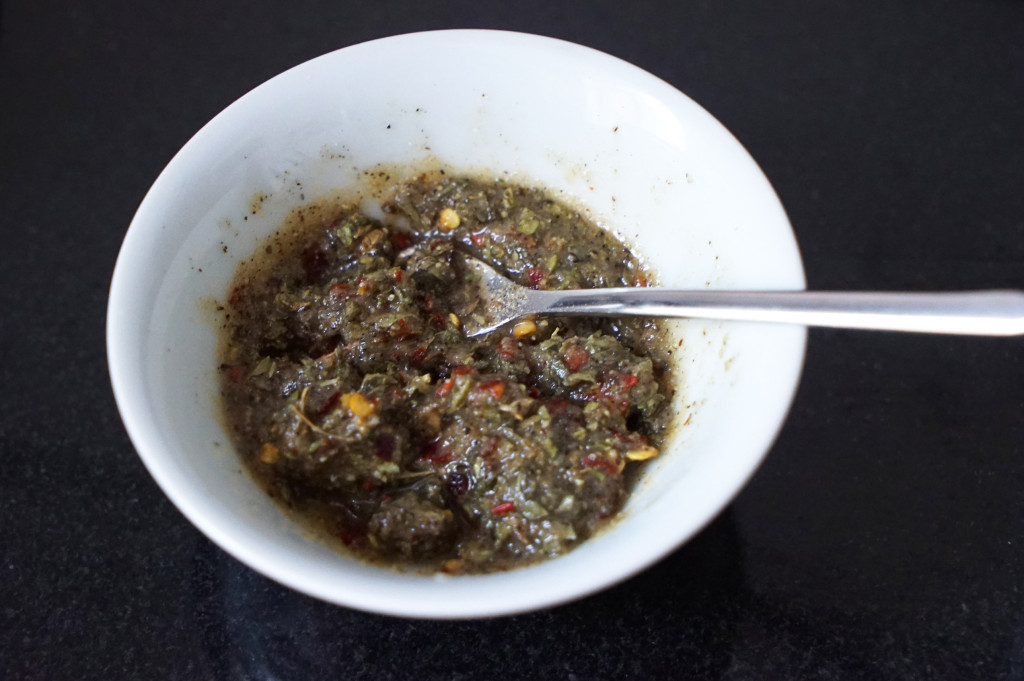
The first thing you need to do is make the lemon-herb paste. This is basically made “to taste,” so you can vary the proportions and amounts to your liking. Just keep the consistency to a paste and not too liquidy. Combine your salt, cracked black pepper, crushed red pepper, oregano, onion powder and garlic powder into a small dish or bowl and add lemon juice. Stir until mixed into a paste.

DSC07074

That shit is going to smell amazing: very Greek/Italian. Try not to shove it down your throat just yet, because you need it for the later steps.

STEP 2
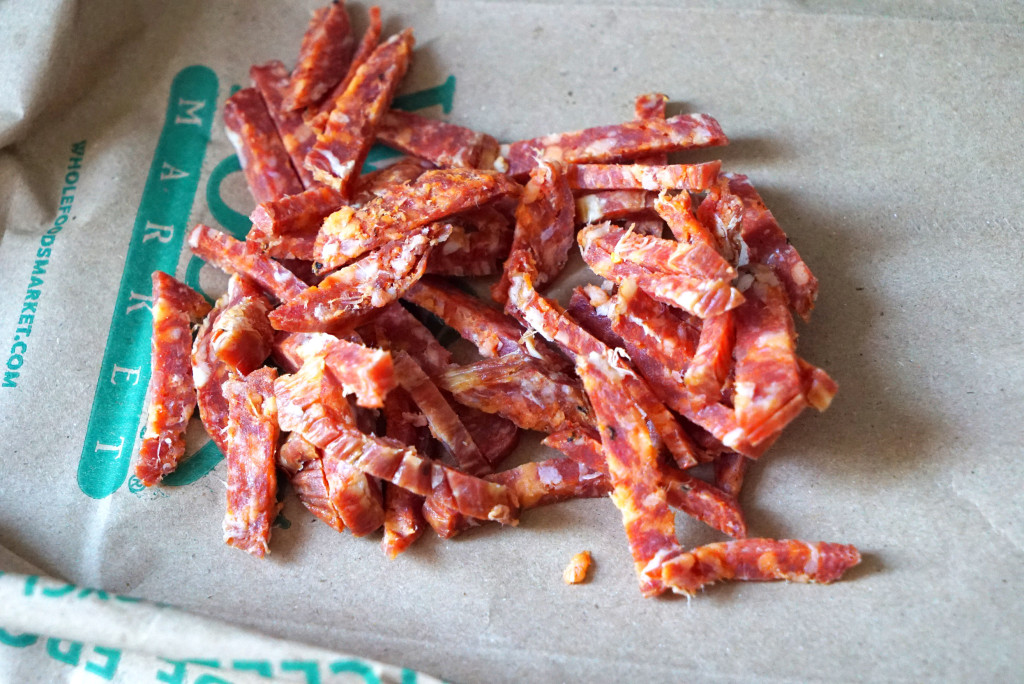
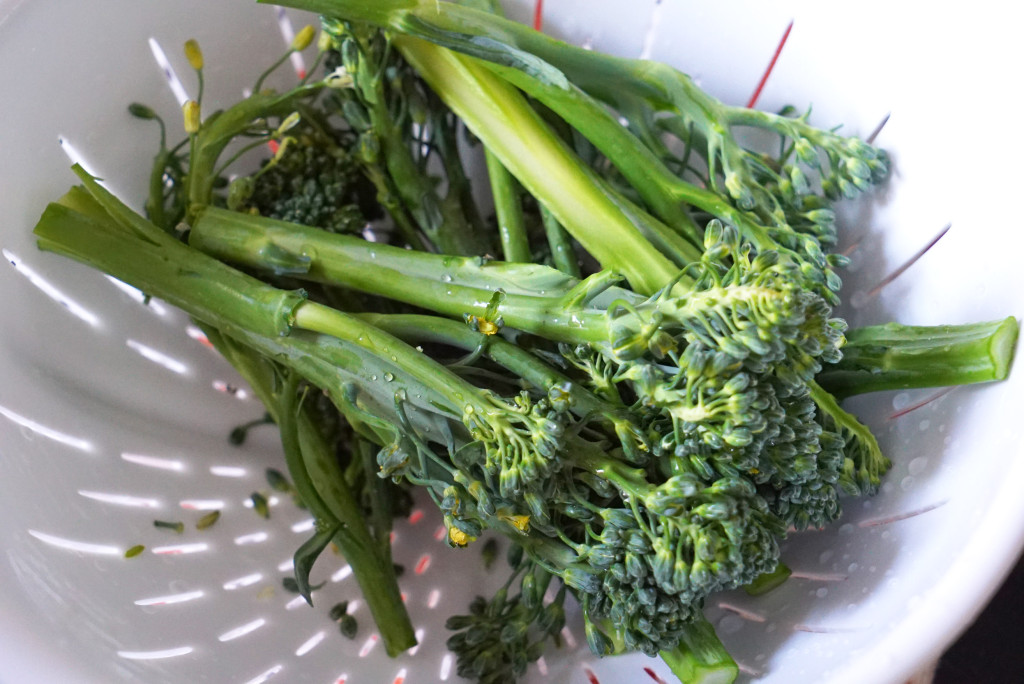
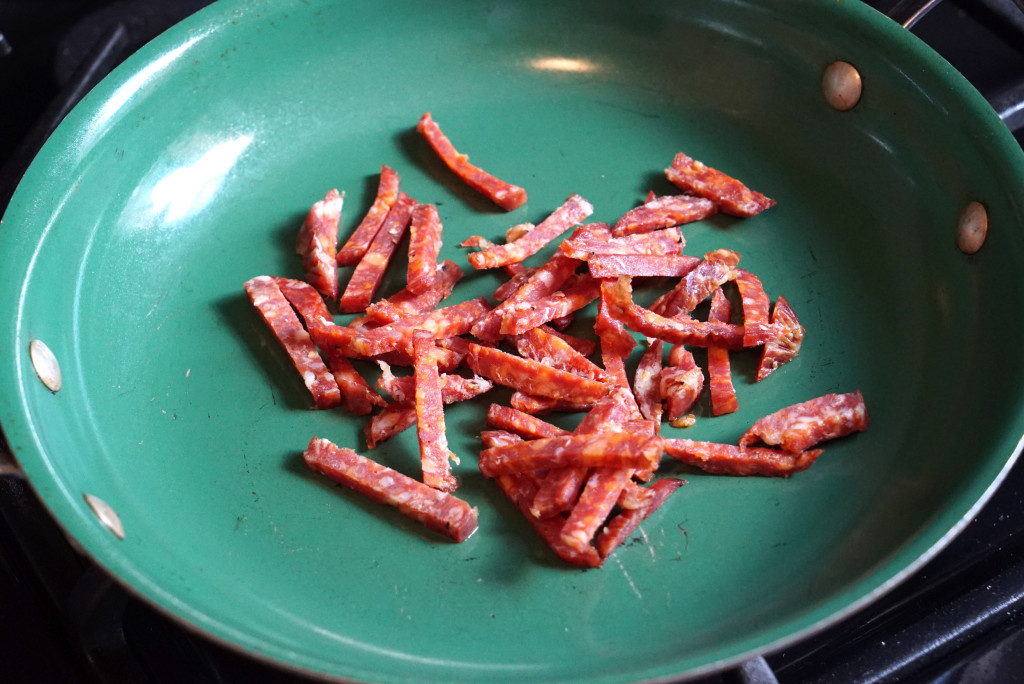
pre-heat your oven to 350, rinse and prep your broccolini, and chop up your sausage as such:

DSC07072

DSC07071

STEP 3
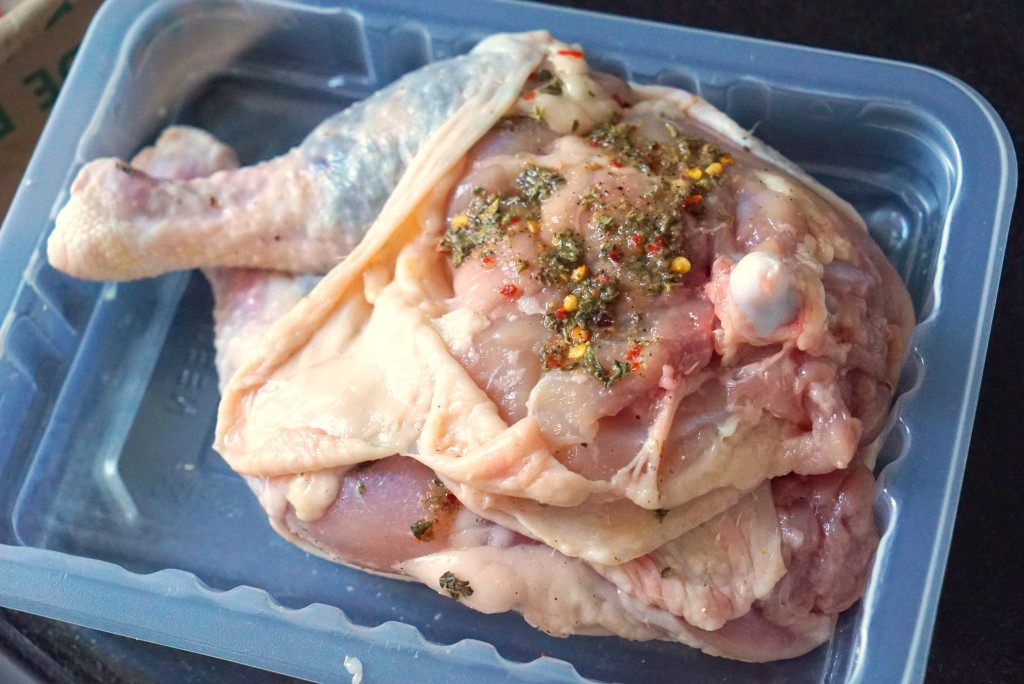
Next, you’re going to shove some butter and your lemon-herb paste underneath the chicken skin, without completely removing the skin from the meat, of course. Spread it around evenly so you don’t get any blank spaces of flavor. Don’t worry either – you’d be surprised how much the butter helps to slosh the spices around once it gets cooking. Get down into those drumsticks too!

DSC07068

DSC07075

STEP 4
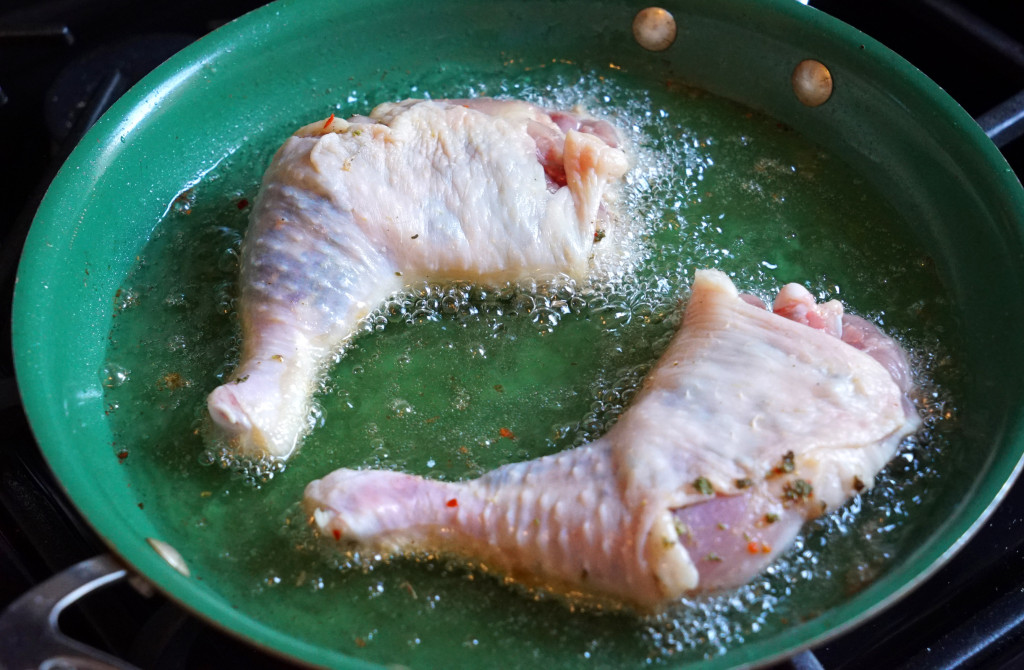
Get your vegetable oil in a pan and heat it up. You shouldn’t need more than two cups of oil. Just enough to get the majority of the chicken skin into the hot oil should do the trick. Then drop your chicken legs in, top-side down.

DSC07077

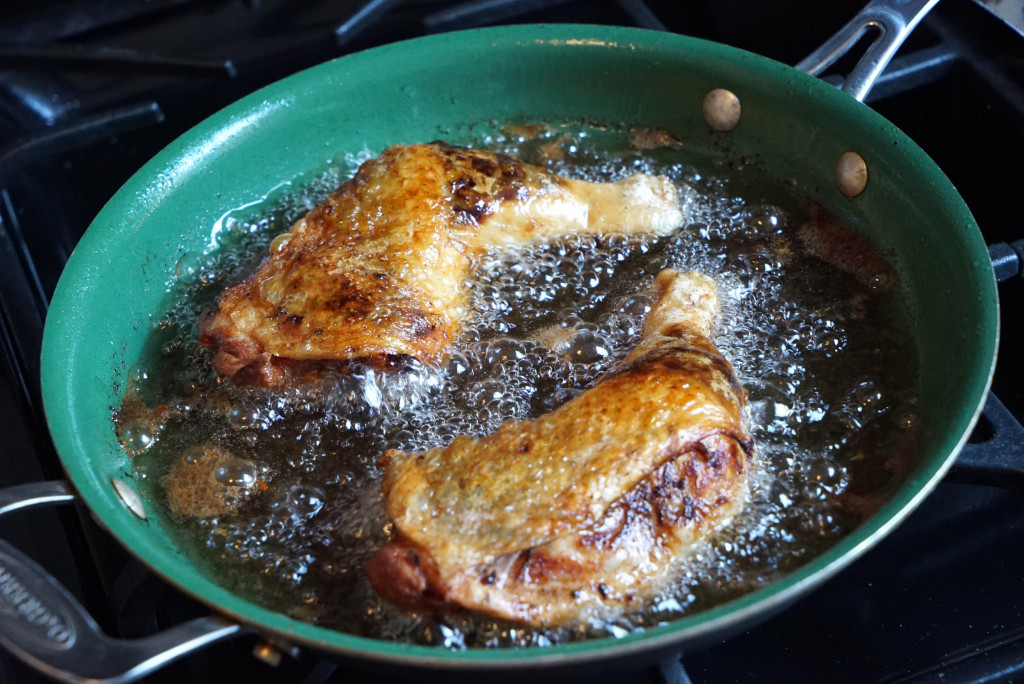
You’re going to flip these bitches once they get golden and crispy. Try to keep the skin covering the meat too on the bottom side when you flip it (that part of the skin doesn’t quite connect to the meat as well as it does in other areas).

DSC07080

STEP 5
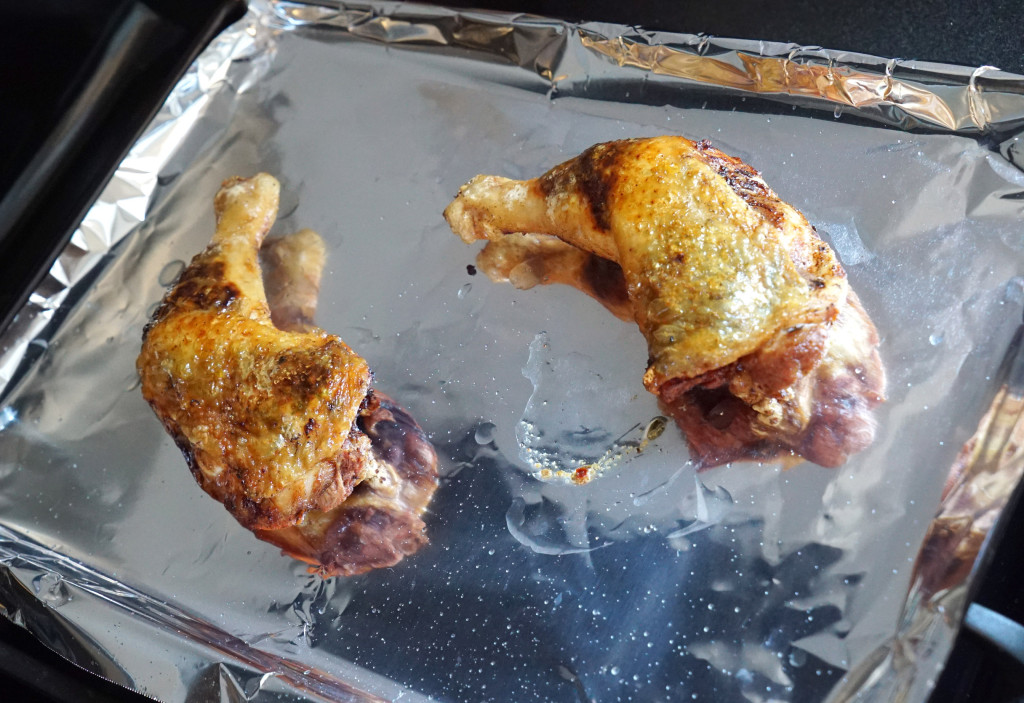
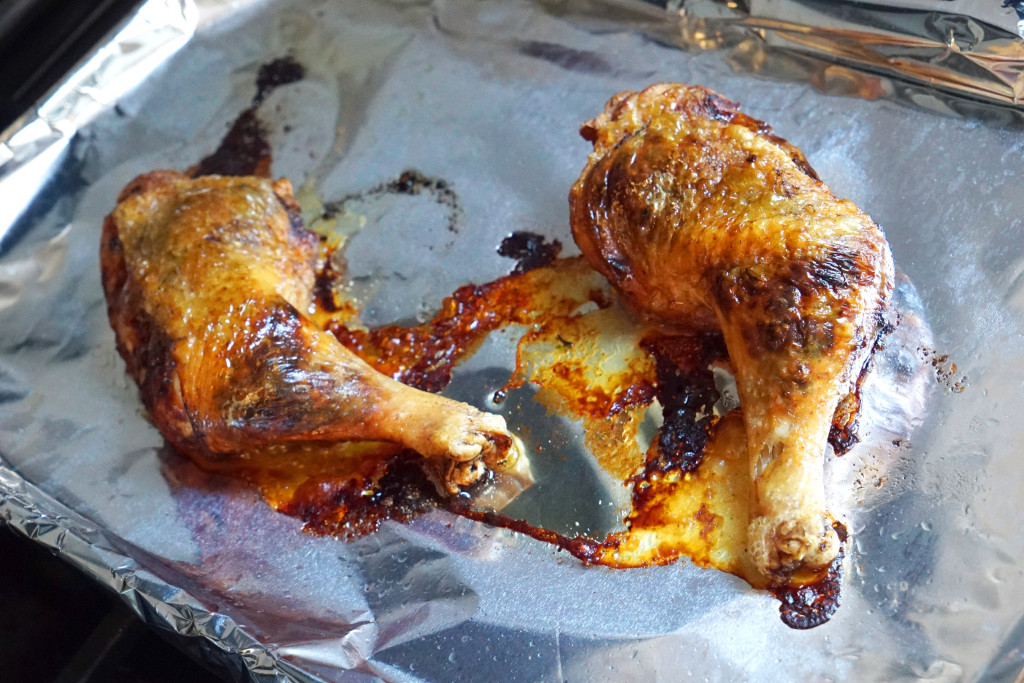
Remove the chicken from the frying pan once the other side gets nice and crispy brown, and place the legs onto a baking sheet. Pop that shit into the oven for another 20-30 minutes, top-side up.

DSC07081

STEP 6
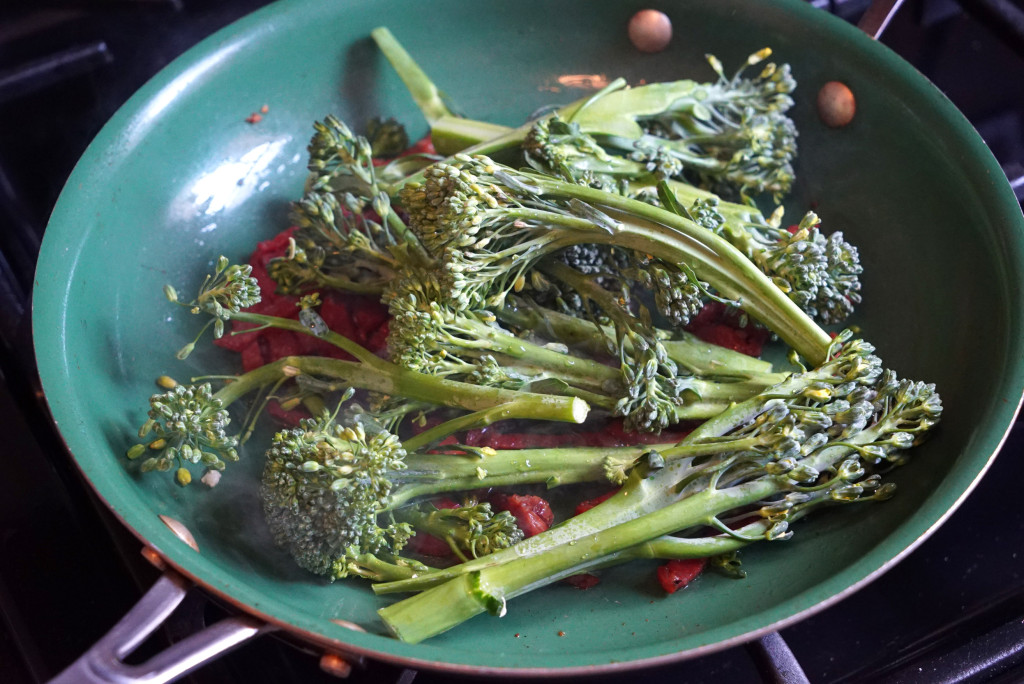
Clean your pan (or use a second one), and then begin to sautee your sausage/chorizo. When they start to release some grease, you can add your broccolini in there as well.

DSC07083

DSC07084

STEP 7
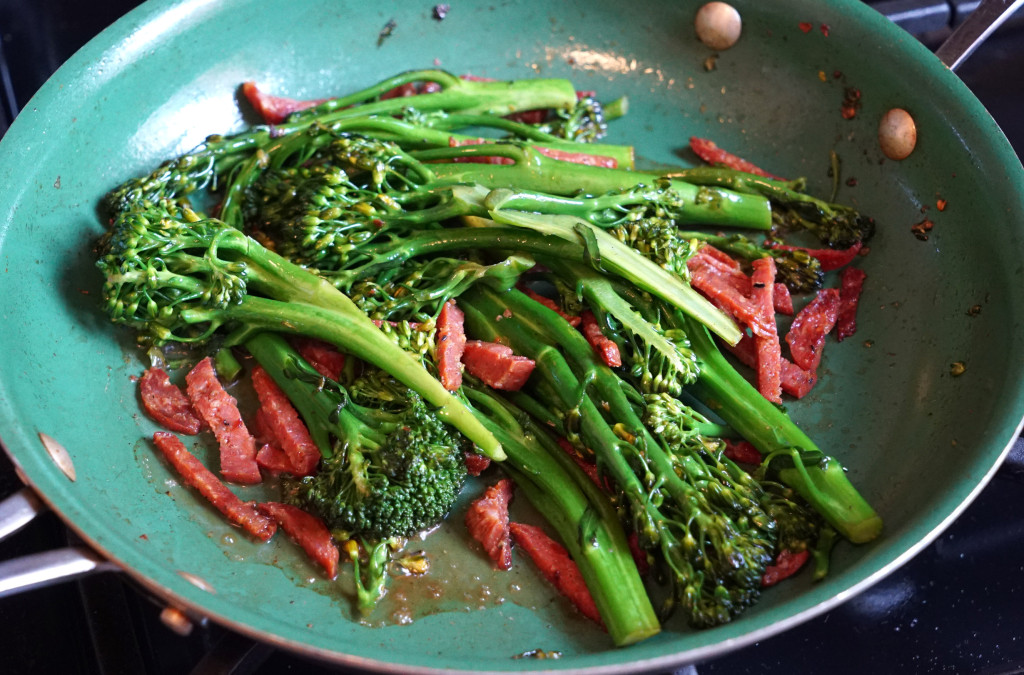
When the pan is nice and hot, and your broccolini is really cooking, I want you to hit the pan with a few ounces of water to deglaze the pan. Doing this releases all that nice brown sausagey goodness from the pan and puts that flavor directly into the broccolini.

DSC07085

Once the water is all evaporated from the pan again, your broccolini should be fully cooked and your chorizo should be slightly crisped and browned. Plate that shit.

DSC07090

STEP 8
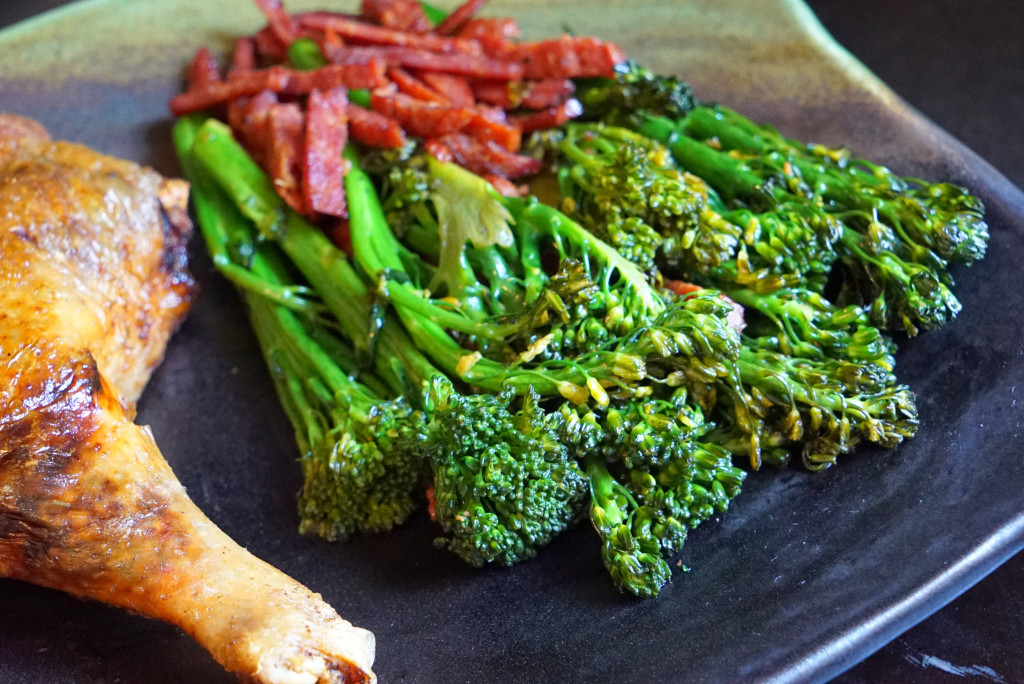
Remove your chicken from the oven and plate that shit alongside your broccolini.

DSC07086

DSC07091

That’s it. Super simple, and this will feed two people, unless you’re a fat fuck like me and can eat it all by yourself.

DSC07087

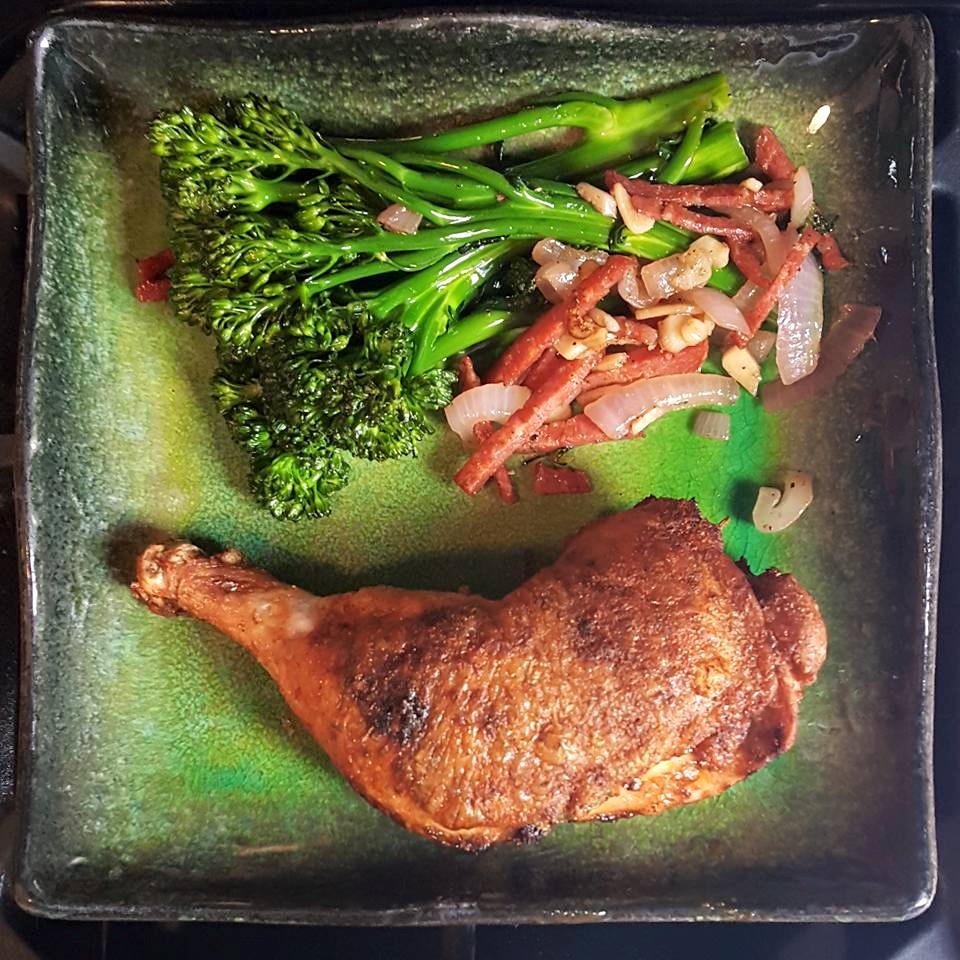
I also like to add sliced onion and fresh garlic into the broccolini sautee as well sometimes. When I did this recipe, I didn’t have that stuff handy, but here’s a shot of the finished plate from a previous night when I made the dish with onions and fresh garlic. As you can see, the skin actually came out a little nicer that time, due to better butter coverage and frying technique.

chicken leg and broccolini

Greek Easter

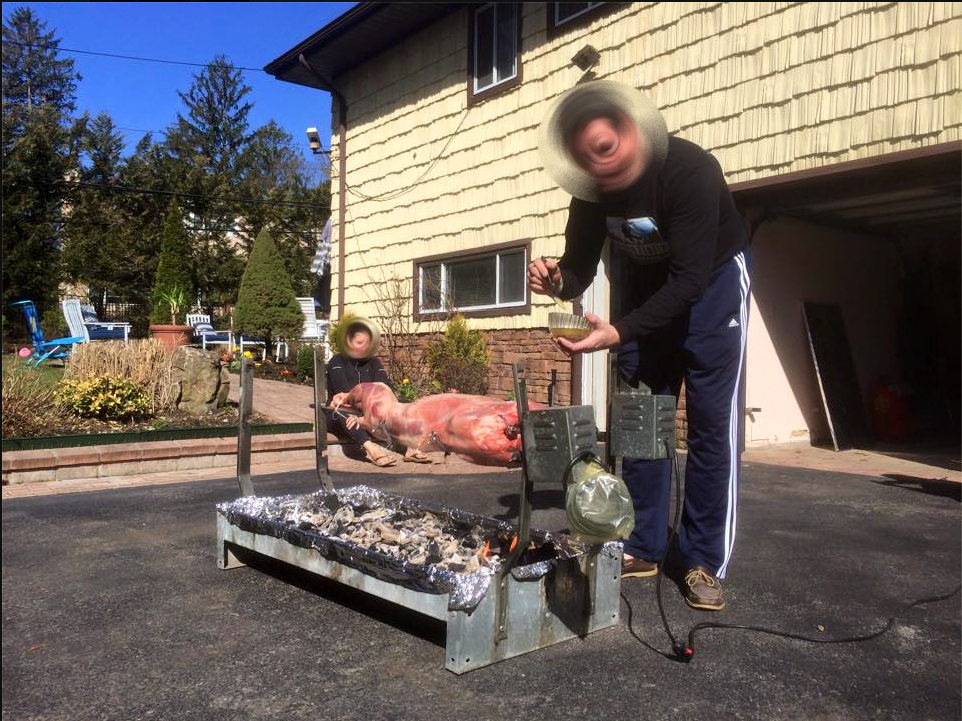
This year a friend of mine invited me over to his parents’ house to partake in the delicious food associated with Greek Easter. Namely, an entire lamb roasting on a spit!

lamb spit

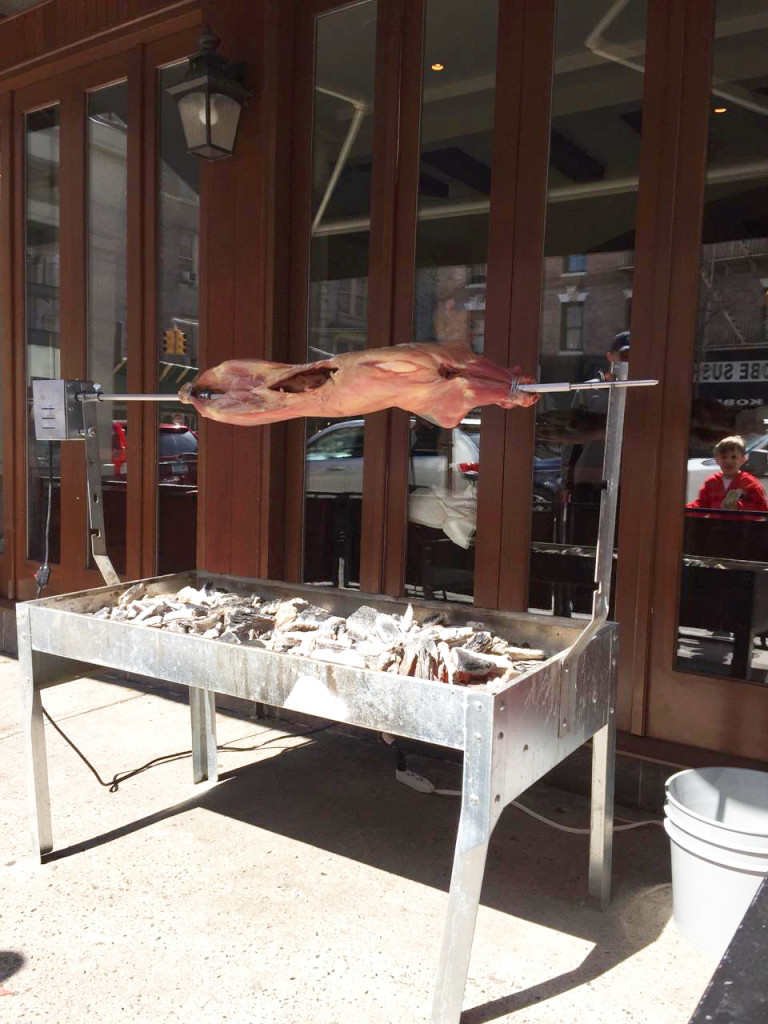
The crazy thing was that while I was getting ready to head over to his house, another friend of mine started texting me photos of a Greek joint on the upper east side that was spit-roasting a lamb right on the sidewalk. Awesome!

IMG958041

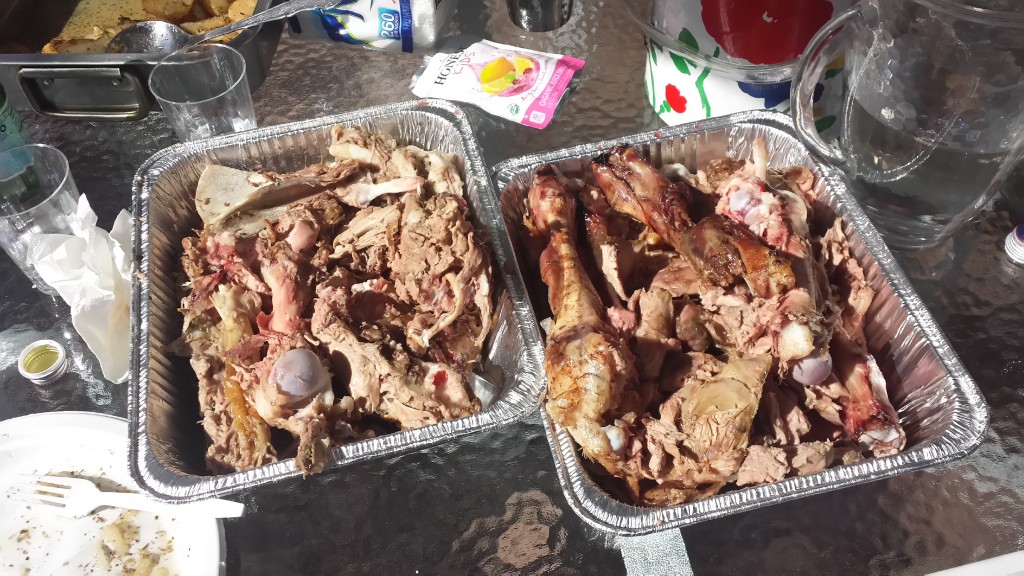
Anyway, here’s a quick shot of what the lamb looked like once my buddy’s’ dad broke it down into more easily devourable portions:

20150412_155056_LLS(2)

I actually meant to shoot some video of the fucker’s head spinning round and round on the spit, sizzling away over the coals… but we got to reminiscing and catching up, so the cell phone never really made it out of my pocket.

There was a lot of other awesome shit too, like lamb gyro meat, minced pork, meat skewers, spanakopita (spinach pies), toasted garlic pita bread, cheese pies, lemon and herb roasted potatoes, and amazing baklava desserts. I was actually surprised that the bottle of ouzo I brought was the only one on site! Needless to say, we killed that thing.

Whole Rotisserie Duck At Momofuku Ssam Bar

Check this shit out, you salivating scumbags:

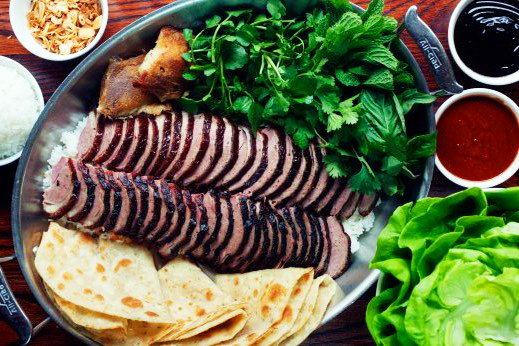
Keeping in line with my recent non-steak-related commentary dealing with other delicious foods around NYC, I present to you the whole rotisserie duck at Momofuku:

th_990fb2856622313a7aa33f3fea635552__m1g0005

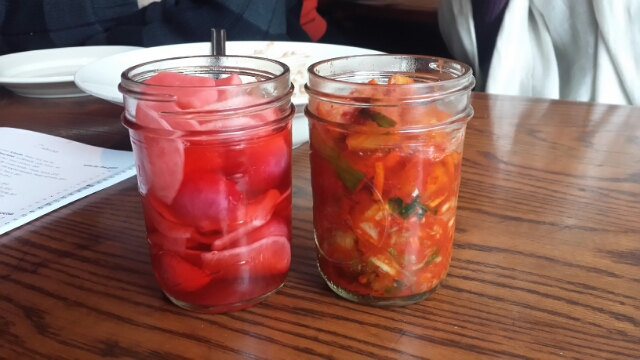
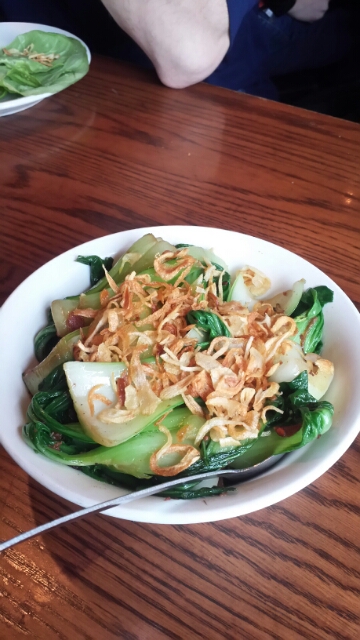
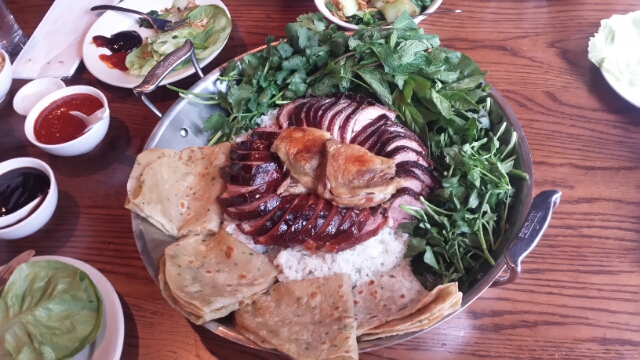
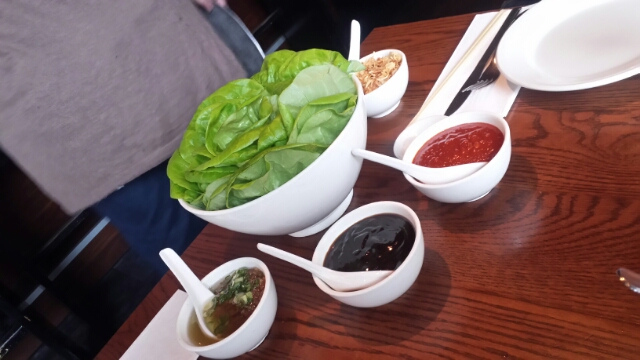
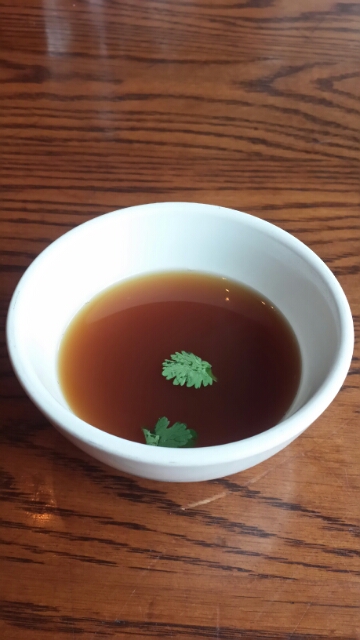
This particular dish is available at Momofuku Ssam Bar on 2nd Avenue at 13th Street. For $140 you get the duck (breast stuffed with duck sausage just under the skin and roasted) served atop a bed of jasmine rice; some chive pancakes and Bibb lettuce for wrapping; two seasonal sides (we chose the pickled veggies and kimchi, and the baby bok choy seasonal greens); and crispy shallots, cilantro, mint, Thai basil, watercress, hoisin sauce, Korean BBQ sauce and duck scallion sauce for toppings. They even bring out some duck broth made fresh at the end of the meal.

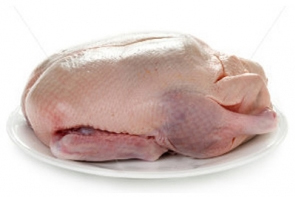
The duck is locally sourced too, for all your eco-assholes out there that actually give a shit. It’s from Crescent Duck in Aquebogue, Long Island.

crescent duck

Now on with the pics. Duck off, or go duck yourself:

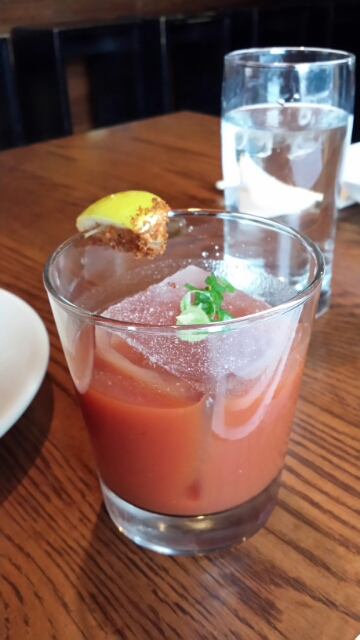
First, my wife ordered a Bloody Mary. Here. it’s made with rye, sake, tomato, apple, ham, and togarashi. We thought it was a little on the small side for $11, and a little sweet, but it was meaty, spicy and otherwise good. Nice ice cube in there too.

bloody mary
bloody mary

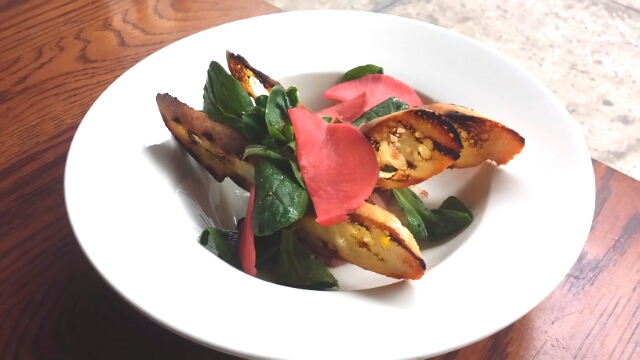
Next we ordered an app of liver mousse. Delicious, light and creamy. Topped with pickled radish and some greens.

liver mousse
liver mousse

Here is one of the side items that came with the duck meal – the pickled veggie jars:

pickled veggies
pickled veggies

And the “seasonal greens” – aka baby bok choy:

baby bok choy
baby bok choy

Then they brought out the pre-sliced duck to show it to us:

pre-sliced duck
pre-sliced duck

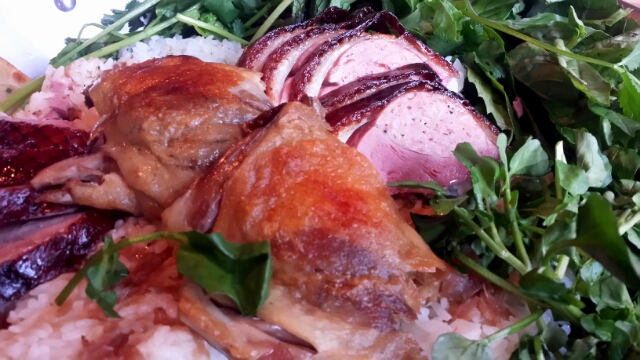
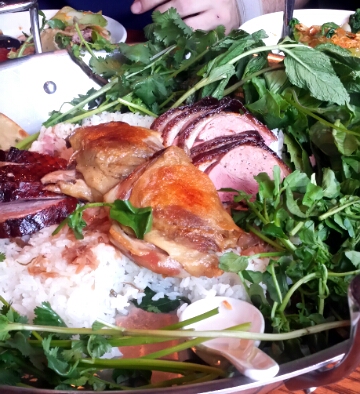
Here it is all sliced up and presented nice-nice:

rotisserie duck platter

Here’s the lettuce and sauce collection:

Bibb + sauces
Bibb + sauces

And finally they bring out a little bowl of duck broth to finish off the meal. Very rich.

duck broth
duck broth

Here are some more pics of the duck. If you look closely you can see the layer where the duck sausage splits from the duck breast. Each little slice was like a two-in-one punch of roasty, crispy, juicy flavor. Fucking awesome.

crispy deliciousness
served on a bed of jasmine rice
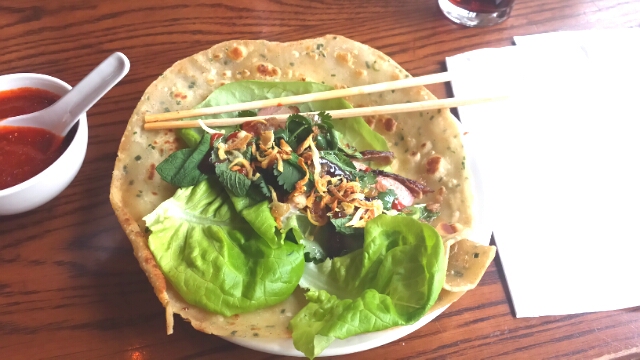
constructing a duck ssam on a scallion pancake


And here’s one last shot – the kitchen in full swing:

kitchen
kitchen

MOMOFUKU SSAM BAR
207 2nd Ave.
New York, NY 10003

Whole Roast Suckling Pig

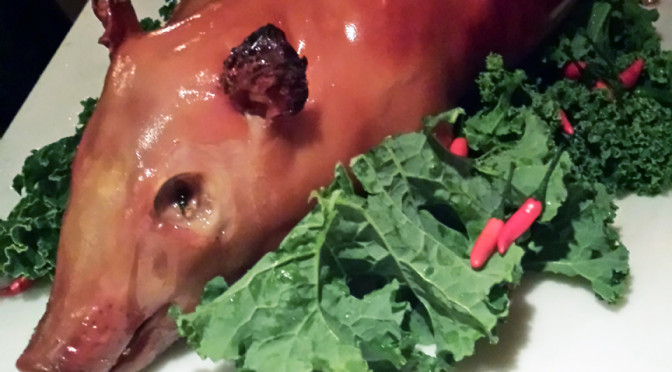
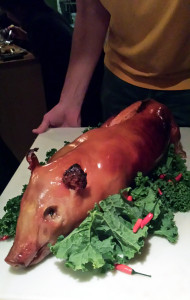
Occasionally I whip up a quick blurb about something awesome that I ate aside from steaks. Last night I had an amazing meal at Pig & Khao, which is run by Leah Cohen of Top Chef fame. Seven of us feasted upon a whole roasted suckling pig. It was done perfectly. The meat was tender, juicy, and it packed a lot of flavor. The skin, though, is always the best part of a dead pig. DELICIOUS. Check out the pics below, and when you get a group together you should definitely try this place.

the pig
the pig
the yum
the yum

PIG & KHAO
68 Clinton St.
New York, NY 10002